
Hi all,
My latest build is a Spitfire Fargo Express - I have done quite a lot of work, and should have posted this earlier!
Build Plan
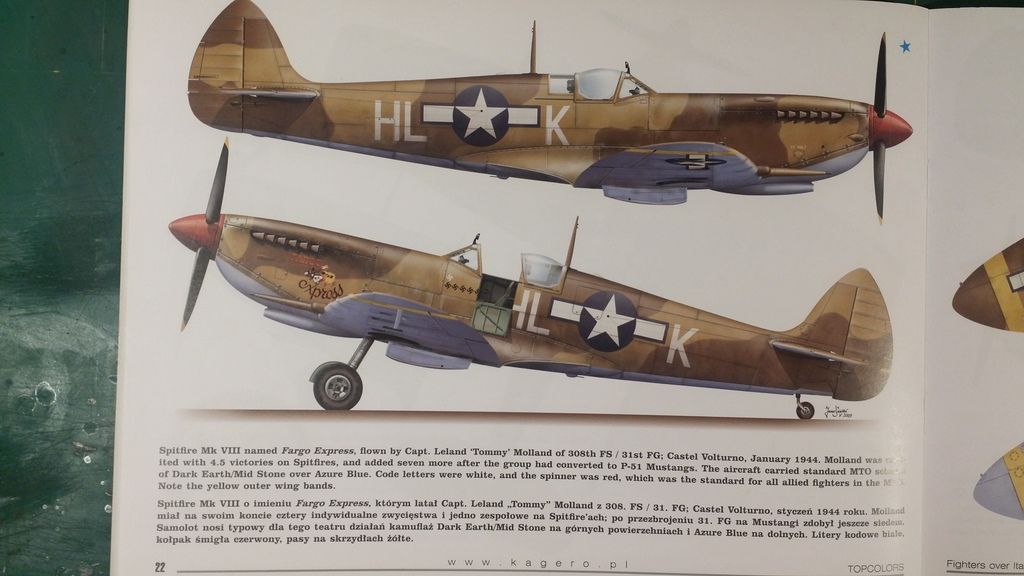
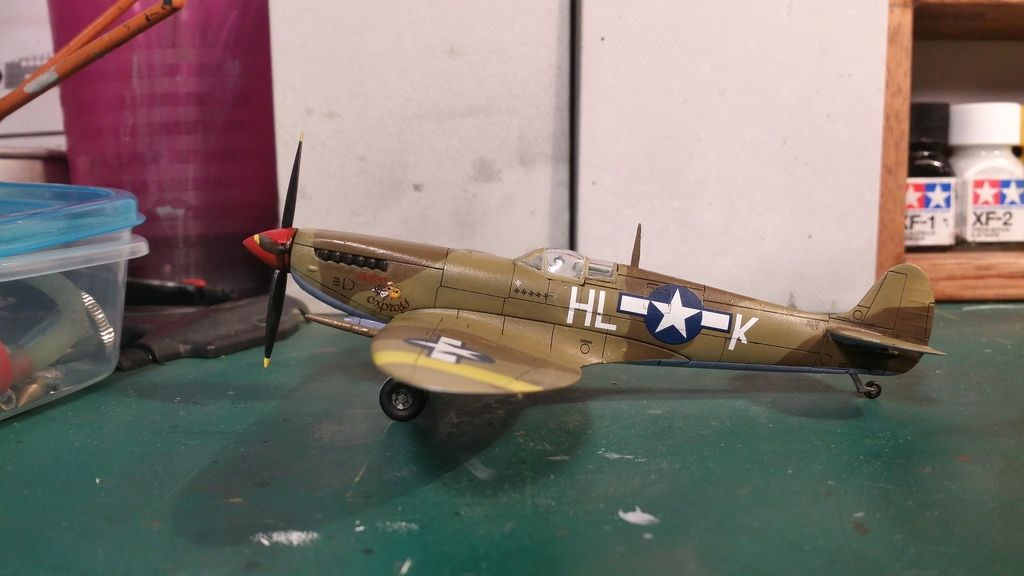
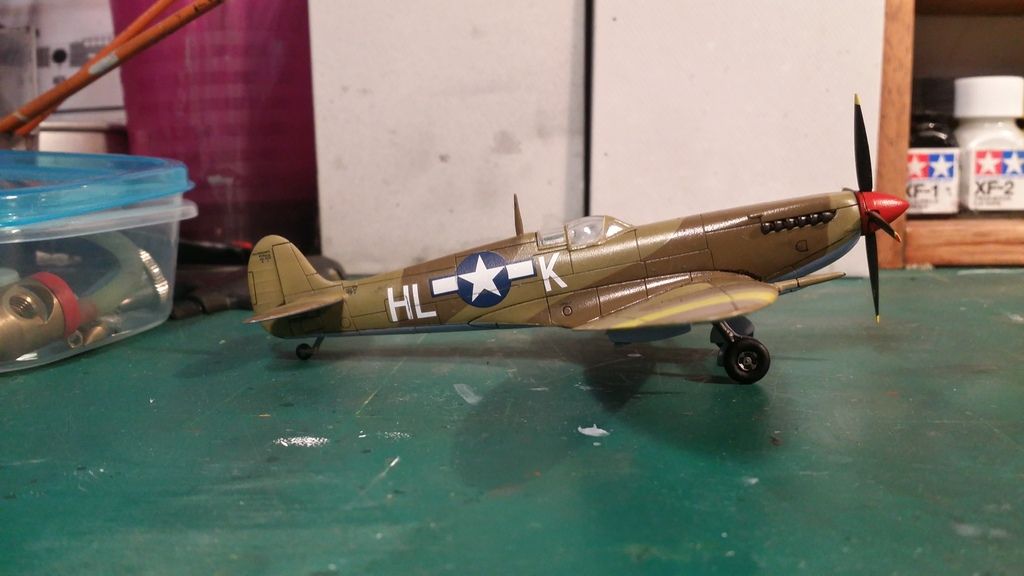
I will take the Airfix 1/72 Mk IX kit and build it into a Mk VIII. I will be using custom decals to accomplish this. The kit will be painted with Humbrol enamels, and the cockpit will most likely be painted using Tamiya enamels, simply because I am waiting on an aitbrush to arrive, and just want to move forward with the build. Weathering will be kept to a minimum as I prefer a clean looking aircraft. The paint scheme will depict a US Spitfire called Fargo Express flown by Capt. Leland "Tommy" Molland of 308th FS / 31st FG (See photo below of the aircraft)
Kit Details (from www.scalemates.com)
Brand:
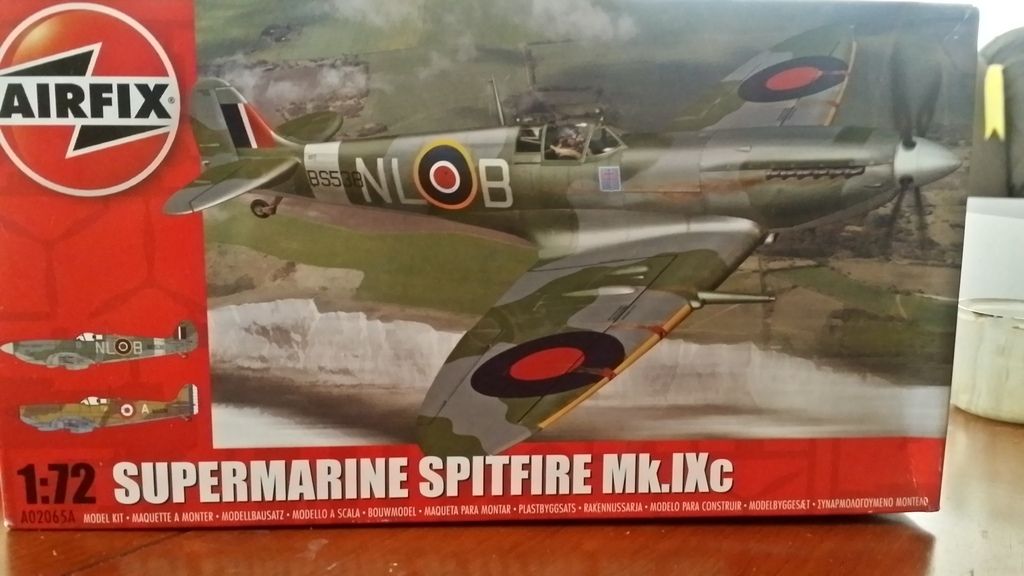
Airfix
Title:
Supermarine Spitfire MkIXc
Number:
A02065A
Scale:
1:72
Type:
Full kit
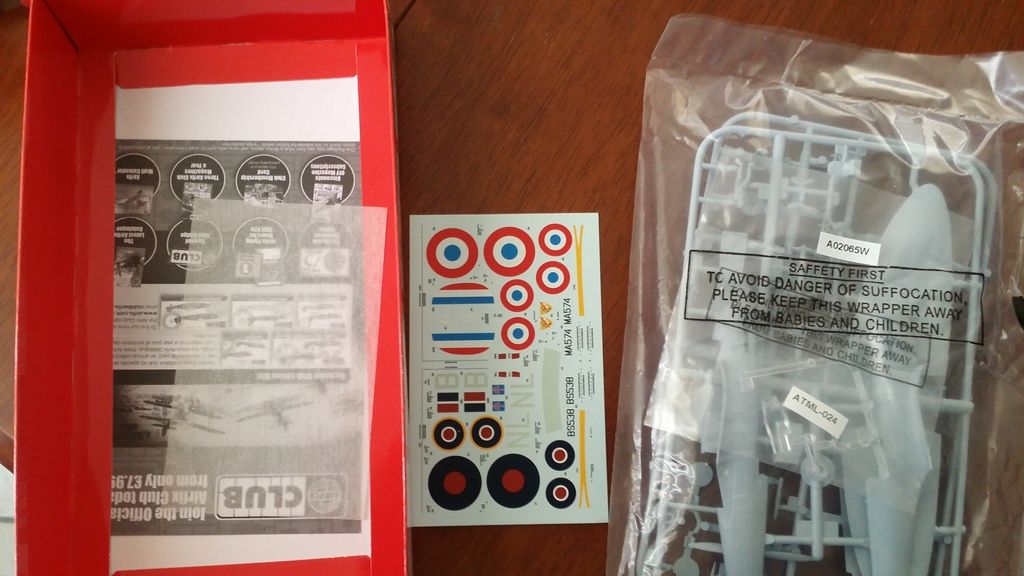
[COLOR=rgb(136,136,136)]Includes: Plastic sprues, Waterslide decals, Clear parts[/COLOR]
Released:
2014 | Rebox [COLOR=rgb(136,136,136)](Changed decals)[/COLOR]
Decal options
Kit History: The kit is arebox of Airfix kit A02065 a 1/72 Spitfire Mk IX c released in 2009.
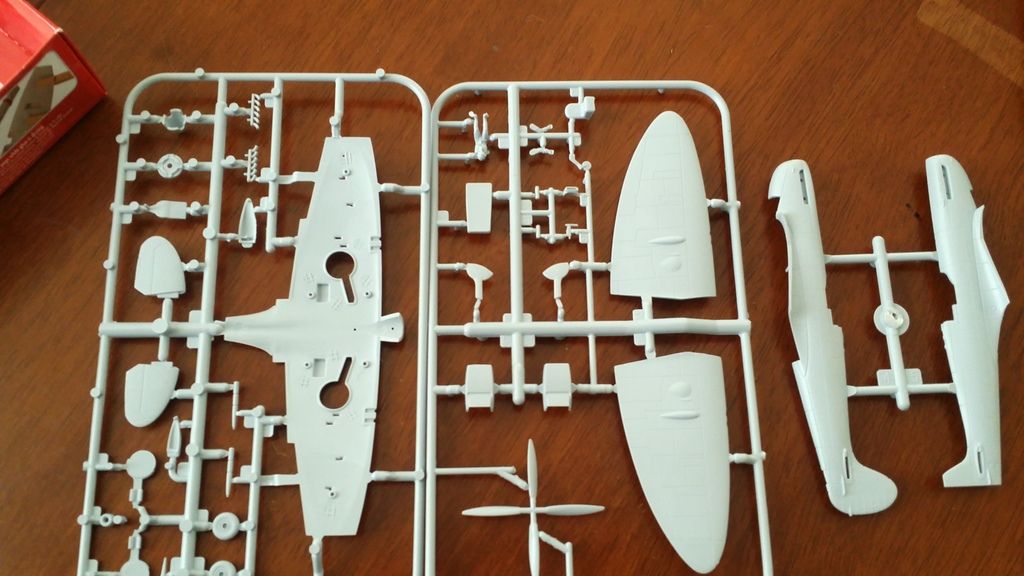
Kit Contents
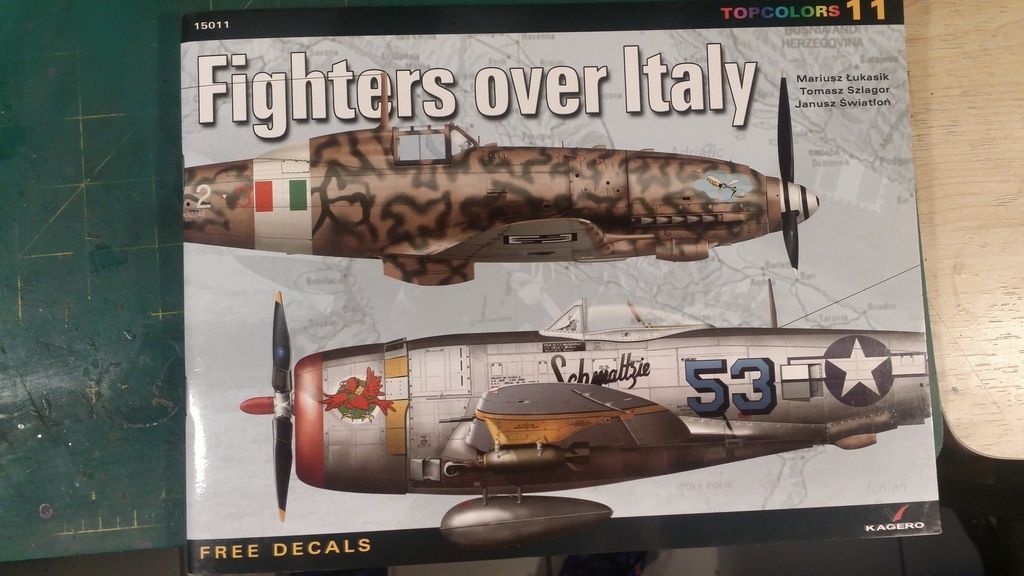
Paint Scheme
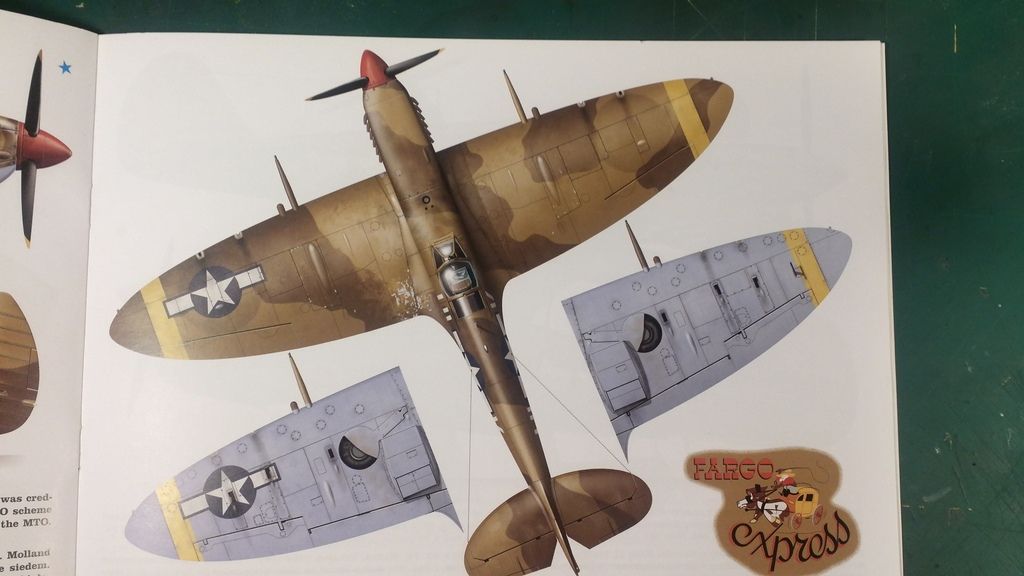
These were taken from the book
Build Update
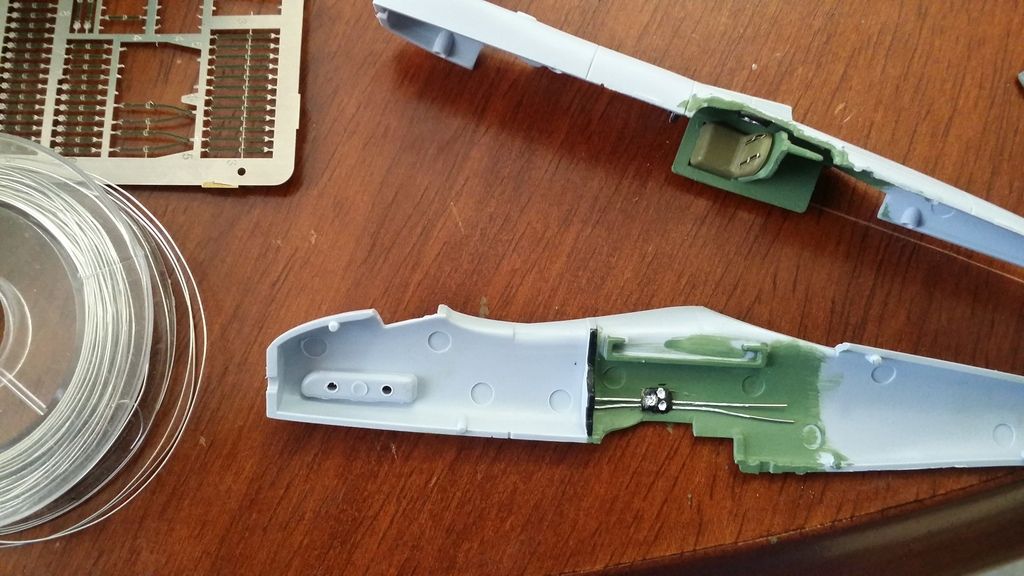
Cockpit interior done up with Tamiya XF 71 Enamel Cockpit green - this was brush painted. Some wiring and epoxy putti was used to create a dial. The dials dont look very accurate, but through a 1/72 canopy they look decent and give the cockpit some detail
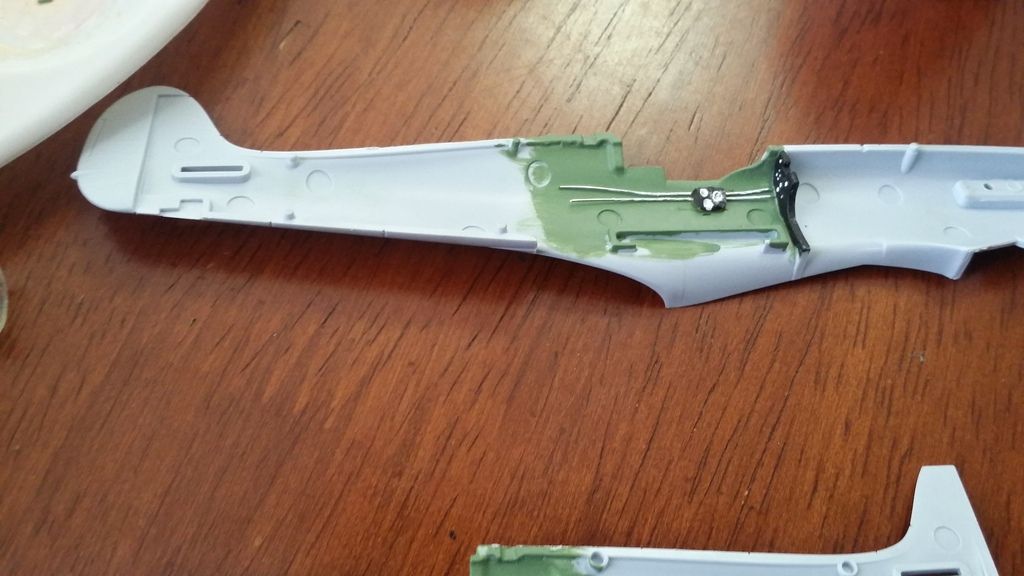
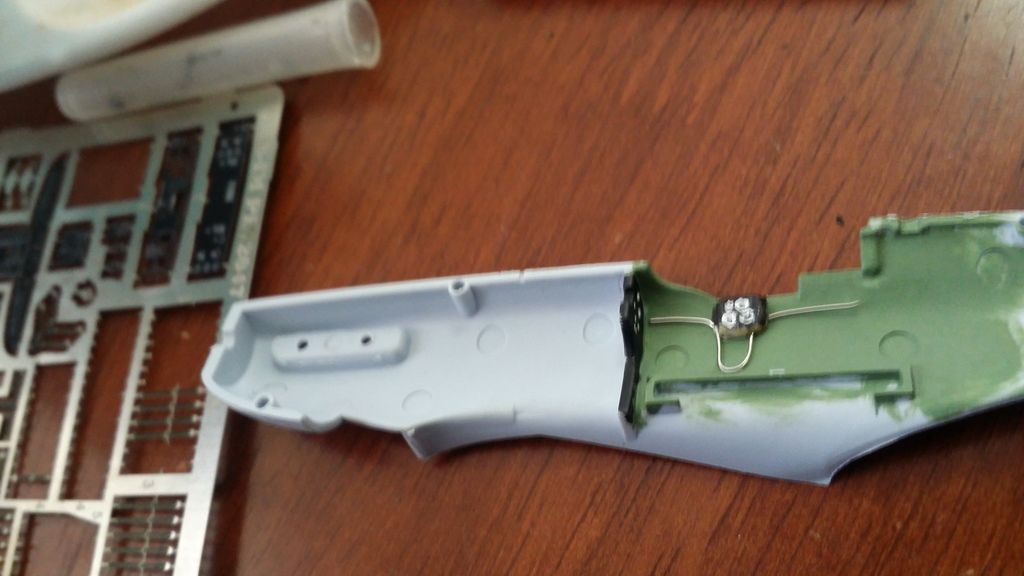
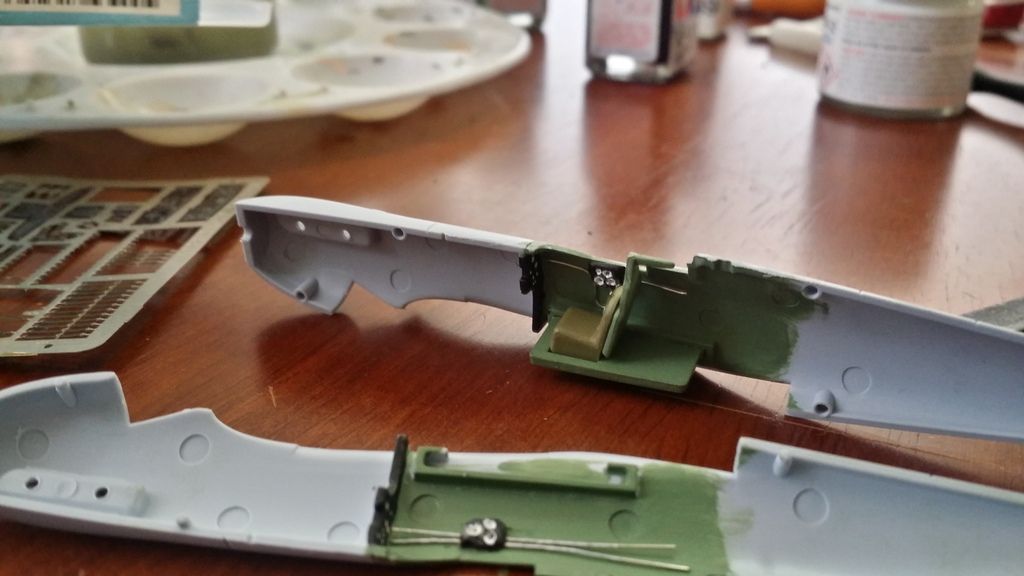
I added spare photoetch seat belts to the seat.
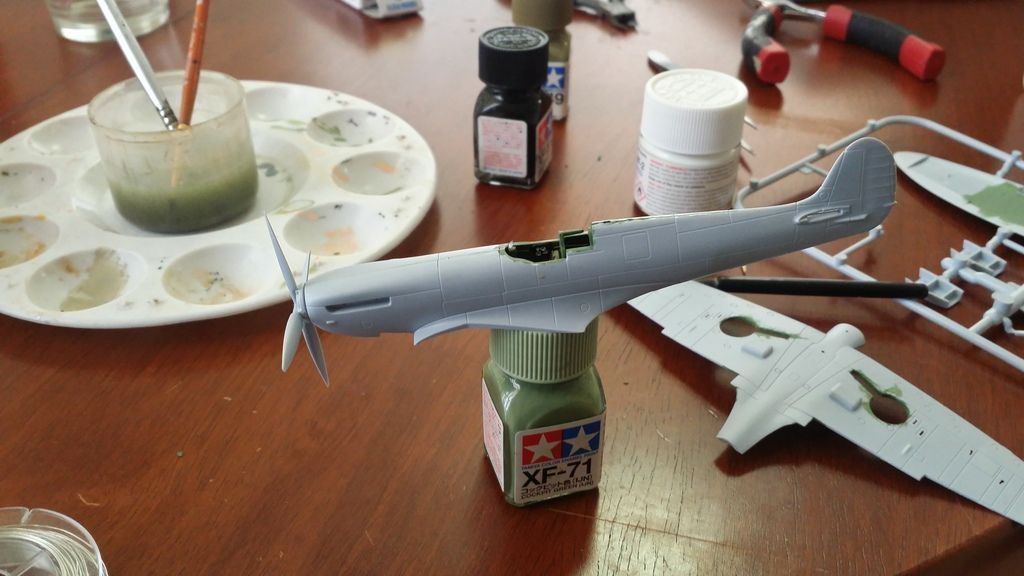
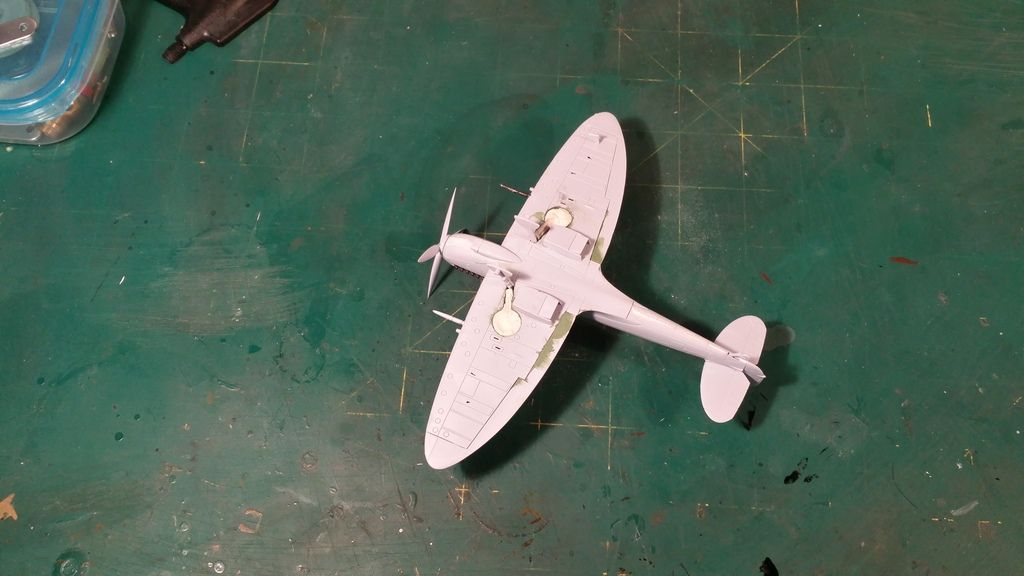
Inside of wheel bays also painted
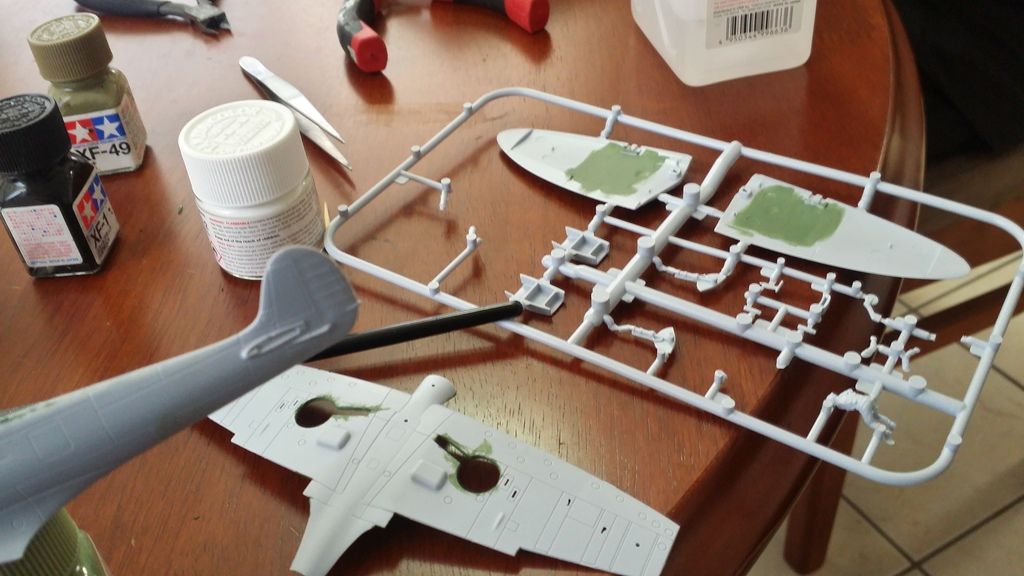
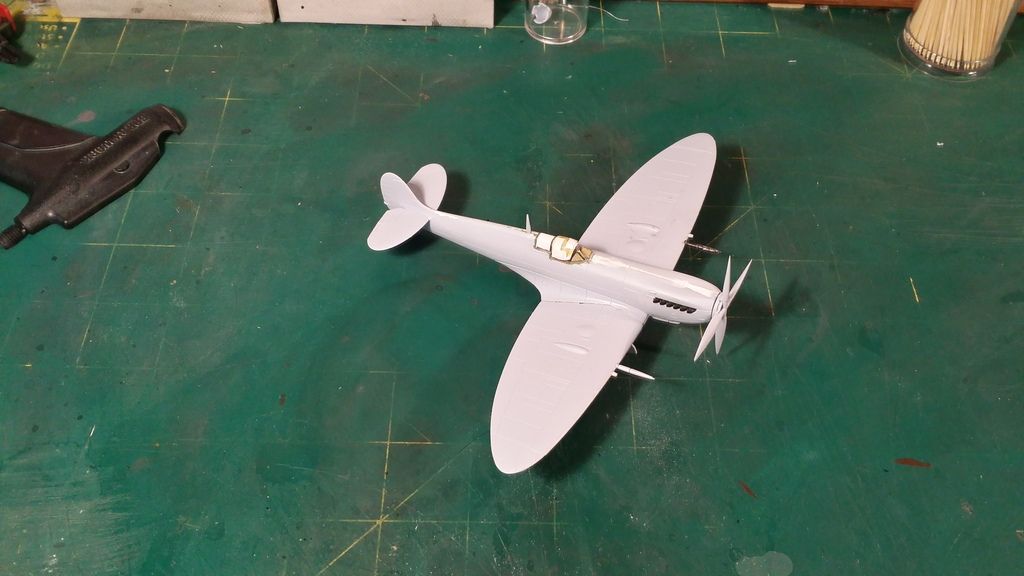
All assembled and canopy masked - which took me quite a few hours to get right
Glu tec used to mask wheel bays
Filler added - Tamiya white putty was used
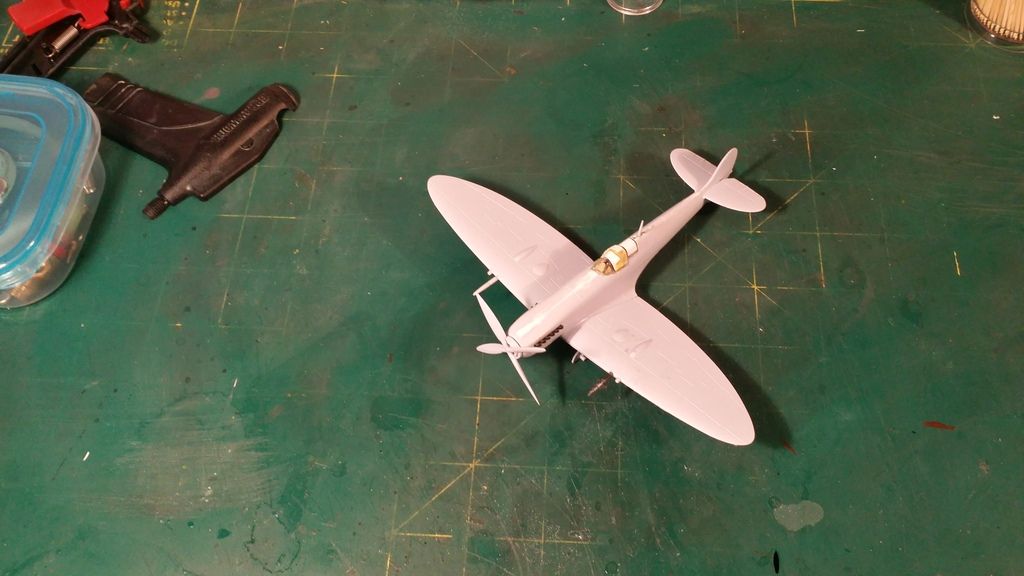
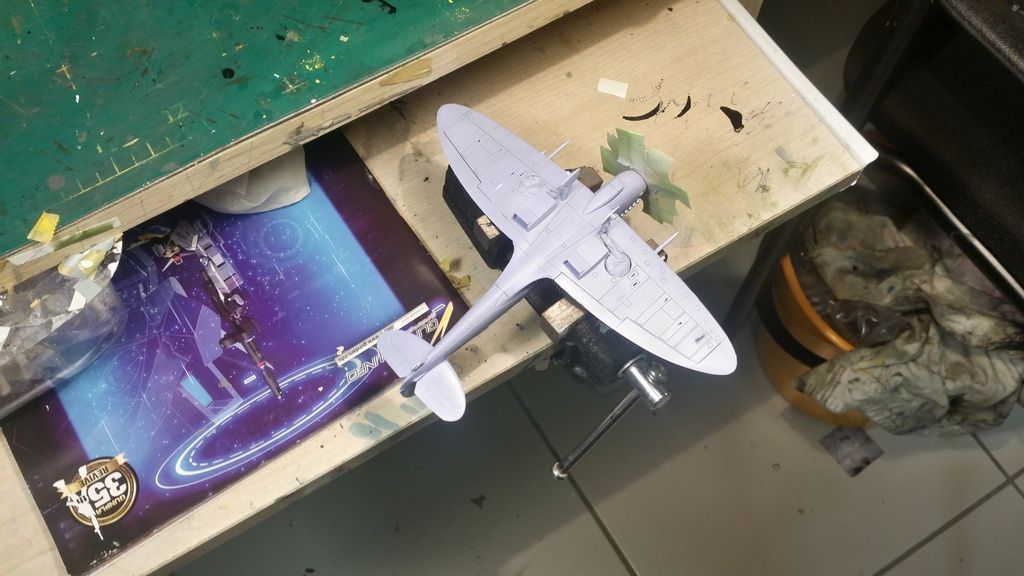
I then used Rustoleum white primer

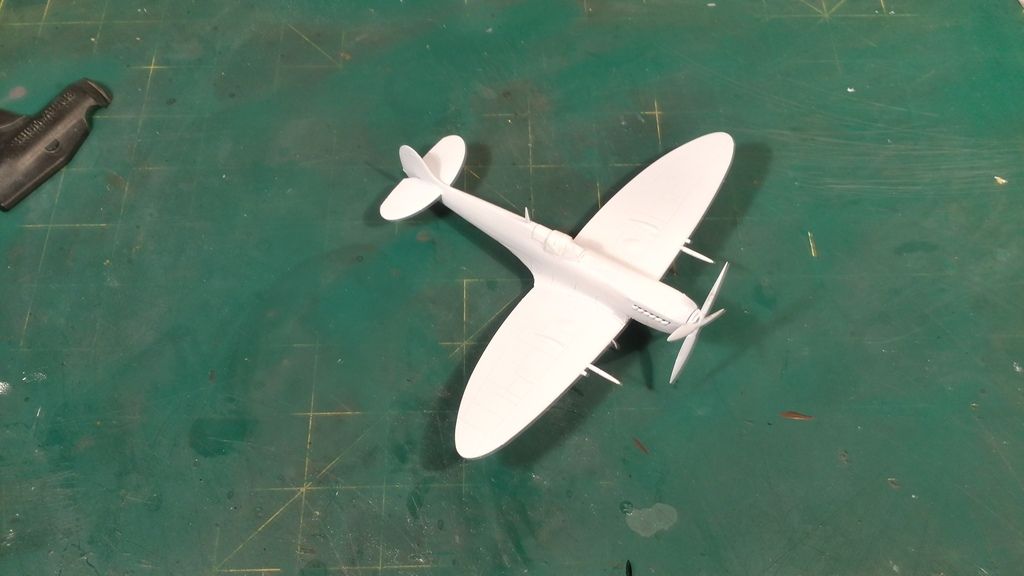
I let the primer dry for a day
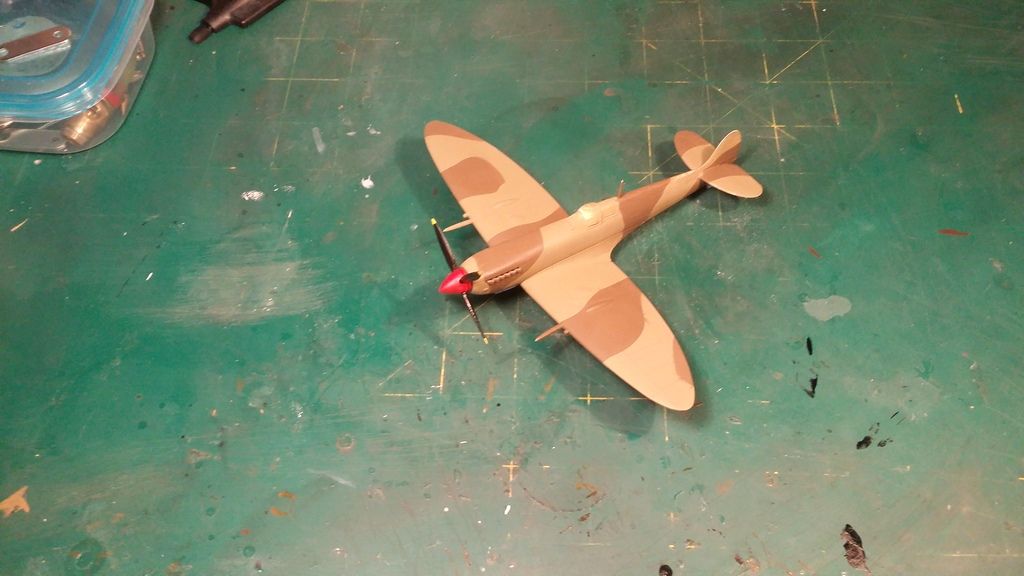
Then used Humbrol 33 enamel Black to preshade a bit. I also painted the propeller
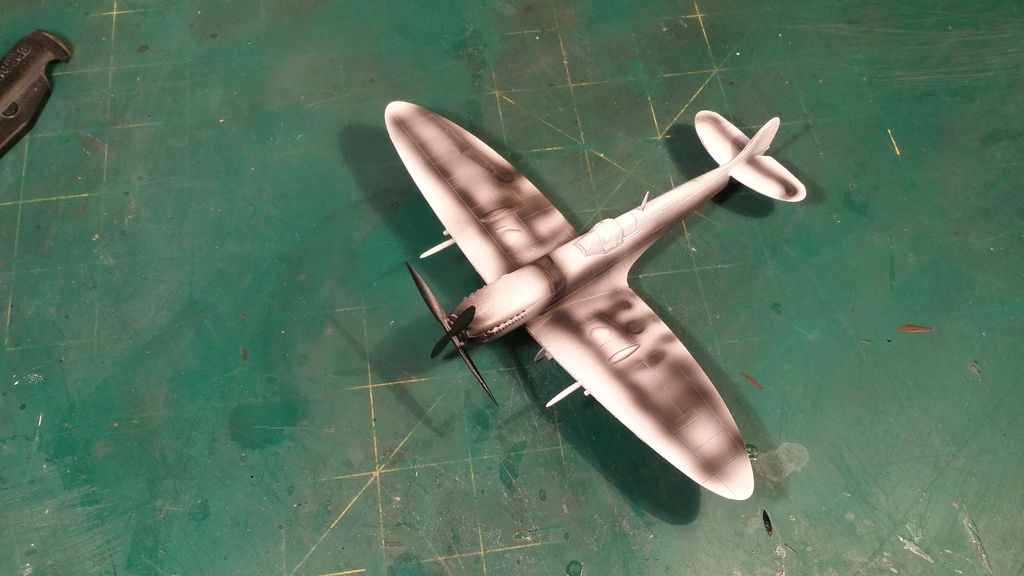
I then painted the underside with Humbrol 157 Azure Blue - The propeller was fully painted first and completely masked off
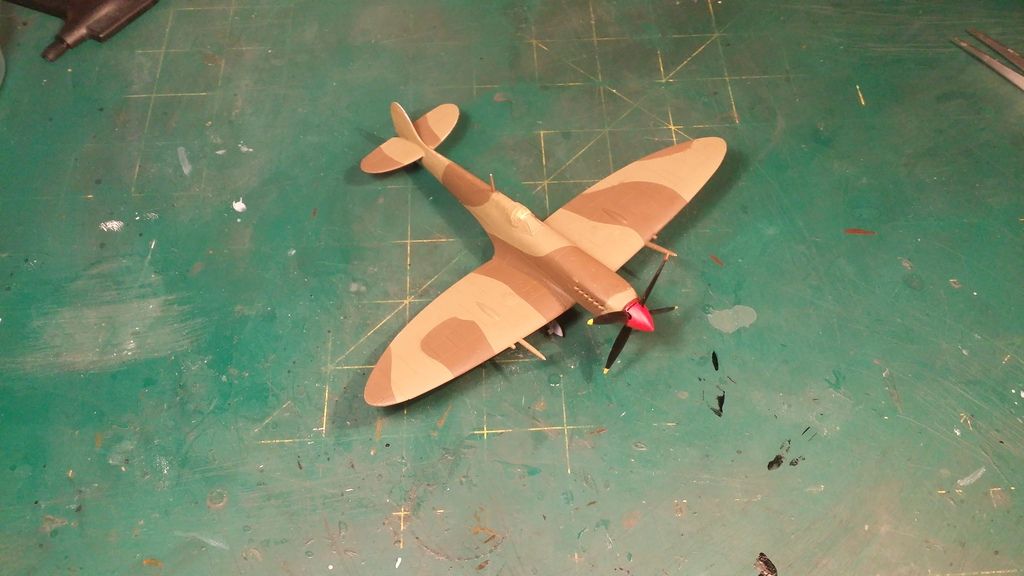
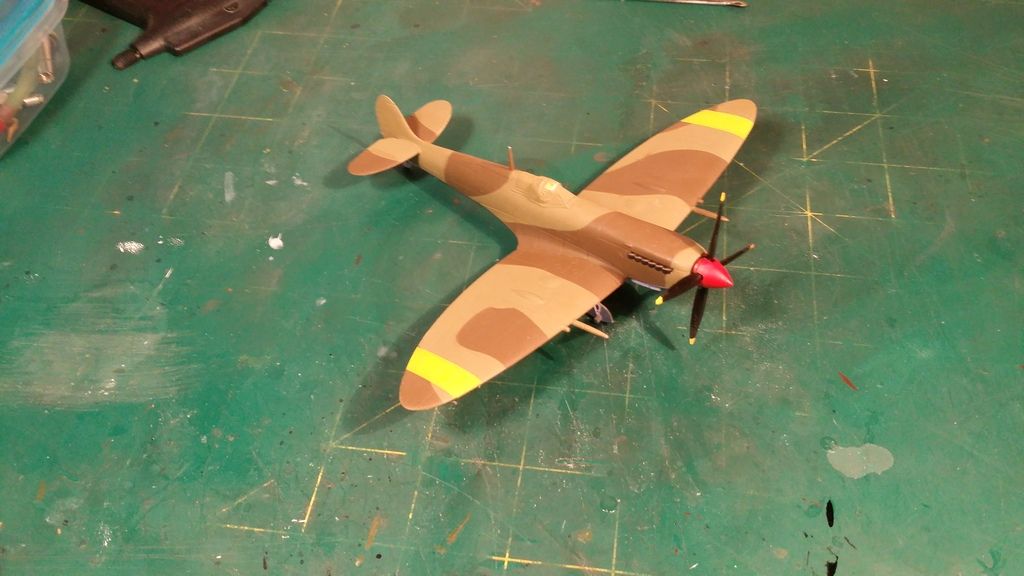
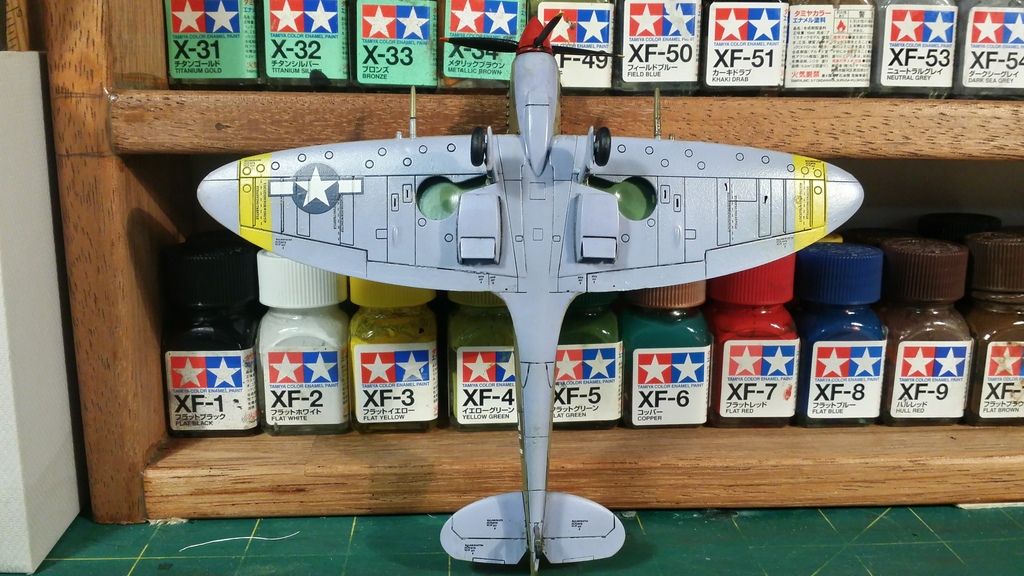
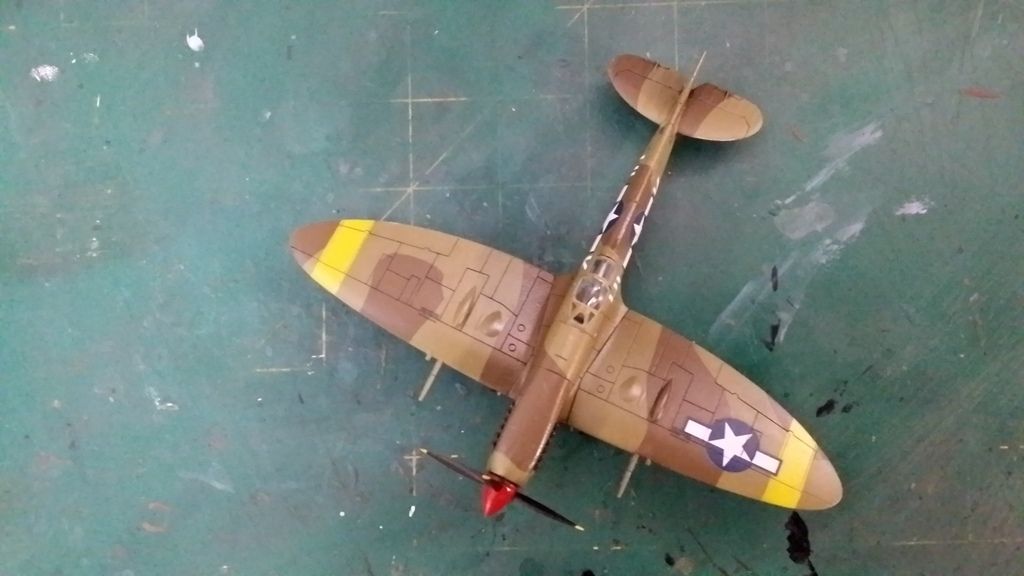
Finally painted the top half with Humbrol 84 Mid Stone - enamel After loads of masking the underside.
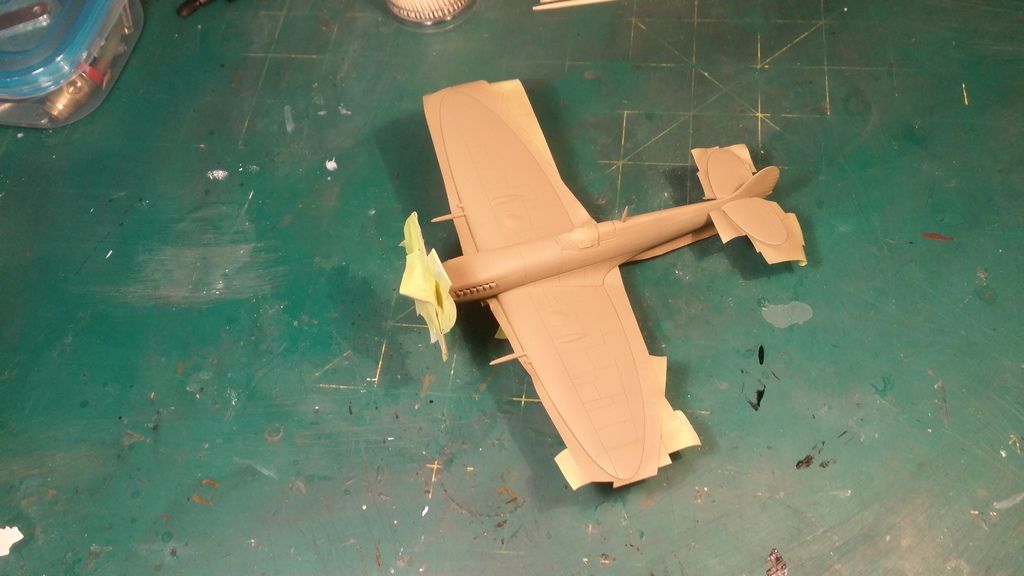
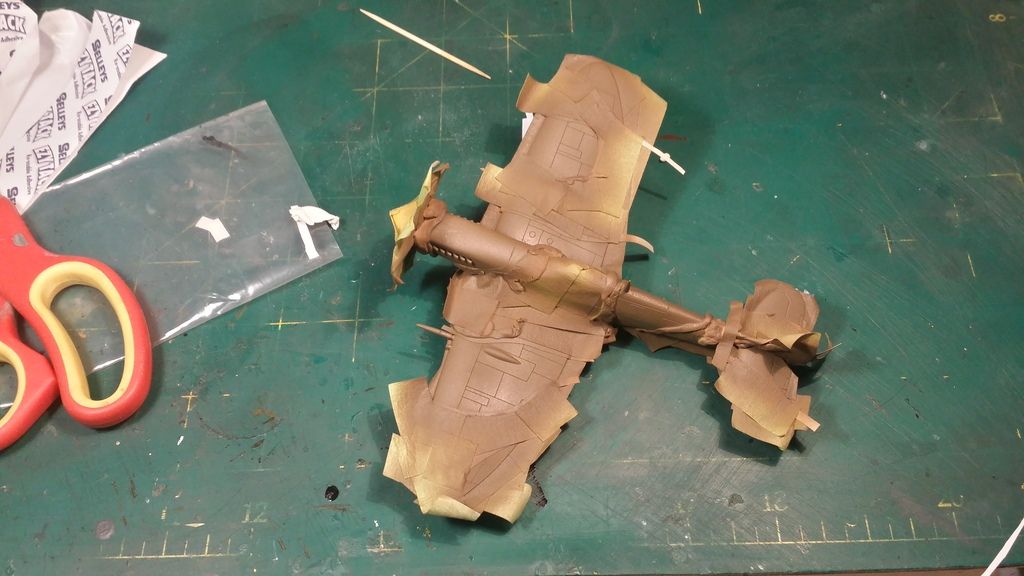
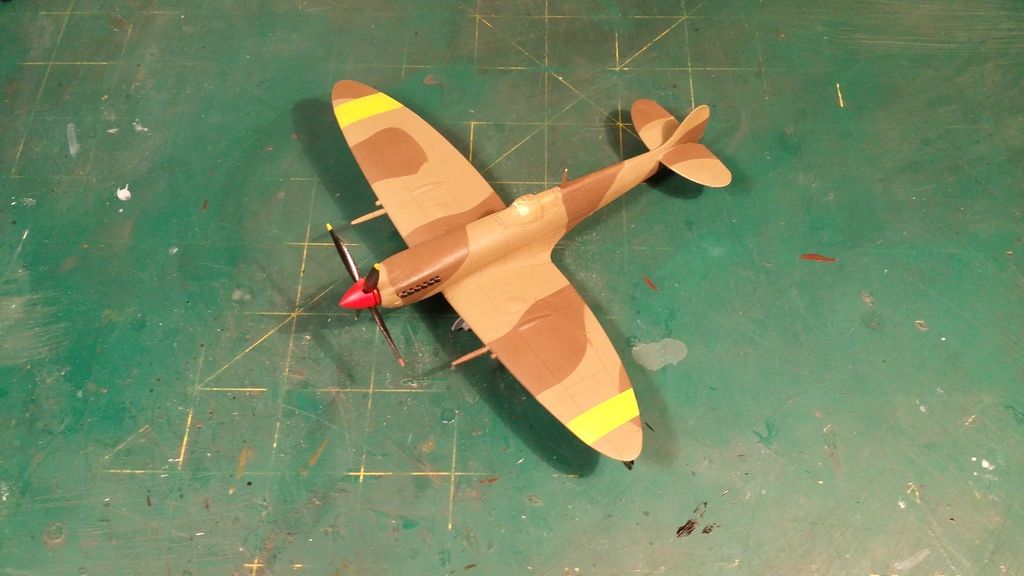
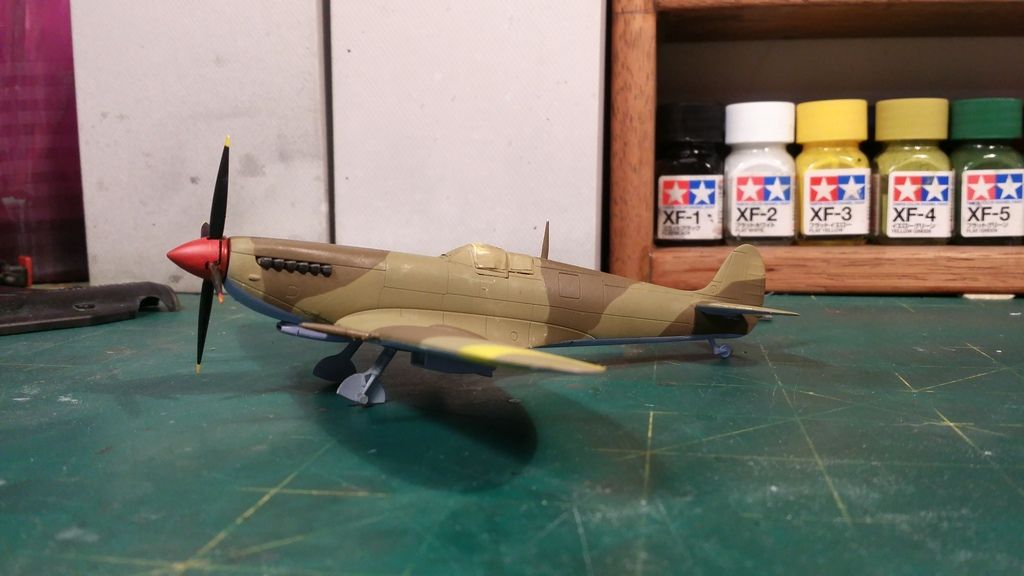
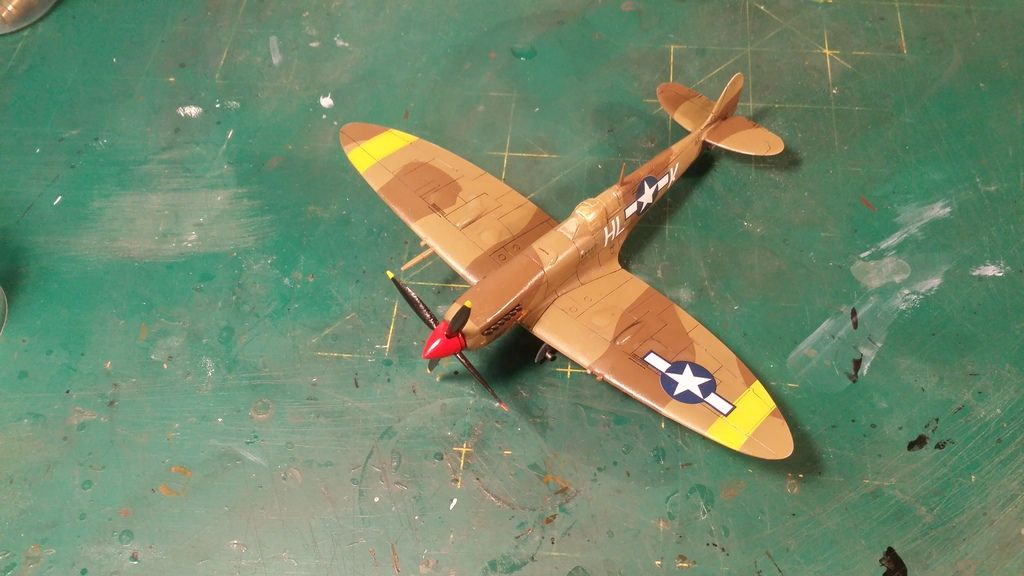
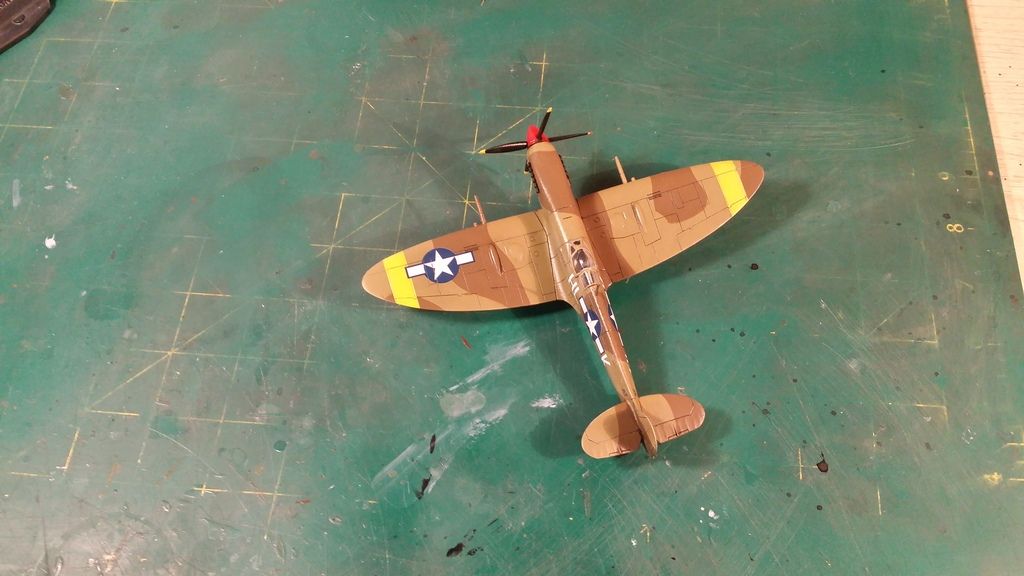
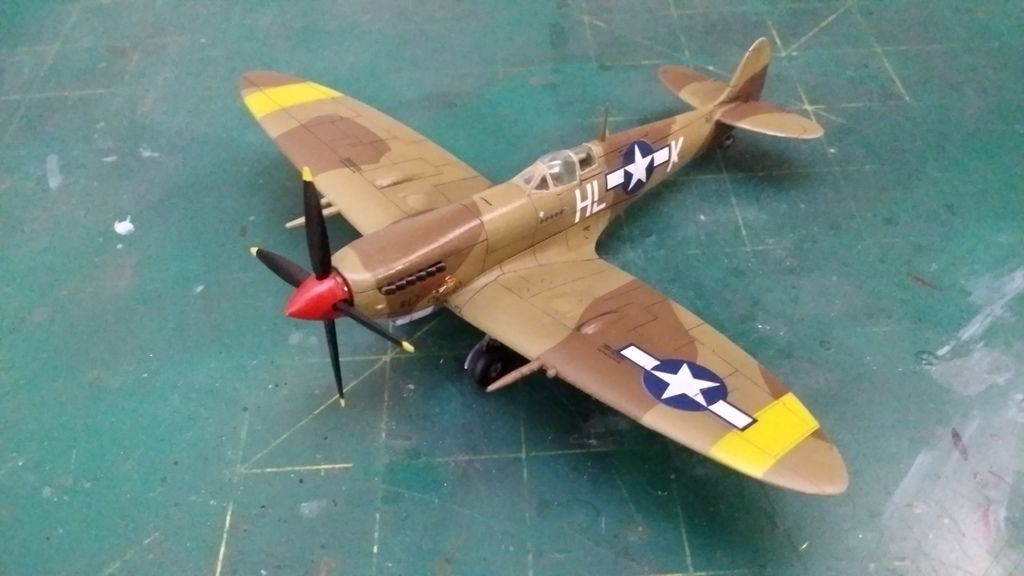
Next up will wait for this to dry and then mask off the camo pattern, and paint it with Humbrol 29 Dark Earth. I will try to get it done in one go, hopefully there is no paint bleed, other wise it will take a while to fix it all up.
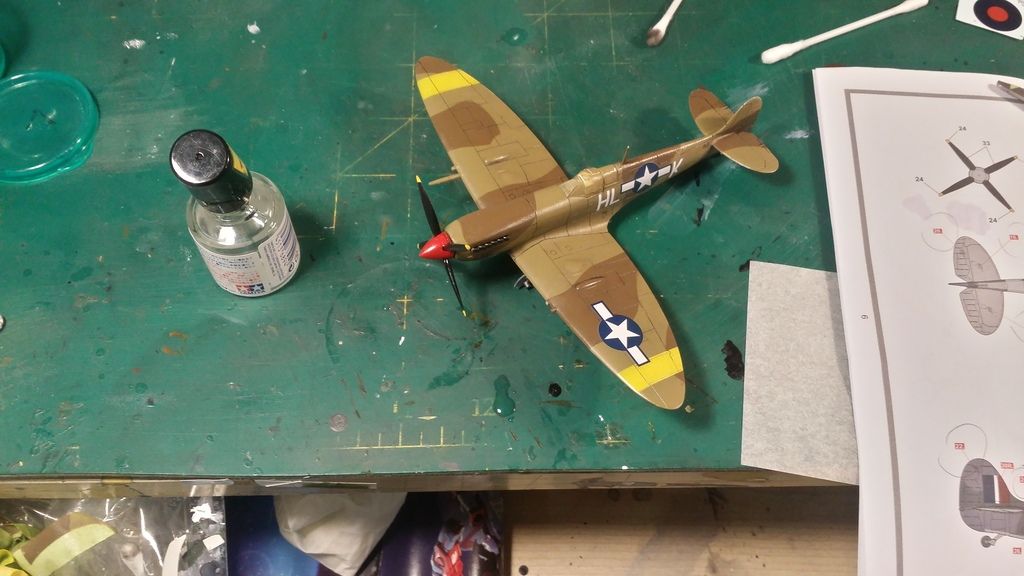
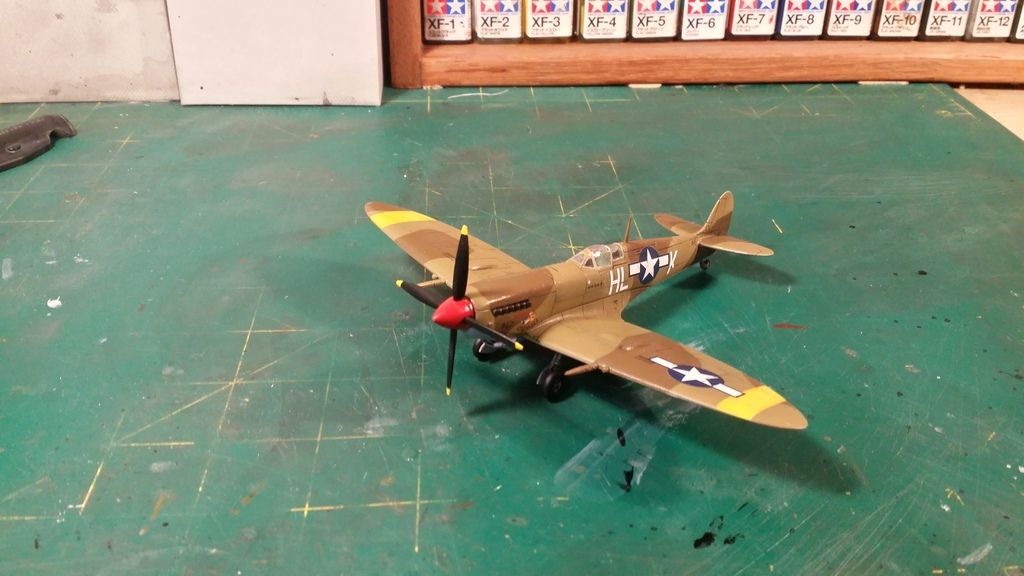
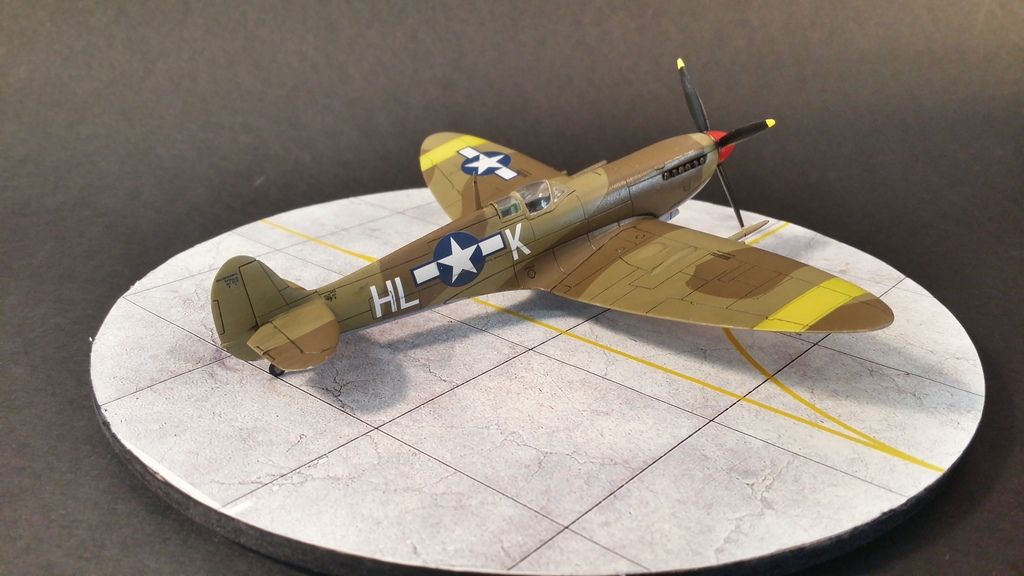
After that I have to paint the yellow stripes on the wings and then gloss coat it all for weathering and decals.
I hope you all liked the build update. All comments welcome.
My latest build is a Spitfire Fargo Express - I have done quite a lot of work, and should have posted this earlier!
Build Plan
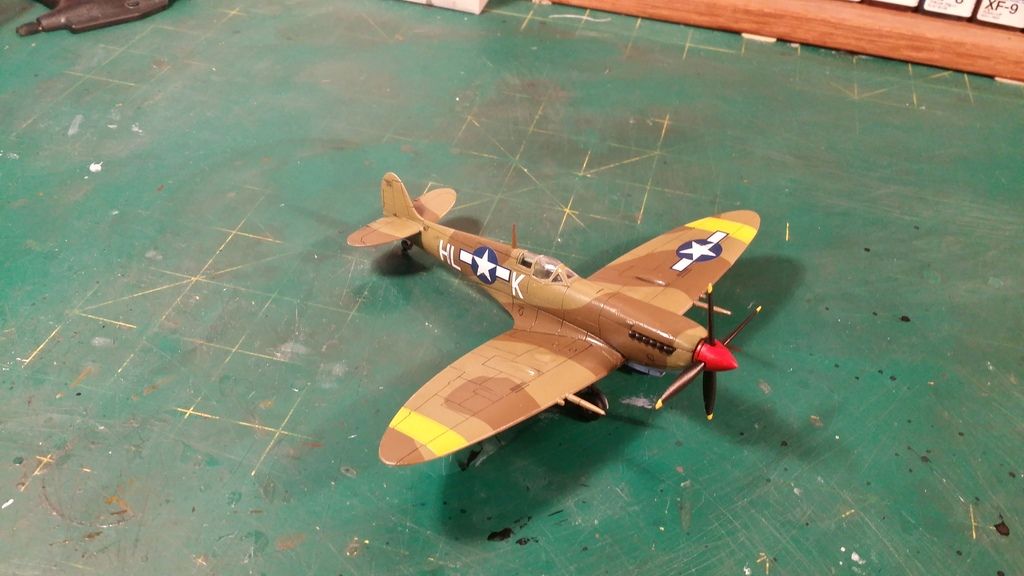
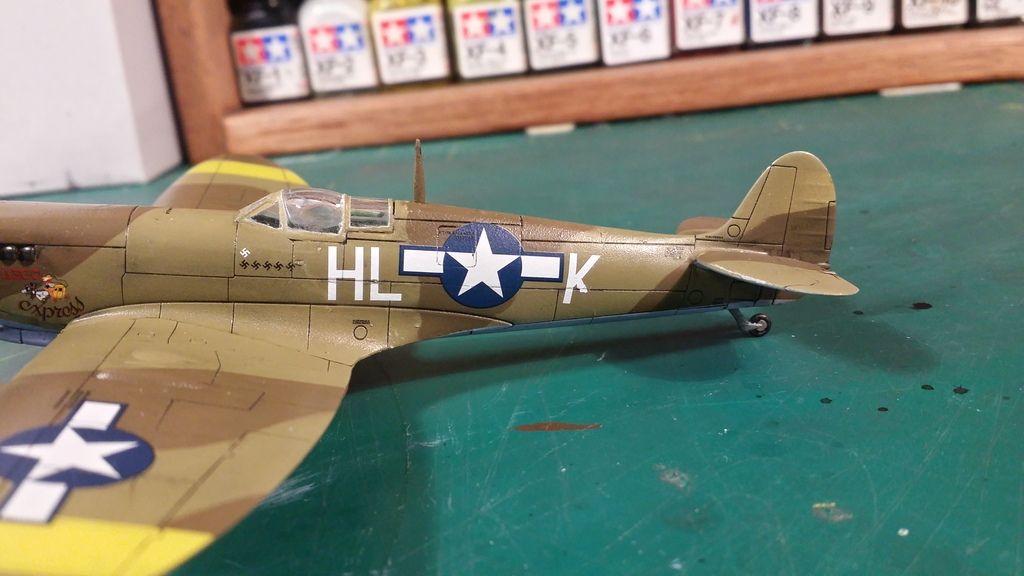
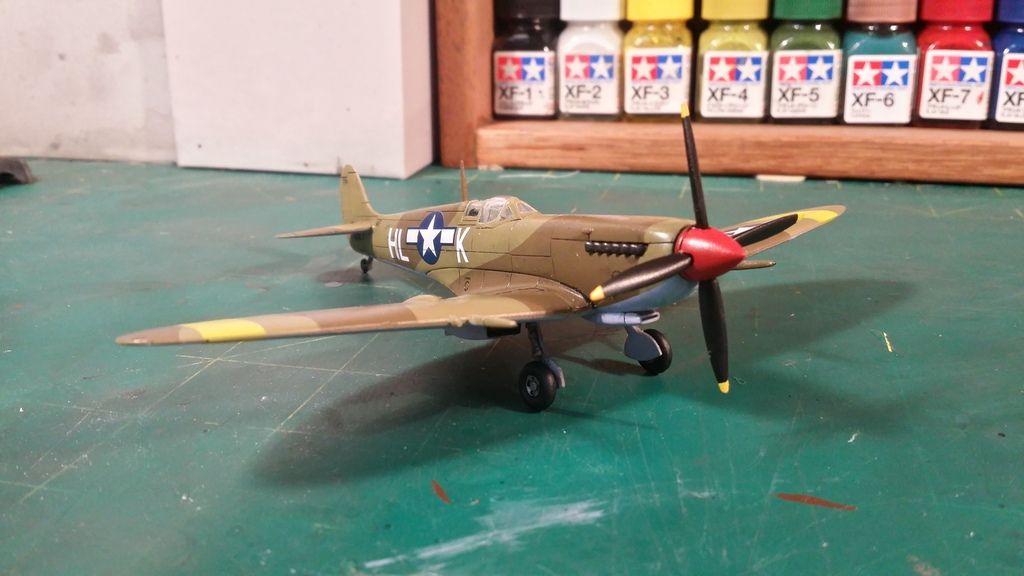
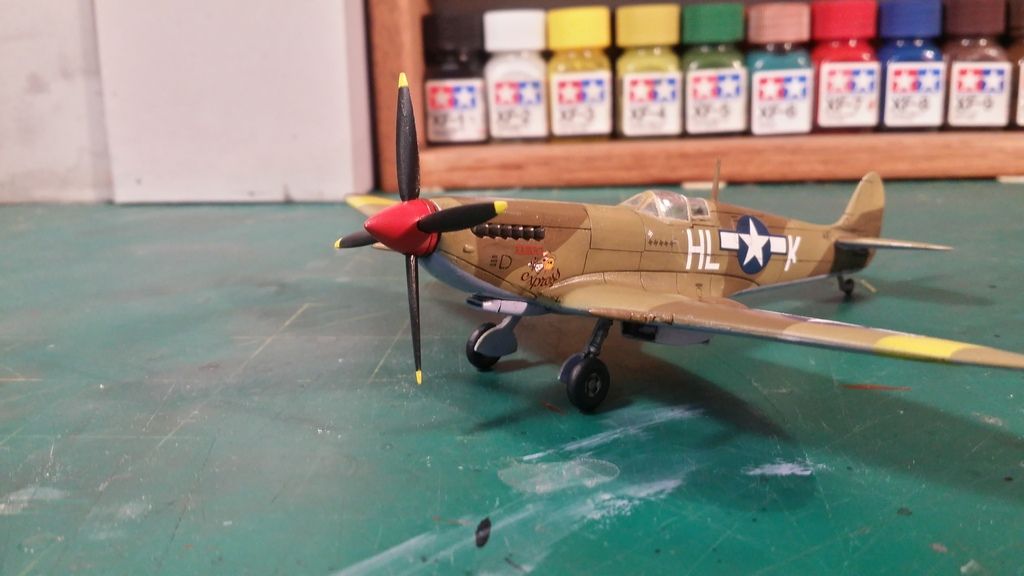
I will take the Airfix 1/72 Mk IX kit and build it into a Mk VIII. I will be using custom decals to accomplish this. The kit will be painted with Humbrol enamels, and the cockpit will most likely be painted using Tamiya enamels, simply because I am waiting on an aitbrush to arrive, and just want to move forward with the build. Weathering will be kept to a minimum as I prefer a clean looking aircraft. The paint scheme will depict a US Spitfire called Fargo Express flown by Capt. Leland "Tommy" Molland of 308th FS / 31st FG (See photo below of the aircraft)
Kit Details (from www.scalemates.com)
Brand:
Airfix
Title:
Supermarine Spitfire MkIXc
Number:
A02065A
Scale:
1:72
Type:
Full kit
[COLOR=rgb(136,136,136)]Includes: Plastic sprues, Waterslide decals, Clear parts[/COLOR]
Released:
2014 | Rebox [COLOR=rgb(136,136,136)](Changed decals)[/COLOR]
Decal options
- Supermarine Spitfire Mk.IXc

 Royal Air Force
341 Sqn. BS538/NL-B (Sgt. Pierre Clostermann)
Biggin Hill | June 1943
- Supermarine Spitfire Mk.IXc, , Dijon
 Forces Aériennes Françaises Libres (Free French Air Force 1940-1945)
GC 1/7 Provence MA574/A
Dijon | September 1944
Kit History: The kit is arebox of Airfix kit A02065 a 1/72 Spitfire Mk IX c released in 2009.
Kit Contents
Paint Scheme
These were taken from the book
Build Update
Cockpit interior done up with Tamiya XF 71 Enamel Cockpit green - this was brush painted. Some wiring and epoxy putti was used to create a dial. The dials dont look very accurate, but through a 1/72 canopy they look decent and give the cockpit some detail
I added spare photoetch seat belts to the seat.
Inside of wheel bays also painted
All assembled and canopy masked - which took me quite a few hours to get right
Glu tec used to mask wheel bays
Filler added - Tamiya white putty was used
I then used Rustoleum white primer
I let the primer dry for a day
Then used Humbrol 33 enamel Black to preshade a bit. I also painted the propeller
I then painted the underside with Humbrol 157 Azure Blue - The propeller was fully painted first and completely masked off
Finally painted the top half with Humbrol 84 Mid Stone - enamel After loads of masking the underside.
Next up will wait for this to dry and then mask off the camo pattern, and paint it with Humbrol 29 Dark Earth. I will try to get it done in one go, hopefully there is no paint bleed, other wise it will take a while to fix it all up.
After that I have to paint the yellow stripes on the wings and then gloss coat it all for weathering and decals.
I hope you all liked the build update. All comments welcome.


 .
.


Comment