
Hi All,
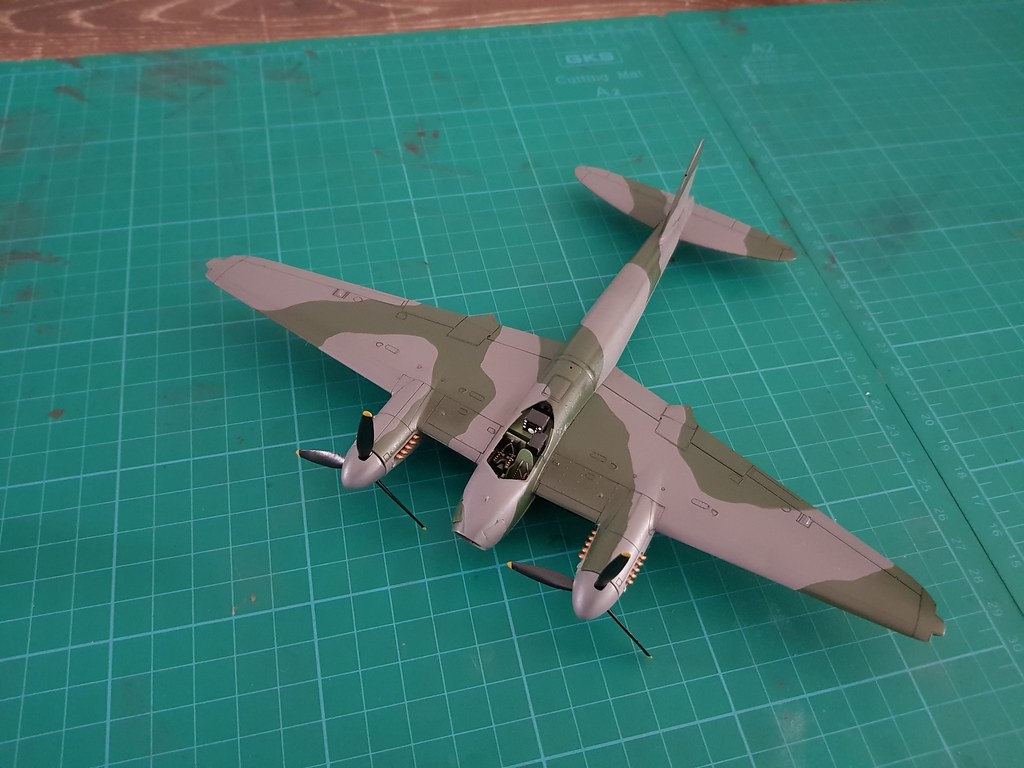
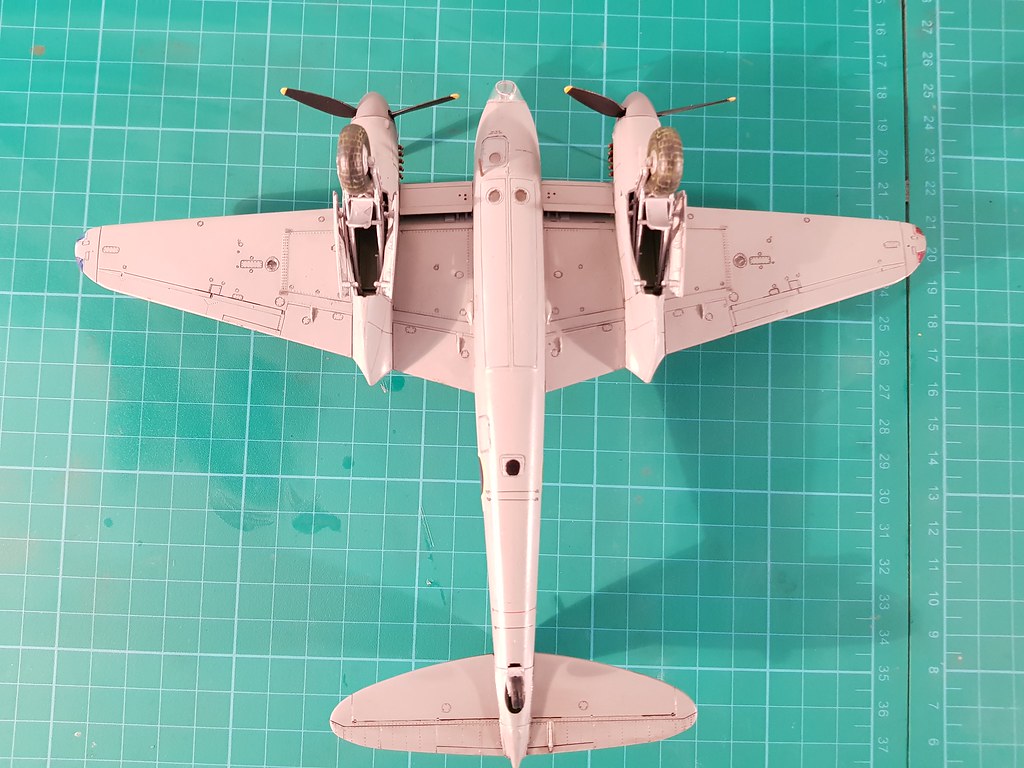
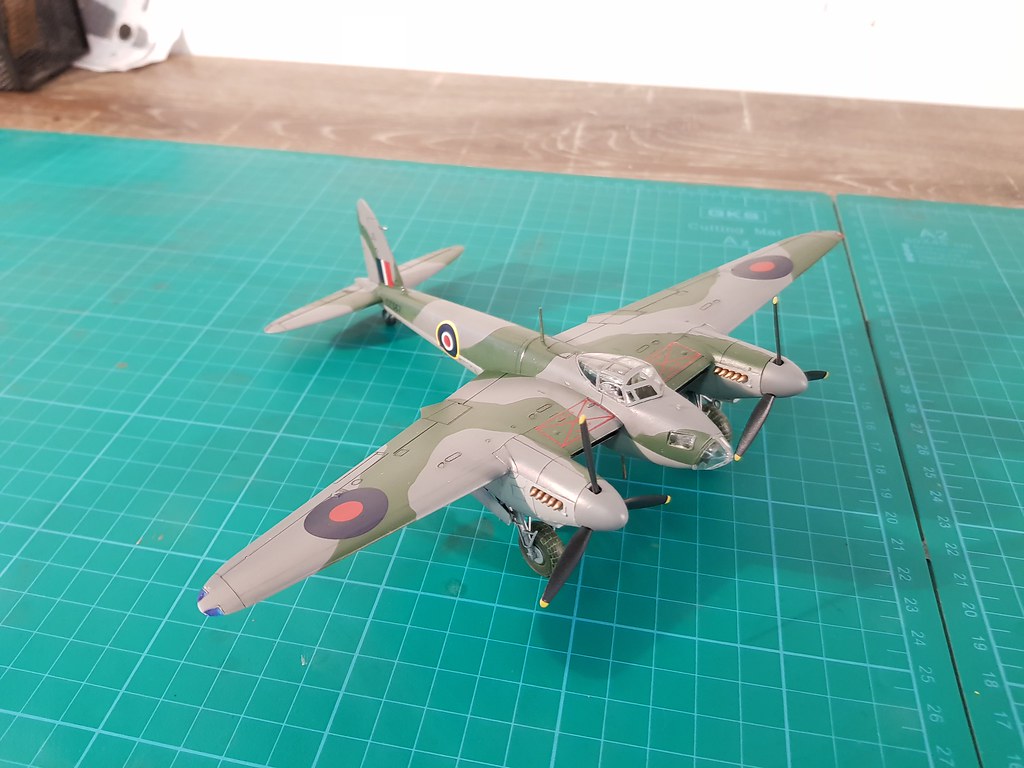
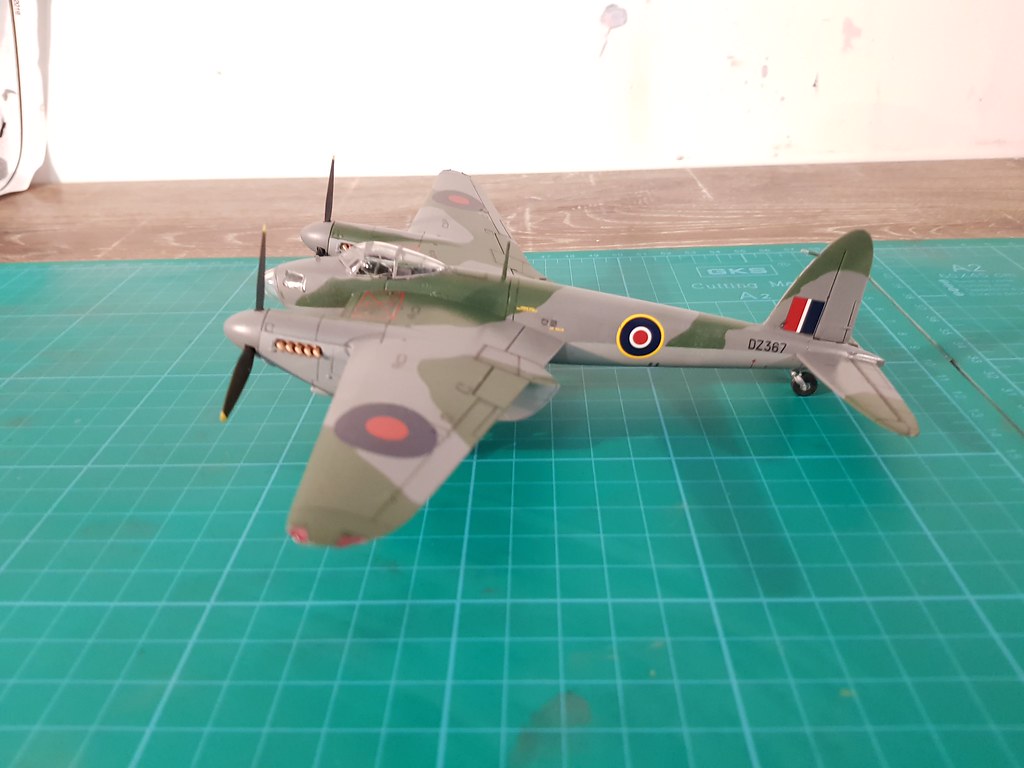
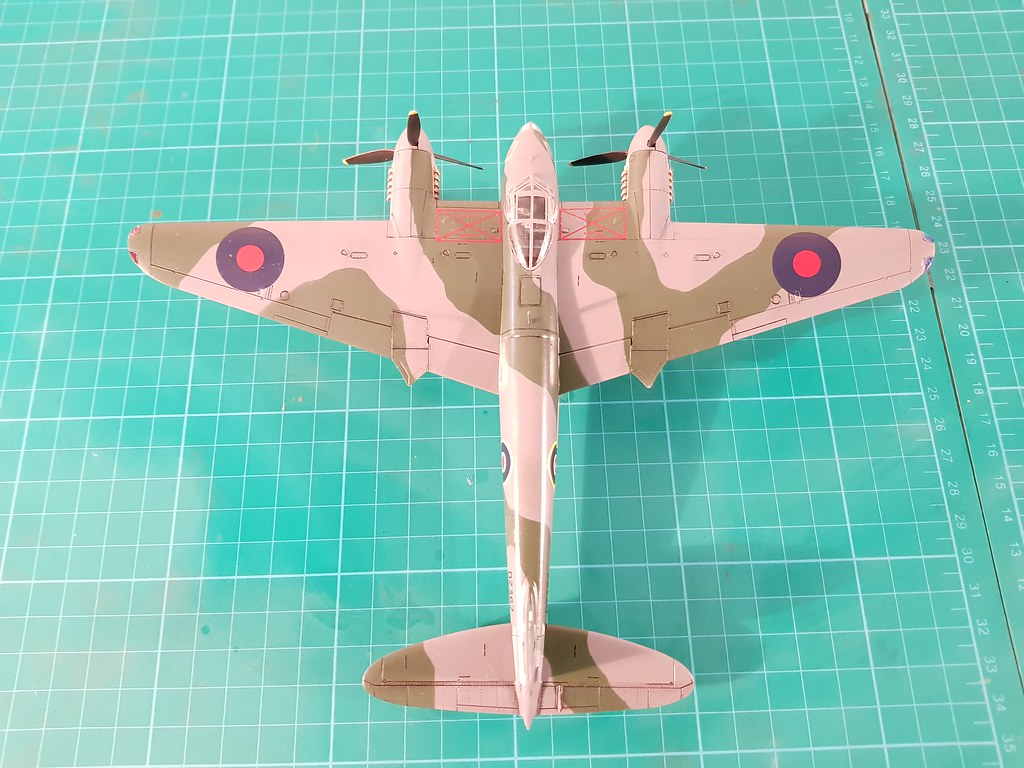
I will be building the Tamiya 1/72 Mosquito B Mk 4. I will build this along with the Airfix 1/72 Supermarine Spitfire F Mk 22 which is in its own separate build thread. I am building them both together simply because they have the same paint scheme colors so I can paint them both together.
Build Plan
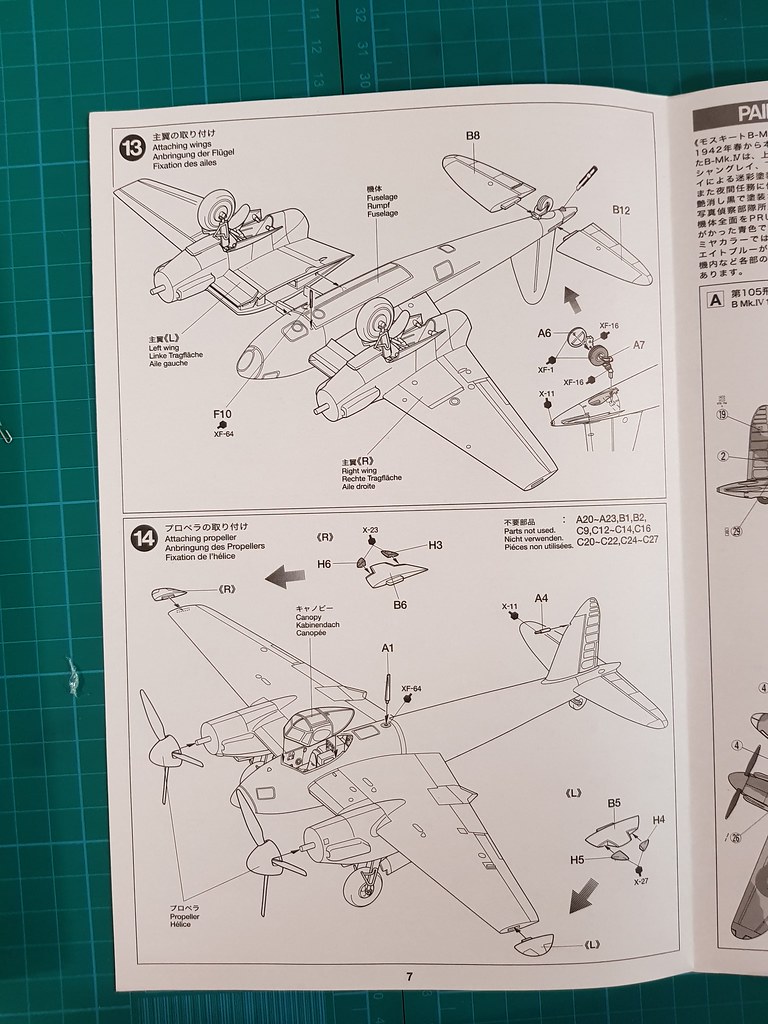
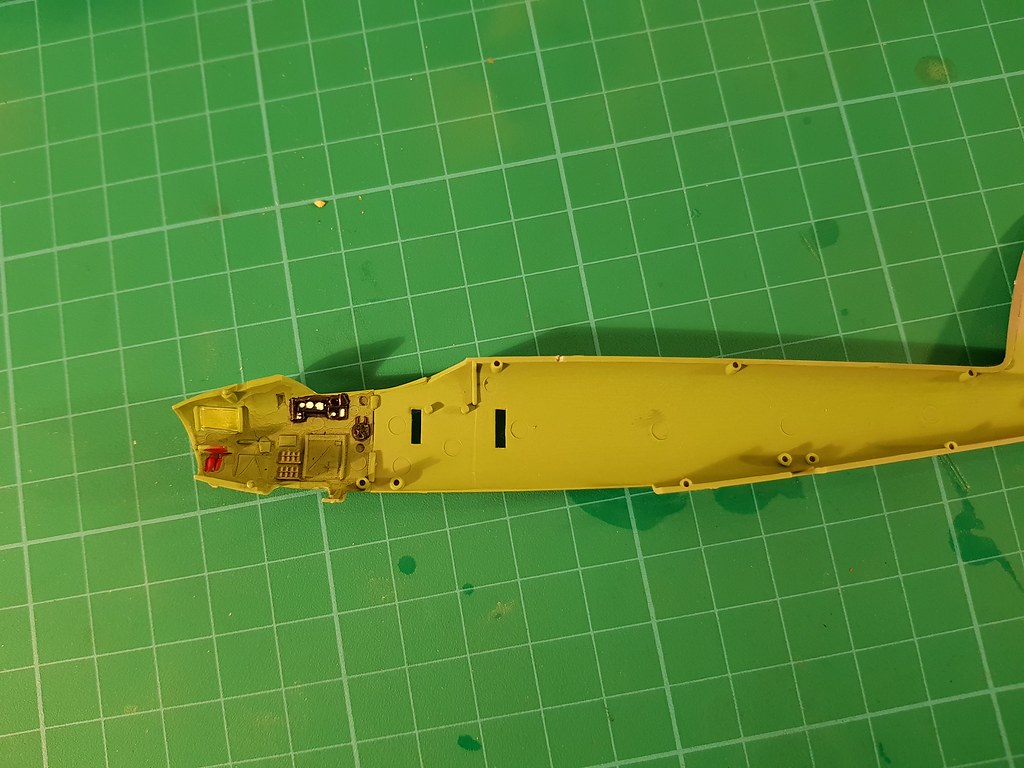
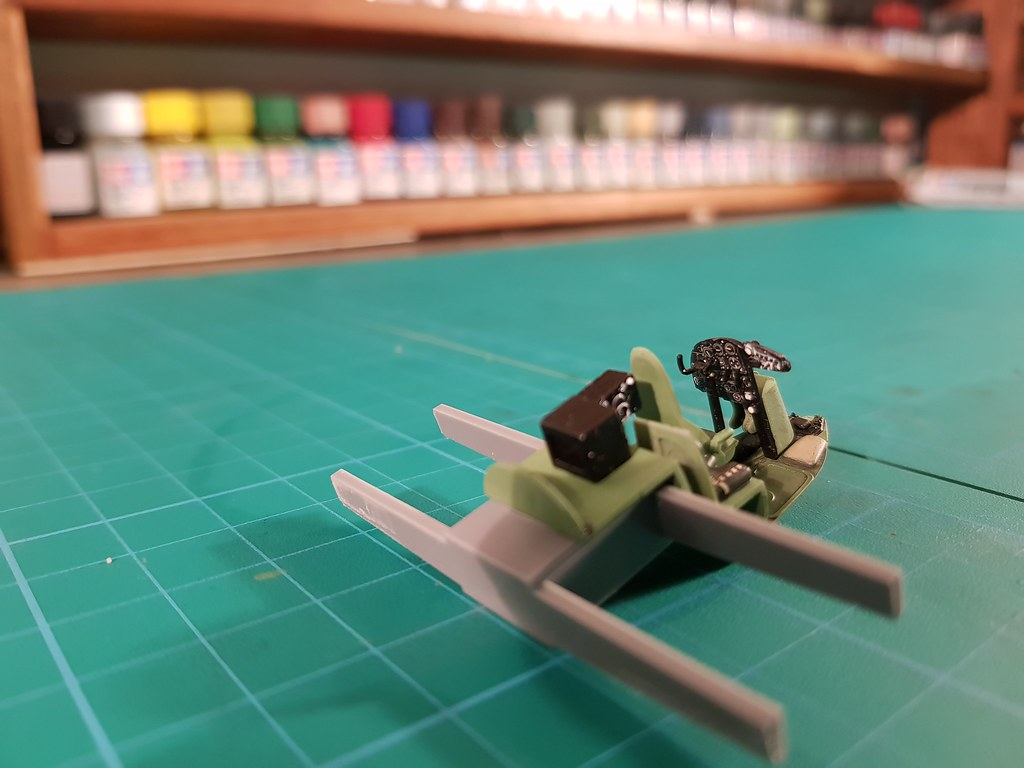
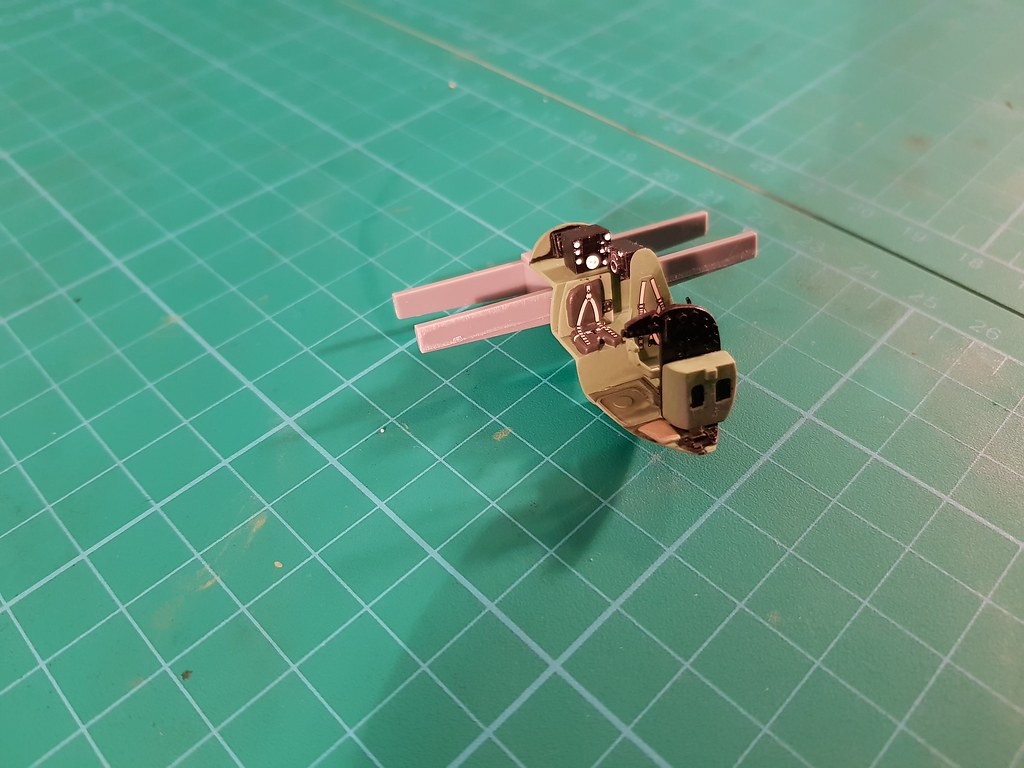
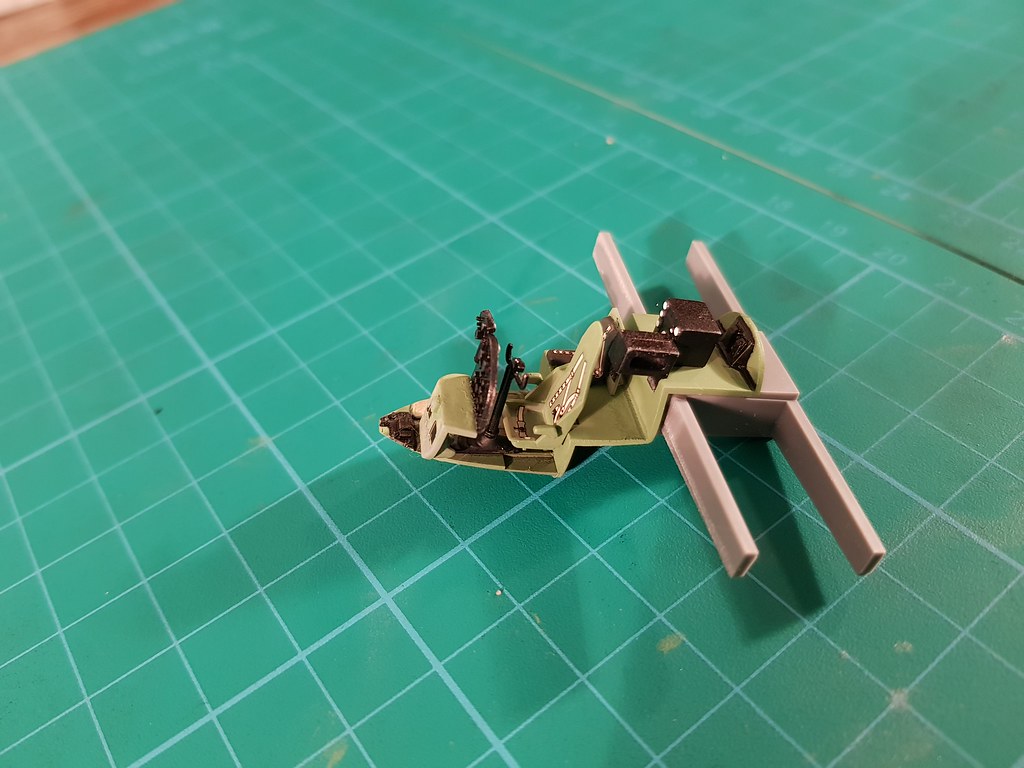
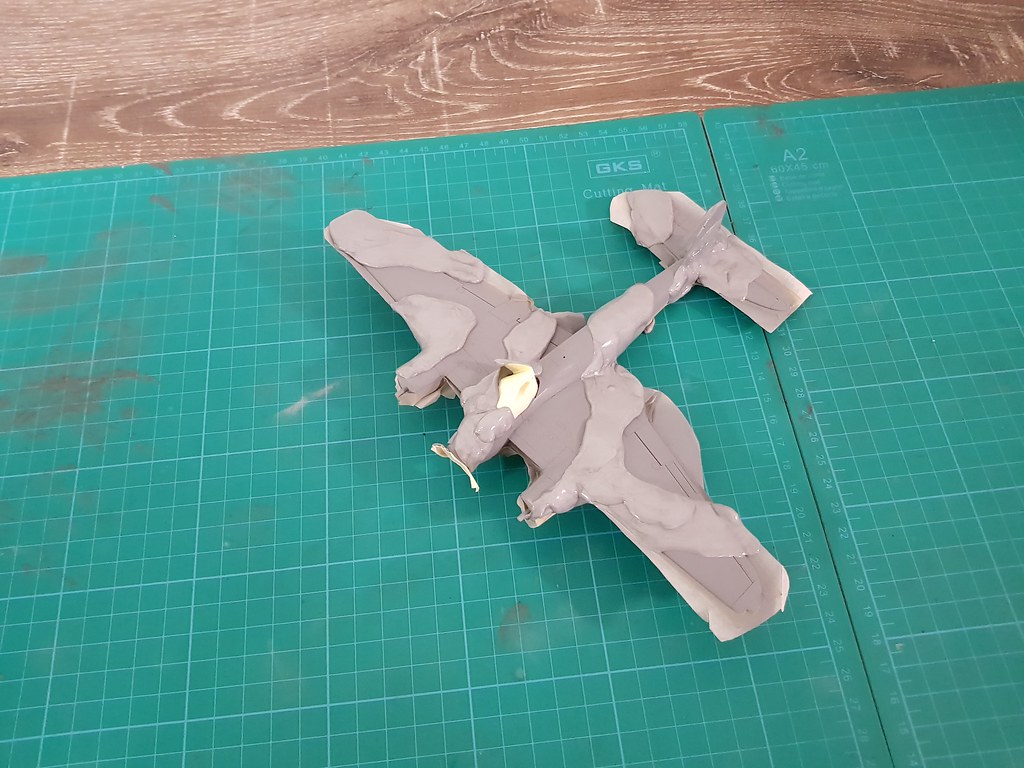
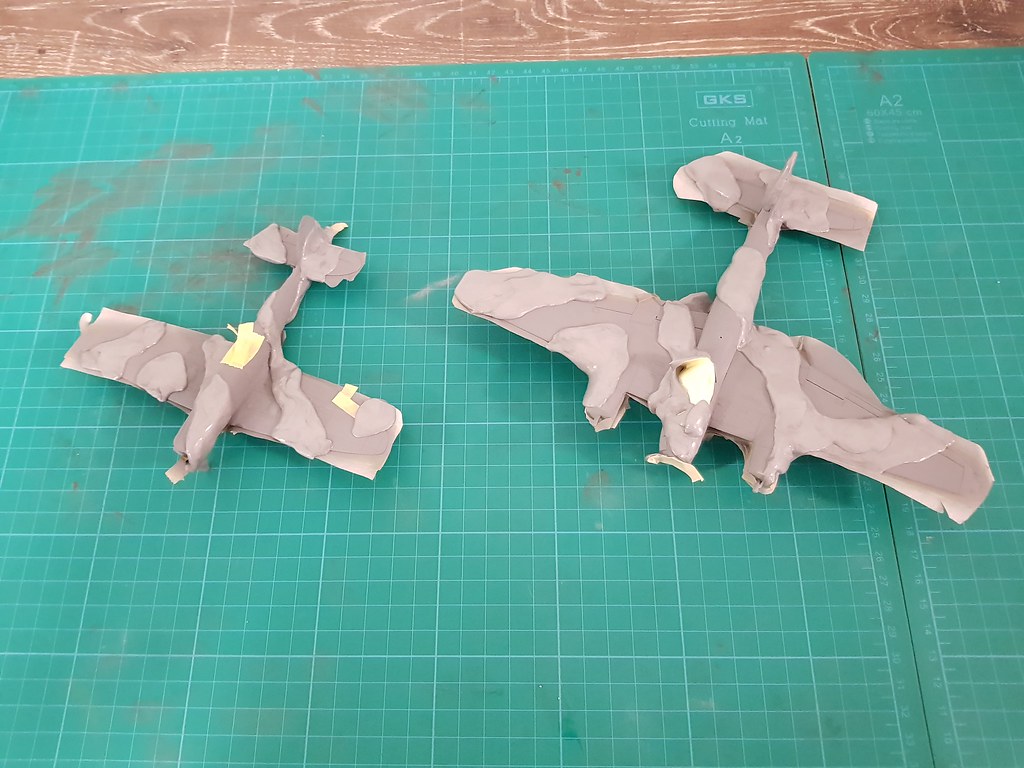
The plan is to build the kit OOB except for some photo etch seat belts. The finishing is to be kept clean, with minimal weathering. As with all my builds my main concern is the build, the paint job and the finish. No interest in historical accuracy.
Kit Details (from www.scalemates.com)
Title e Havilland Mosquito B Mk.IV/PR Mk.IV
Number:60753 (Also listed as 53)
Scale:1:72
Type:Full kit
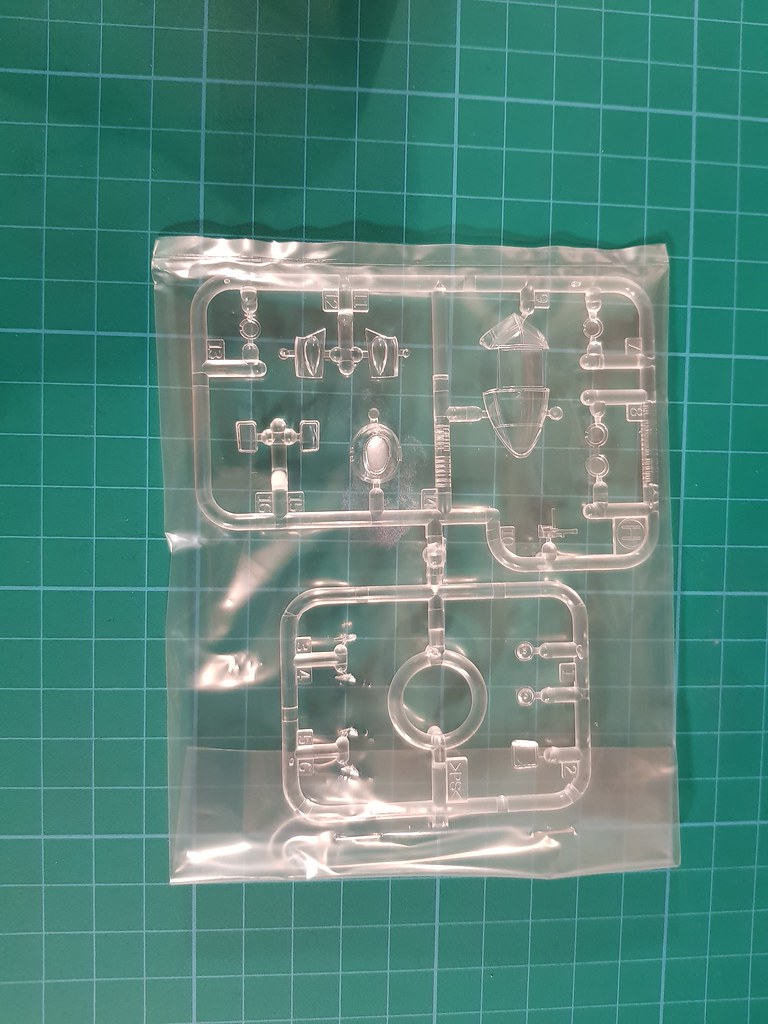
Includes: Plastic sprues, Waterslide decals, Clear parts
Released:2000 | Rebox (Updated/New parts)
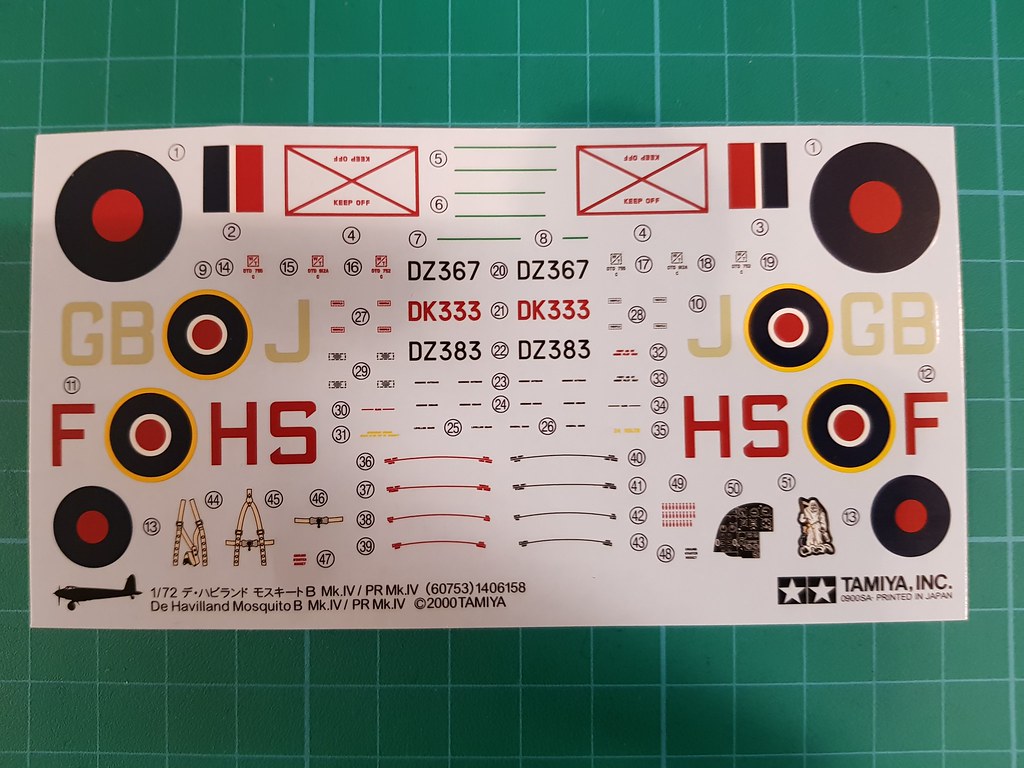
Decal options
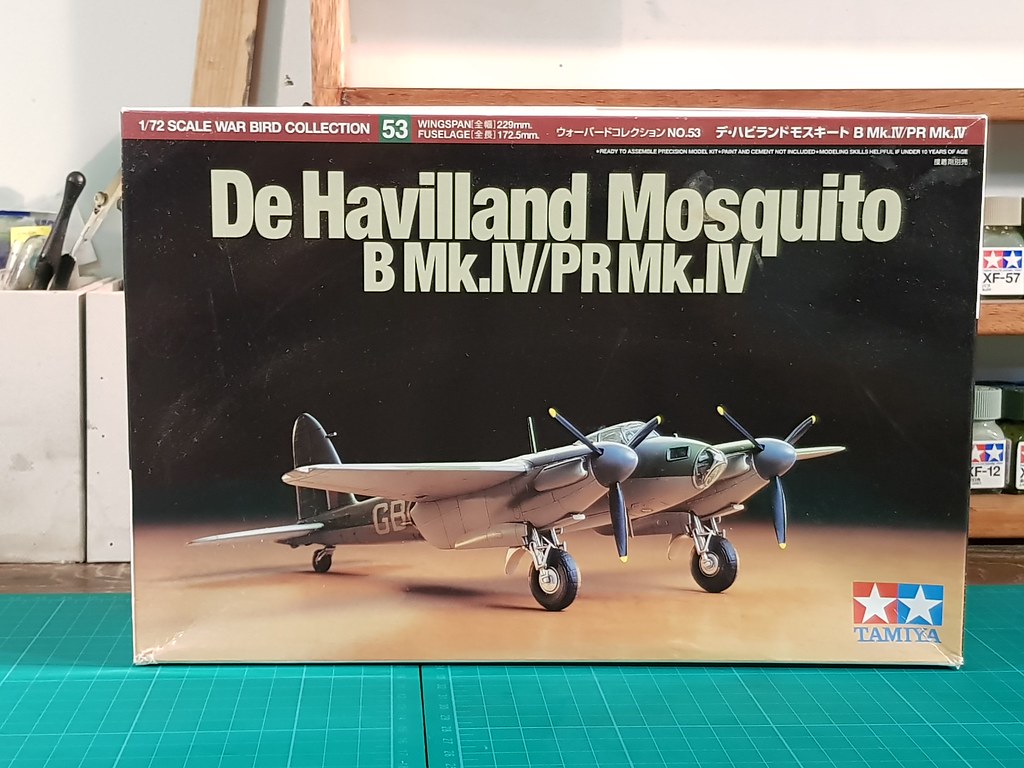
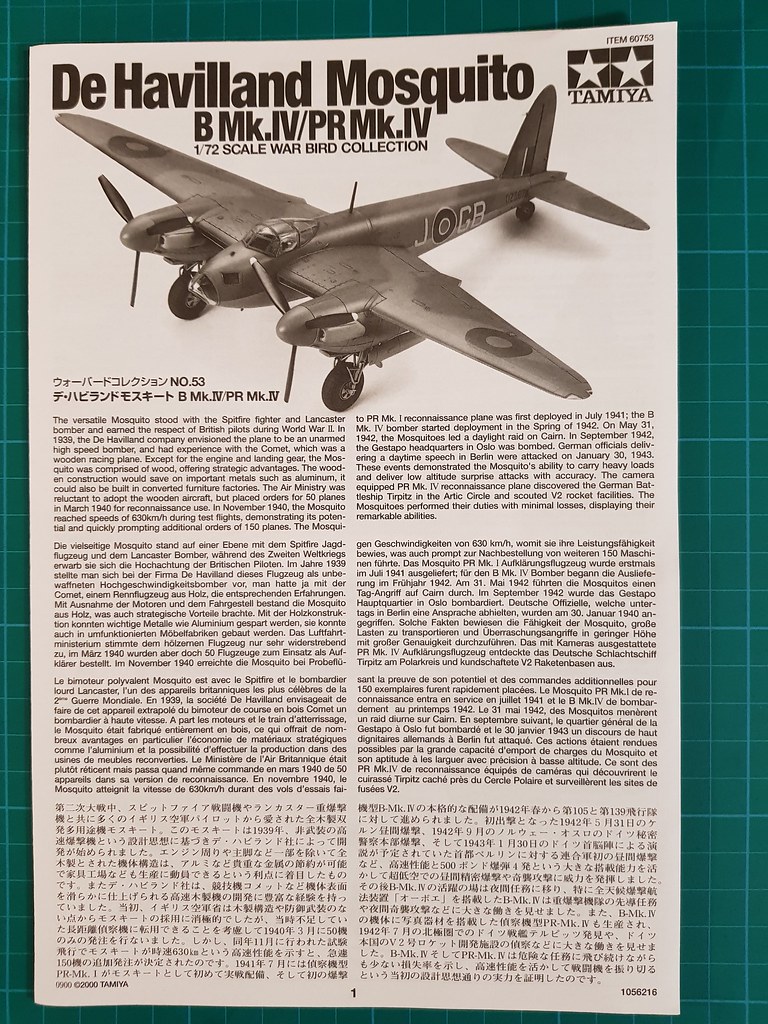
Box Art
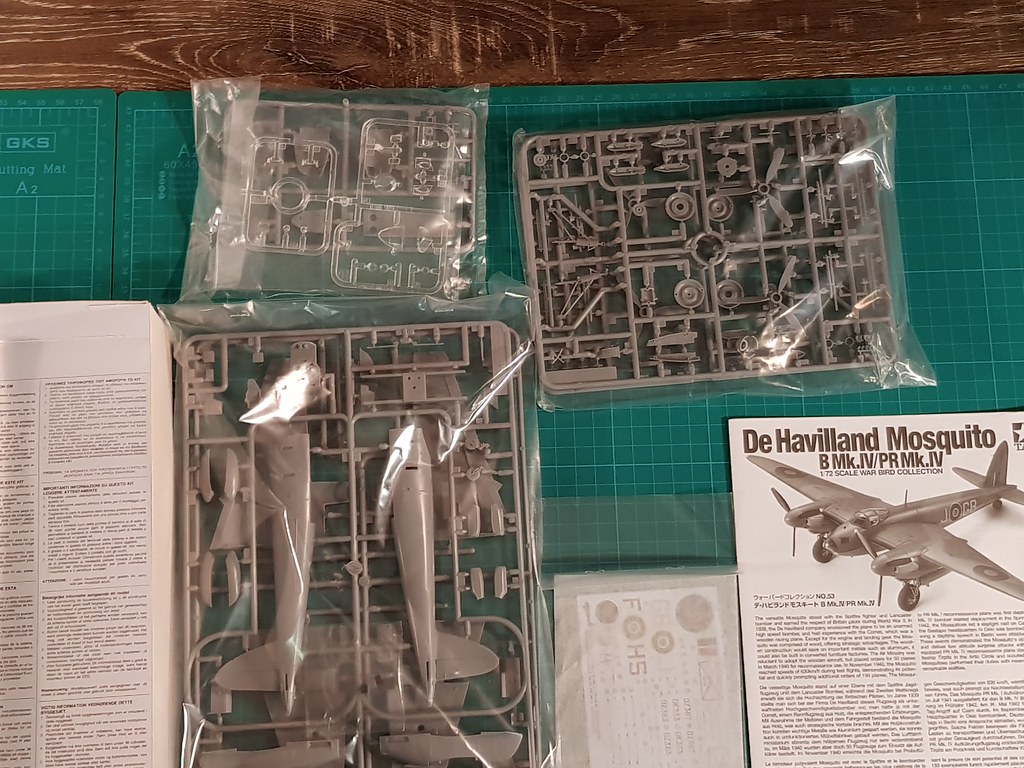
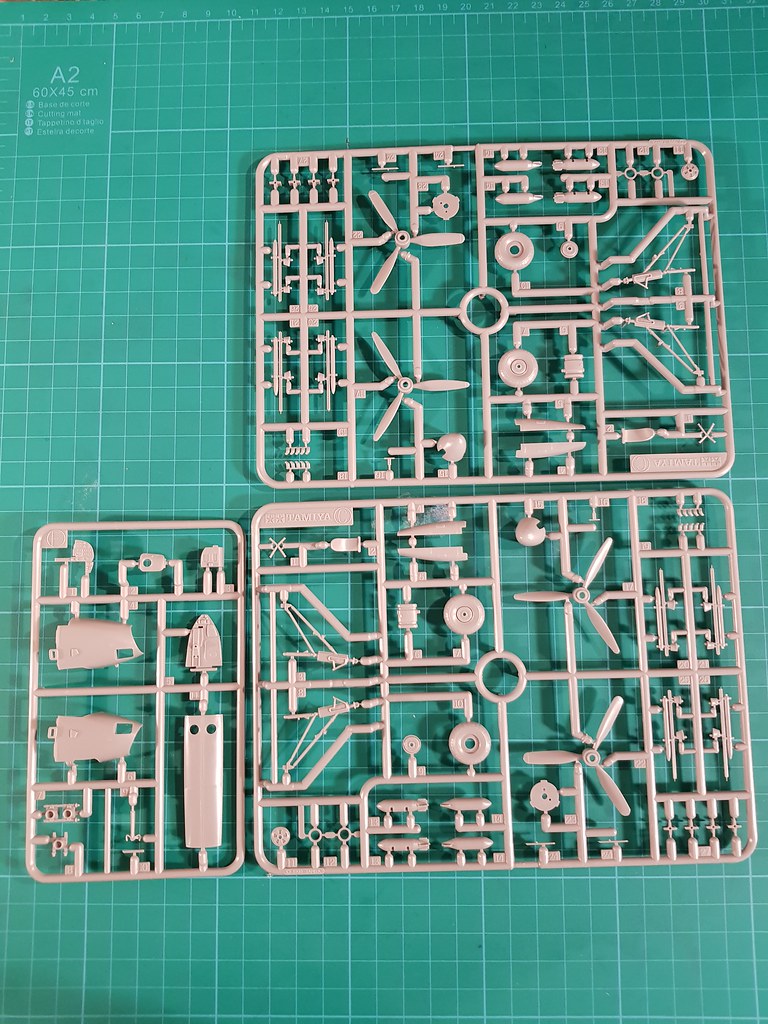
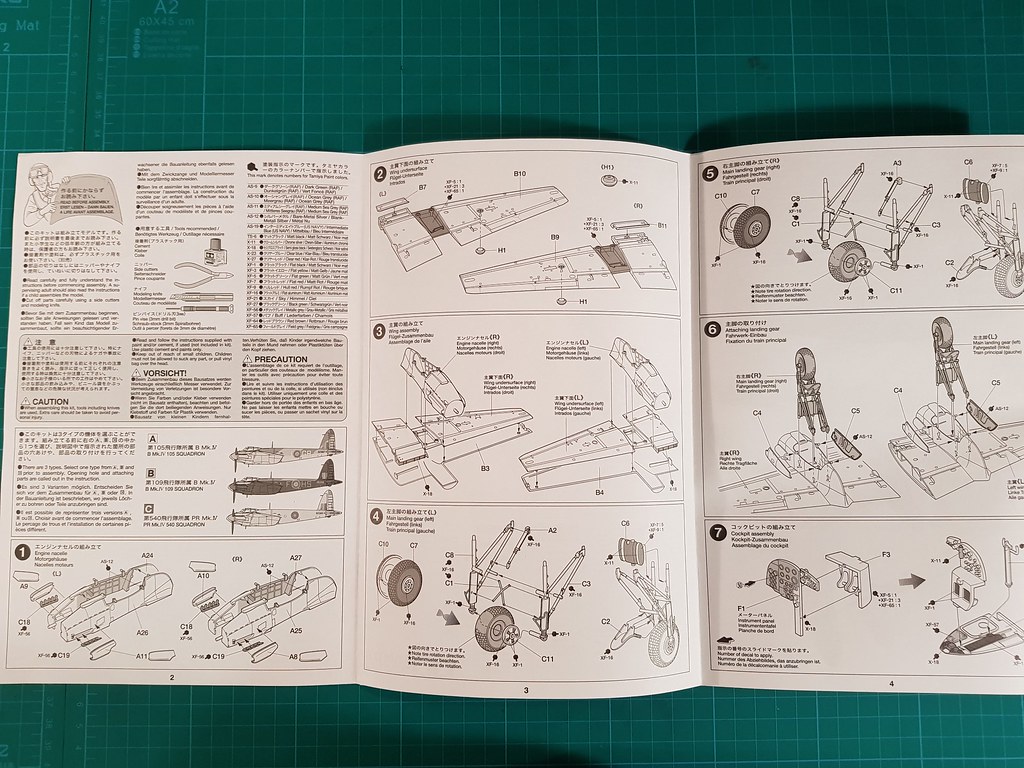
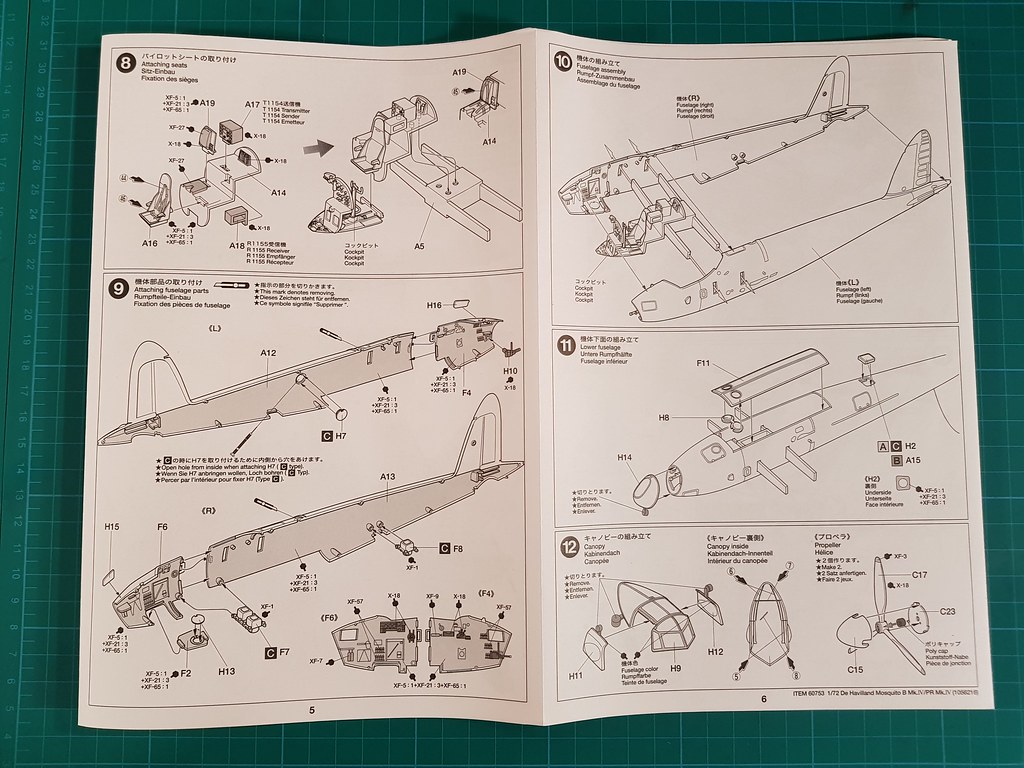
Kit Contents

I hope you all liked the post. As always all comments welcome.
I will be building the Tamiya 1/72 Mosquito B Mk 4. I will build this along with the Airfix 1/72 Supermarine Spitfire F Mk 22 which is in its own separate build thread. I am building them both together simply because they have the same paint scheme colors so I can paint them both together.
Build Plan
The plan is to build the kit OOB except for some photo etch seat belts. The finishing is to be kept clean, with minimal weathering. As with all my builds my main concern is the build, the paint job and the finish. No interest in historical accuracy.
Kit Details (from www.scalemates.com)
Title
e Havilland Mosquito B Mk.IV/PR Mk.IVNumber:60753 (Also listed as 53)
Scale:1:72
Type:Full kit
Includes: Plastic sprues, Waterslide decals, Clear parts
Released:2000 | Rebox (Updated/New parts)
Decal options
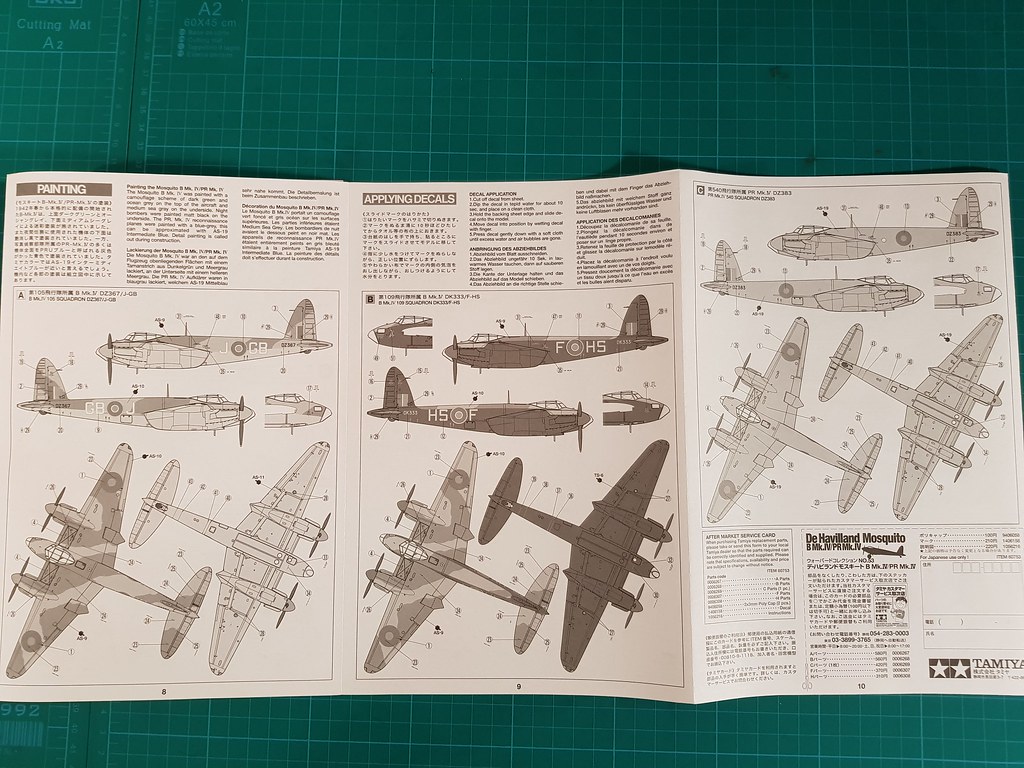
- de Havilland Mosquito B Mk.IV

 Royal Air Force (1918-Now)
105 Sqn. DZ367 / GB-J
Dark Green Ocean grey over Medium Sea grey - de Havilland Mosquito B Mk.IV
Royal Air Force (1918-Now)
109 Sqn. DK333 / HS-F
Dark Green Ocean grey over Black - de Havilland Mosquito PR Mk.IV
Royal Air Force (1918-Now)
540 Sqn. DZ383
Overall PRU Blue
Box Art
Kit Contents
I hope you all liked the post. As always all comments welcome.


Comment