
Hi All,
I am currently building the Academy 1/72 Super Etendard Kit.
Build Summary
This kits original molds are quite old - if my information is correct - it dates back to 1983. It is based on a kit from a company Sunny-Tri. For its age I must admit the detail is very good.
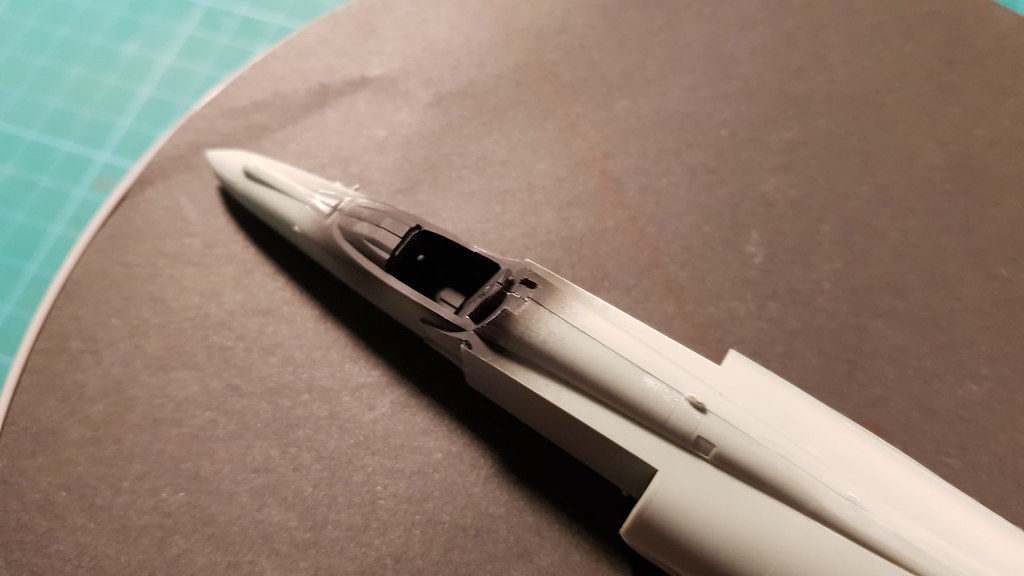
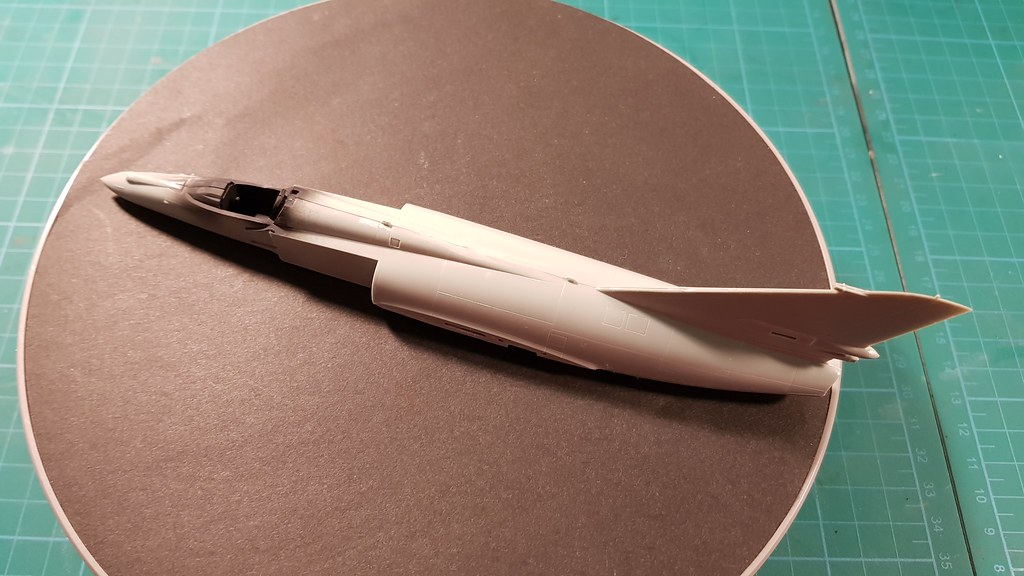
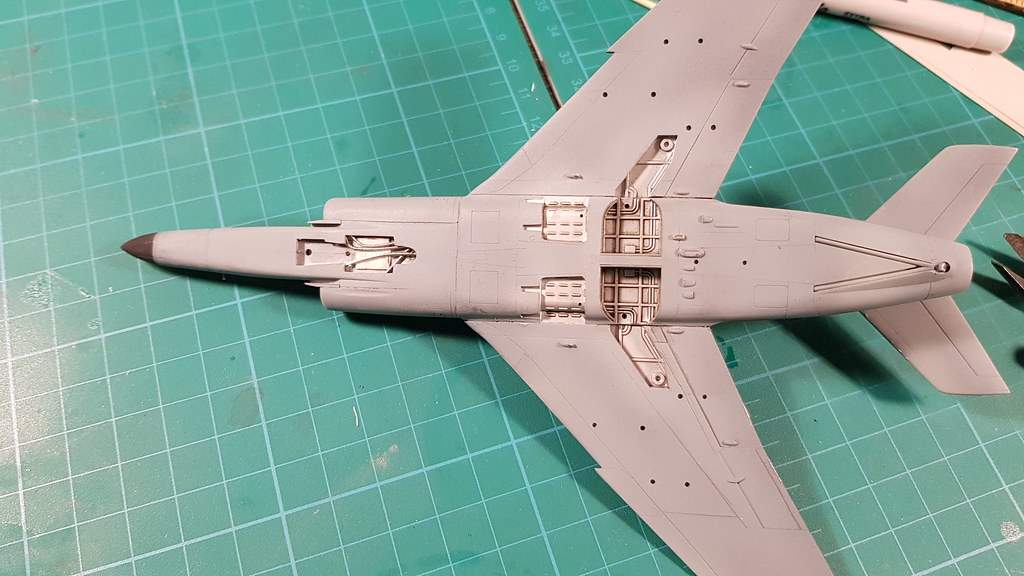
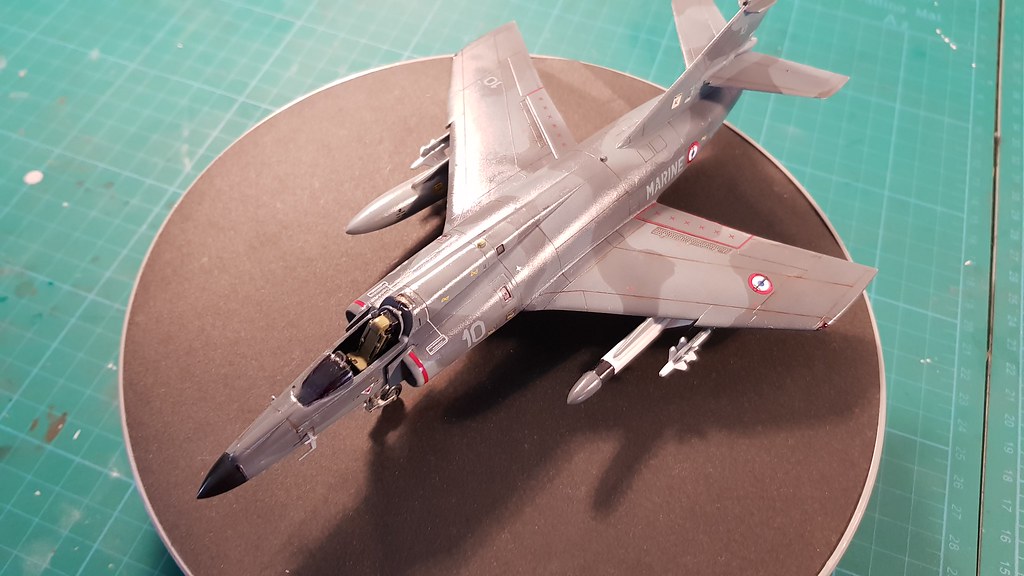
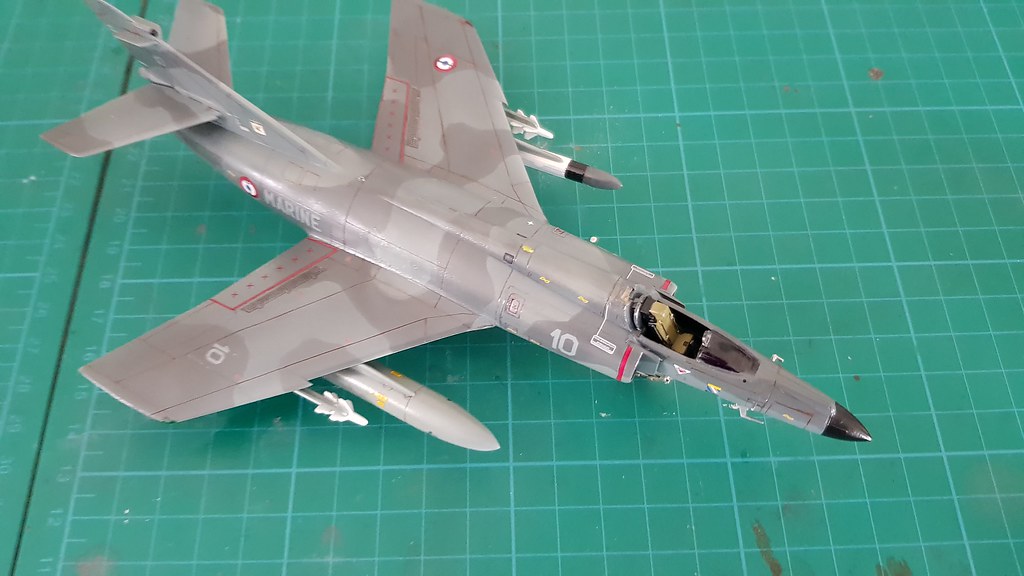
Although this kit is almost complete at the time I am writing this, the goal was to complete the kit OOB with spare seat belts PE. I have nearly done this. I did scratch build the detail in the front wheel well, as there was none there and a seam I could not remove, so I covered it in detailing. The kit has no cockpit detail, and I did not add any either, it does have a HUD display.
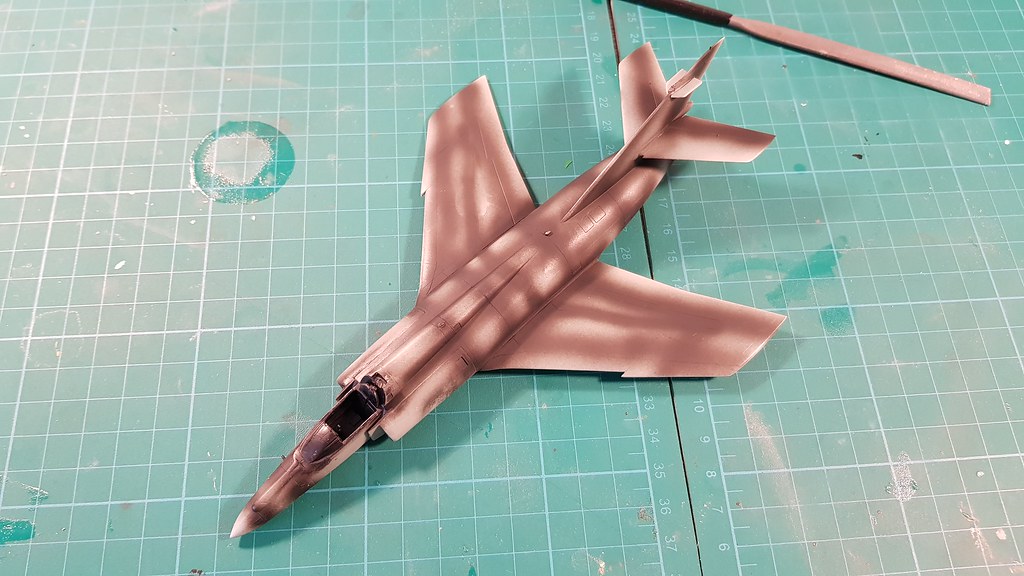
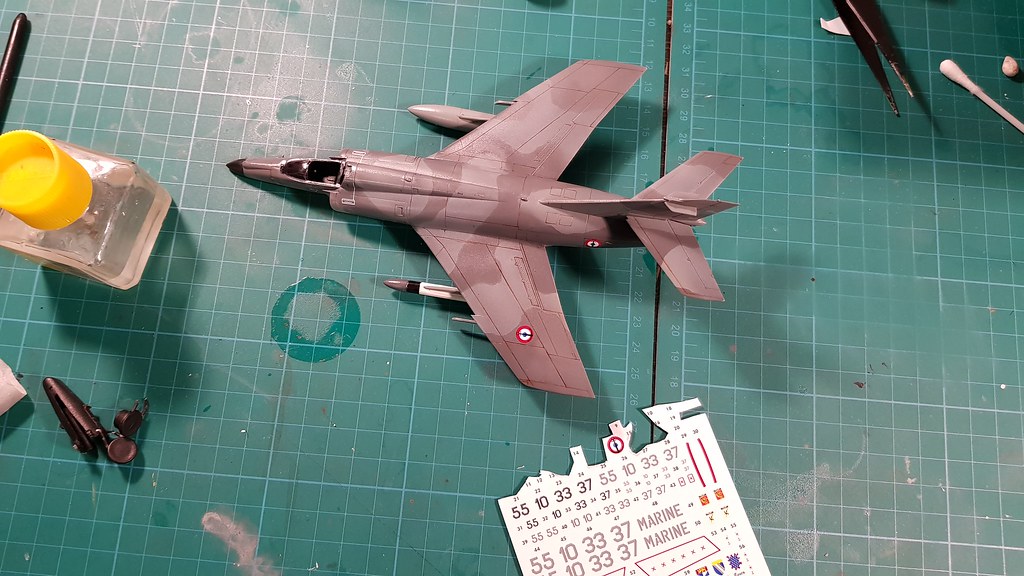
The kit was painted with Humbrol enamels. I did pre-shade with Tamiya Enamel XF-1. And some post shading was done as well by just lightening one of the dark colours with thinner.
Panel lines were done using a Copic Multi-liner Pen with a 0.05mm tip in Sepia Colour and Cool Grey- I wanted to keep the panel lines a bit lighter. Rivets were given a wash with Tamiya Panel Line Accent. Wheel wells were washed with Vallejo Weathering wash brown.
Kit Details (from www.scalemates.com)
Brand:
AcademyTitle:Super-Étendard "Libiya 2011" [Special Edition]Number:12431Scale:1:72
Released:2012 (Based on Sunny Tri kit from 1983)
Type:
Full kit
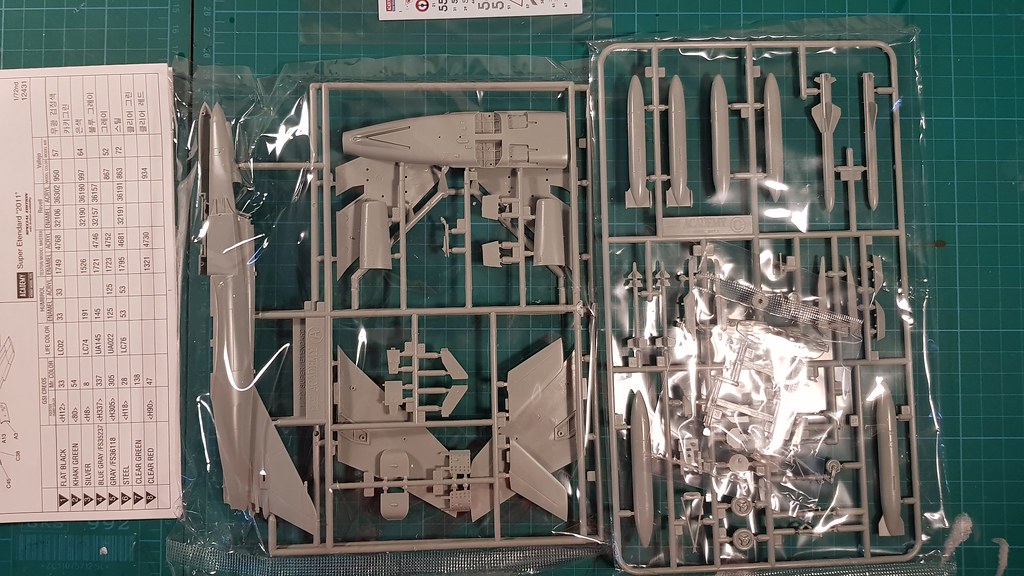
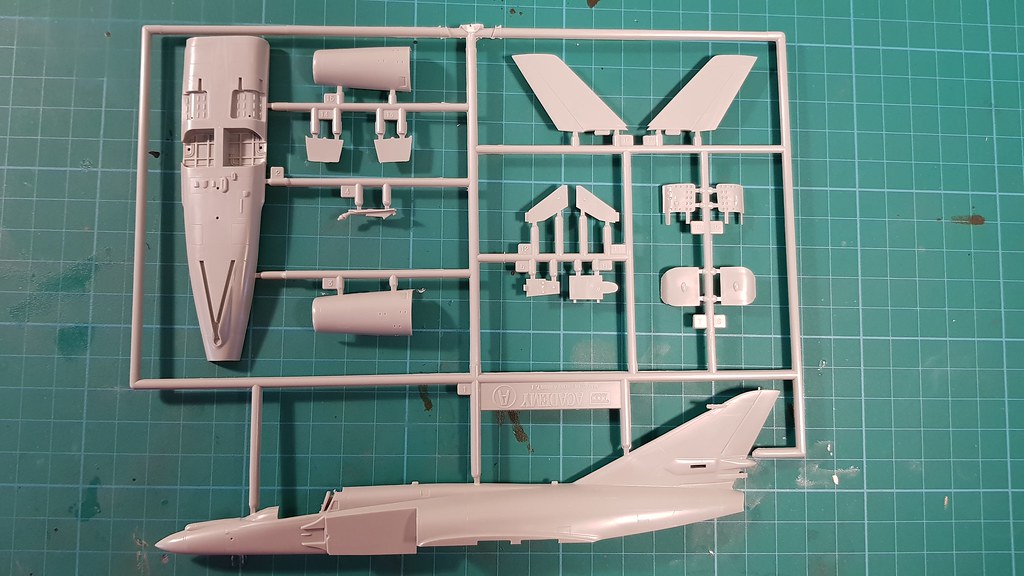
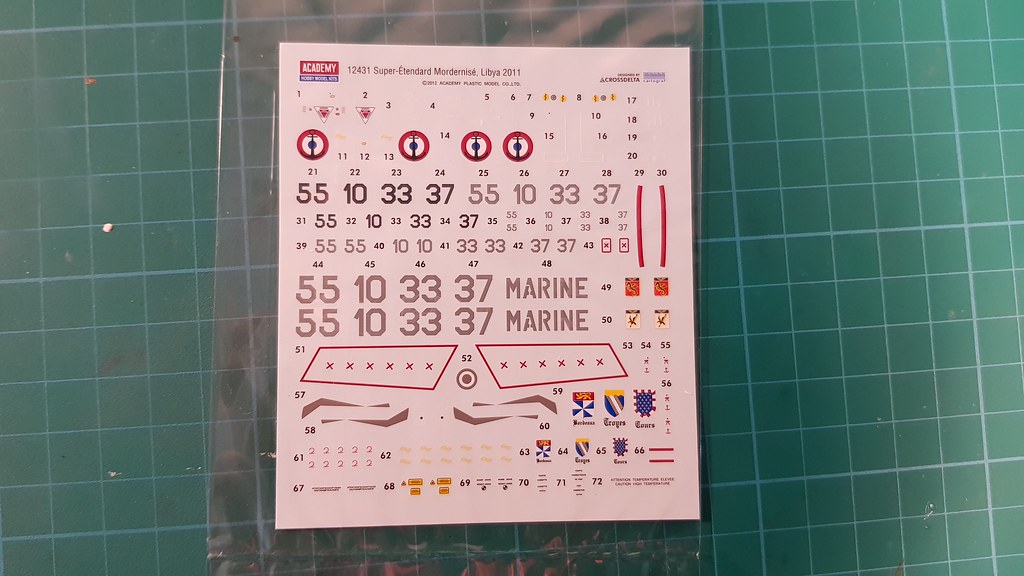
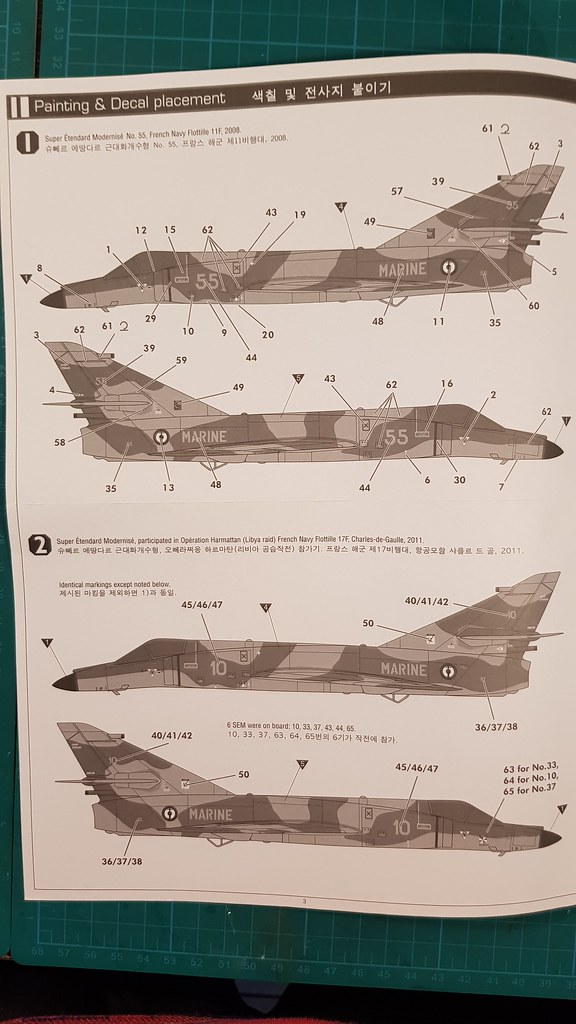
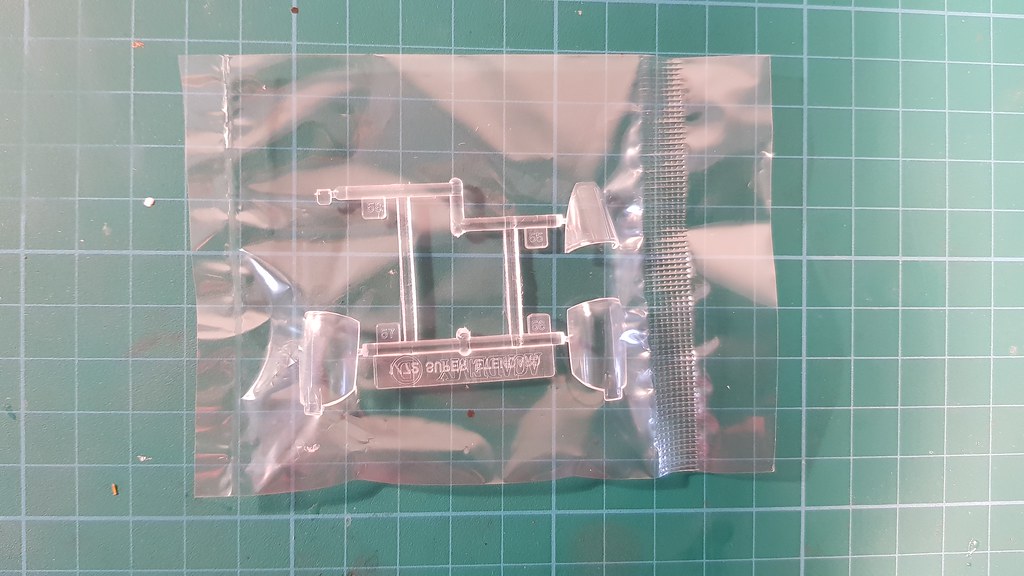
Includes: Plastic sprues, Waterslide decals, Clear parts
Decal options
Box Contents
 [ATTACH]293476[/ATTACH]
 [ATTACH]293477[/ATTACH]
 [ATTACH]293478[/ATTACH]
 [ATTACH]293479[/ATTACH]
 [ATTACH]293481[/ATTACH]
 [ATTACH]293480[/ATTACH]
 [ATTACH]293483[/ATTACH]
I am currently building the Academy 1/72 Super Etendard Kit.
Build Summary
This kits original molds are quite old - if my information is correct - it dates back to 1983. It is based on a kit from a company Sunny-Tri. For its age I must admit the detail is very good.
Although this kit is almost complete at the time I am writing this, the goal was to complete the kit OOB with spare seat belts PE. I have nearly done this. I did scratch build the detail in the front wheel well, as there was none there and a seam I could not remove, so I covered it in detailing. The kit has no cockpit detail, and I did not add any either, it does have a HUD display.
The kit was painted with Humbrol enamels. I did pre-shade with Tamiya Enamel XF-1. And some post shading was done as well by just lightening one of the dark colours with thinner.
Panel lines were done using a Copic Multi-liner Pen with a 0.05mm tip in Sepia Colour and Cool Grey- I wanted to keep the panel lines a bit lighter. Rivets were given a wash with Tamiya Panel Line Accent. Wheel wells were washed with Vallejo Weathering wash brown.
Kit Details (from www.scalemates.com)
Brand:
AcademyTitle:Super-Étendard "Libiya 2011" [Special Edition]Number:12431Scale:1:72
Released:2012 (Based on Sunny Tri kit from 1983)
Type:
Full kit
Includes: Plastic sprues, Waterslide decals, Clear parts
Decal options
- Dassault Super Etendard Modernisé

 Aéronavale (French Naval Air Arm 1910-Now)
Flottille 11F 55
2008 - Dassault Super Etendard Modernisé
Aéronavale (French Naval Air Arm 1910-Now)
Flottille 17F 10
Opération Harmattan - Charles-de-Gaulle | 2011
Box Contents
[ATTACH]293476[/ATTACH][ATTACH]293477[/ATTACH][ATTACH]293478[/ATTACH][ATTACH]293479[/ATTACH][ATTACH]293481[/ATTACH][ATTACH]293480[/ATTACH][ATTACH]293483[/ATTACH]


Comment