
I am building this kit as a "simple one" after the JU 88.
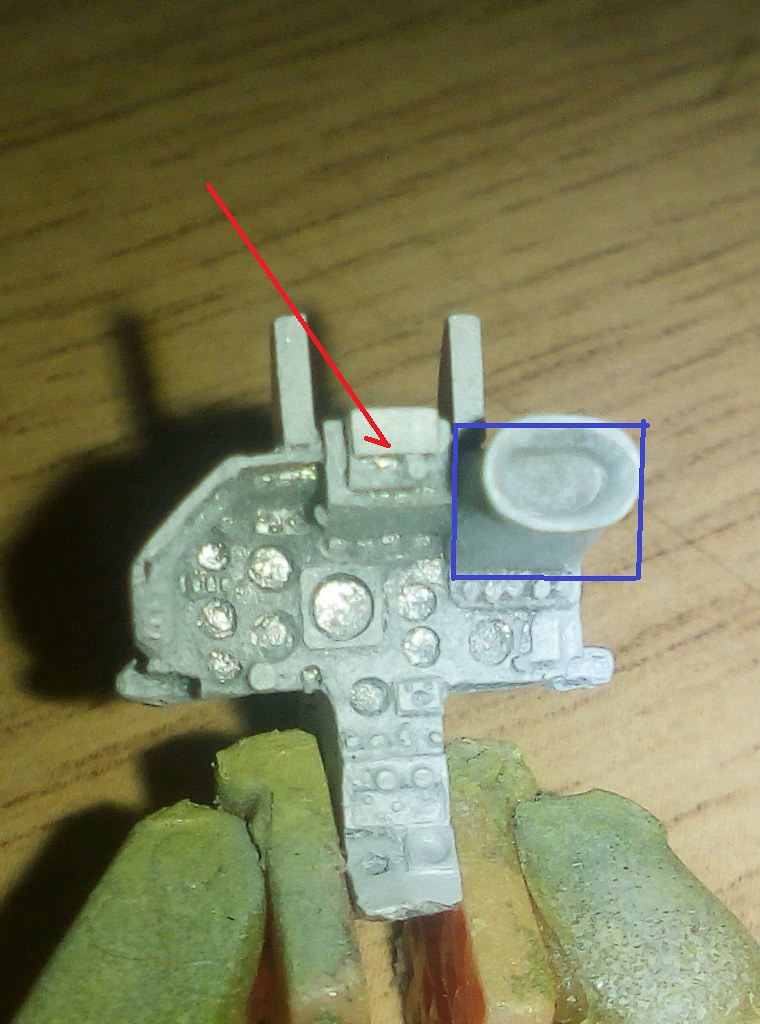
I will be using the exelent Pavla cockpit and seat, aswell as the AZ nose with laser finder and much better exhaust.
It will be in this low viz scheme of dark green/dark earth over PRU blu with "ghosted" insignea
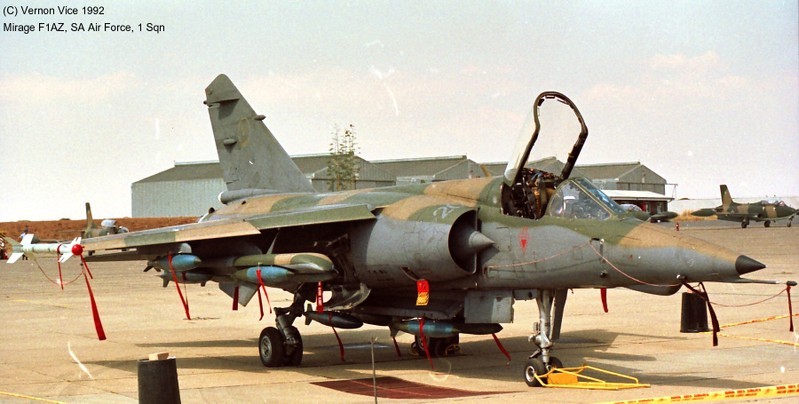
Theuns
I will be using the exelent Pavla cockpit and seat, aswell as the AZ nose with laser finder and much better exhaust.
It will be in this low viz scheme of dark green/dark earth over PRU blu with "ghosted" insignea
Theuns
 IMG_20180529_061630
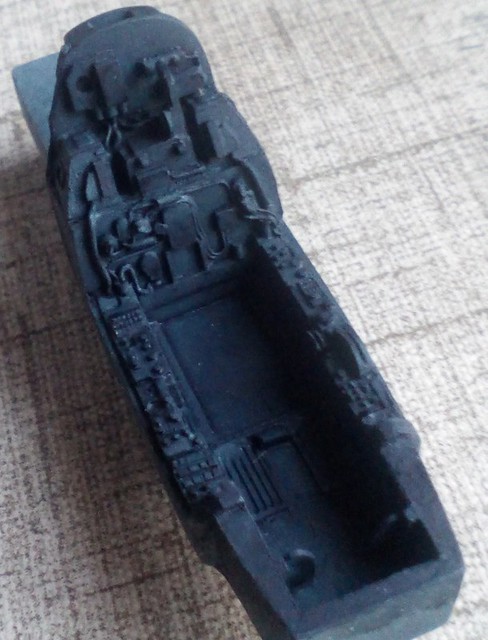 IMG_20180602_164227
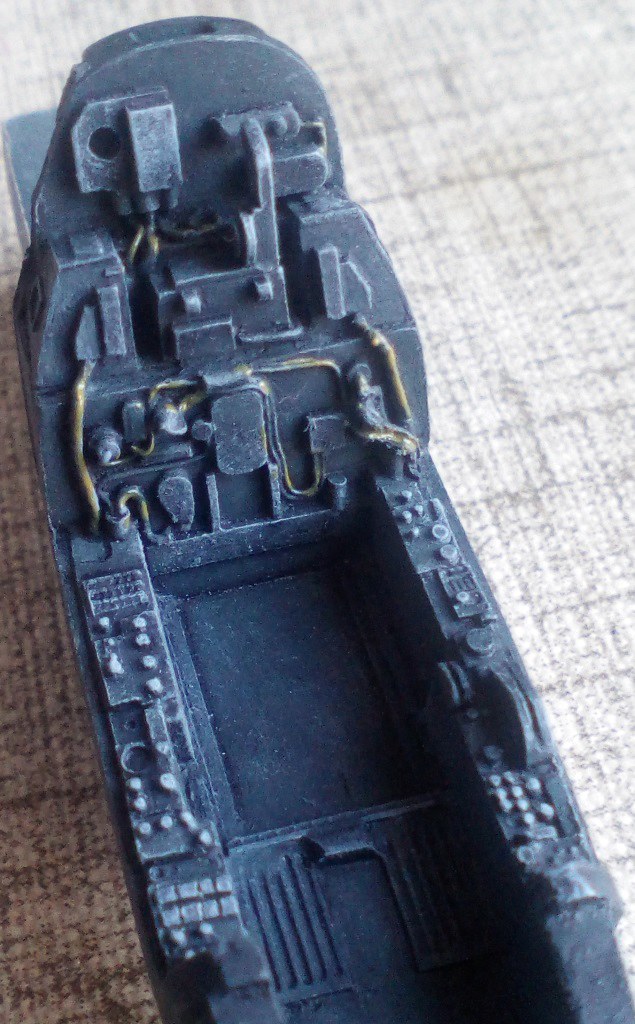 IMG_20180603_122352
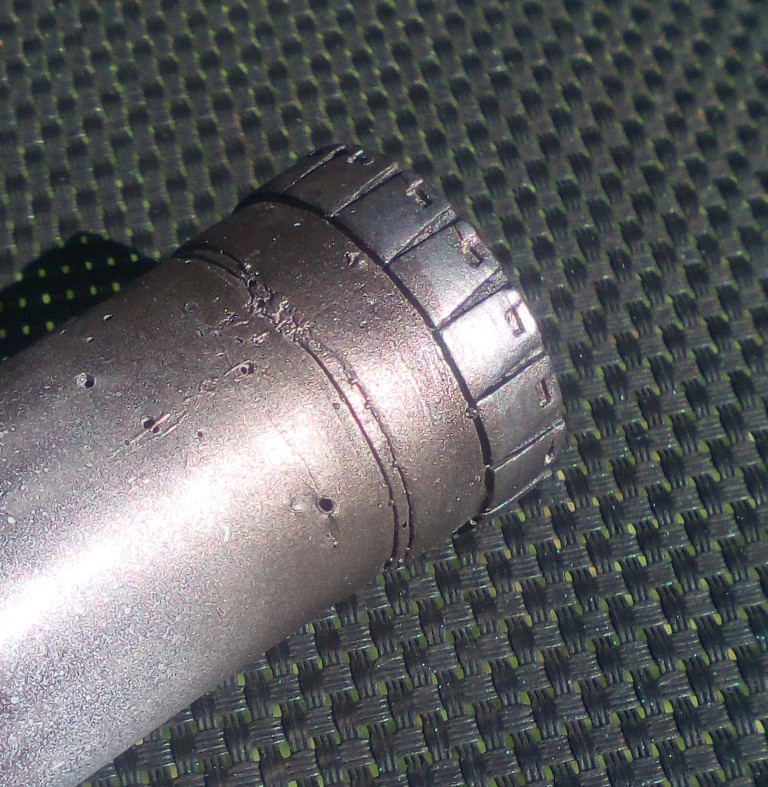 IMG_20180603_120847
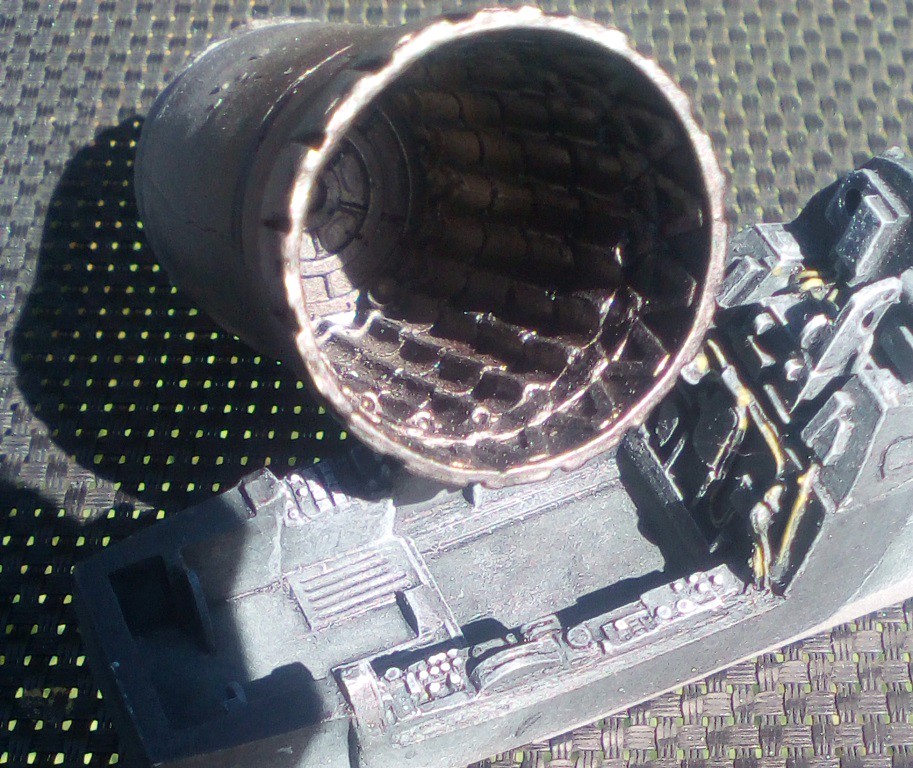 IMG_20180603_120826
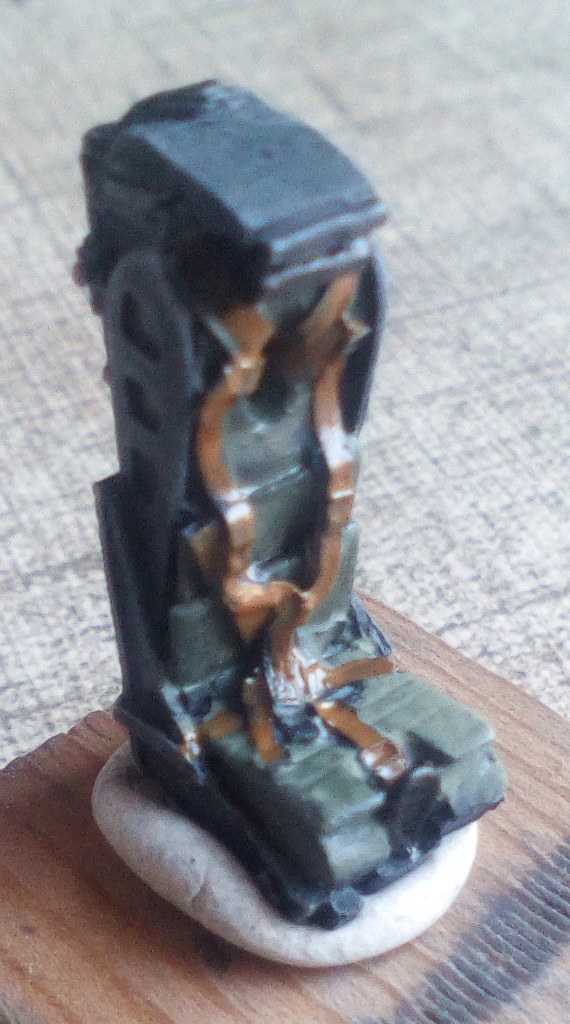 IMG_20180603_122540
 IMG_20180603_165203
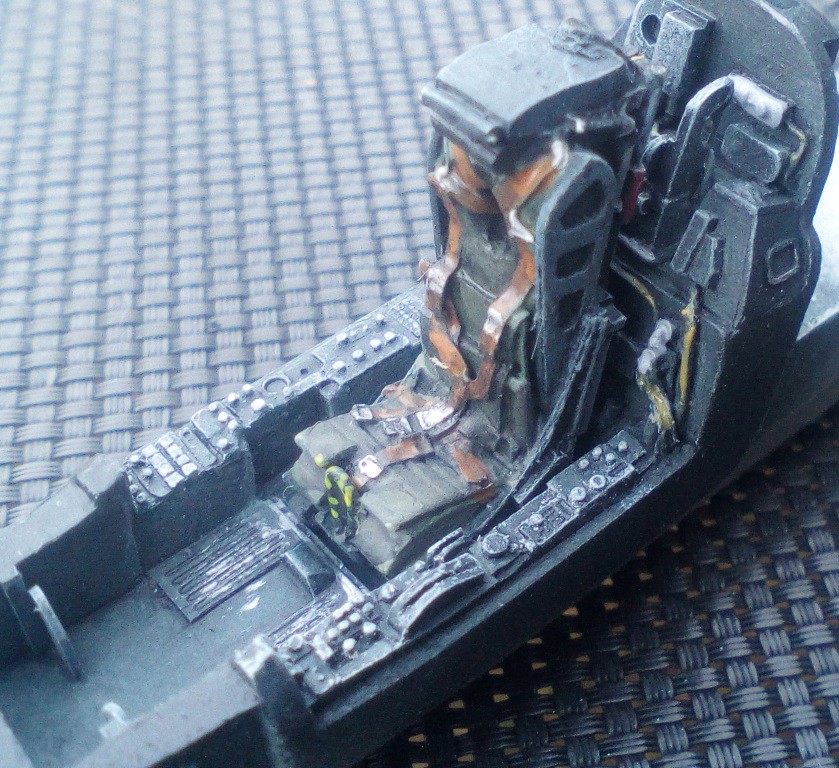 IMG_20180603_165257
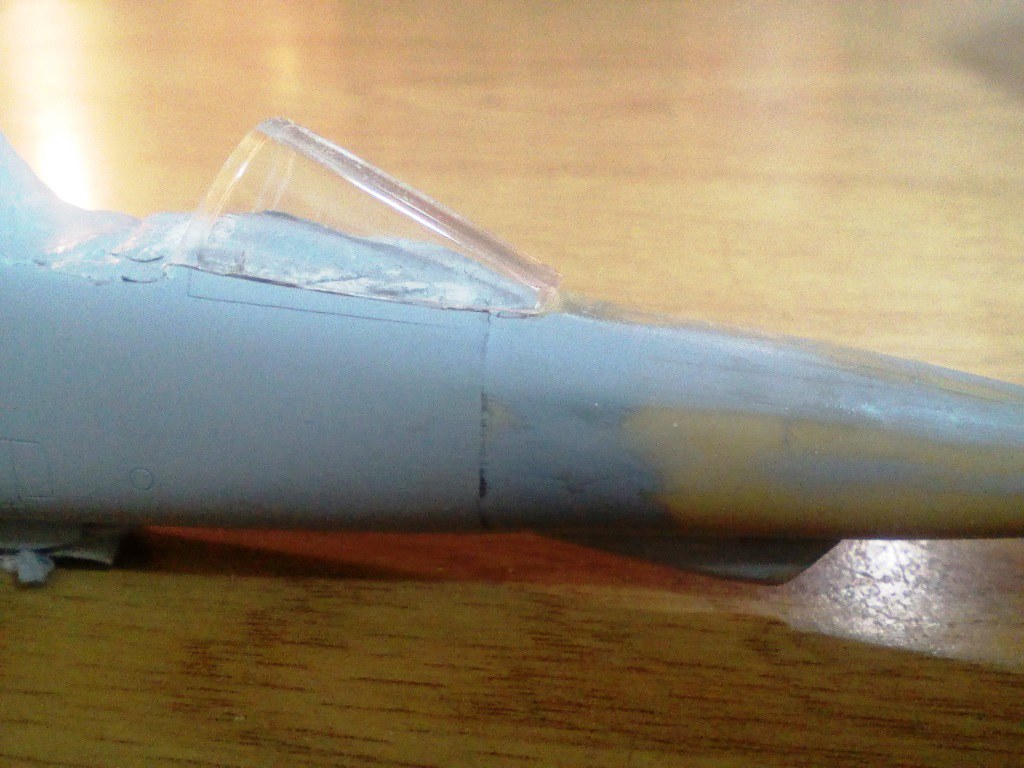 IMG_20180614_174212
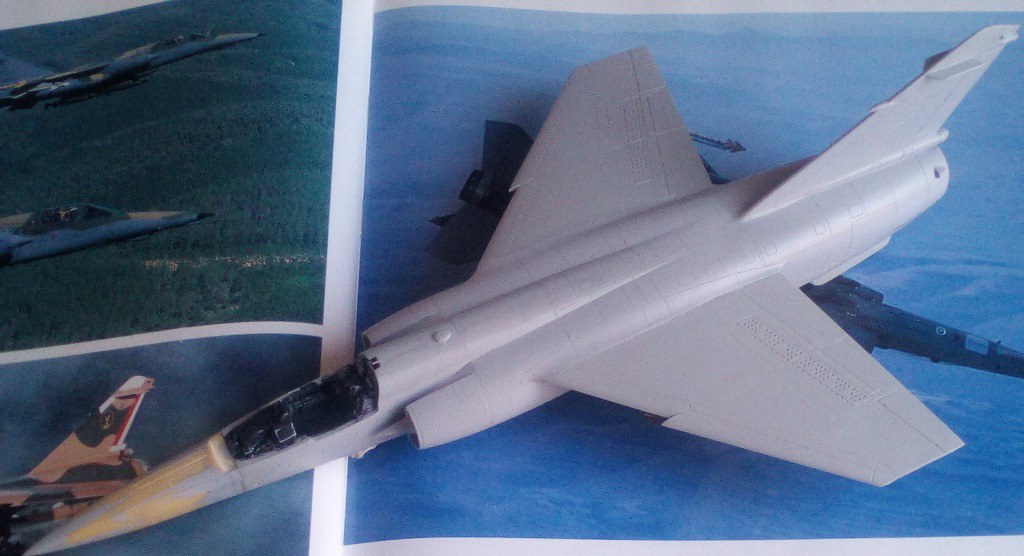 IMG_20180616_094154
 IMG_20180623_161345
 IMG_20180624_084417
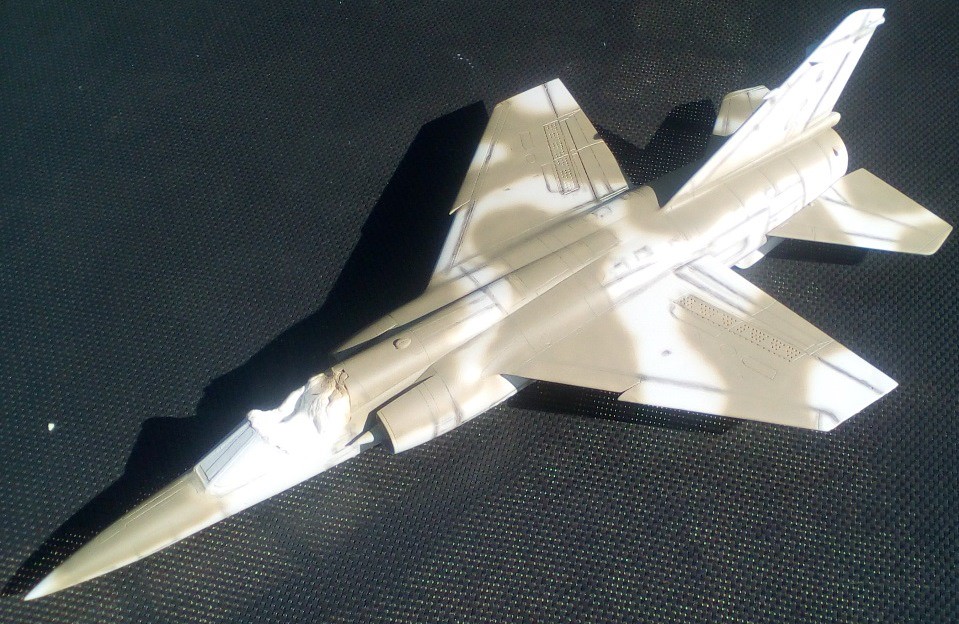 IMG_20180624_140429
 IMG_20180624_152434
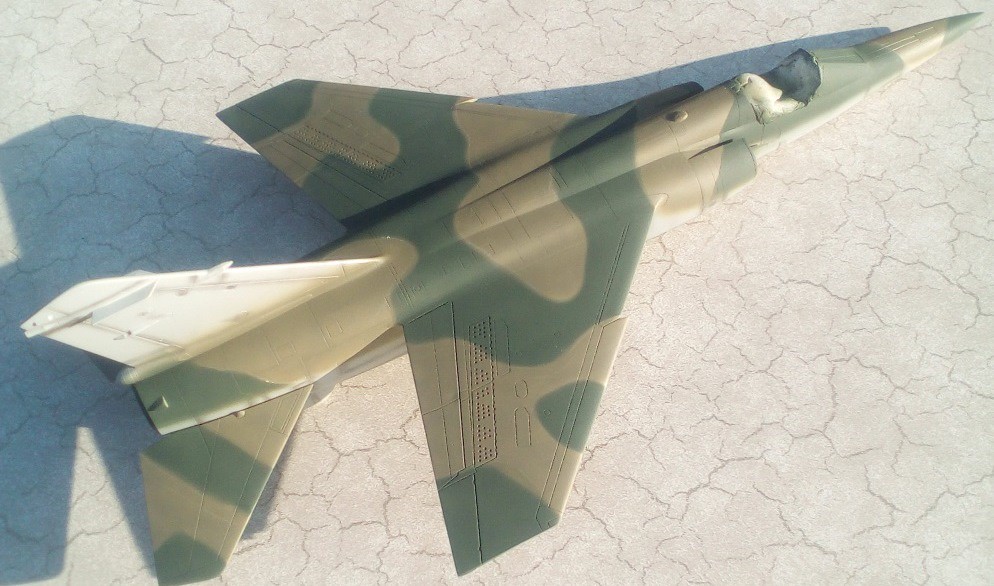 IMG_20180624_160324
Comment