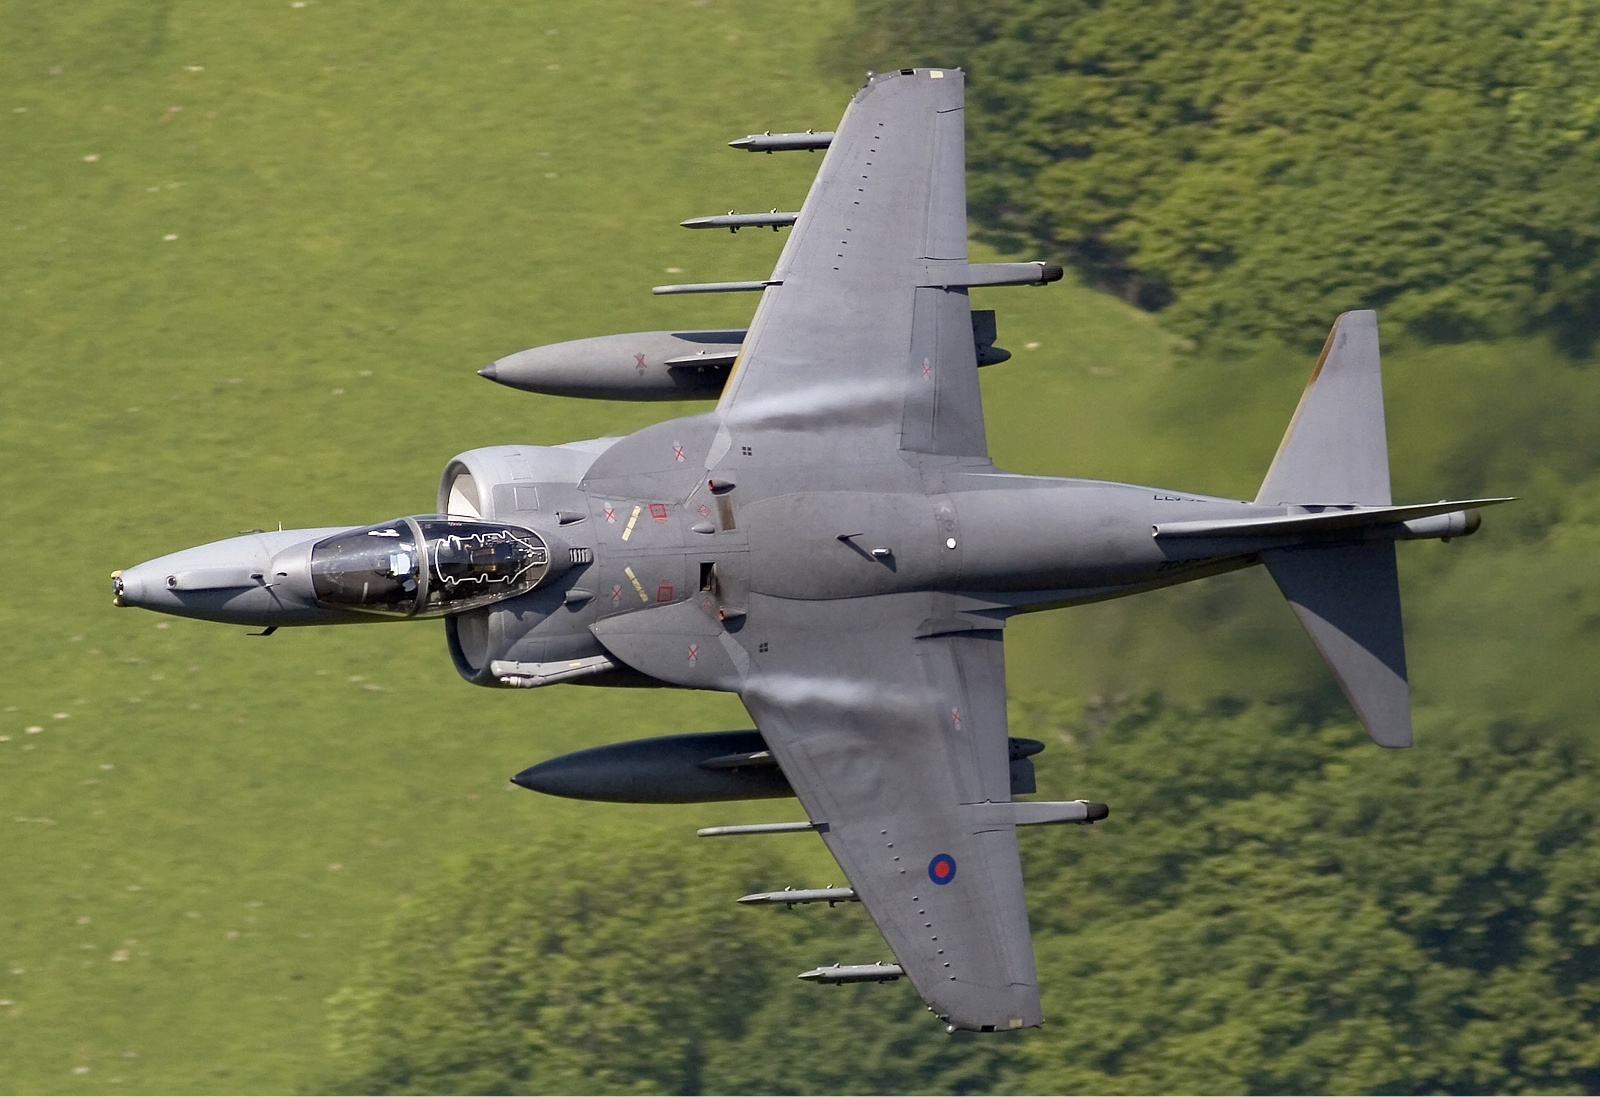
Well, I've started putting together some of the underwing stuff. I haven't yet decided whether to use the laser guided or IR AGM-65s. You can see the LAU-117 launch rails and the LAU-5003 rocket pods. So far, I've just painted them - I haven't added any decalling. Since the Mavericks didn't come with the kit, there aren't any decals included, but I can probably scrounge some up. I like how both versions of the Mavericks look so it's hard for me to decide.

Airfix 1:72 Harrier GR9
Collapse
X
-
Minor update - I've done an awful lot of sanding and filling to try to remove seams and have shot a coat of primer over it and it's looking pretty decent - I have a little seam cleanup needed:
I've also realized there are sink marks on the top of the wheel pylons. I guess I was thinking those were vents or something, but in looking at some images I'm not seeing them:

Not a huge deal, but I'll need to remove them before doing any more painting or anything. I also updated the Mavericks - IR is what I've decided to go with - and have painted them for the most part. I'll need to paint a couple stencils on them, but they're pretty close. I'm wanting to get this one done before the end of the year and actually this Thursday being Thanksgiving here in the US I'll have some free time to work on it. So maybe well before the end of the year...hope springs eternal.
Comment
-
Ed
That's coming on very nicely. Modern jets really aren't my thing but the Harrier is quirky enough to interest me.
As a slide aside, I was talking to someone at our modelling club on Monday night and the subject of Harriers came up. He used to work for an arms manufacturer (can't remember who) and they were working on some sort of air launch missile (no idea what). They did the first test fire of said missile from a Harrier sat on the ground........good job too.......the inertia created by the missile as the rocket/engine fired was so strong that before it had a chance to properly launch, it ripped the wing clean off the plane!! So they had to devise a way of letting it drop a bit before it fired, whilst still connected by a sort of umbilical chord.
Anyway enough of a digression. I really am looking forward to this crossing the finishing line.
All the best.
AndrewComment
-
What's not to love about Harriers (apart from the ugly extended nose)! ... Nice job, and welcome!)
SteveComment
-
Good grief! I know there are a number of missiles that have used umbilicals over the years. It's a bad day when your wing comes off...it ripped the wing clean off the plane
I agree. The proportions for the GR1 just look right. I understand why they lengthened the nose, but the original still looks the best...What's not to love about Harriers (apart from the ugly extended nose)!
Comment
-
I started with a bit of preshading:
And then painted the lightest shade - used on the wings and a few other places:
And after letting it dry I did some masking:
And then I painted the second color, primarily used on the sides and fuselage underside. After that, I masked off further for the third color, which is the final main color.
And here it is, unmasked:
I have a little cleanup to do - a couple minor masking misses and one area where the tape peeled a bit of paint. I also need to re-mask and paint the area around the intakes - I wasn't going to be able to do that as the same time as the main paint scheme.
Once that's done, I have a conundrum. The front of the wings and the horizontal stabilizers have a tan/yellow stripe on the front and I'm not sure if I should mask and spray or hand paint it. It'll be a challenge either way, specifically on the wings. The part that sticks out (not sure what it's called) that attaches to the second pylon makes it a bit challenging, but I think I can figure it out - I may just have to touch that up after doing the stripe. Well, overall I'm pretty happy with it. I feel like it's really coming alive.Comment
-
 Guest
Guest
I thought you were posting greyscale photos there, until I got to the one with the masking tape on
Comment
-
Lots of gray on this one so far - though some of my detail painting this morning added some color...I thought you were posting greyscale photos there, until I got to the one with the masking tape on :smiling3:
I could, but I think I'd rather paint it. A decal would have to curve around the wing front and it's a pretty sharp curve. Not sure I have enough Micro Sol for that. :smiling3:
So after further masking and spraying and then some detail painting, here's where I'm at:
Next up is leading edges, clear-coating, landing gear (and other fiddly bits) and decals. I'm leaving clear parts for the end.
I also brush painted the nose because it would have been quite hard to mask, but the paint is a bit thicker than I'd like. Not sure if I can just sand the paint down, but we'll see. It's not terrible.Comment


Comment