Scale Model Shop

Collapse

Me-109 G2 1:33 Orlik

Collapse
This topic is closed.
X
X
 
  • Time
  • Show
Clear All
new posts
  • Guest

    #16
    Thanks Richard!

    I did some skinning today.The front segment with the guns and the segment rear of the cockpit.

    Comment

    • Guest

      #17
      Another part of the fuselage is in place


      I also did the internal framing of the wings

      Comment

      • Guest

        #18
        Paint is something I have problems with because of my colorblindness.....

        Here is my solution


        This is 2 liters of paint......I need a teaspoon

        So over to the plane!

        Dryfitting the part after shaping, and I made some connection strips on the inside of each section to be sure it stayed together.


        The cover under the cowling


        I also made some new machineguns with a barrel this time


        I also skinned the centerpart of the wings.

        Comment

        • Guest

          #19
          The spinner


          And the last section of the fuselage

          Comment

          • jspitza
            • Jul 2007
            • 586

            #20
            This is unbelievable-I'm ashamed that I use plastic for my 109's! Truly inspired as I now go to the workbench. Great job!!!!

            Comment

            • Guest

              #21
              very nice progress Johnny.

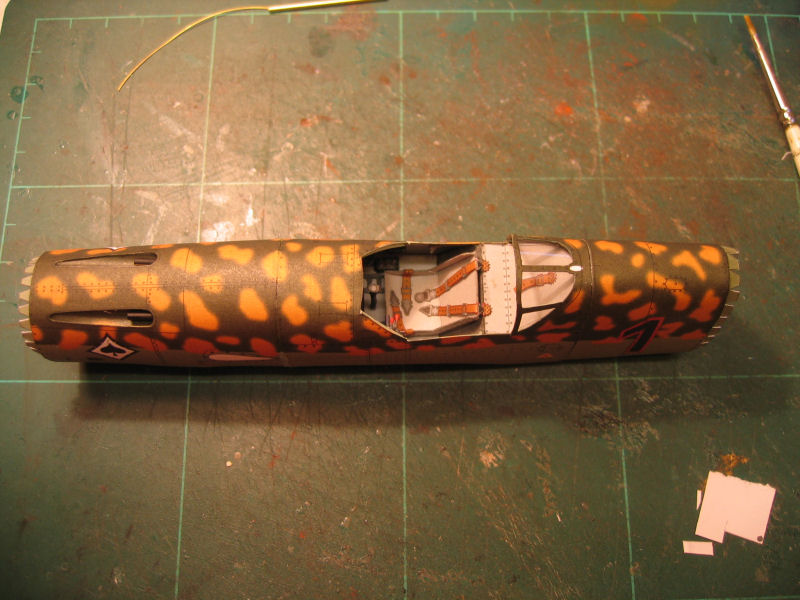
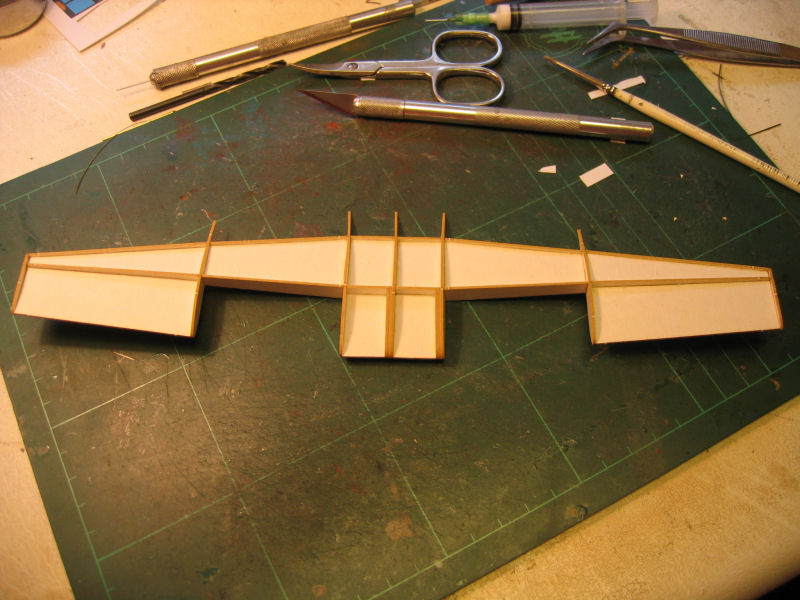
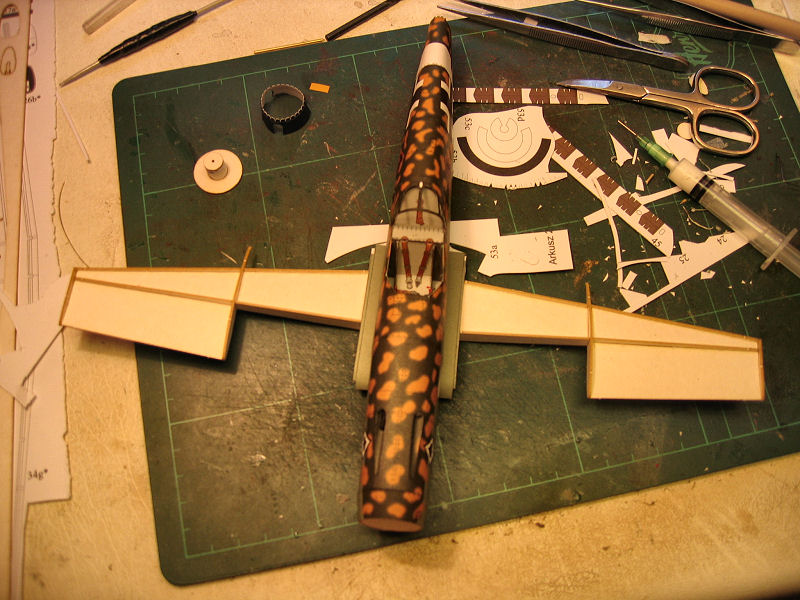
              the bomb bay will be interesting to see. how do you make sure the internal frames for the wings are 100% perpendicular? the F-15 kit im going to do relies on the frame being perfect to get the whole models shape right.

              Comment

              • Guest

                #22
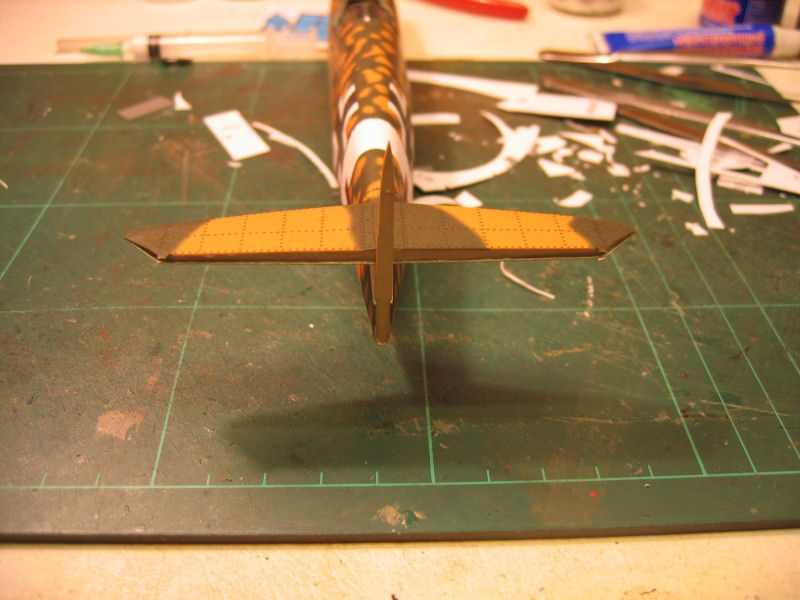
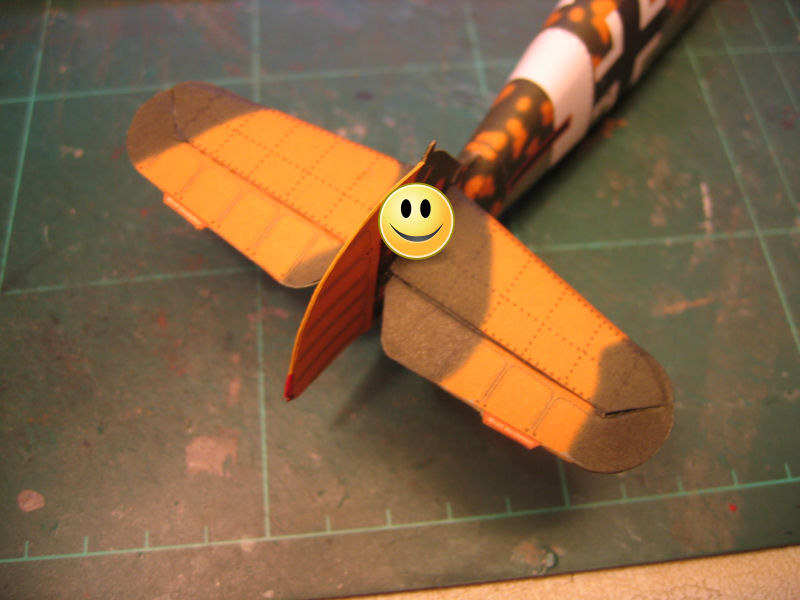
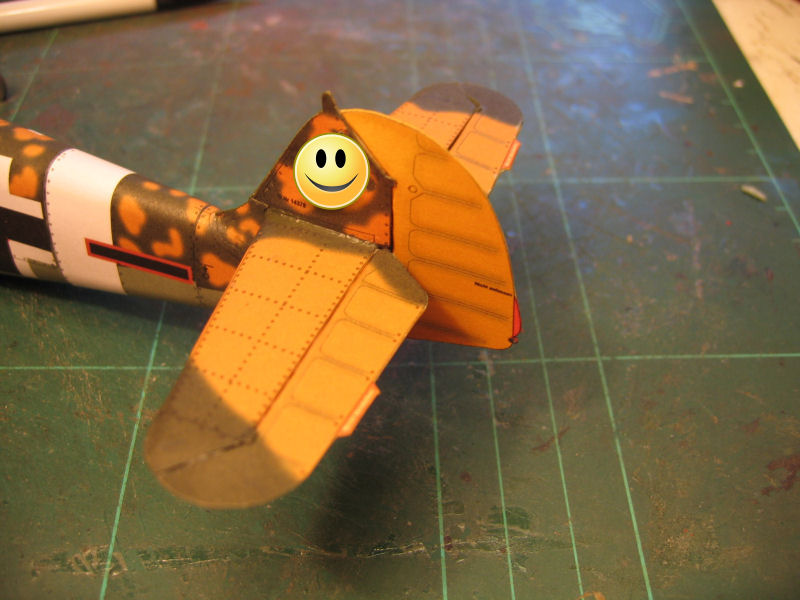
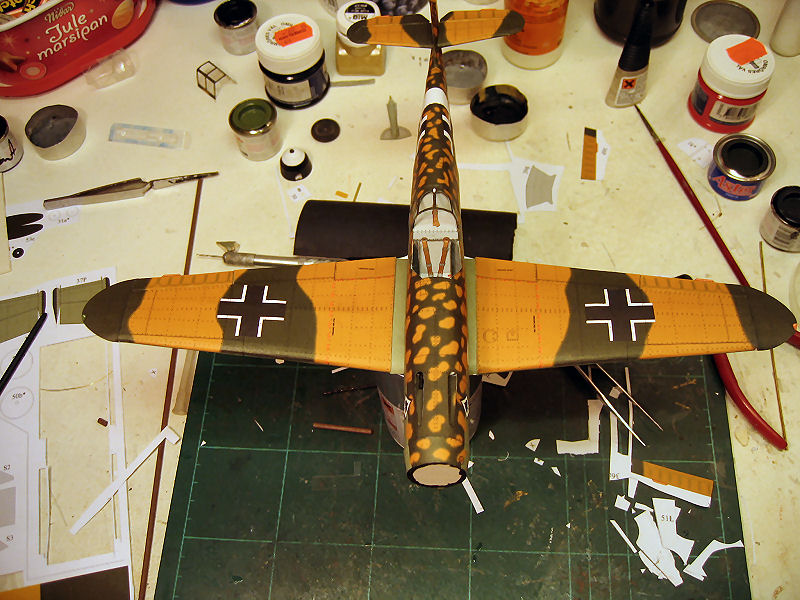
                I'm sure the wings are correct because there is just one wat the framing fits.

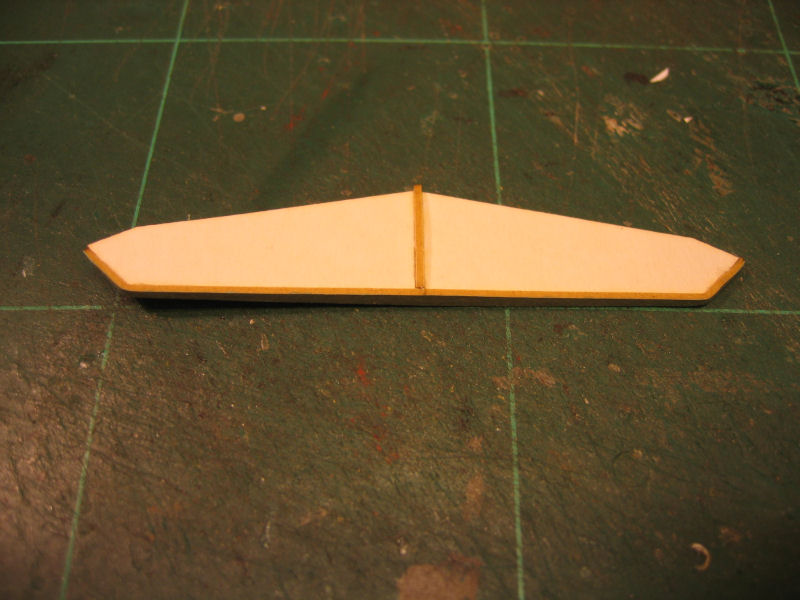
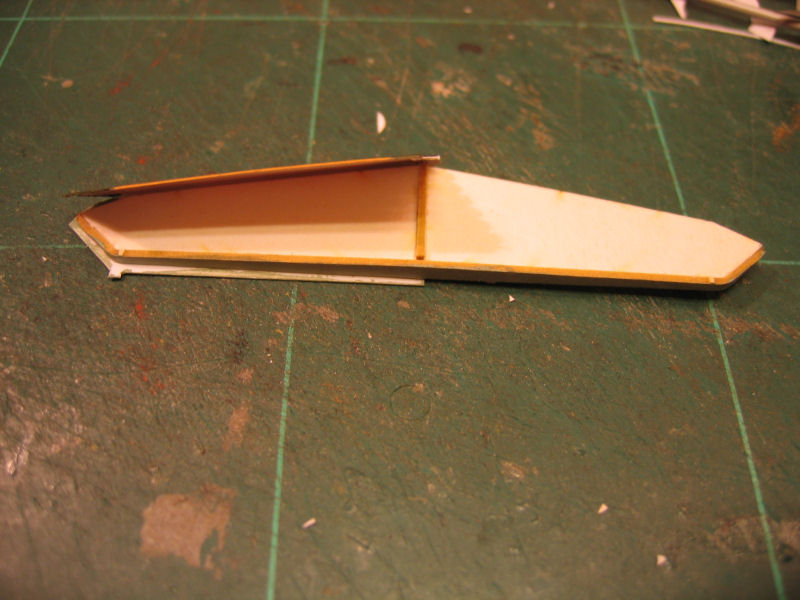
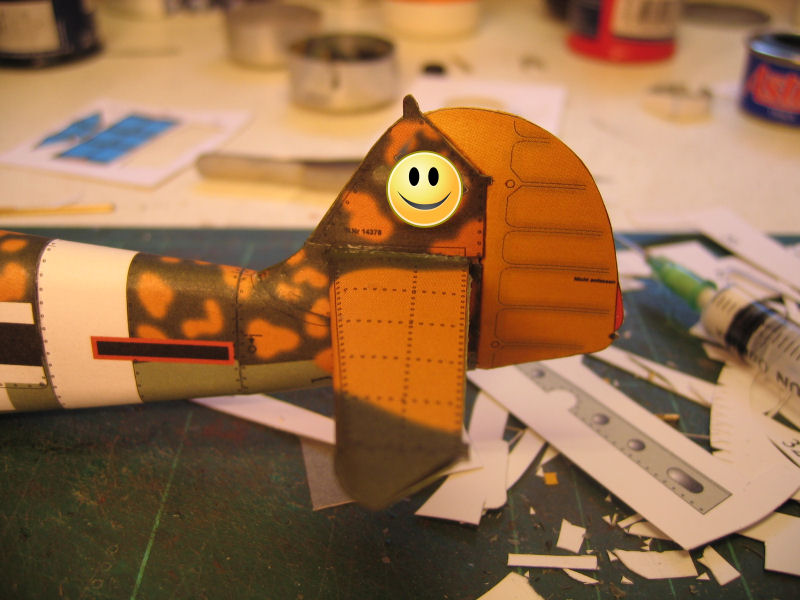
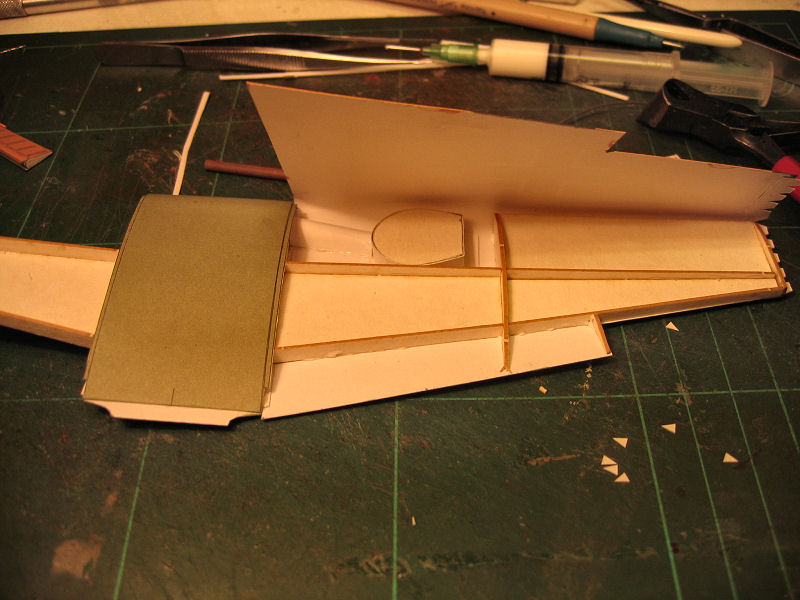
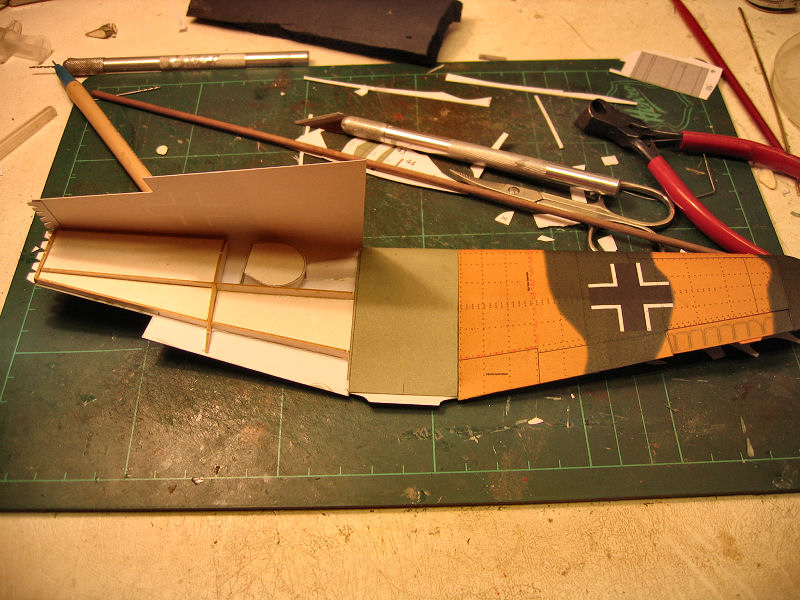
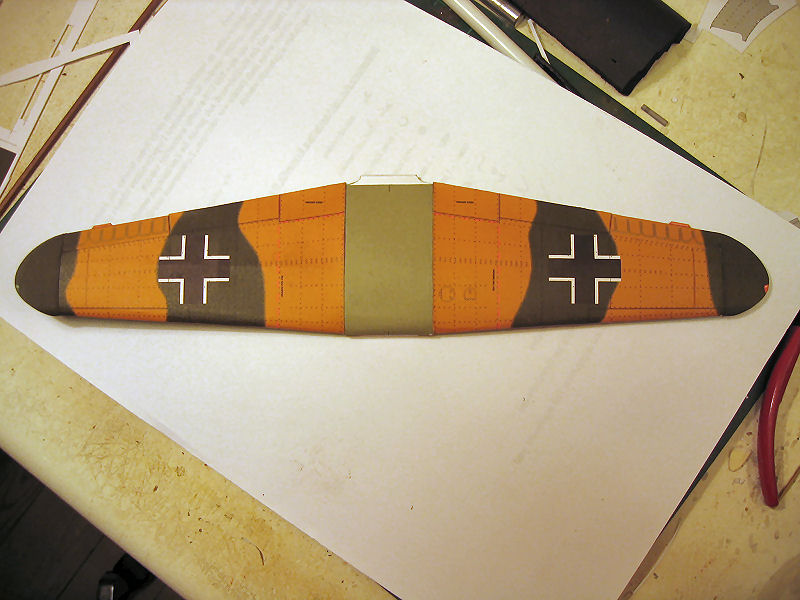
                The internal structure is preshaped so that the dihedral is given.

                I also use laserframes,so there is no error possible from my side

                When making the internal framing for your F15 , you have to be very precise in your cuts,do a lot of dryfitting and be sure everything is properly aligned before you put the skins on.

                I'm not sure how many papermodels you have done?

                But it can be quite easy to get things a bit twisted.....

                Comment

                • Guest

                  #23
                  Continuing working on the tail.

                  First was to place the internal framing for the vertical stab.


                  Next was the internal framing and skinning of the stab


                  And the stabilizer is in place

                  Comment

                  • Guest

                    #24
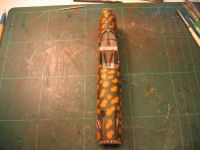
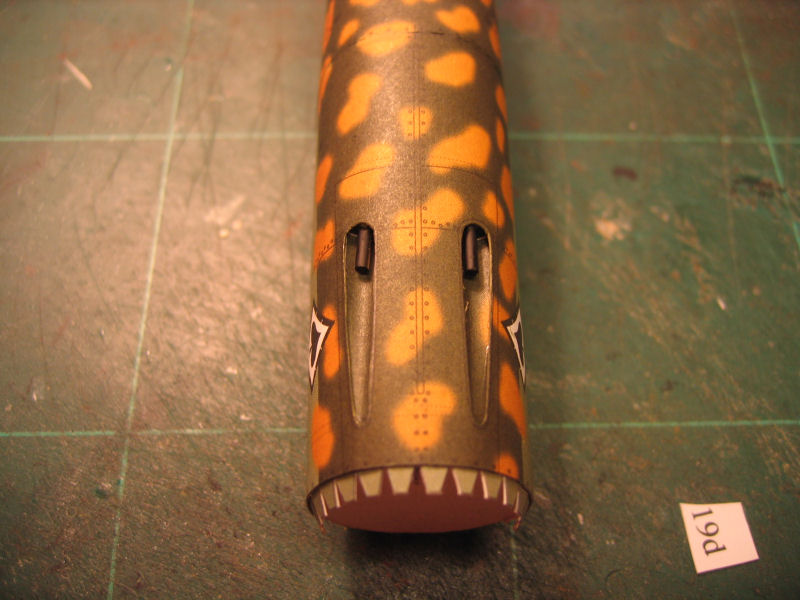
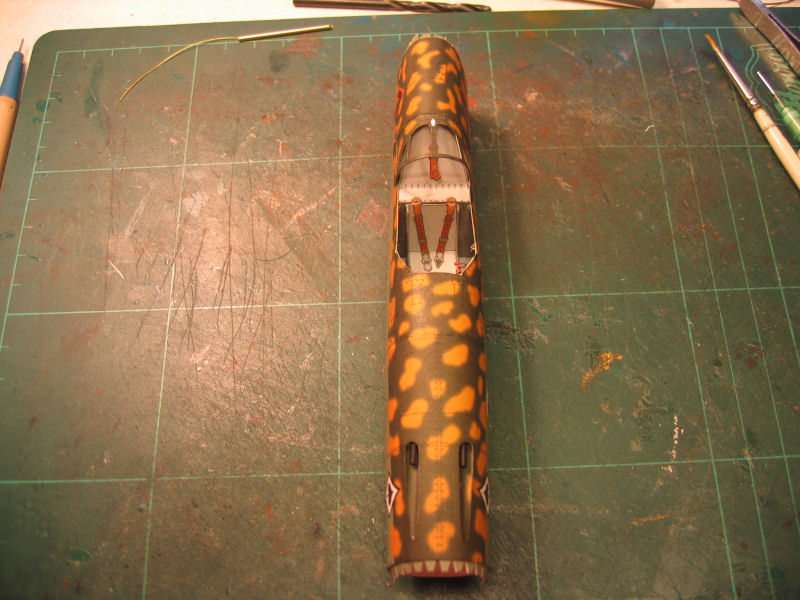
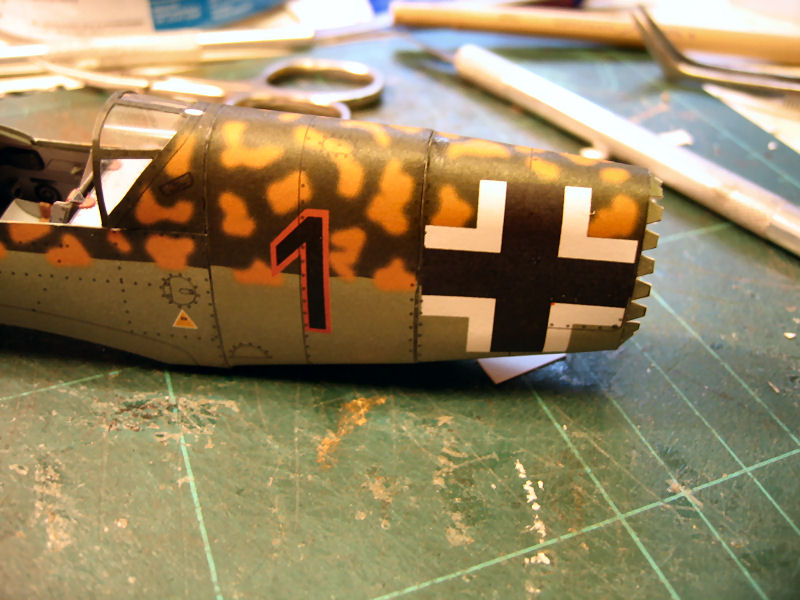
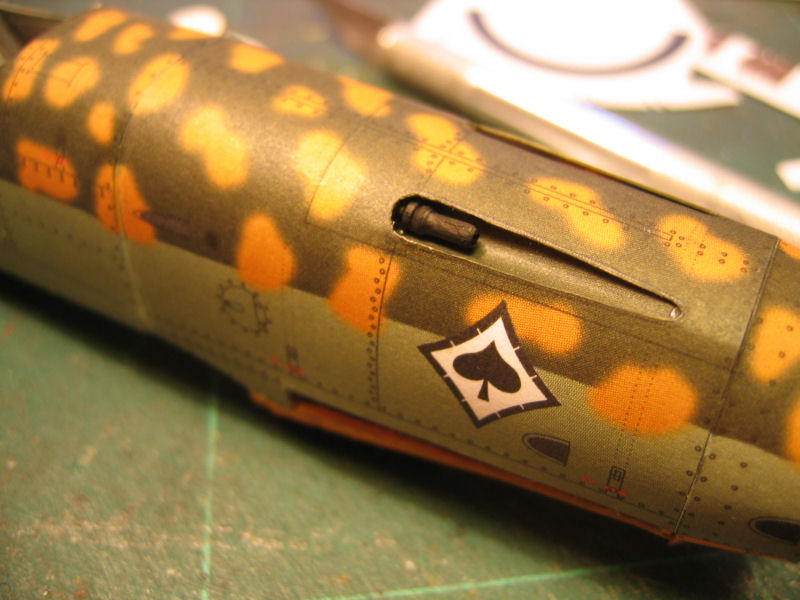
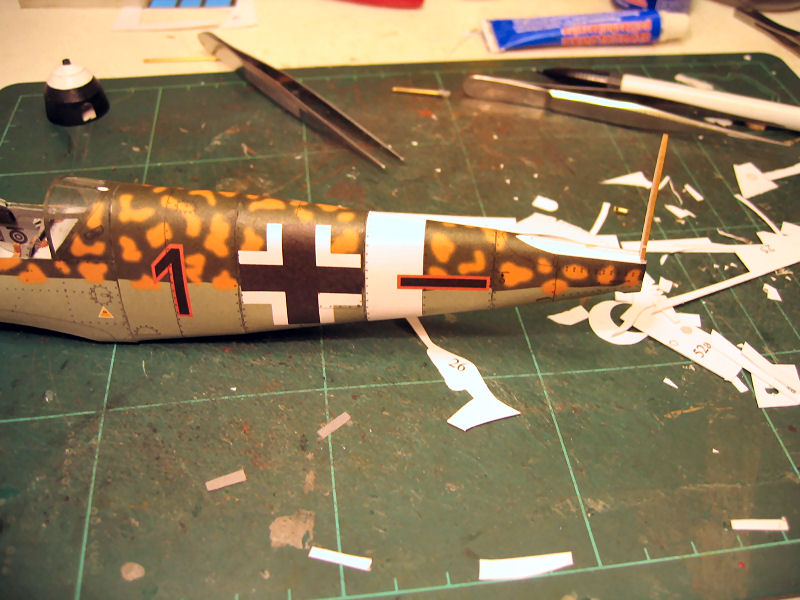
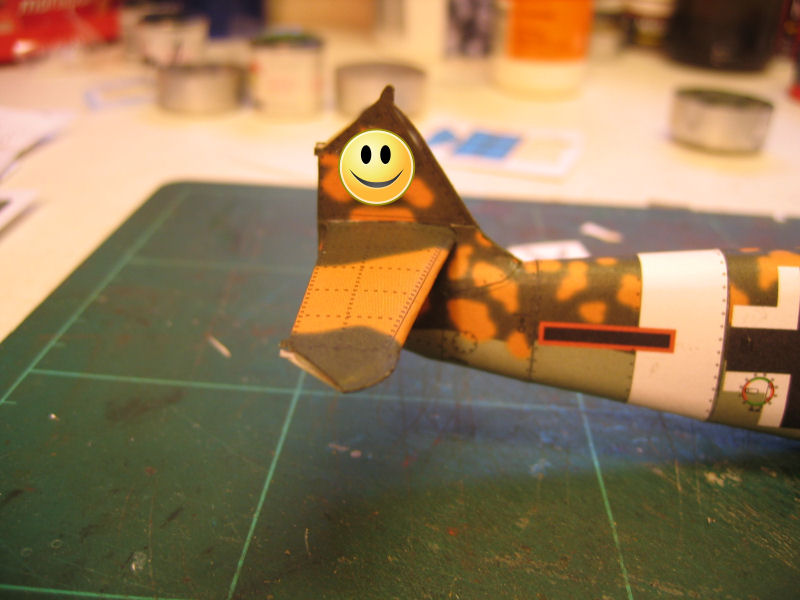
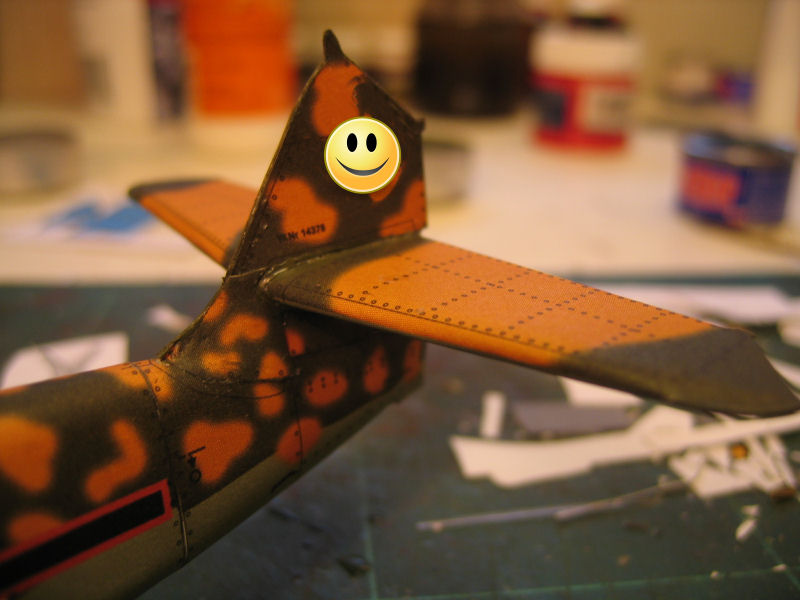
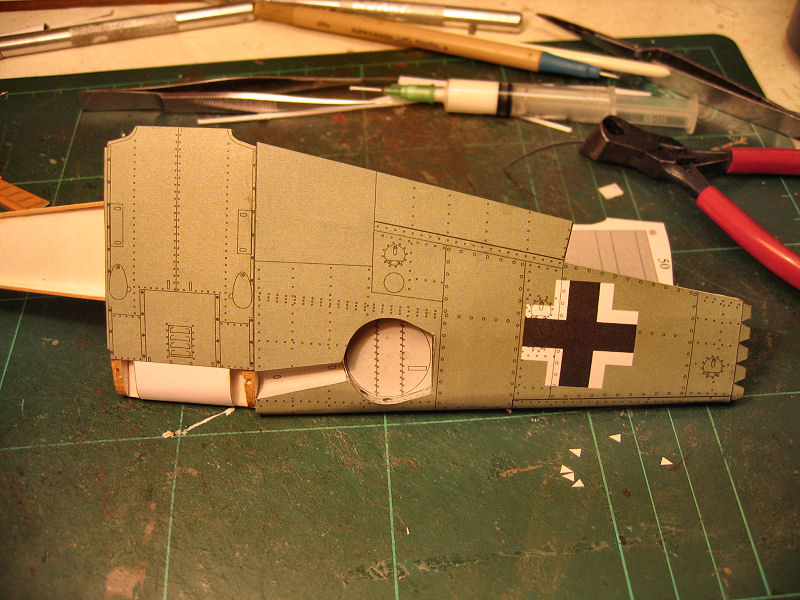
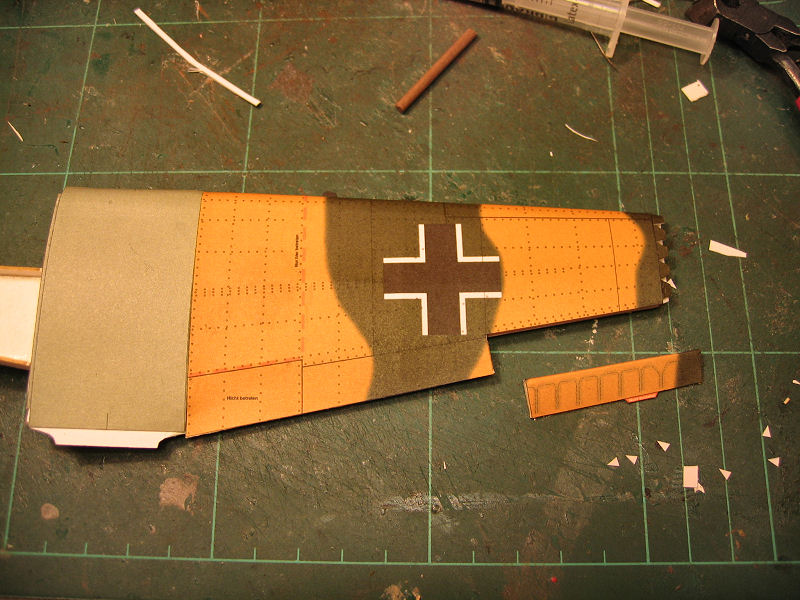
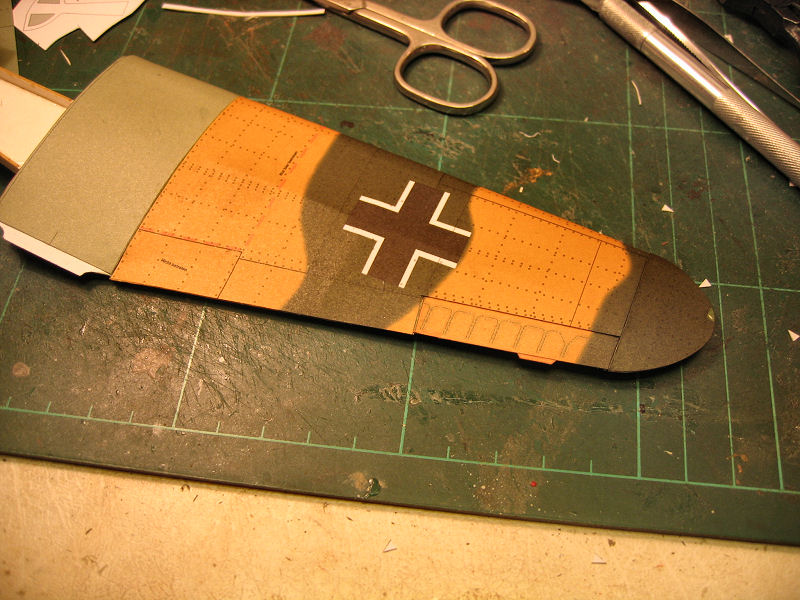
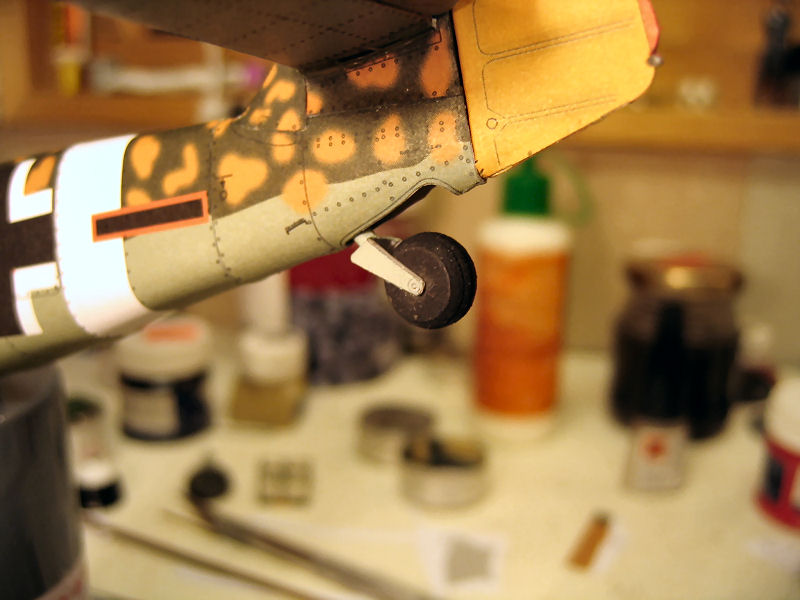
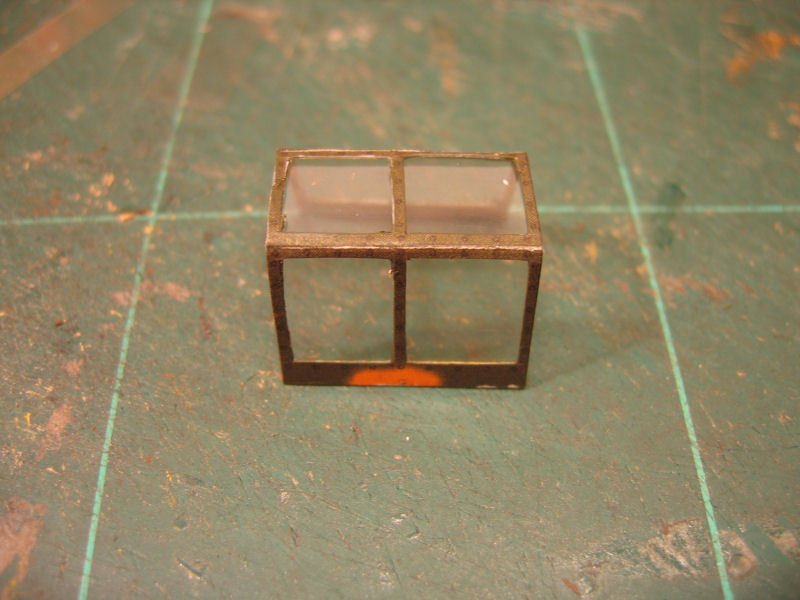
                    Once again I am amazed at just what smooth curves you can achieve with card. The rear fuselarge looks amazingly smooth and perfectly shaped without any odd section changes or edges visible. Lovely job as always Johhny.

                    Comment

                    • Guest

                      #25
                      Thanks Richard!

                      Paper is quite easy to shape,and it stays in the shape you make.

                      The way to get smooth joints are to preshape the sections and do a lot of dryfitting before gluing

                      Did the rest of the tail today.

                      Comment

                      • Guest

                        #26
                        I must admit that the assembled fuselage really looks the part!

                        Great work and interesting to watch the build come together too!

                        Comment

                        • Guest

                          #27
                          Thanks Alan!!

                          I made the control surfaces today.

                          Comment

                          • wonwinglo
                            • Apr 2004
                            • 5410

                            #28
                            Johnny you are a master of your craft,this model looks as if it is going to be another one of your masterpieces.

                            Comment

                            • Guest

                              #29
                              Thanks Barry!!

                              So the exiting wings was on turn.....

                              Here I have glued on the underside of the left wing.


                              I preshaped the leading edge before gluing the top


                              The skin is glued on, and the left aileron are waiting.The wingskin had a perfect fit!


                              Aileron and wingtip are ready


                              Next side


                              And the wings are ready


                              I had to plave the fuselage on the wings


                              In between the wingwork waiting for glue to dry, I did some other smaller work.

                              The tailwheel and the Air inlet


                              And the middle part of the canopy and one of the landing wheels....for the moment dusted with desert sand....

                              Comment

                              • Guest

                                #30
                                Howdy Johnny,

                                I have been following this thread for sometime now without commenting because I knew that you were about to show everyone something that most people dont believe..... Card models can be as beautiful as a plastic model kit and sometimes even more so.

                                I totally concurr with Barry on his statement, you are a true master of the craft and I want to thank you for showing the folks here in the forum just what can be achieved with paper.

                                A few years ago when I first came to this forum, I tried to stir some interest in cardmodels, I posted links to free downloads of all types from aircraft to cars, trucks, rockets, airships, sci-fi models such as star wars, a few animals and models of things that myself or other forum members had built in plastic. The response was really good, I even created threads at the cardmodels forum inviting members there to join here and invited the members here to join there. All in hopes of opening a new "world" to the members of this site.

                                Well, I know of several members here, like RJ Woods and Russell Sharp aka Desert rat racer and a few others who have taken a liking to cardmodels.

                                However, I believe you have done more to promote cardmodelling in this one thread than i have in the 3 years that i have been a member here, for this, I salute you!

                                Your model is beautiful and even though I have built cardmodels in the past, each time I see one "come to life" from what I know were once flat sheets of paper, it amazes me still.

                                All I can say is Bravo and keep up the good work, I look forward to the completion of this model and your next endevour.

                                Have a good day,

                                Greg aka GEEDUBBYA (GW)

                                :respect1: :respect1: :respect1:

                                Comment

                                Working...