Johnny nice kit and well put together, is it realy all card?

-
-
Truly fantastic! You've got me bitten by the cardmodel bug!Comment
-
It's not technically mess if you can still see some of the desktop!Originally posted by \
I've seen far worse than that!Comment
-
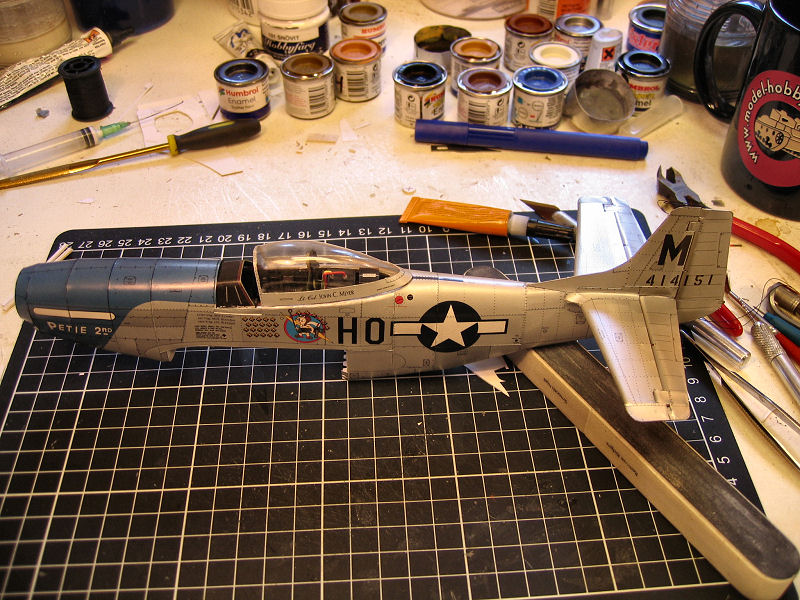
All models I make is made of card/paper/cardboard in different thickness varying from the 60grams copypaper via 0,2mm-0,5mm and 1mm cardboard.
The only things thats not made of paper is windows, and some internal metal rods in wheel legs,control sticks and other things that is useful not to make from paper
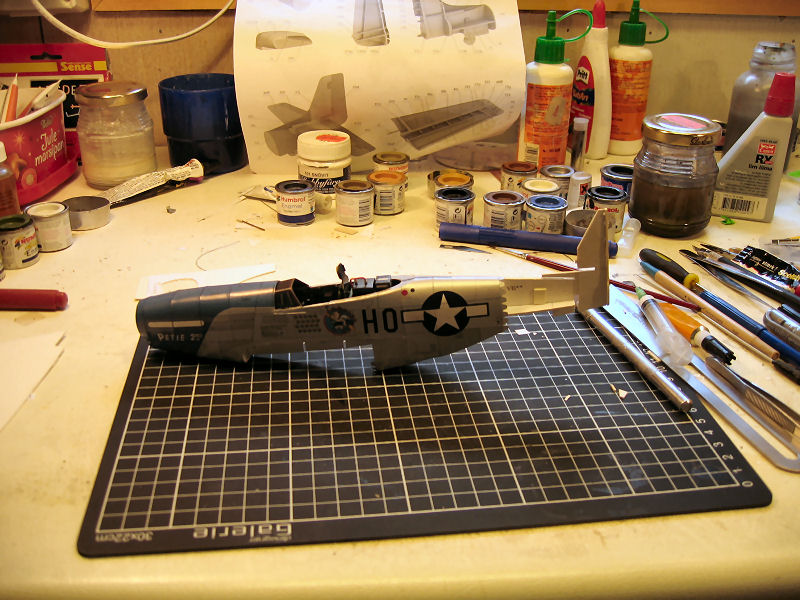
The mess just builds up....
I usually clean up after I have finished a model, to make a fresh start on the next
Comment
-
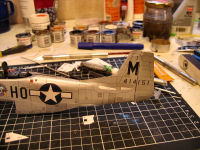
Hey Johnny, that Beaufighter hasn't moved since your last picture of the workbench!!Comment
-
Hmmm......I guess it's glued to that small shelf
I will continue that build at a later time.....Comment
-
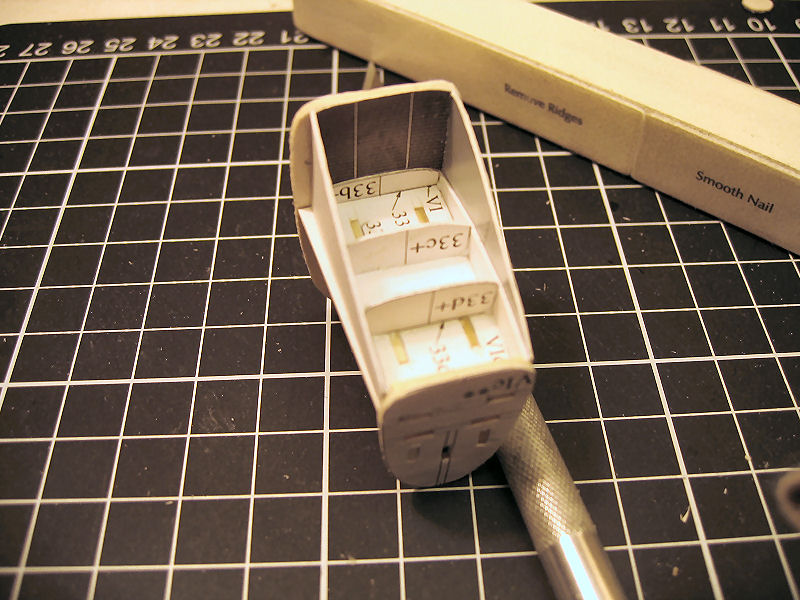
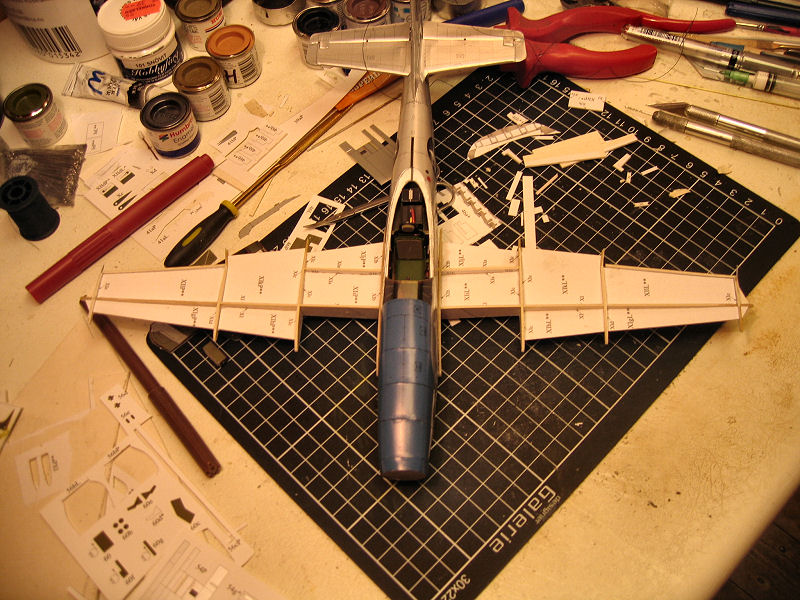
I did have some second thoughts about the next section after the cockpit.
As I see it , it's vital that it alignes with all panel lines and markings on the top and sides.
First I assembled the inner structure
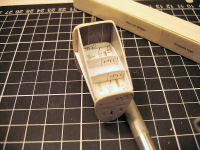
next I did was to connect the two following sections with it's connecting strip,making thel align perfectly all way around.
Then I could glue it onto the cockpit section with perfect control of the lines and fit.

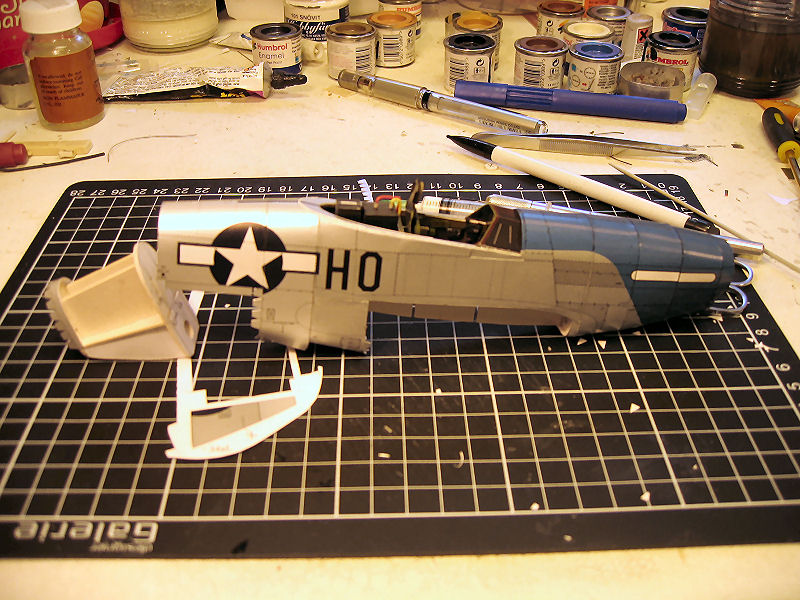
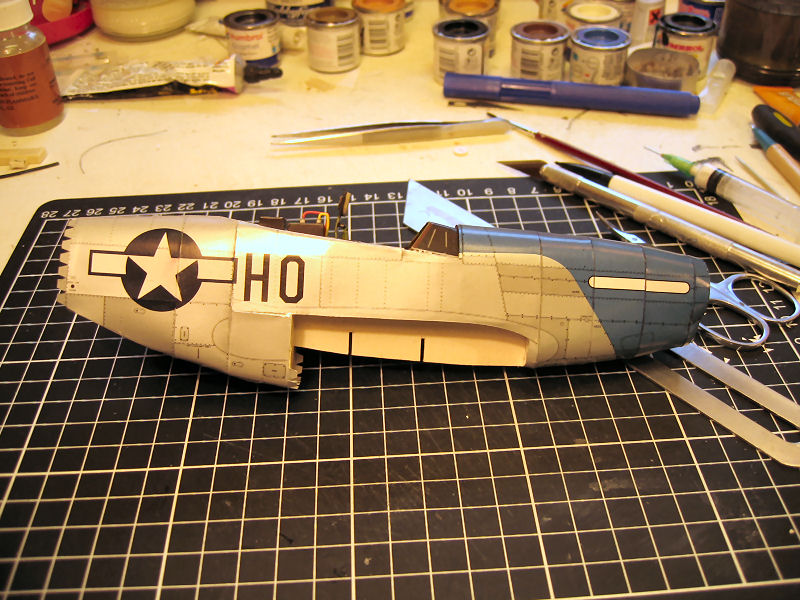
And as we can see from the next pictures the alignment is near perfect.
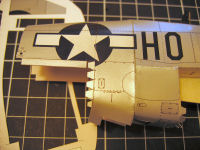
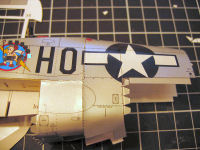
Next was to insert the framepart and glue it where it belonged and close the remaining gap at the bottom.Then I mounted the lower side panels.

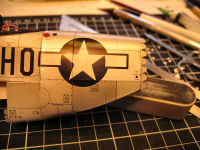
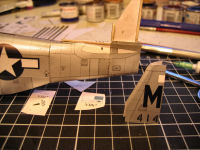
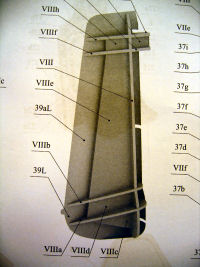
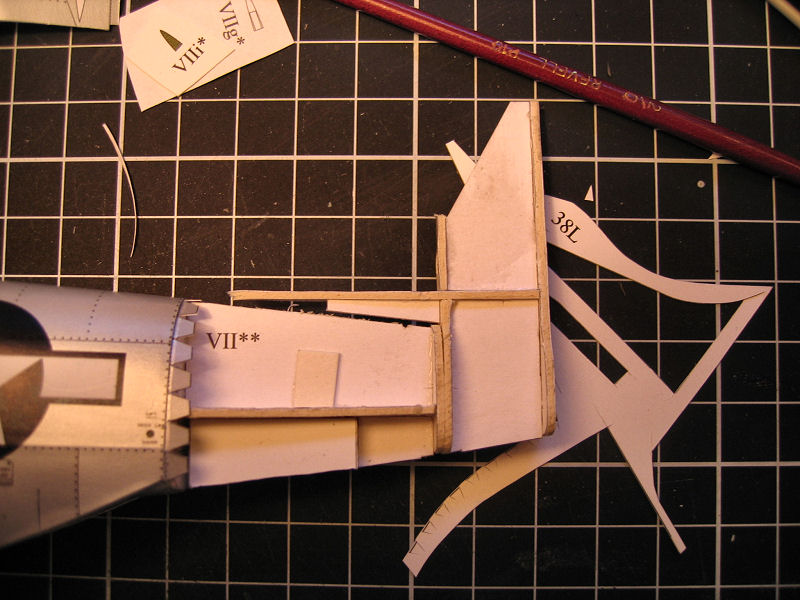
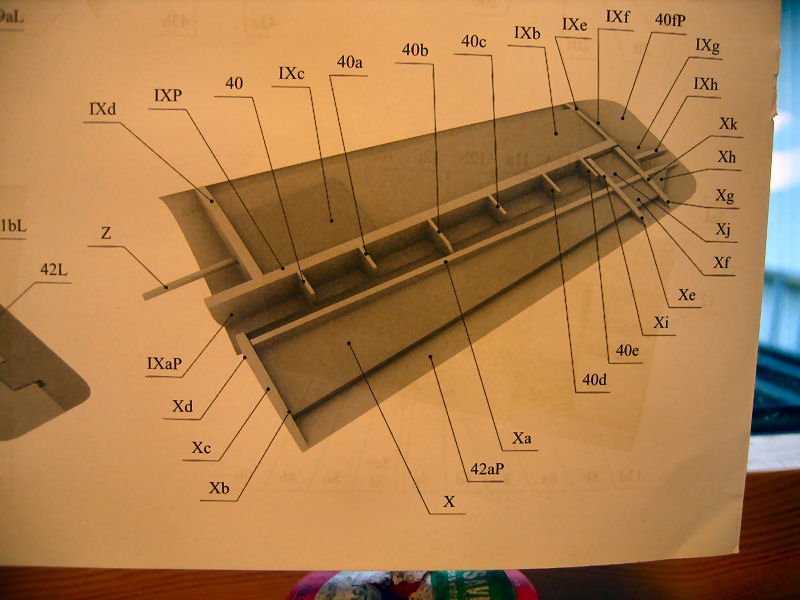
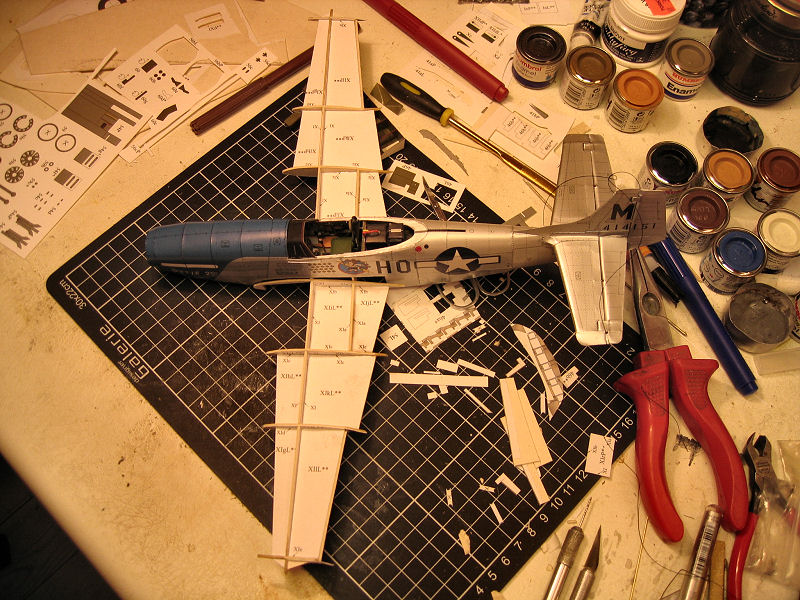
Next section is the one with the tailwheel and tailfins.
Many parts to be cutted and assembled.

Just put some parts together to have a look

Comment
-
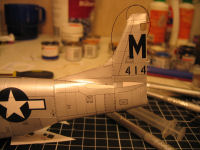
Continuing the tail.
The tailstructure is glued to the frame

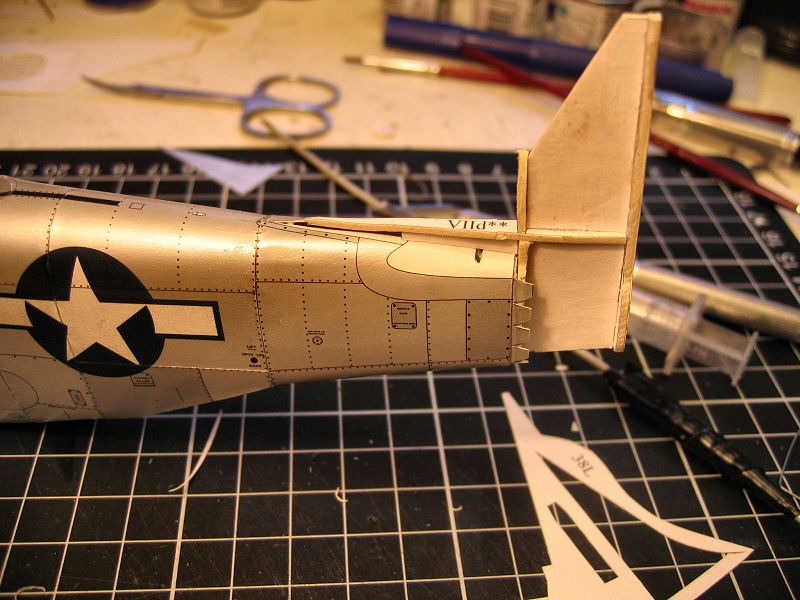
Next section is preshaped
And glued in place

And the last skin is in place.
The tailfin continues.....Comment
-
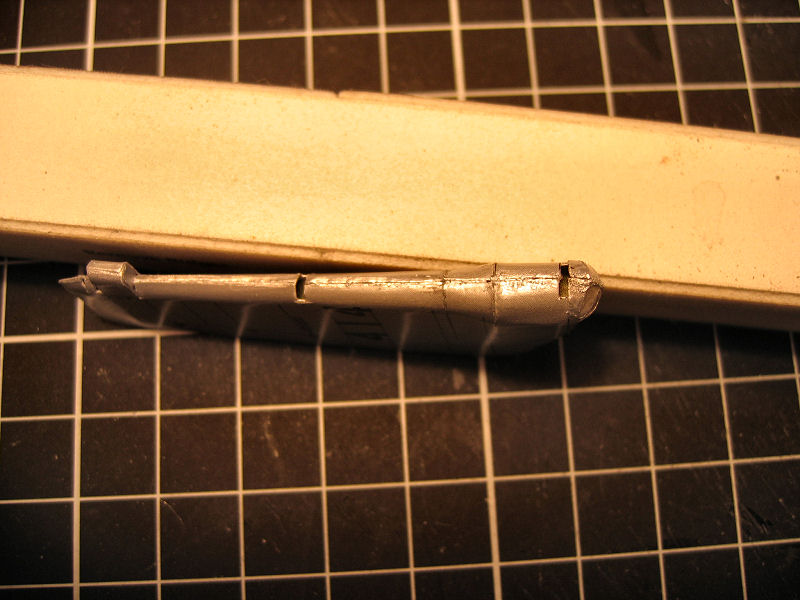
The tail is almost done,just some small parts in the slot where the rudder will go.Then I can start on the rudder and vertical stabilizers.

Comment
-
Utterly remarkable. You really are an artist with this stuff.Comment
-
Thanks Mike!
It's easier than it looks
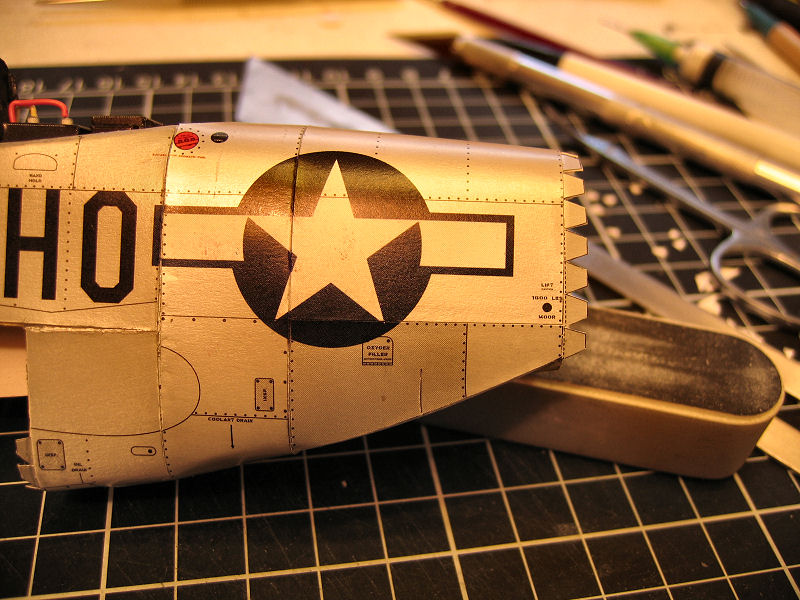
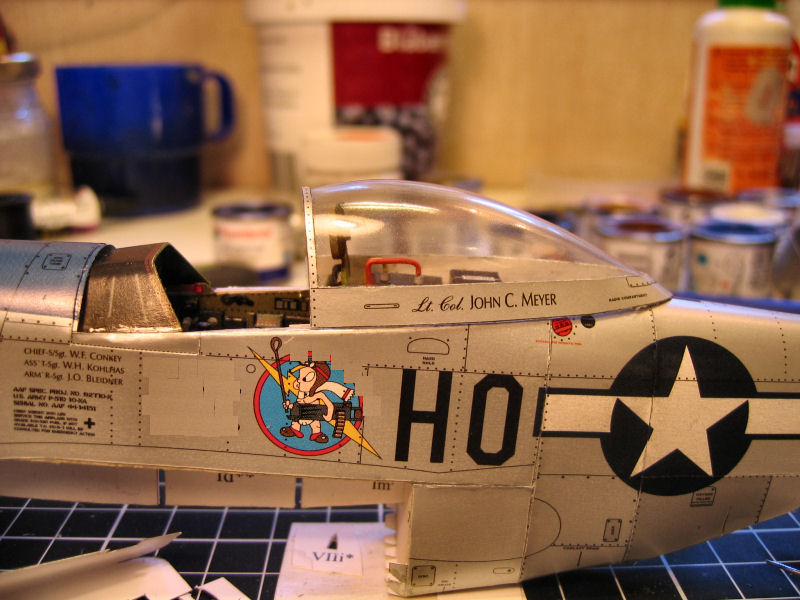
A few thoughts about metal print....it sure looks really good!!
But there are a few drawbacks....
Everything become visible....there are nowhere to hide errors...and I do a lot of them...not the biggest but the small ones that would have been invisible on a normal print.Well error might be the wrong word, but inaccuracy is more right.And those inaccuracies becomes very visible with the macro lense and the spot lighting.
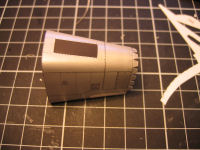
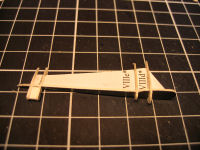
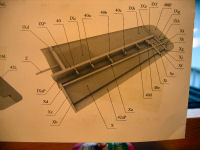
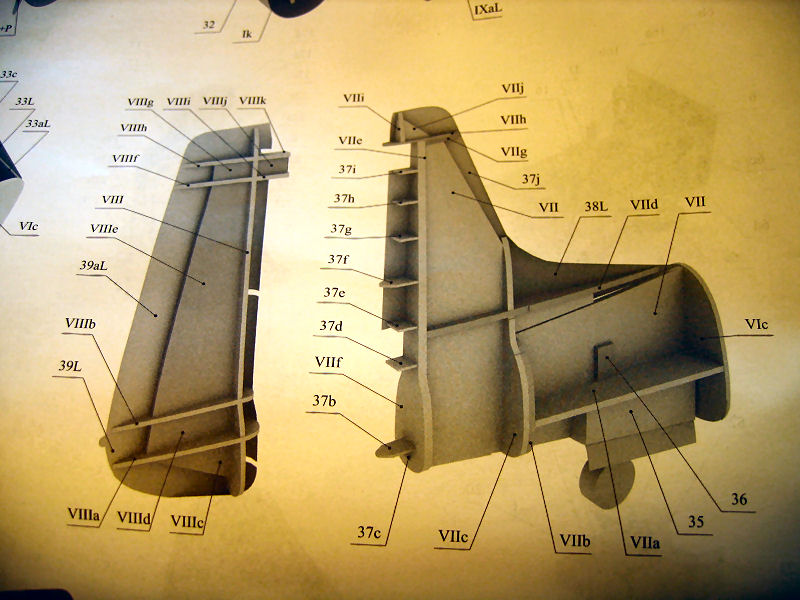
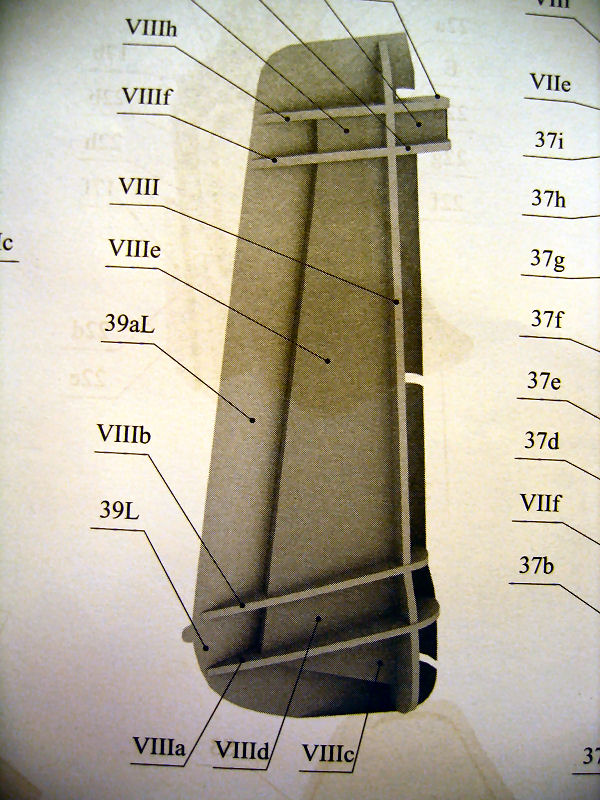
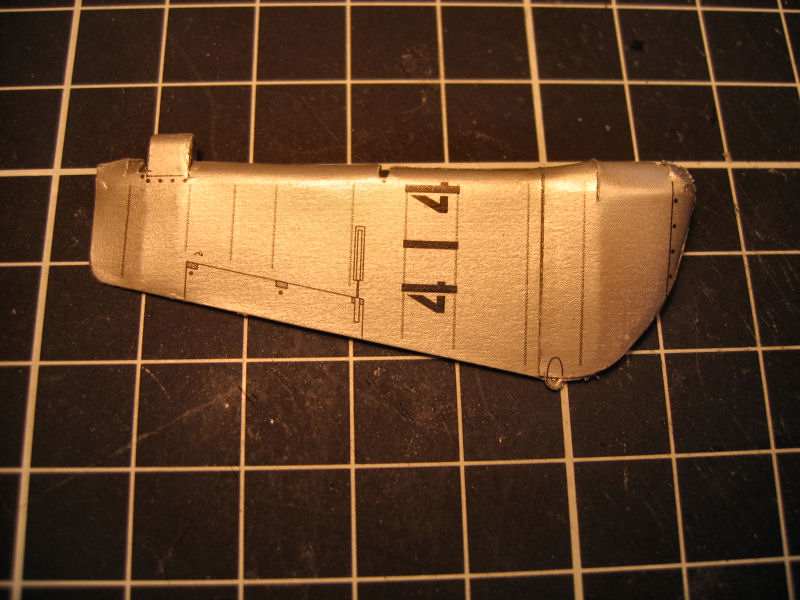
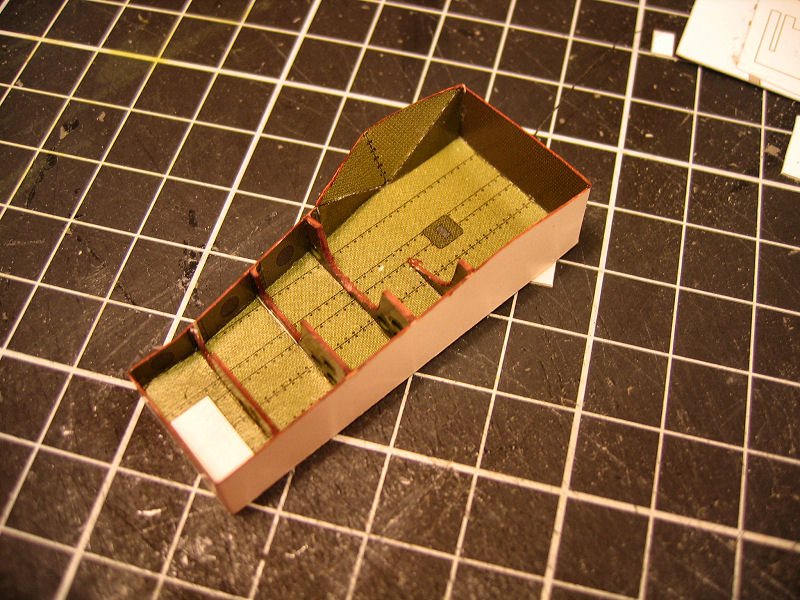
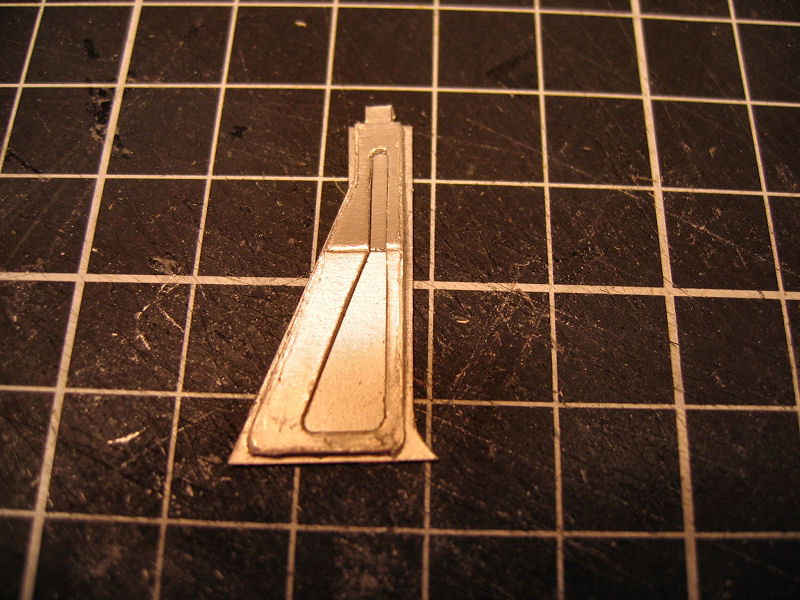
The rudder.Drawing
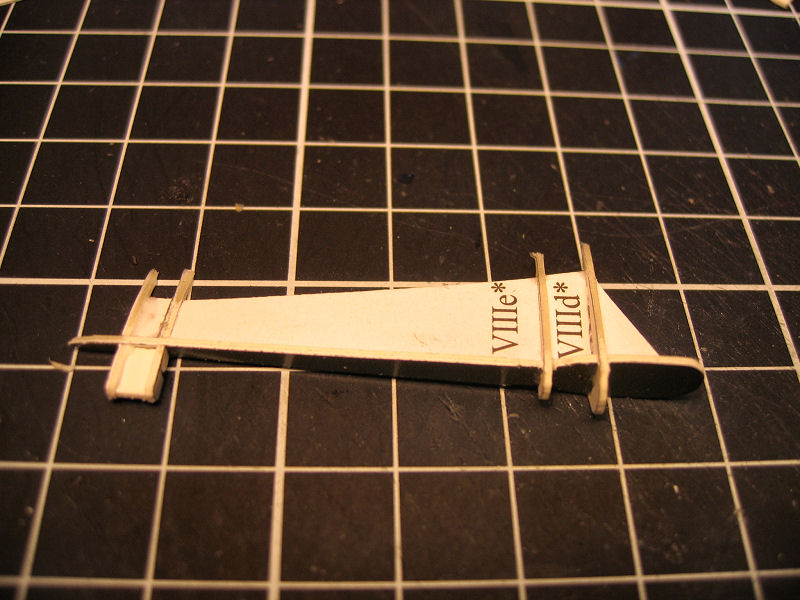
Inner framework
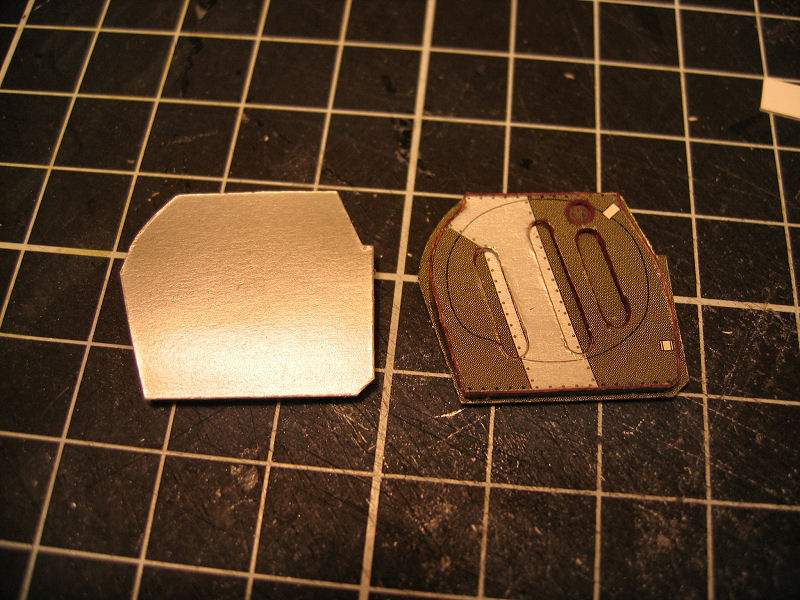
The skins had to be formed before gluing and it's kind of picky work to get this joints nicely done.
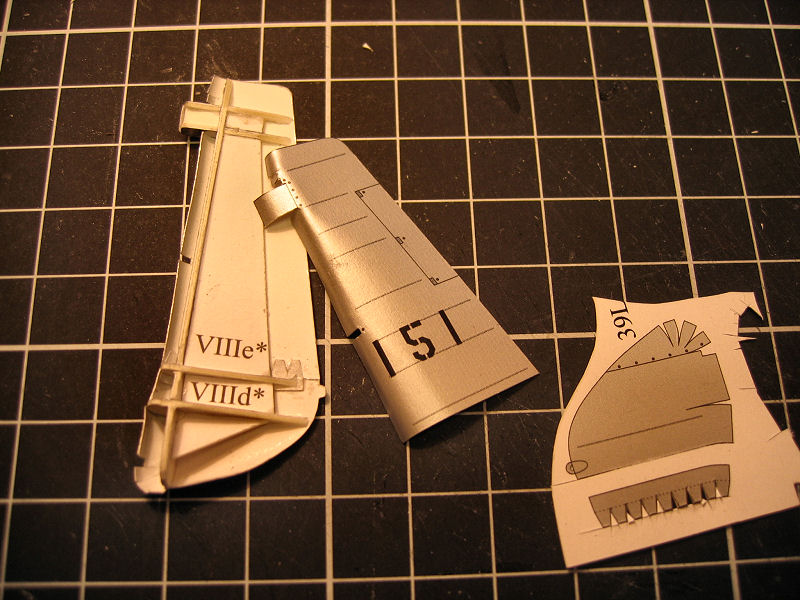
Here I have glued one side to the rudder

And the skins are on.
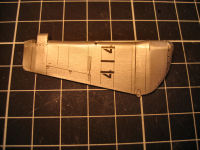
The side facing forward had some flips to be joined.I found it a bit hard to get this niceely done,but it's invisible after the rudder is mounted...so I let it pass
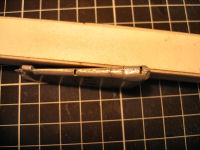
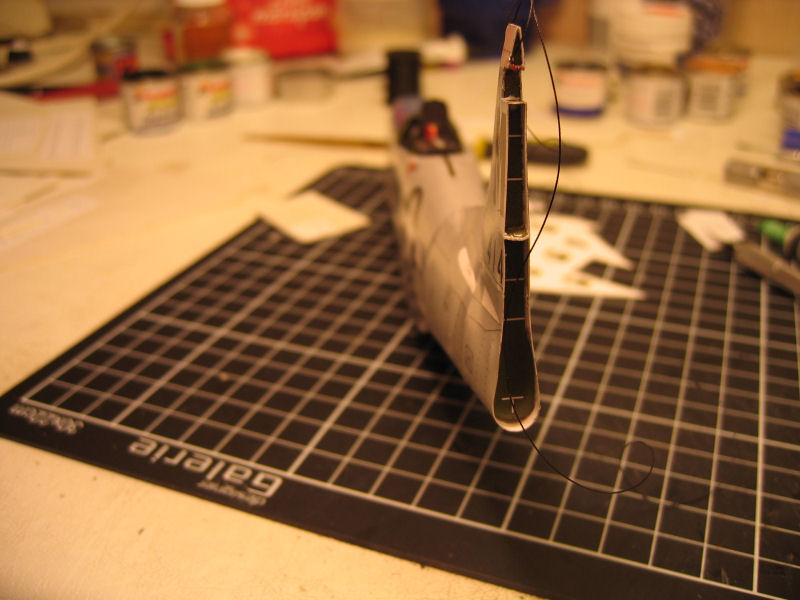
The rudder put loosely on.It won't be glued in place before I have the radio antenna going from the top of the tailfin through the canopy and onto the pilots seat...So to have a chance of getting it straight it will be tightened up through the tailfin after glued in front.

Now on to the vertical stabilizers..Comment
-
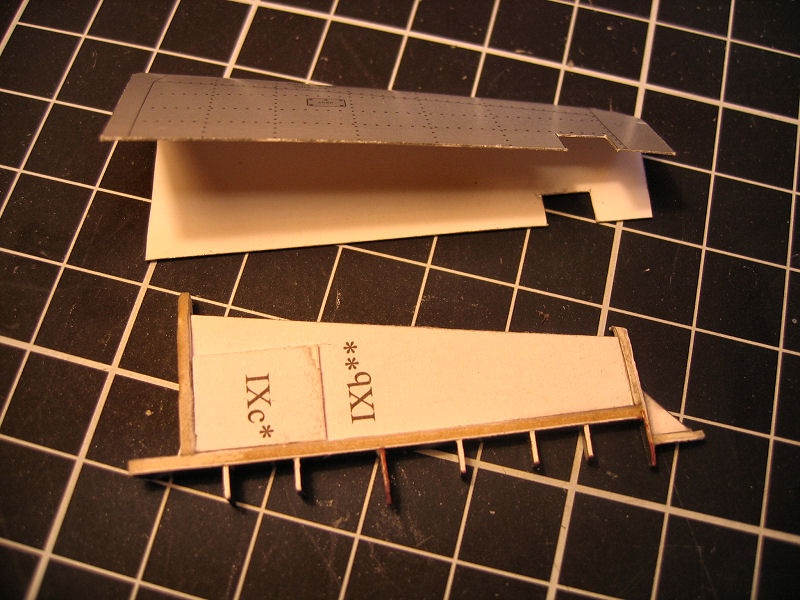
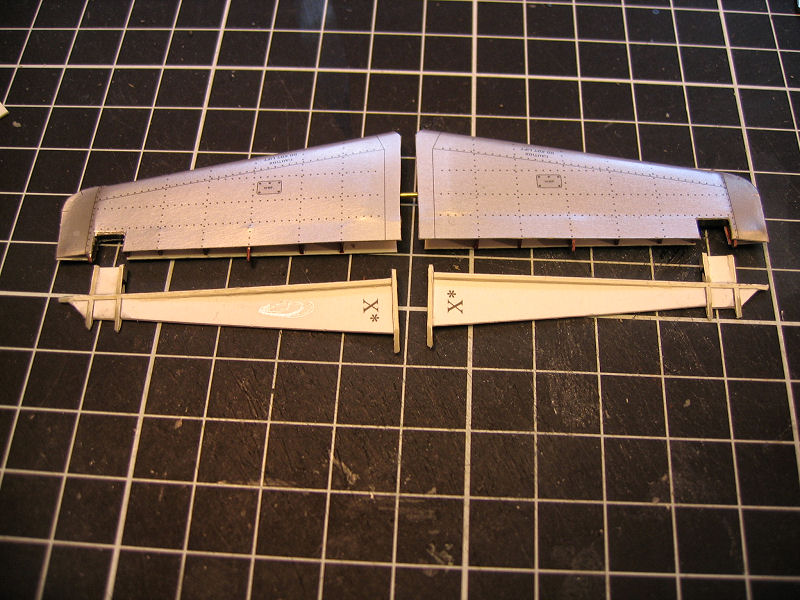
The horizontal stabilizers.
The drawing. Also a lot of parts involved in theese parts....
The first stab. here I have made the framing and preshaped the skin.
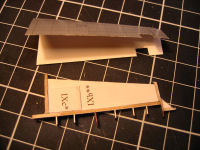
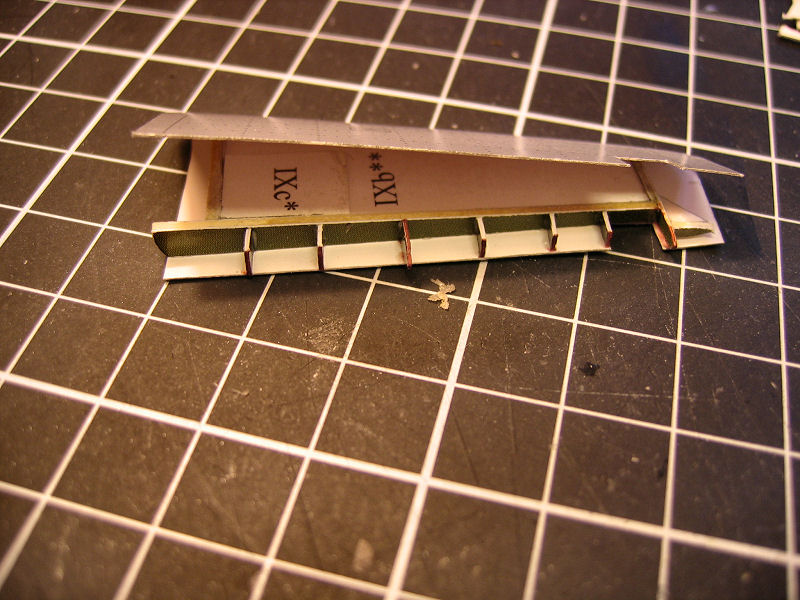
Next is to glue the frame to the bottom part of the skin.

And the top are glued in place.

I also couldn't resist in trying the rear part of the canopy...

Comment
-
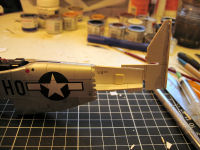
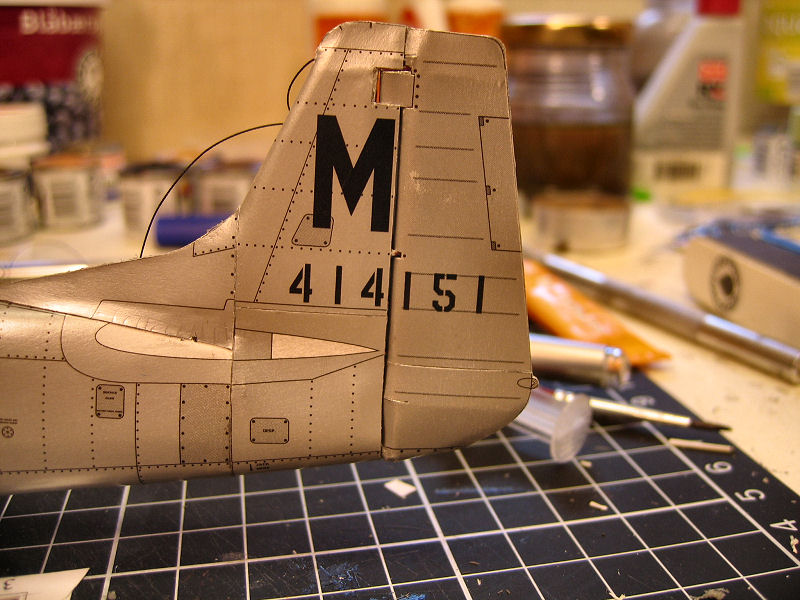
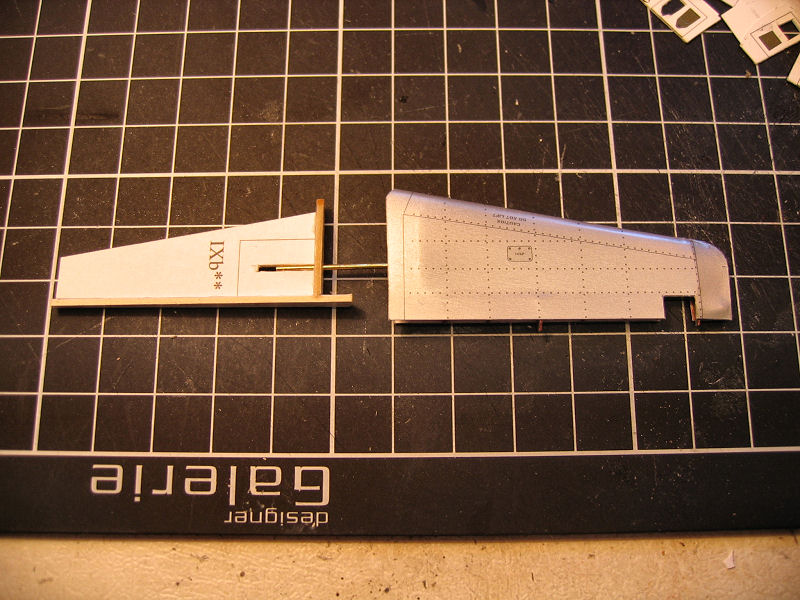
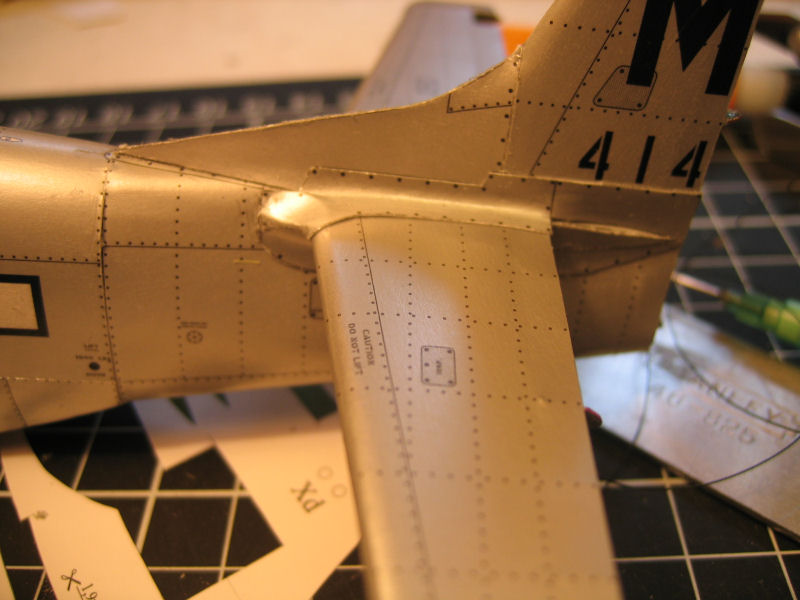
Finishing the tail.
The control surfaces was next out.
Here I have prepared the framework
The fins are glued in place
And the control surfaces are in place

Seen from behind
One side of the fairings are done

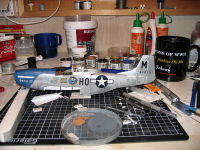
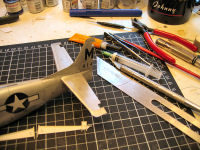
And an overview at last...
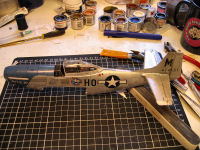
Now I will start on the wings!Comment
-
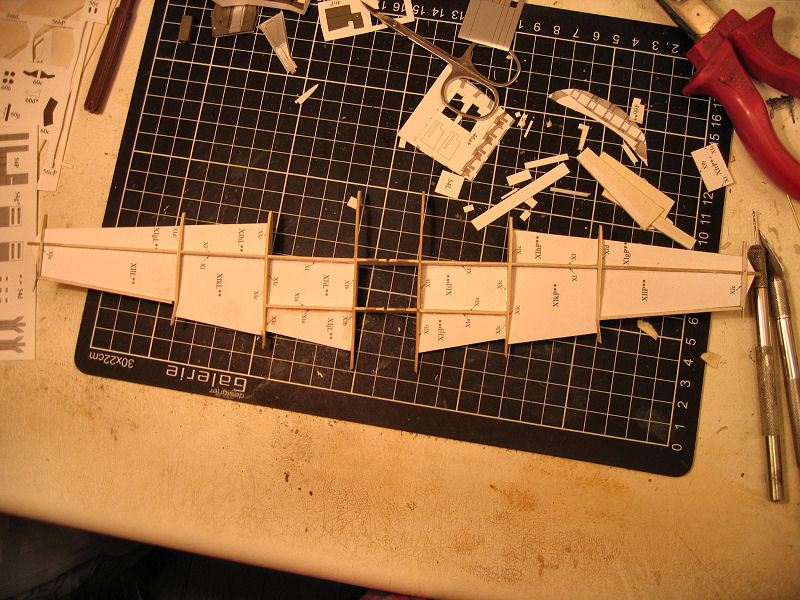
Easter is passed and my build continues....
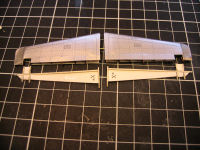
I made the framing for the wings.


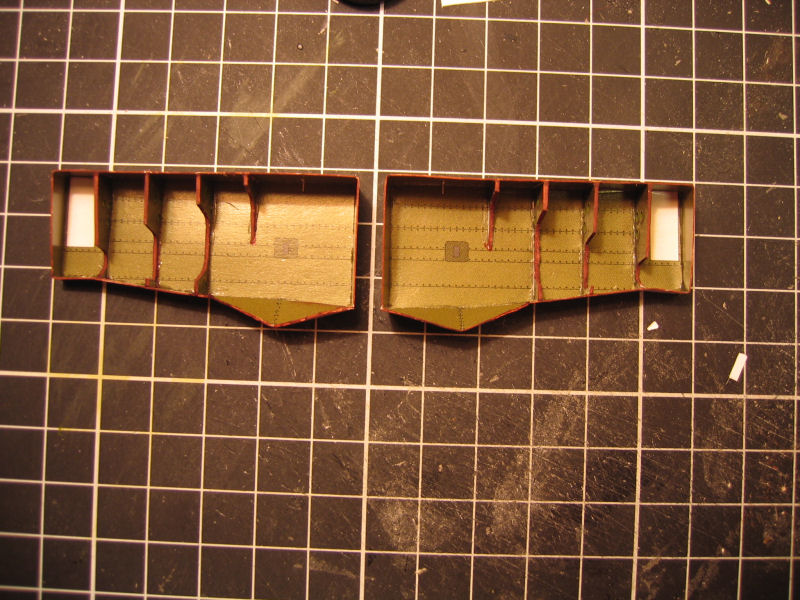
Started on one of the wheelwells

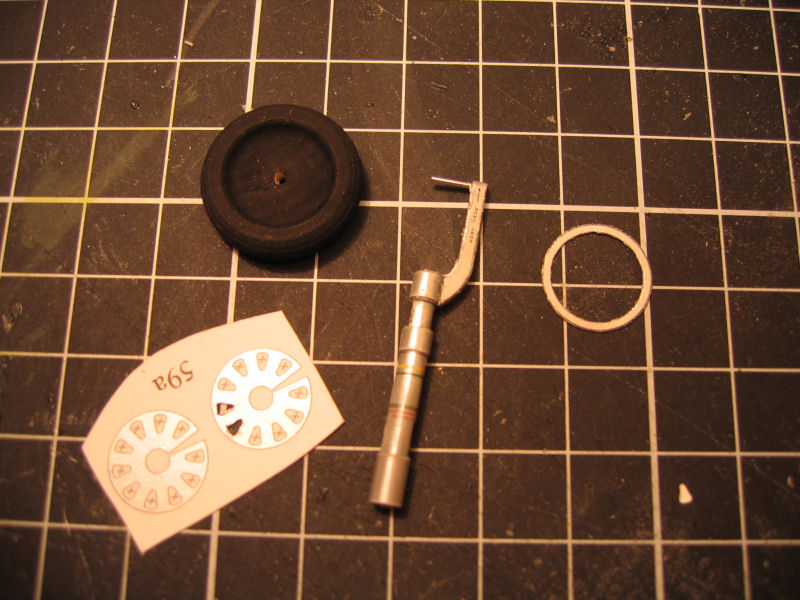
And I made the wheel covers and the cover that is attached to the landing gear.


Comment
-
Hello guys!
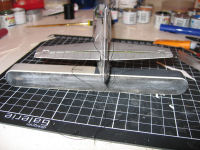
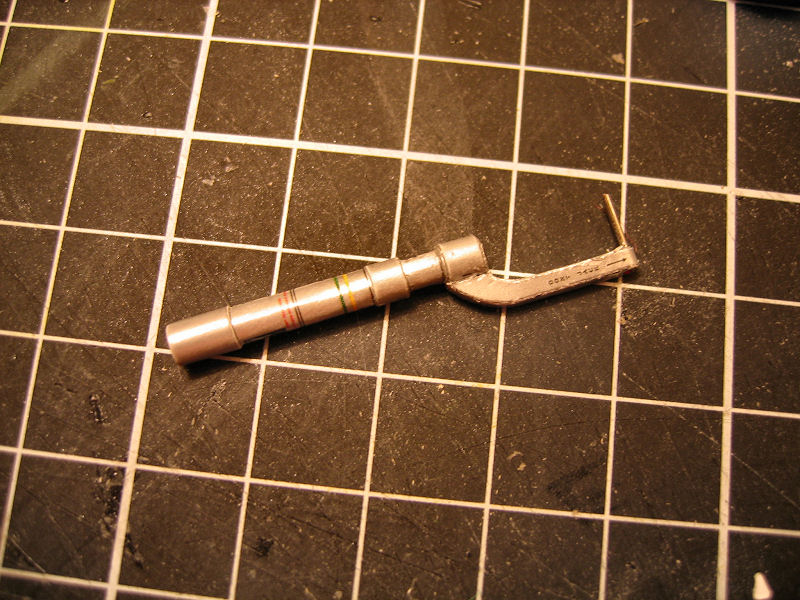
I did one of the legs for the landing wheels.


And both wheelwells are done.Just some minor parts to add.Such as the landing light and some push cylinders for the hatches that will be put on after the skinning of the wings are done.

Comment


Comment