Scale Model Shop

Collapse

Italeri 1/72 UH 5

Collapse
This topic is closed.
X
X
 
  • Time
  • Show
Clear All
new posts
  • Guest

    #1

    Italeri 1/72 UH 5

    [COLOR=rgb(39, 42, 52)]Hi All,

    This is my next kit. This ones been in the works for a while and I need to finish it before moving on to 2017 projects.

    Build Plan
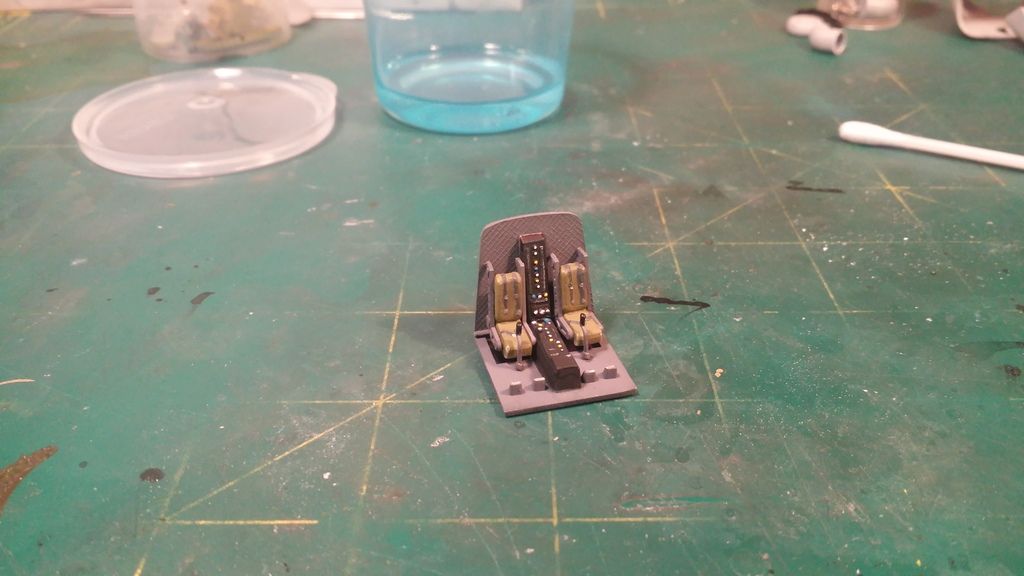
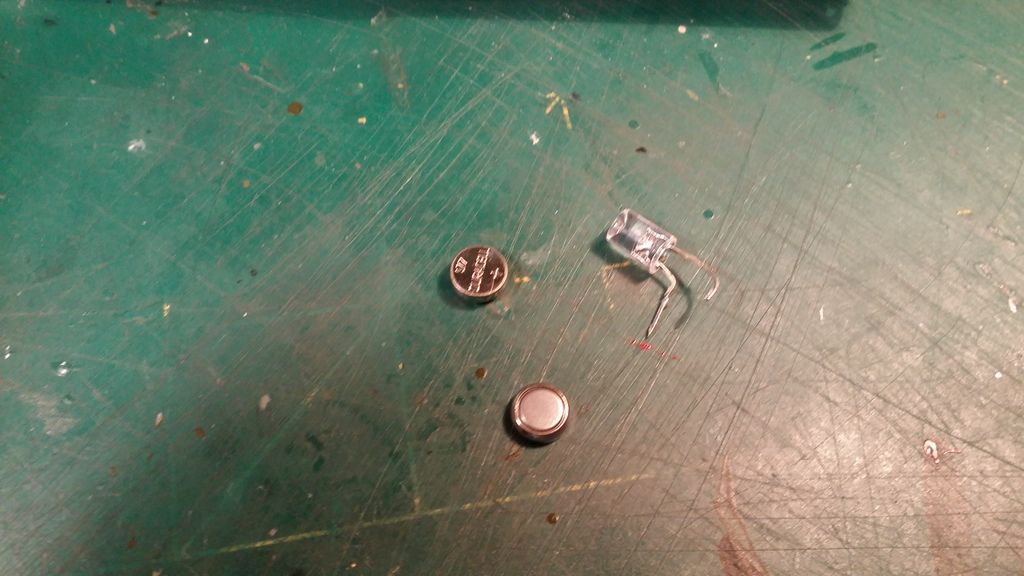
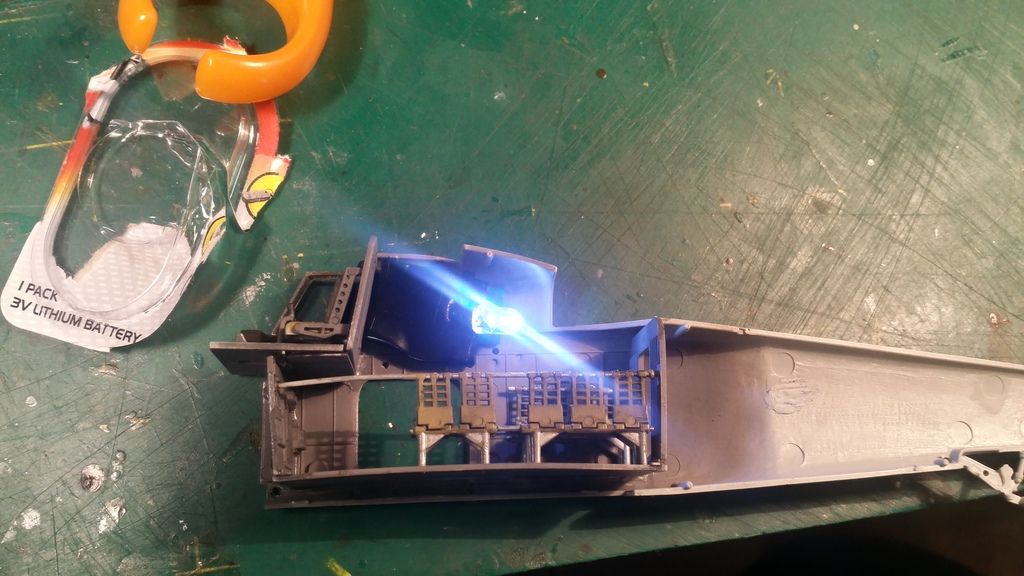
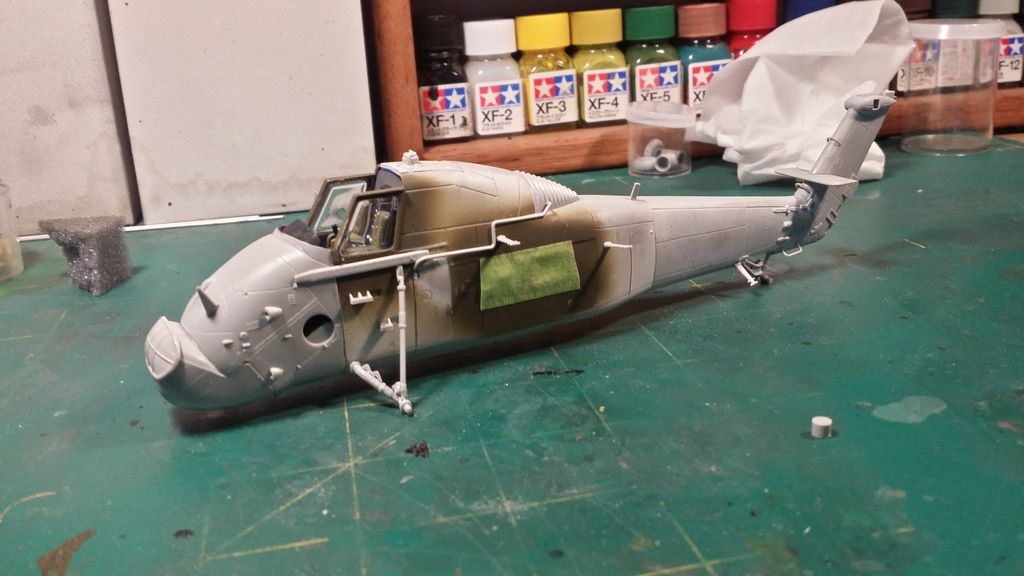
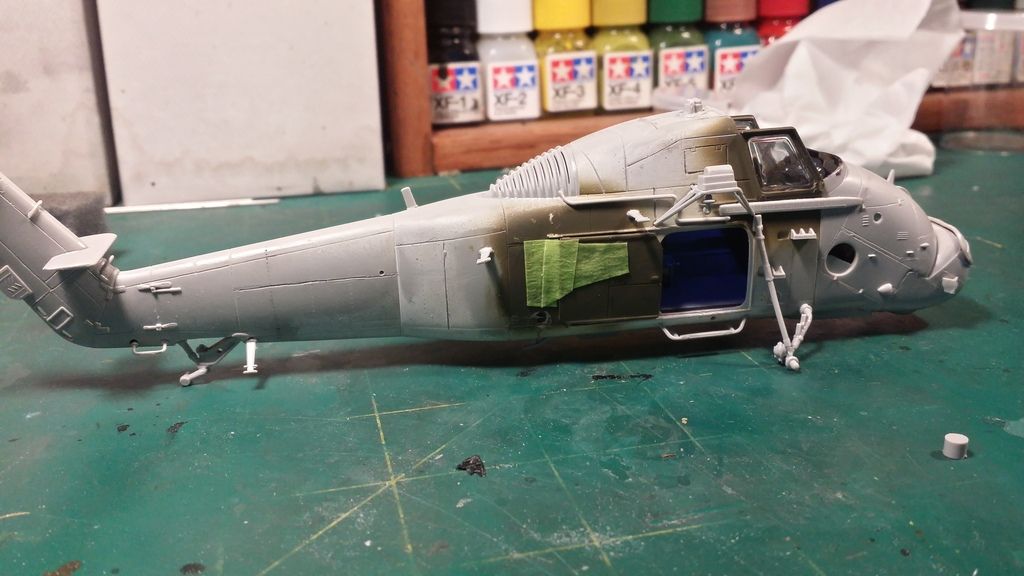
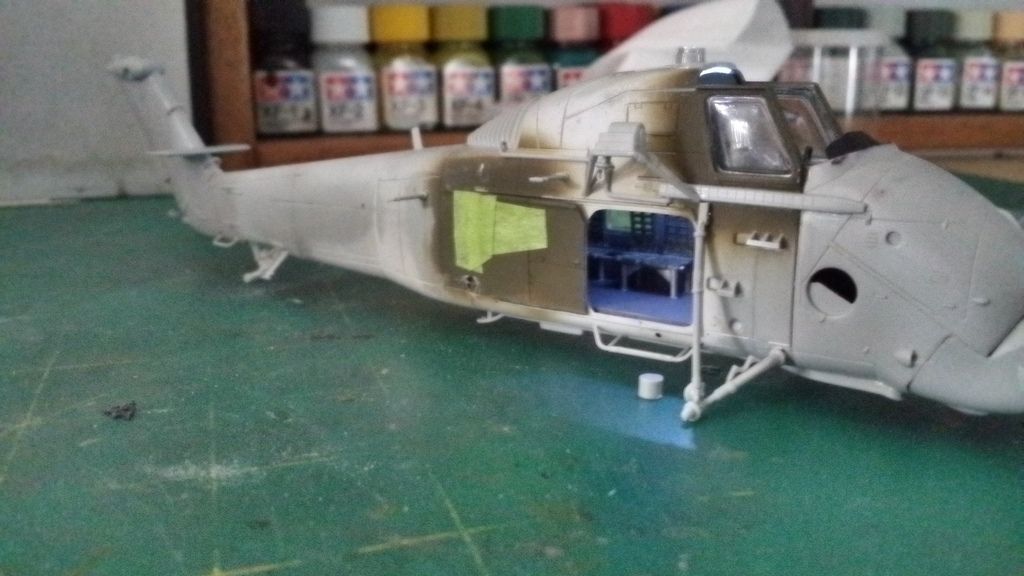
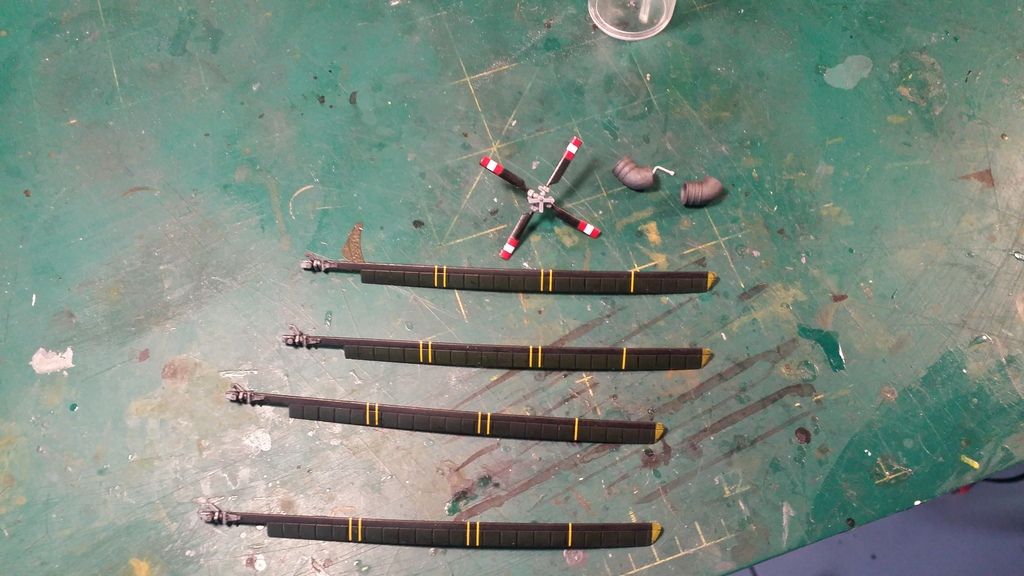
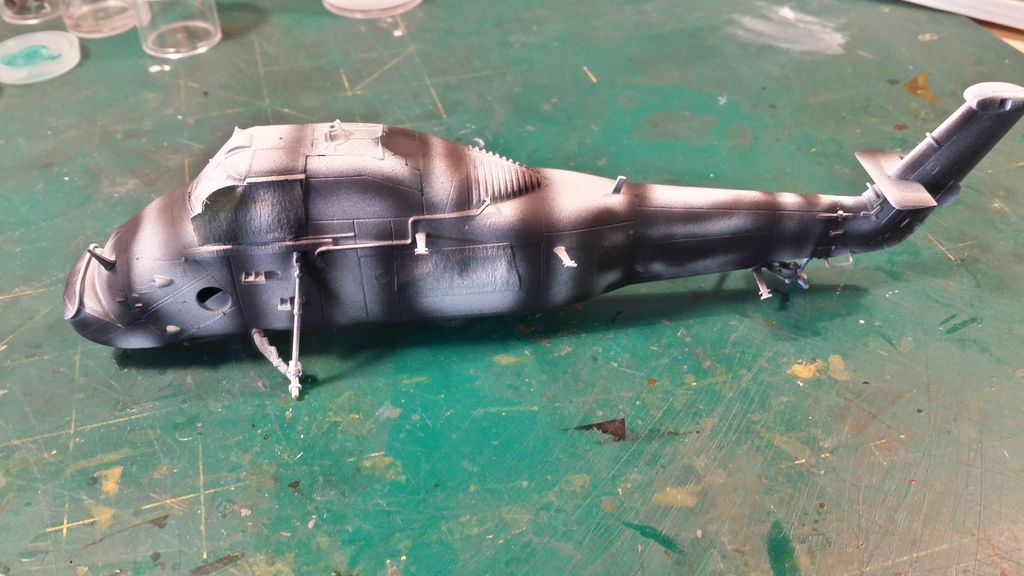
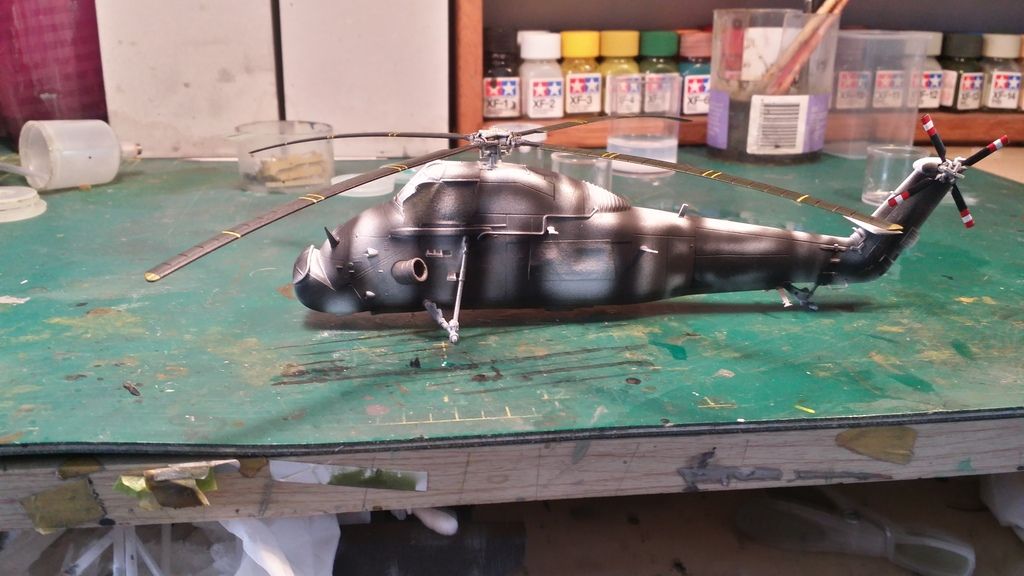
    Build the kit OOB, with just an LED to light up the interior. It will be painted in the olive drab scheme. Weathering will be kept to a minimum - preshading and panel lines.

    Kit Details from www.scalemates.com
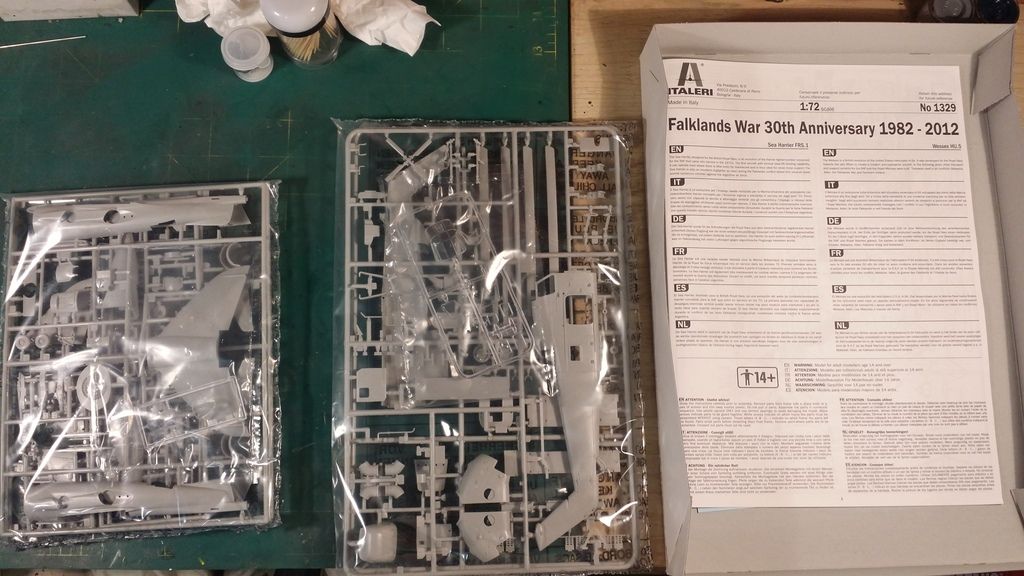
    Brand:Italeri
    Title:Wessex UH.5 / Sea Harrier FRS.1 30th Anniversary Falklands War
    Number:1329
    Scale:1:72
    Type:Full kit
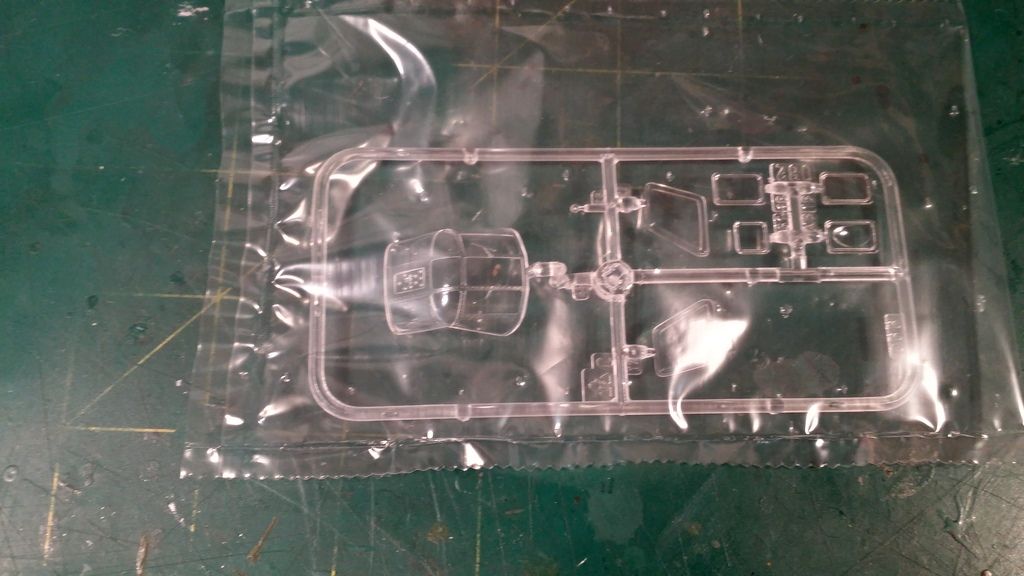
    Includes: Plastic sprues, Waterslide decals, Clear parts
    Released:2012 - rebox
    Kit History: The UH5 kit is based on Italeri kit 066 released in 1996.
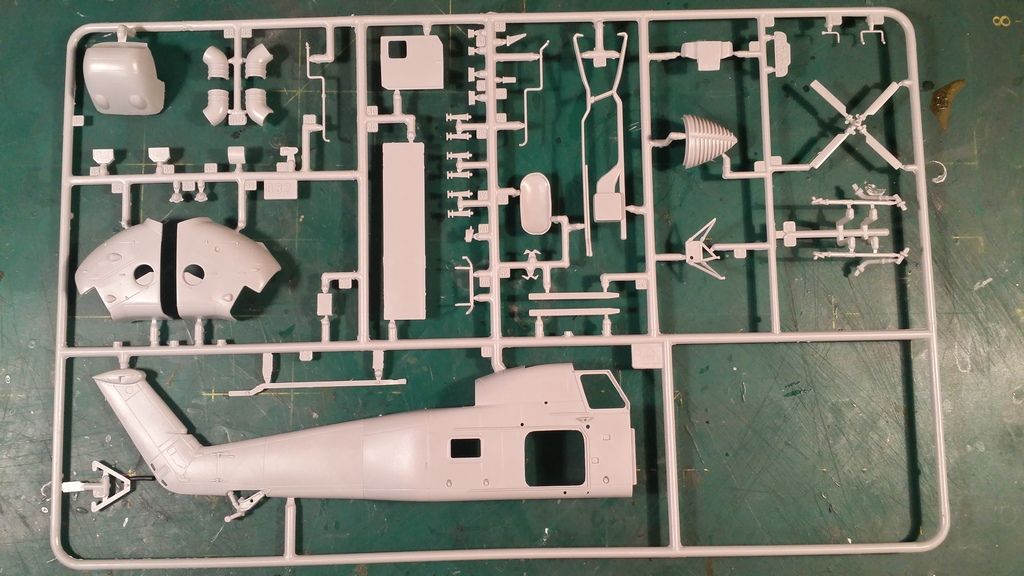
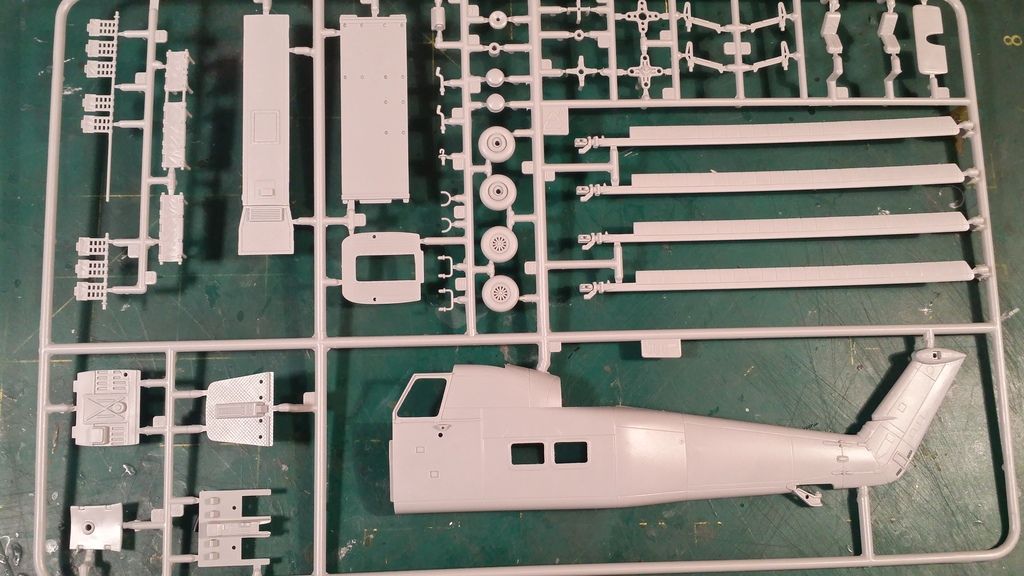
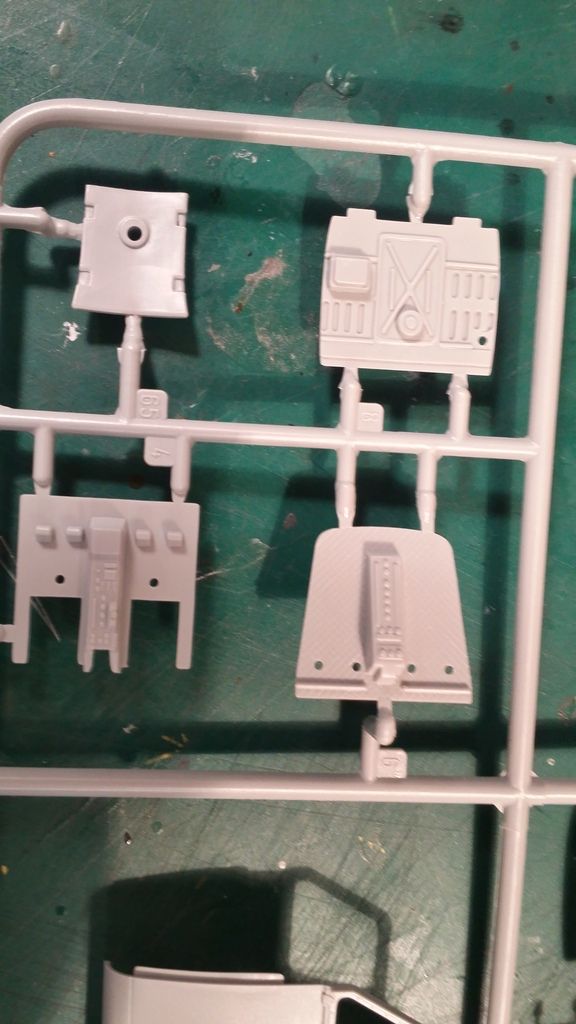
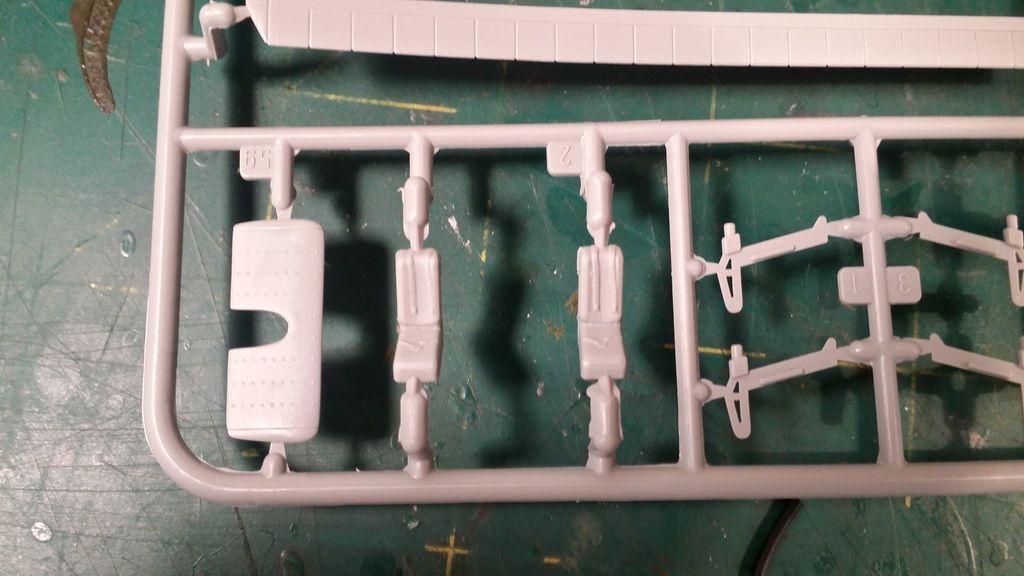
    Box Contents


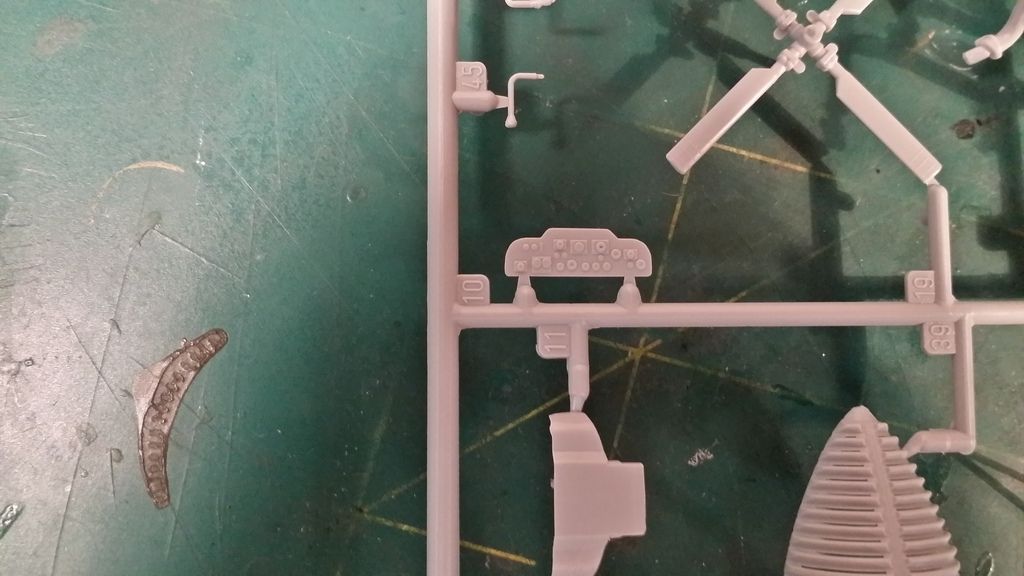
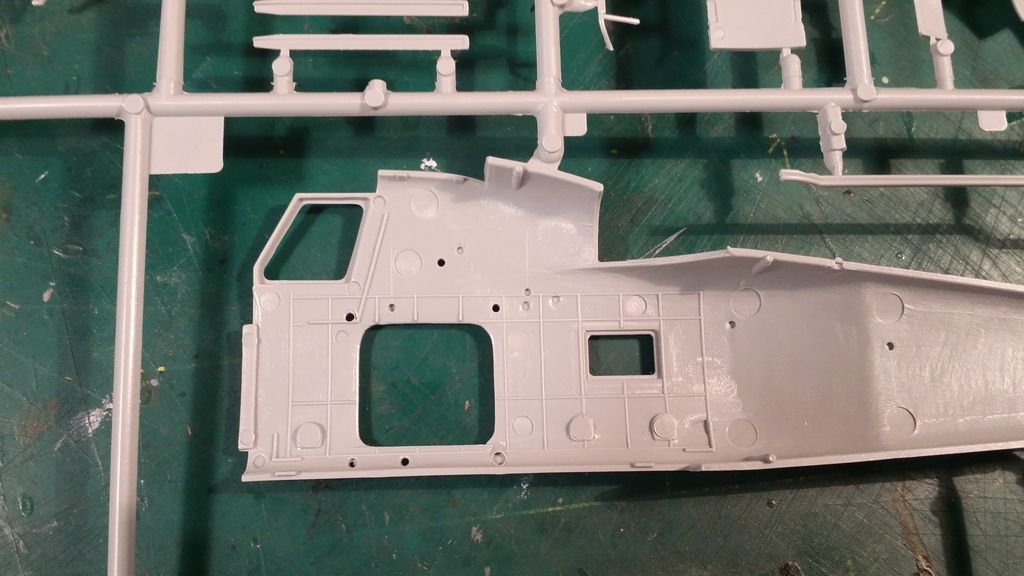
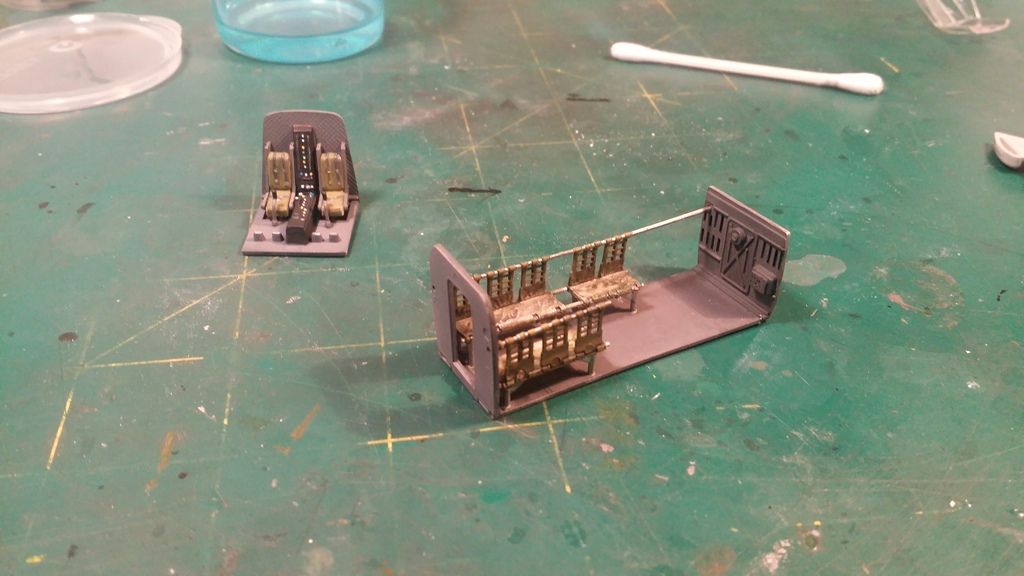
    Ejector pin marks on interior


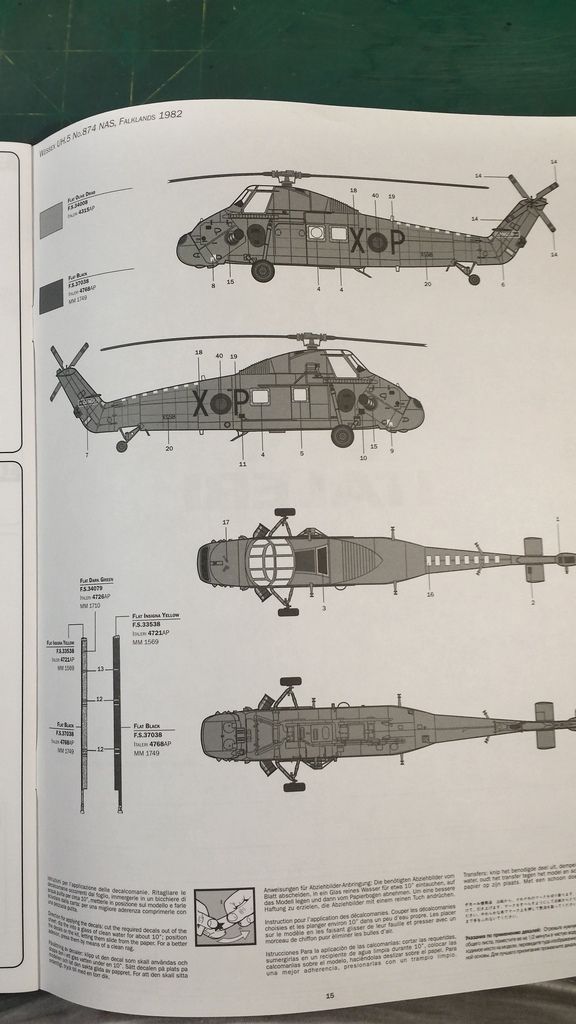
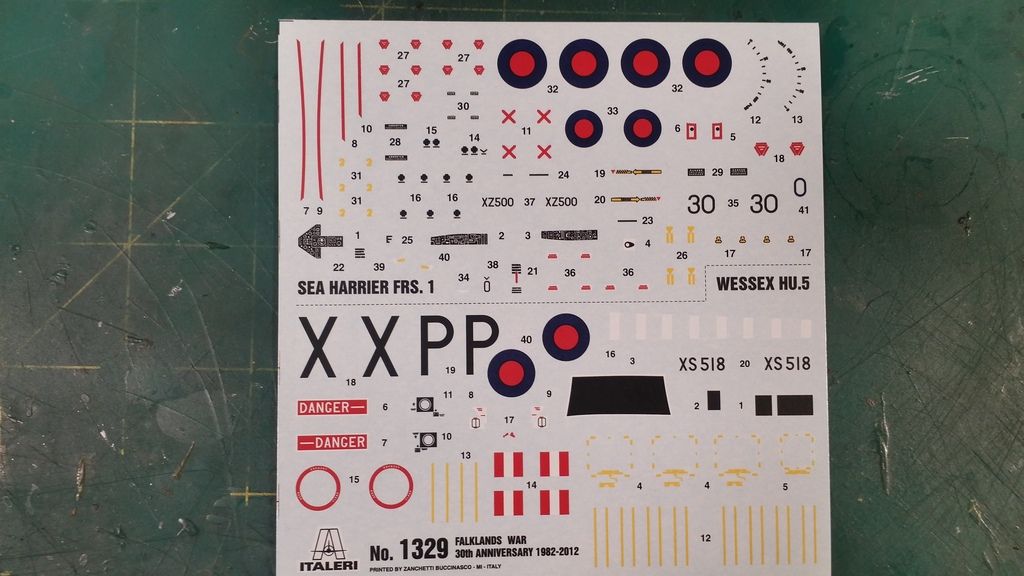
    The paint scheme and decals


    I hope you all liked the post. All comments welcome.
    [/COLOR]
  • colin m
    Moderator
    • Dec 2008
    • 8768
    • Colin
    • Stafford, UK

    #2
    An interesting build. I made Italeri's 1:48 Wessex some years ago, a really nice kit. So I hope the 1:72 is just as good.

    Comment

    • papa 695
      Moderator
      • May 2011
      • 22771

      #3
      I will watch this one Bob

      Comment

      • monica
        • Oct 2013
        • 15169

        #4
        I,m in on this one,will wait to see what you do with it,a fair bit of plastic for 1.72

        Comment

        • Pikeman
          • Feb 2016
          • 1312

          #5
          I will also be watching this one Bob

          Comment

          • Guest

            #6
            Originally posted by colin m
            An interesting build. I made Italeri's 1:48 Wessex some years ago, a really nice kit. So I hope the 1:72 is just as good.
            Thanks Colin, I also have the 1/48 Italeri kit and on comparison the 1/72 pales in detail. This kit lacks a lot of rivets and is a much simpler kit, though I feel with some work can be made into a decent chopper.

            Comment

            • Guest

              #7
              Originally posted by papa 695
              I will watch this one Bob
              Originally posted by monica
              I,m in on this one,will wait to see what you do with it,a fair bit of plastic for 1.72
              Originally posted by Pikeman
              I will also be watching this one Bob
              Thanks Ian, Monica and Stuart!

              Here is the first build update - a lot of work done. I have finished off the cockpit, done up the interior, inserted the LED, put the fuselage together and added all the little bits and bobs to it. I will now wait for some Gunze Masking Solution R to arrive which I will test on the canopy to mask it and then prime it all.

              In the meantime I will work on the blades and tyres and exhausts, finish them off.

              So here are the updates.

              First off here is the completed cockpit. I have chosen a different colour for the seats as I like it (Tamiya Enamel XF - 49 Khaki Drab). The rest of the kit is painted according to instructions. The floor is Tamiya XF - 54 Dark Sea Grey enamel and the panels Humbrol 33 Flat Black. I highlighted the buttons using Tamiya Acrylic XF-2 Flat White and also some Yellow and Light Blue.
              The seat belts were a pain to paint but got them done as best I could with my fidly fingers, It was all then given a wash with Vallejo Light Grey Acrylic wash.


              The interior with seats again painted with Tamiya XF-49 Khaki Drab enamel and railing with Tamiya x-11 Silver enamel. This was given a wash with Vallejo Black wash - an acrylic wash so as not to harm the enamel paint but give it a weathered and used look.


              All put into the fuselage


              The LED is to be constructed using two small watch batteries each 1.55 volts for a combined 3.1 volts which is enough to power the LED. I later changed the battery to a slightly larger 3 volt battery as the two small batteries kept failing apart.


              Here it is in its current state. Fuselage halves joined then filled in and sanded, I used the below tools to do quite some rescribing - not sure if I got the lines as straight as I wanted.


              Now the parts were the windows are going are already primed and painted first so that I donot have to mask exactly over the clear part and can just have the mask go over the part and onto some part of the fuselage. The paint colour will hopefully match the final paint colour in the end.


              Here is the interior highlighted with a slight blue hue coming from the LED.


              Now as stated previously I will work on the blades, the tyres and exhausts, as these will be painted separately and attached near the end of the build.

              I am waiting on a Gunze Masking Solution R - which I will use to mask the canopy and then attach it so I can prime the entire model. together.

              I hope you all liked the update. All comments welcome.

              Comment

              • monica
                • Oct 2013
                • 15169

                #8
                this is looking real good,for the scale has some good detail,liking what your doing,

                Comment

                • colin m
                  Moderator
                  • Dec 2008
                  • 8768
                  • Colin
                  • Stafford, UK

                  #9
                  Good progress. I like the 'busy' look of the Wessex. By pure luck, I went past RAF Shawbury yesterday and would you believe it, their Gate Guardian is a Wessex !

                  Comment

                  • Pikeman
                    • Feb 2016
                    • 1312

                    #10
                    Some really nice work going into this looks great

                    Comment

                    • Guest

                      #11
                      Originally posted by monica
                      this is looking real good,for the scale has some good detail,liking what your doing,
                      Originally posted by Pikeman
                      Some really nice work going into this looks great
                      Originally posted by colin m
                      Good progress. I like the 'busy' look of the Wessex. By pure luck, I went past RAF Shawbury yesterday and would you believe it, their Gate Guardian is a Wessex !
                      Thanks Monica, Colin and Stuart

                      Another build update here

                      Using my preferred primer Rustoleum 2X Ultra Cover Flat White Primer


                      The blades and connecting parts were primed


                      These were then painted detailed and decaled and lightly weathered- which took me a few days to get done. I also painted the exhausts as well.


                      The canopy was masked using Mr Masking Sol R (A liquid mask which creates a thin film around the masked area). The main body was then primed sanded and pre shaded with Humbrol 33 Flat Black.


                      Here it is after a test fit


                      Next will be painting the main body, decaling and sealing it all in. I might also paint the tyres as well.

                      I hope you all liked the update. All comments welcome.

                      Comment

                      • papa 695
                        Moderator
                        • May 2011
                        • 22771

                        #12
                        Looking great Bob, and a nice job with the light.

                        Comment

                        • Guest

                          #13
                          loving this build bob , your painting is superb , that interior is just great , can't wait to see more .

                          Comment

                          • monica
                            • Oct 2013
                            • 15169

                            #14
                            looking great Bob,very nice paint work,coming along a treat

                            Comment

                            • Guest

                              #15
                              Dang that is some nice detail you got there :-)

                              Theuns

                              Comment

                              Working...