Great start on your build Andy

-
-
I like what you done so far, looks like quite a detailed kit judging by the amount of cylinder fins, cam cover and engine look great together
good luck with the wheels...
simonWhy is common sense not so common?Comment
-
There is a fair amount of detail but the model is spoiled by parts that don't fit, some parts wrongly numbered on the sprues and the instructions are................how can I put this politely? a bit on the vague side but that's modelling, nothing like a wee challenge to keep you on your toes. You may find this hard to believe but this kit is slightly more of a pain than the Ducati but I will get there.
Andy.Comment
-
Looking forward to another great motorcycle build - nice start !Comment
-
Engine/gearbox in the frame, had to open out the mounting holes on the engine as they were too small for the 1.4mm screws.
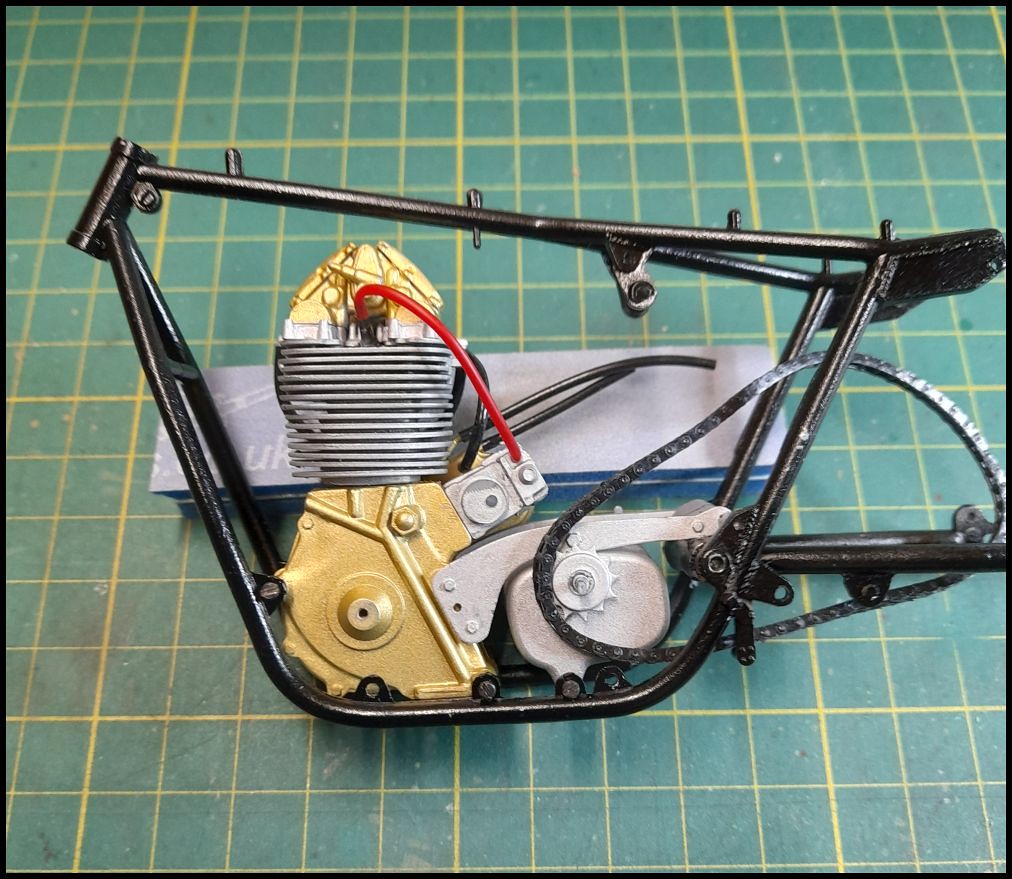
As you can see from the picture the drive chain does sit properly on the sprocket, you have to fit the chain before fitting the swingarm as the chain is one continuous length as is the primary chain and here comes the problem....................
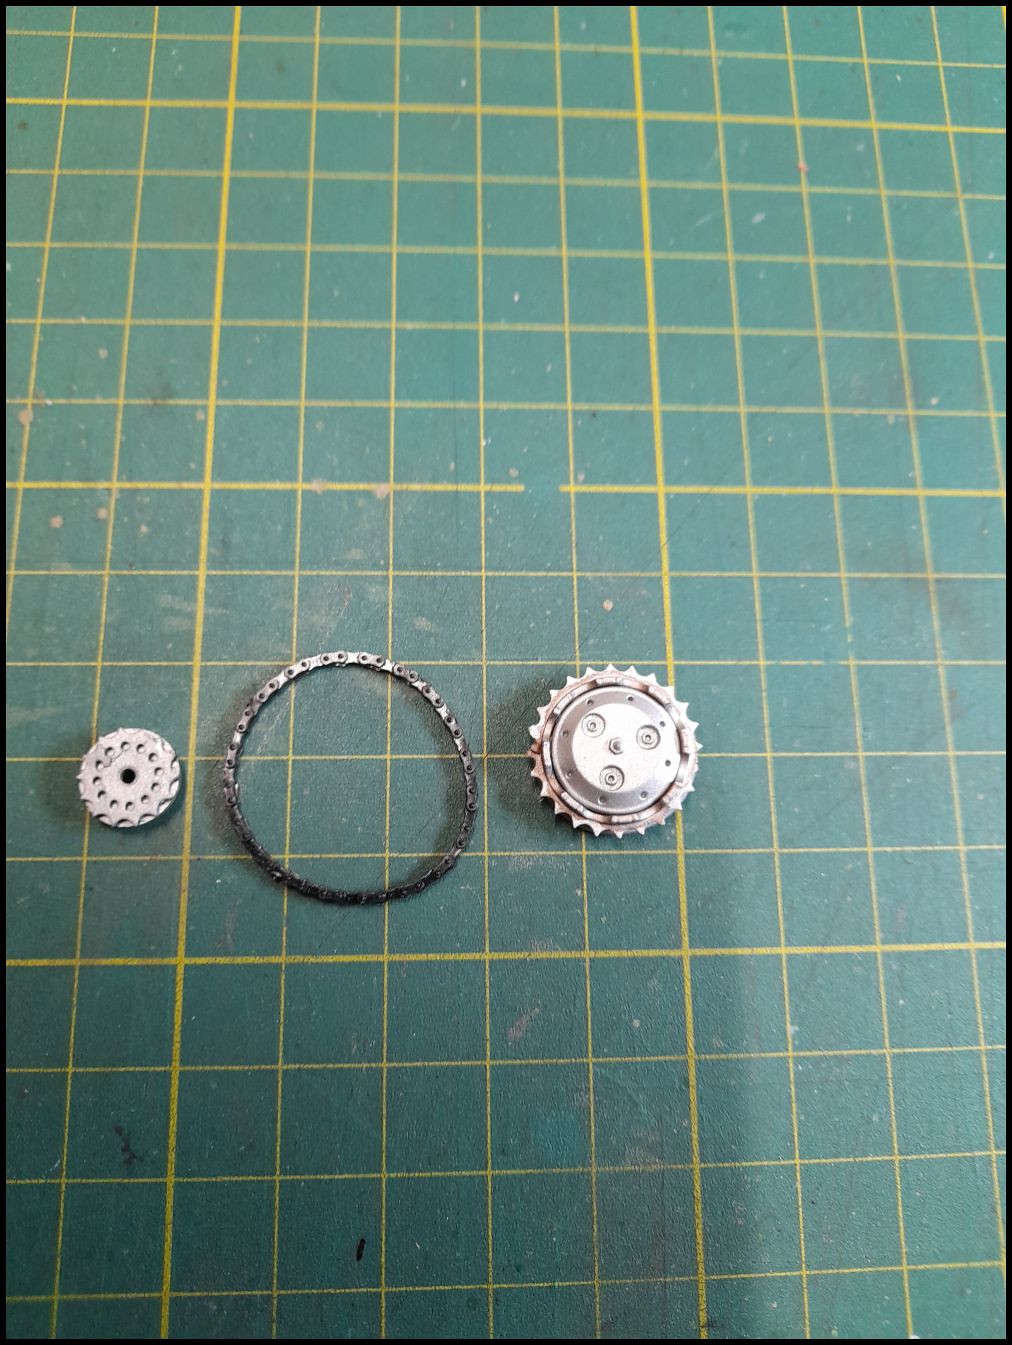
Engine sprocket, chain and clutch assembly.
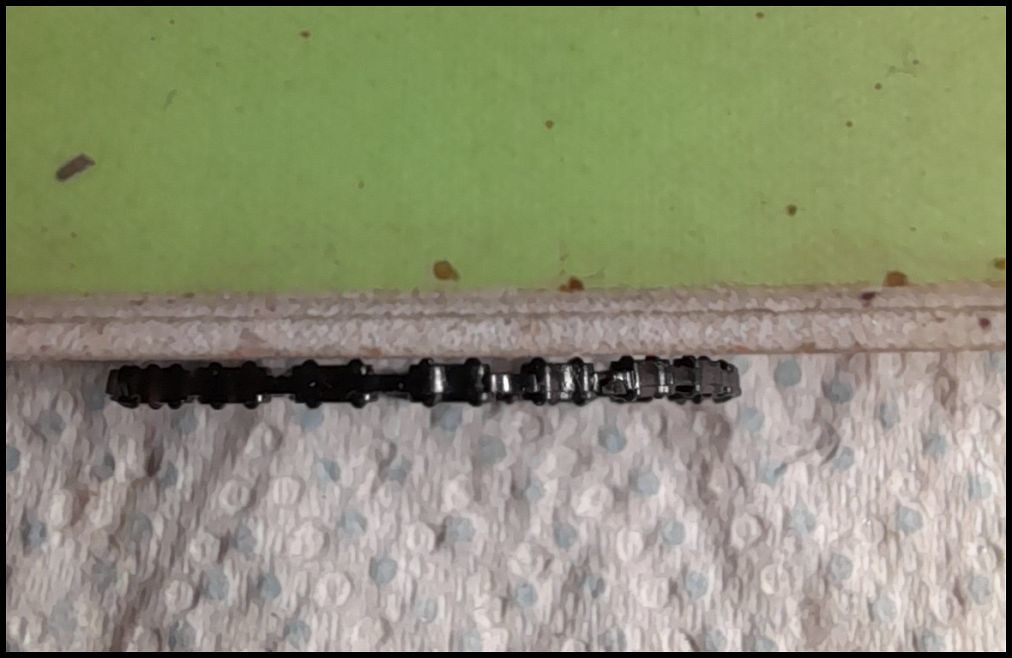
Primary chain.
The chain has no slots in it to fit over the sprocket teeth so I will have to reduce almost half the teeth on both sprockets to make it look like the chain is fitting as it should, a job for another day as I have has enough of this tonight.
Andy.Comment
-
Not ideal but itll look alright when its on.Comment
-
Tried my best with the primary drive set up, nor brilliant but I think it will do unless you look too closely. :smiling:

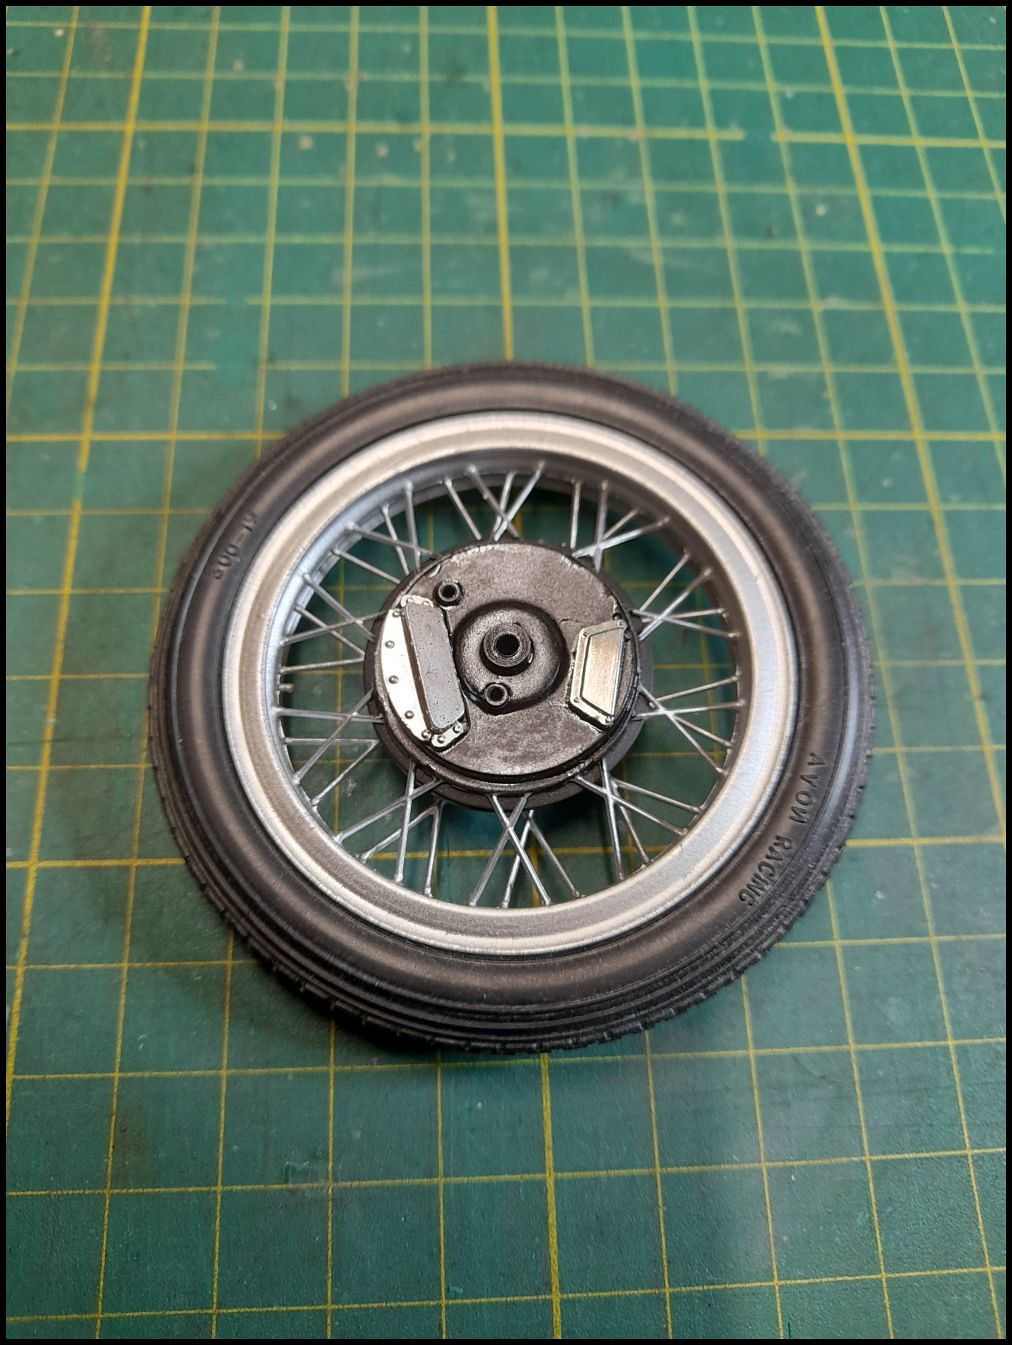
Wheels and forks nearing completion, still need to paint the two central bits with some Metal Colour silver.

Andy.Comment
-
Looking goodComment
-
Nothing wrong with that AndyComment
-
Looks greatWhy is common sense not so common?Comment
-
Got the primary drive fitted but what a ball ache that was. You have to really stretch the chain to get it in place with the result that the glue is not strong enough to hold the clutch in position, not even superglue held. Only answer was to drill the clutch housing and the gearbox and secure it with a screw. even then fitting the engine sprocket was not easy as trying to hold it and stretch the chain while trying to locate the fixing screw was a fiddle to say the least.

Close up picture shows the paintwork leaves a bit to be desired but but from a couple of feet away it looks fine. :smiling5:
Another nightmare was joining the wheel halves as they have to be clamped to pull the rims together, the instructions show using 4 clothes pegs to do this and I first tried this method using TET and 8 clamps but on removal after a couple of hours the rims parted, tried again this time with superglue with the same result. Last resort was to apply a liberal amount of Revell Contacta and leave it overnight..................result! only one more to do now.
A couple of sticky fingerprints to fix and it will be ready to fix on the completed bike which should take another couple of days........theoretically.
Andy.Comment
-
A bit late to the party, sorry Andy.
A real challenge. I've never come across a multimedia kit. It looks very good and all credit to you for sticking with it and sorting out the issues.Comment
-
It will be worth all the stress when its finished !Comment


Comment