Scale Model Shop

Collapse

Andrew's Resurrected 1/72 MiniArt Town House

Collapse
X
 
  • Time
  • Show
Clear All
new posts
  • adt70hk
    SMF Supporters
    • Sep 2019
    • 10395

    #1

    Andrew's Resurrected 1/72 MiniArt Town House

    Evening all

    So after the Huey Hog crossed the finish line in record time, I've pulled another partly completed building out of the cupboard of shame.

    This isn't quite as old as the Armourfast Farm House (link), as I only started it just over three years ago!

    This came courtesy of one of the members at our model club just before Christmas 2018. He was having a clear out and knowing I dabble in 1/72 brought it in to see if I was interested.

    All he wanted was what he paid for it. He'd clearly bought it second hand at a show because the price on the back was £1.50. I gave him £2 for it just because I felt guilty for getting it at such a bargain price - they go for approaching [COLOR=rgb(184, 49, 47)]£20[/COLOR].

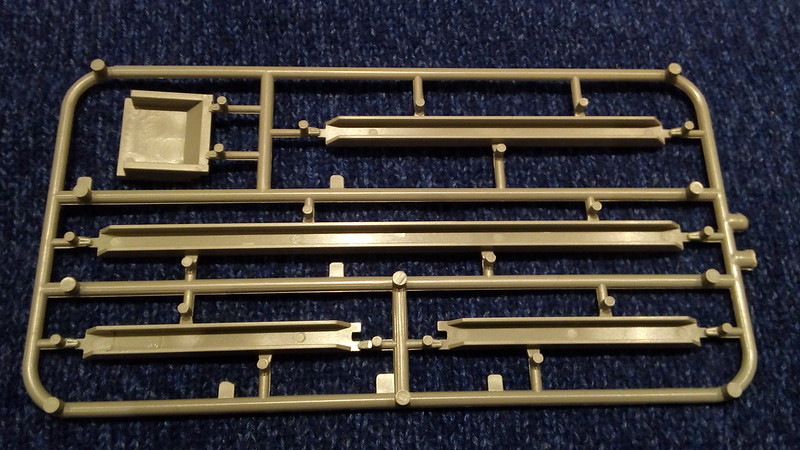
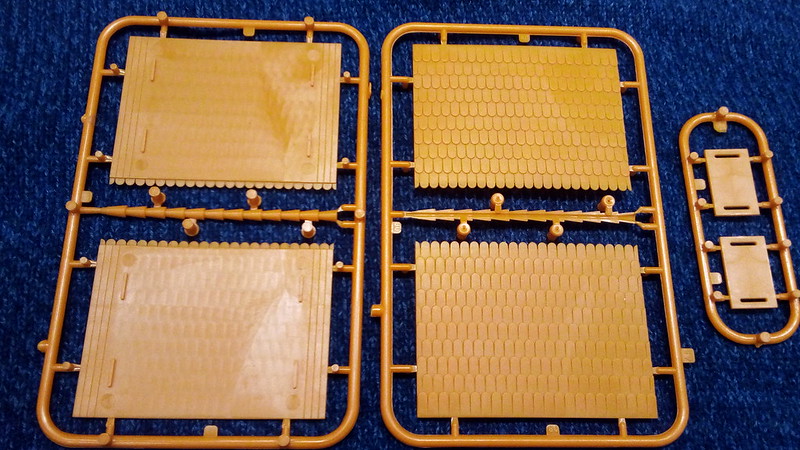
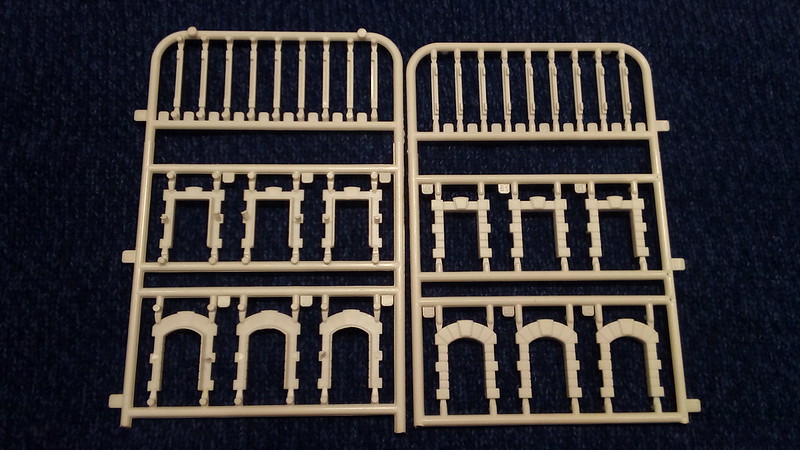
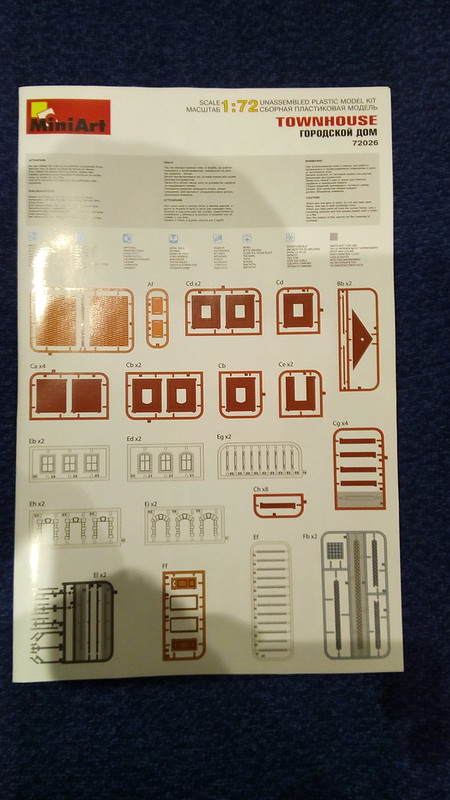
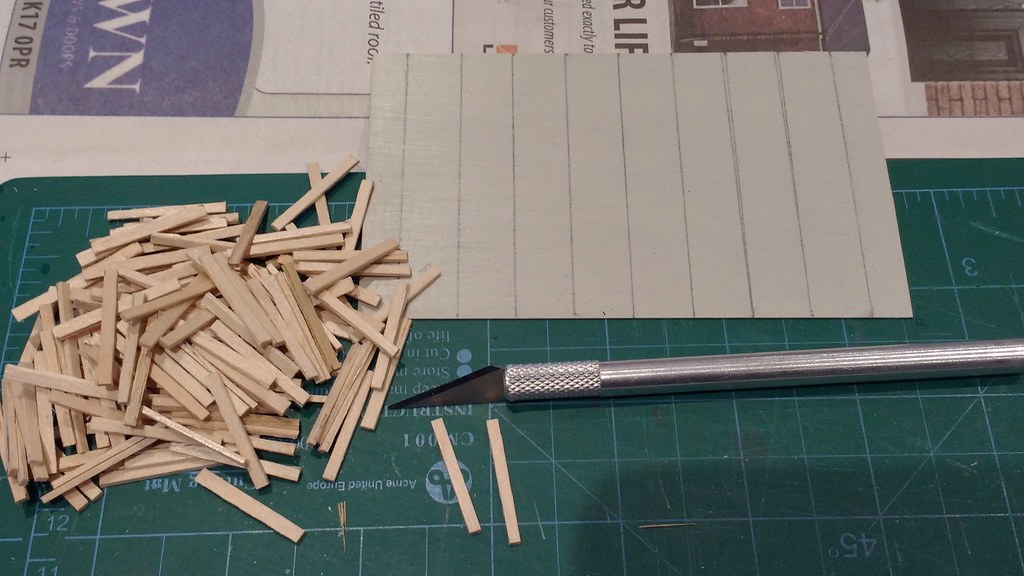
    Now I have heard a number of you comment on MiniArt's penchant for using 10 parts when one will do the job - this is no exception.

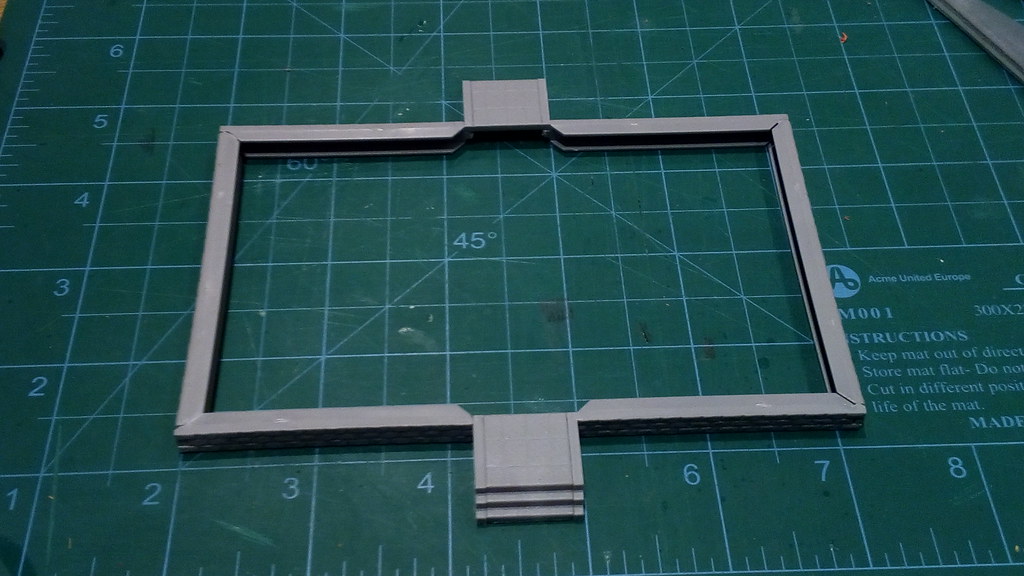
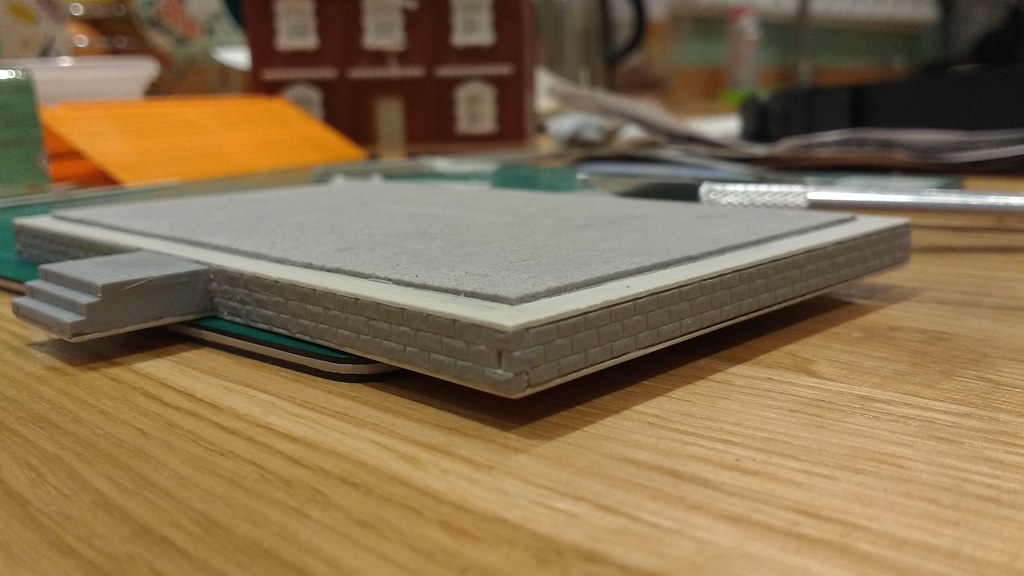
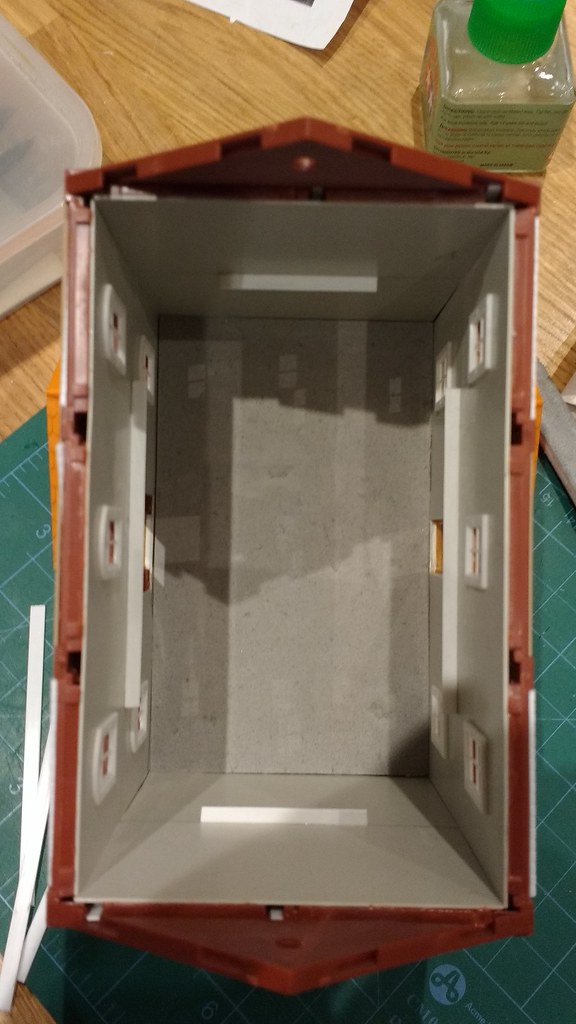
    According to one review it has just over 150 parts; the Armourfast Farm House has c. 35. What's more, once fully assembled the Armourfast offering is finished and ready to use once you've added floor. This one, IMHO, is not finished once fully assembled. I can only assume it's intended as a display piece because the inside really does look very rough when fully assembled. That said the quality and detailing is far superior the Armourfast's offering but then it should be at twice the price.

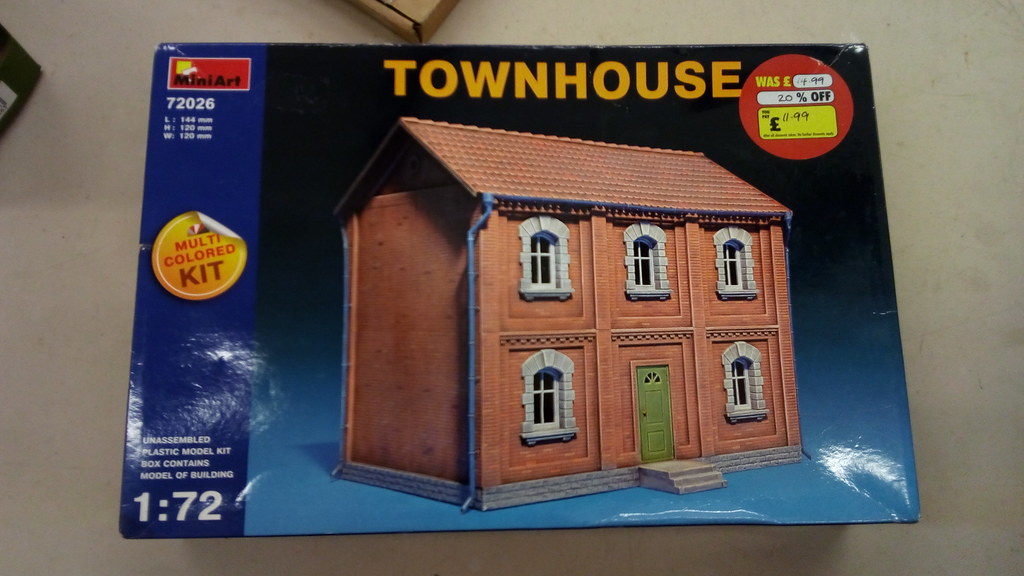
    Anyway the obligatory box shot is below.....sprue and instructions to follow later.

    ATB

    Andrew

  • Jim R
    SMF Supporters
    • Apr 2018
    • 15604
    • Jim
    • Shropshire

    #2
    Hi Andrew
    These MiniArt buildings can look quite good with a bit of work. It will be interesting to see what you can do with this.
    Jim

    Comment

    • adt70hk
      SMF Supporters
      • Sep 2019
      • 10395

      #3
      Originally posted by Jim R
      Hi Andrew
      These MiniArt buildings can look quite good with a bit of work. It will be interesting to see what you can do with this.
      Jim
      Thanks Jim. I'll try not to disappoint!

      Comment

      • adt70hk
        SMF Supporters
        • Sep 2019
        • 10395

        #4
        Morning all

        So sprue and instruction shots below.....was planning to post this last night but ran out of steam. The cold I have is still lingering and still making me feel very tired....I slept for nearly 10 hours last night, most unlike me.

        Anyway enough waffle...

        All of the wall sections had been taken off the sprue when I got it. One thing I noticed is that all of the wall sections were affected by what looked like stress lines, all in a similar sort of pattern. I wonder if that was a result of bad storage or over exuberant removal, or maybe even mould extraction issues.

        The actual moulding ispretty good with almost no flash. The walls thoughare made of smaller sections - 14 each for the front and rear walls and 8 each for the side walls; 44 pieces in total - the Armourfast farm house had the walls moulded in one piece.....so 4 in total...... :smiling5:

        ATB.

        Andrew

        **I'll try and post some more shots of the build process later today but I'm taking Junioress out at lunchtime.

        ------------------------------------------------------------------

        Walls


        The base


        The roof - very disappointing


        Guttering


        Windows and decorative brickwork


        Destructions


        Comment

        • The Smythe Meister
          • Jan 2019
          • 6248

          #5
          Interesting Andrew,
          I shall tag along if I may
          Andy

          Comment

          • adt70hk
            SMF Supporters
            • Sep 2019
            • 10395

            #6
            Ok, so the initial build shots.....

            On the whole the build went pretty well. Not having large flat panels meant there was no warping but at the same time it was absolutely necessary to make sure it was assembled carefully and on a perfectly flat service to ensure that there were no unintentional curves. Even then some did creep in but I manged to carefully bend them out.

            Although the walls went to together fine, you can see there are some nasty joins visible on the end walls but I've addressed those. The base was ok but getting it square was quite tricky and it wasn't very robust to begin with.

            As you'll see though, the main issue is that it looks very unfinished on the inside because of the way the pieces joined....but more about my plan for that later!

            ATB

            Andrew

            ------------------------------------------


            Comment

            • adt70hk
              SMF Supporters
              • Sep 2019
              • 10395

              #7
              Originally posted by The Smythe Meister
              Interesting Andrew,
              I shall tag along if I may :smiling3:
              Andy
              I think we have room....although you may recognise it from the other site!

              Comment

              • The Smythe Meister
                • Jan 2019
                • 6248

                #8
                What, with MY memory ?!!
                Can't remember what sites I worked on a week ago half the time!!

                Comment

                • Jim R
                  SMF Supporters
                  • Apr 2018
                  • 15604
                  • Jim
                  • Shropshire

                  #9
                  Hi Andrew
                  Nice start. You're right to ensure everything is as square as possible at the beginning. I think the lines you mentioned are just stress lines from manufacturing.
                  Jim

                  Comment

                  • Tim Marlow
                    SMF Supporters
                    • Apr 2018
                    • 18871
                    • Tim
                    • Somerset UK

                    #10
                    Interesting stuff Andrew. I must admit the parts count is ridiculous though. Getting the walls flat and square must be quite hard, and you are left with some horrible joins to eliminate. The roof does look poor, and it will be very hard to get the joints looking good because it’s so visible. I think I’d be tempted to replace it with one of the Wills moulded tile sheets (Injection moulded sort, not basic plastic card. That stuff does have enough texture). Strange really, it isn’t as if the parts are even that big….
                    Still be good to see what you do with it though. Nice start so far…..

                    Comment

                    • adt70hk
                      SMF Supporters
                      • Sep 2019
                      • 10395

                      #11
                      Originally posted by Jim R
                      Hi Andrew
                      Nice start. You're right to ensure everything is as square as possible at the beginning. I think the lines you mentioned are just stress lines from manufacturing.
                      Jim
                      Thanks Jim..... More pictures to follow shortly!

                      Originally posted by Tim Marlow
                      Interesting stuff Andrew. I must admit the parts count is ridiculous though. Getting the walls flat and square must be quite hard, and you are left with some horrible joins to eliminate. The roof does look poor, and it will be very hard to get the joints looking good because it’s so visible. I think I’d be tempted to replace it with one of the Wills moulded tile sheets (Injection moulded sort, not basic plastic card. That stuff does have enough texture). Strange really, it isn’t as if the parts are even that big….
                      Still be good to see what you do with it though. Nice start so far…..
                      Thanks Tim. As you say the parts count is ridiculous and I really was worried about the walls being flat and those joins likes are yukky!!

                      As you say the roof does look very poor indeed, especially when you consider the detail on the rest of the kit. I must admit I hadn't considered tile sheets and I'm pretty sure I have an injection moulded sheet of unknown lineage in the stash somewhere - so thanks for jogging the old grey matter!!!


                      Thanks again gents!

                      ATB

                      Andrew

                      Comment

                      • adt70hk
                        SMF Supporters
                        • Sep 2019
                        • 10395

                        #12
                        Hi all

                        So thanks for the support.

                        So next up was to sort out the interior, which was done with large sheets of plasticard glued to the inside. I obviously had to trim it to make sure the building would go together well and then cut out holes for the windows and door. I also added supports for the first floor.

                        Also below you'll see a shot of it all in once piece....the windows, ledges and brickwork are held on by PVA as I was interested in what it would look like.

                        ACW as usual.

                        Andrew


                        Comment

                        • Tim Marlow
                          SMF Supporters
                          • Apr 2018
                          • 18871
                          • Tim
                          • Somerset UK

                          #13
                          Wow, that changes the appearance somewhat. It also disguises the worst of the joints…..perhaps there is method in the parts count madness after all……

                          Comment

                          • adt70hk
                            SMF Supporters
                            • Sep 2019
                            • 10395

                            #14
                            Me again....

                            Sorry so many posts but it is easier to do it chunks - next up are the base, the model's excuse for a roof and the first floor......

                            The base was improved by plasticard sheet top and bottom, with some bracing under the top layer. I'm going to have a go at doing a flagstone floor and did it this way....

                            I first scrubbed the base with 40 grit sand paper to roughen the surface up. I then thought I'd try a trick I saw our plasterer do when he skimmed over the artex on the walls (yes I did say walls!!) of our house when we moved in six years ago. He prepped them by 'painting' them with PVA, so I did the same with the floor and it definitely made a difference in terms of "grippiness". I then created a 'frame' from plasticard strips and filled it in with heavy duty polyfilla (I still need to score the flagstone outlines though).

                            As for the 'roof'.....lots of warping that some 3mm square styrene rods cured. Plus the fixing markers don't even line up with the holes, so I had to add some 2mm styrene to correct that issue. As I intend to be able to remove the roof for our battles, the supports underneath are a tad over engineered but at least it guarantees no movement at all. The gaps for the roof tiles are for some chimneys I'm gong to add - believe it or not the kit doesn't come with any and they'll also help reduce the likelihood of any movement at the ends. I'll have a look at using an alternative roofing solution as Tim suggested.

                            As for the the first floor, I went slightly mad; plasticard base with wooden floor boards on top.....

                            .....but rather than do the sensible thing and use coffee stirrer sticks au naturel for an out of scale but ok looking floor, as per my Armourfast farm house....I decided to do them to 'scale'....

                            ...approx. 6" wide and either 3' or 6' long - about 140 in all. :tired: :tired: :tired: :cold-sweat: :cold-sweat: They're not quite as regular as I would have liked due the surprisingly inconsistent nature of the coffee stirrer sticks but they will do for us. Unfortunately though the floor has to be a bit too small to make it easy to lift out during battles, hence it not fitting properly.

                            ACW

                            Andrew

                            ----------------------------------

                            The base....


                            The roof.....


                            The first floor.....


                            Comment

                            • adt70hk
                              SMF Supporters
                              • Sep 2019
                              • 10395

                              #15
                              Originally posted by Tim Marlow
                              Wow, that changes the appearance somewhat. It also disguises the worst of the joints…..perhaps there is method in the parts count madness after all……
                              Thanks Tim, it did improve it somewhat didn't it! That said, for a kit now costing £15-£20 It really shouldn't be necessary IMHO.....

                              Comment

                              Working...