If this is your first visit, be sure to
check out the FAQ by clicking the
link above. You may have to register
before you can post: click the register link above to proceed. To start viewing messages,
select the forum that you want to visit from the selection below.
I apologies for the bad pics. But when the diorama is completed, I will take better ones. These are just WIP as you can see:
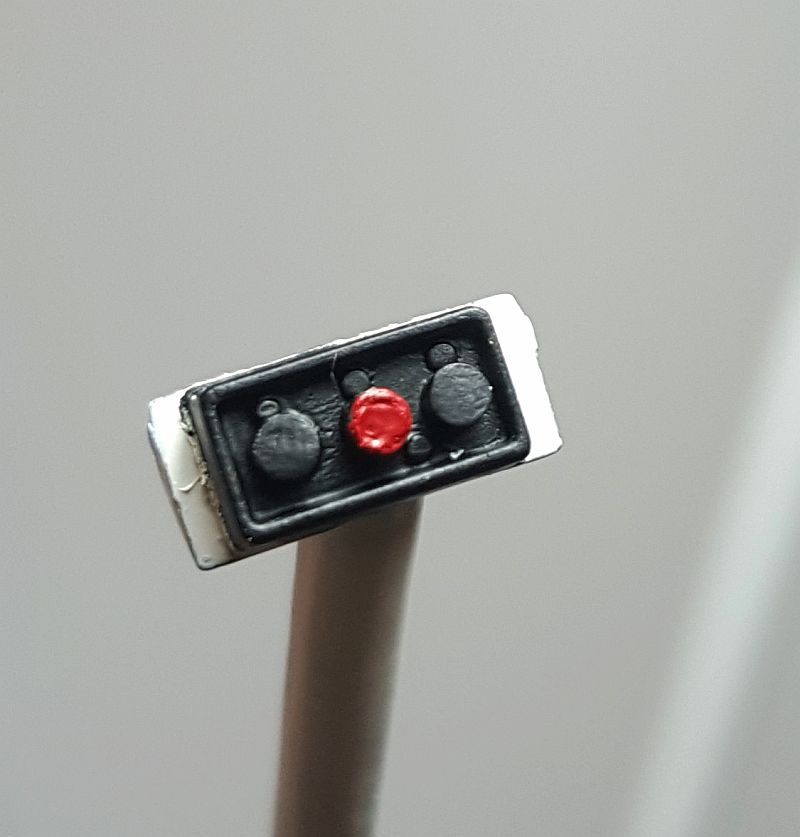
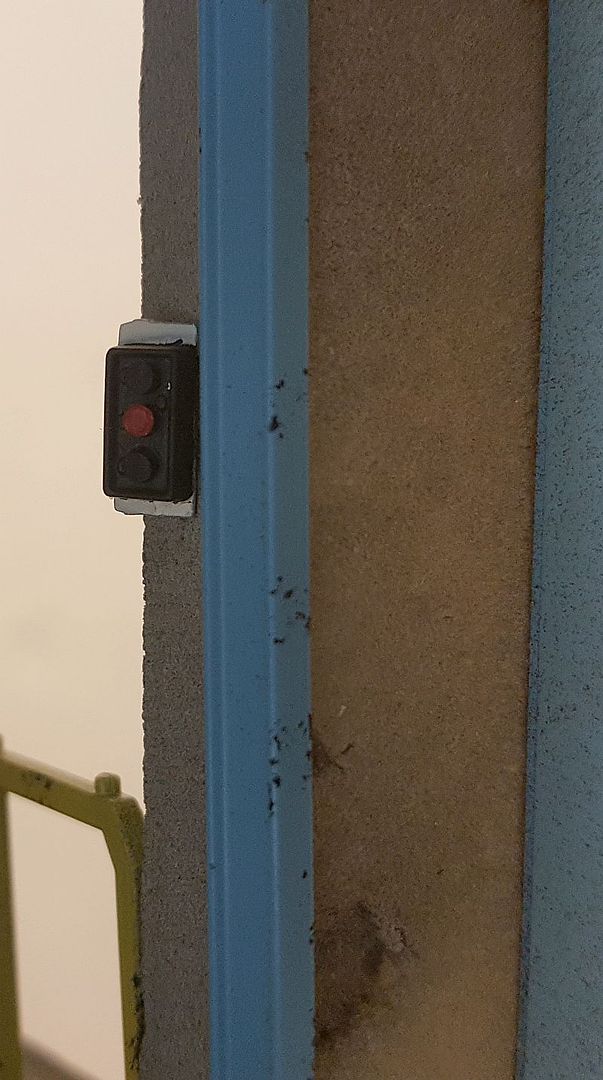
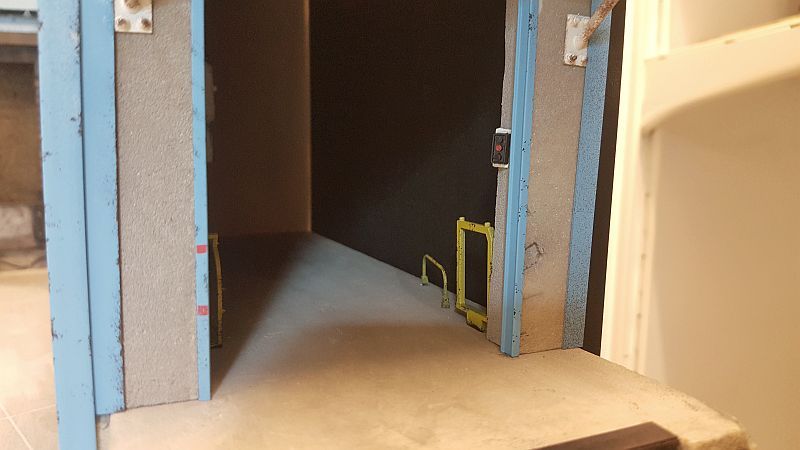
The bay door 'open & close' mechanism painted and ready to mount on the inside wall:
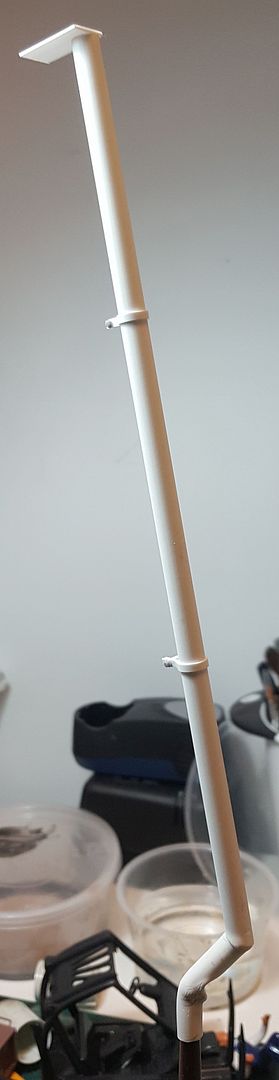
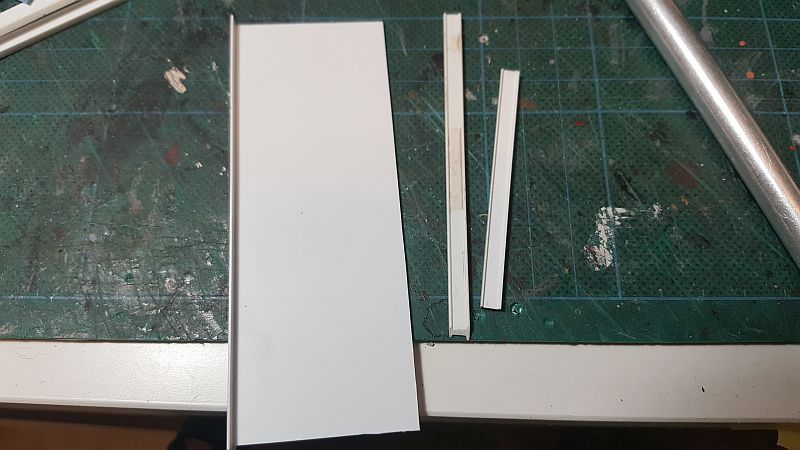
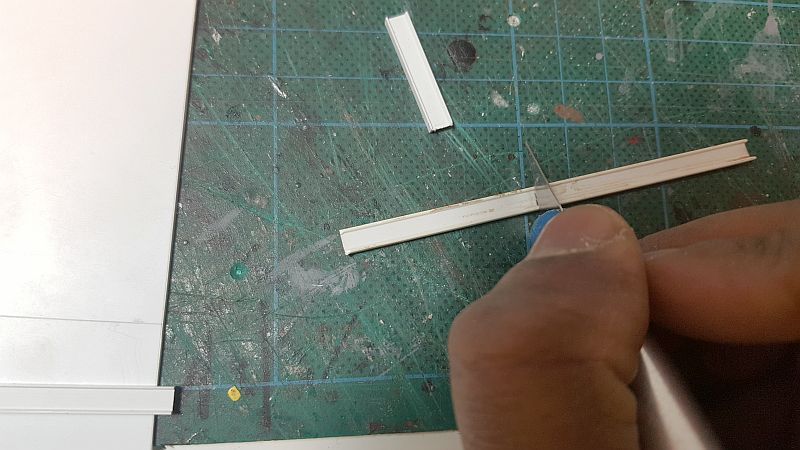
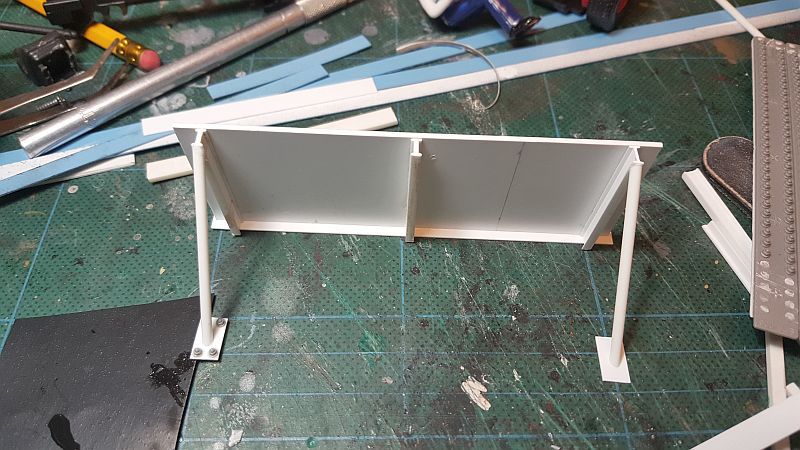
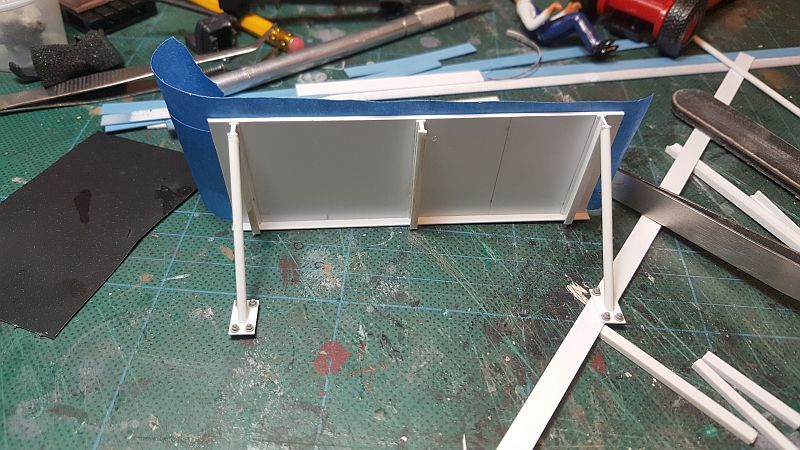
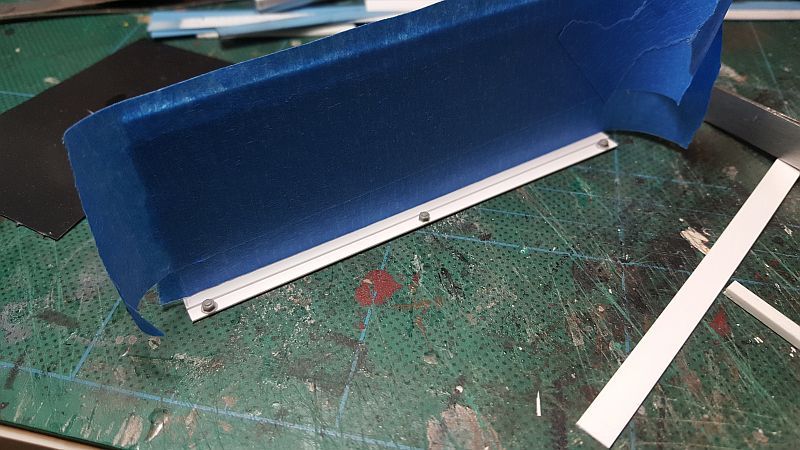
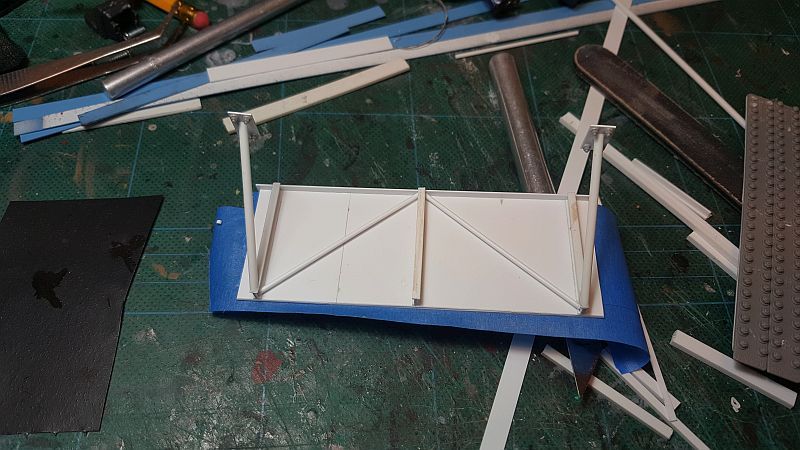
I scratch built a drainage pipe that will be mount between both, the brick and concrete bay walls:
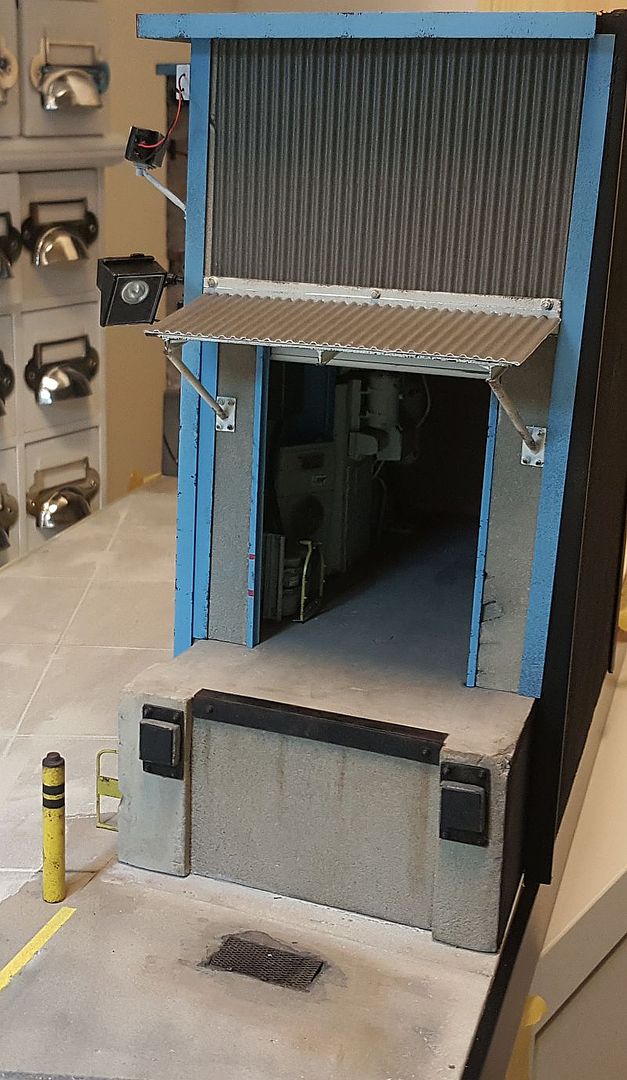
I have added side roof strips to all sides of the front facing building and painted them blue:
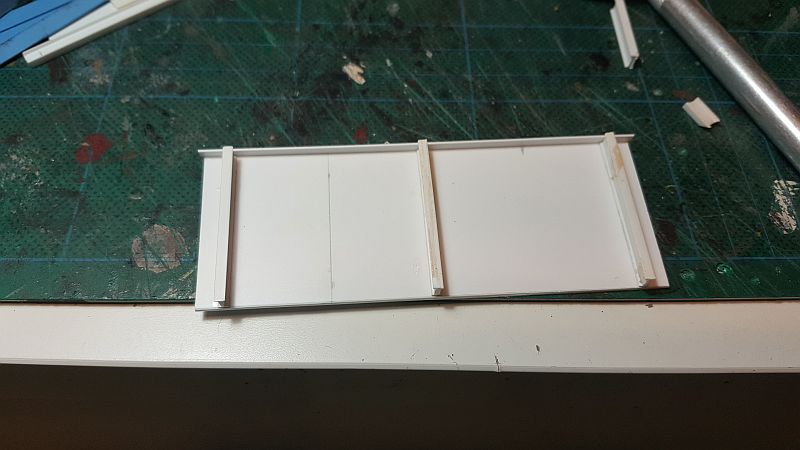
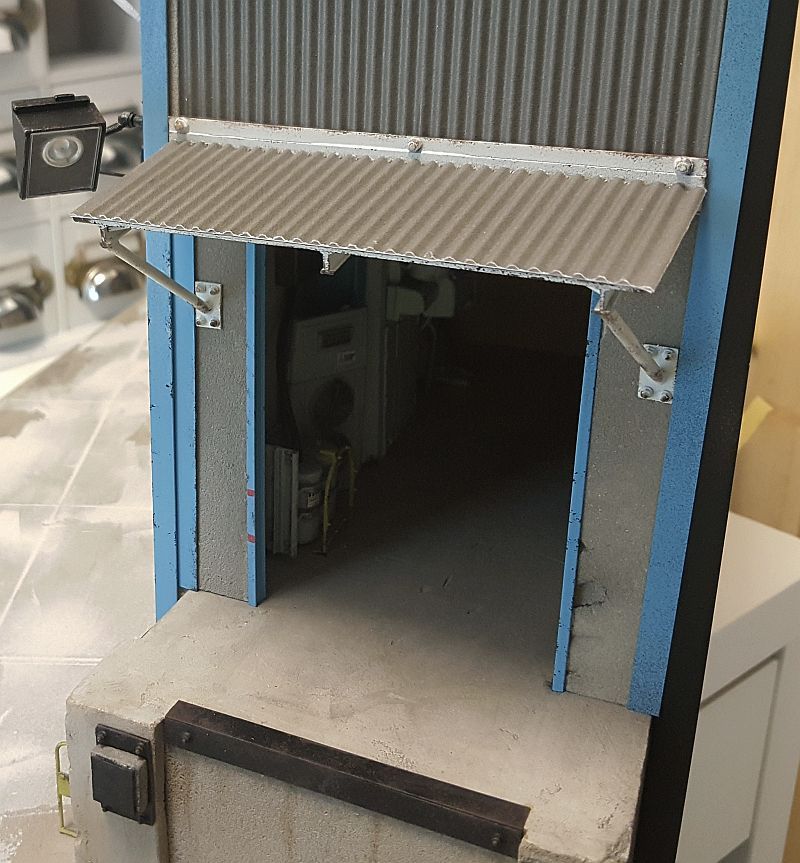
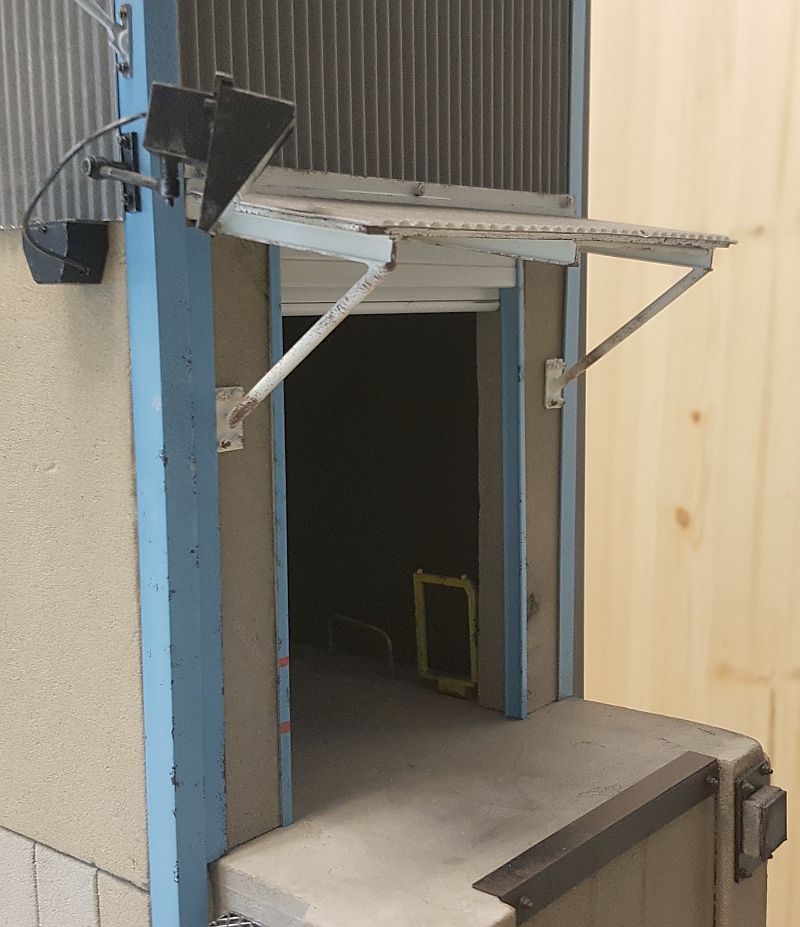
I scratch built a canopy for the second docking bay. I thought it was necessary and adds interest to the rest of the scene.
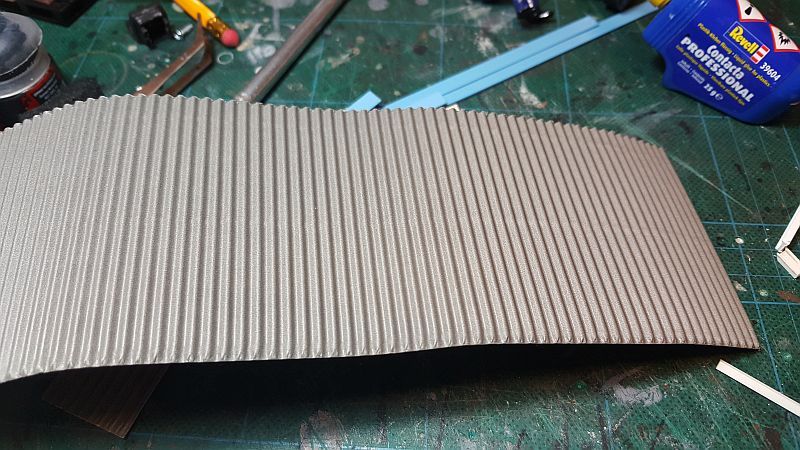
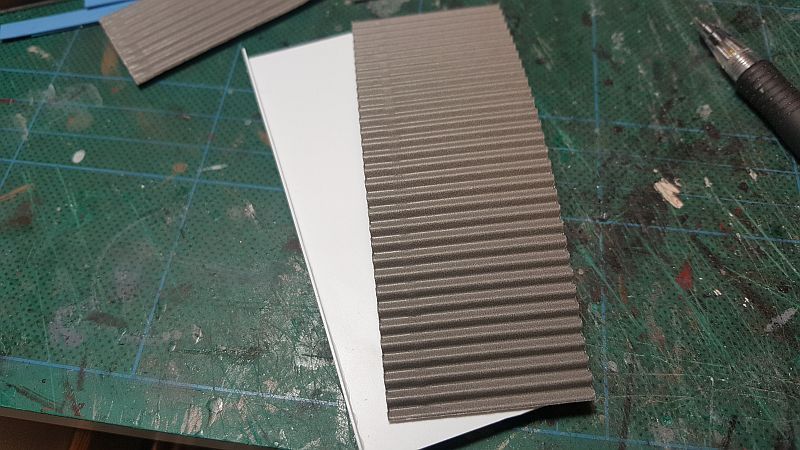
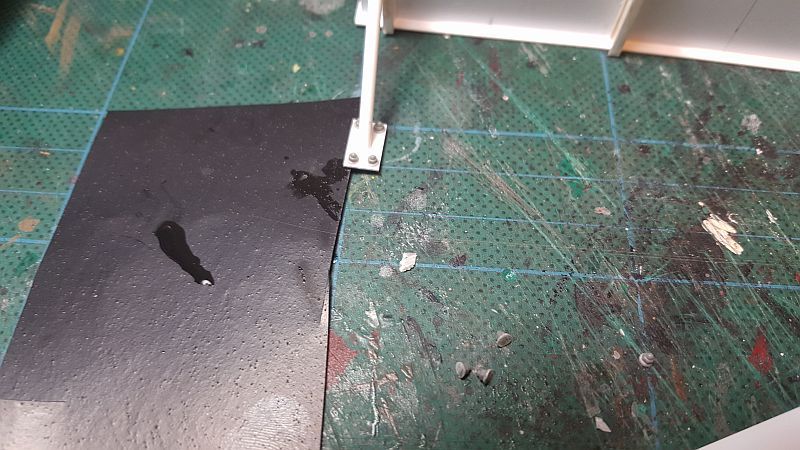
I used cardboard corrugated roofing which made the job easy and simple. This was later glued onto the styrene piece that was the canopy.
I used my trusty nuts and bolts for the areas that were going to be mounted to the wall. As you can also see, I made some bracing as well.:
The canopy mounted in place. I think it looks ok.
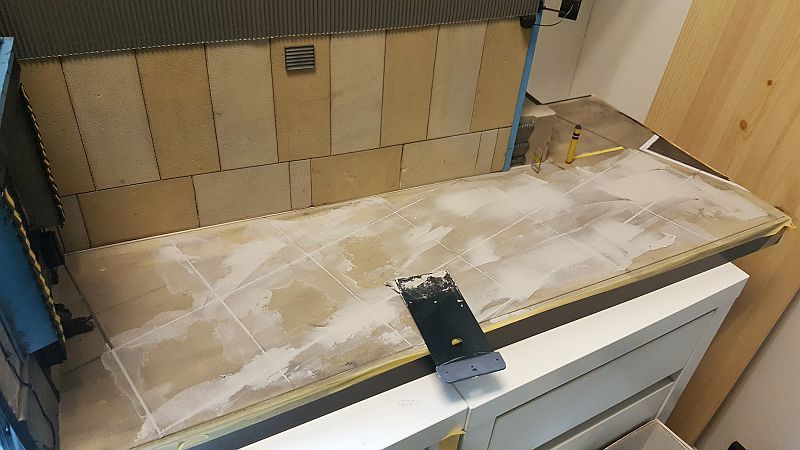
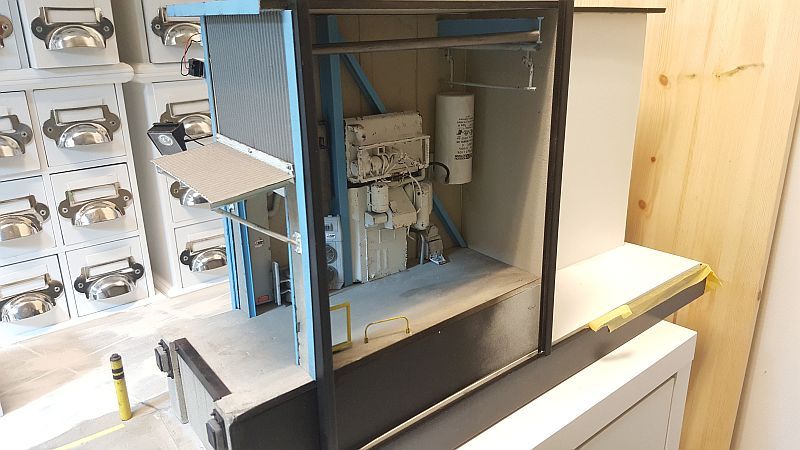
I decided to redo the concrete tarmac. I knew the ground did not look right, and this I was told should be perpendicular to the building and not at an angle as it is now. So I am trying to see if I can rectify my mistake by hiding those grooves. We'll see if it works.
just plain great work going on with this one,
how did you make the brackets for the drain,
and were and what scale,bolt/nuts you use plz,just have to ask,loving this build,
just plain great work going on with this one,
how did you make the brackets for the drain,
and were and what scale,bolt/nuts you use plz,just have to ask,loving this build,
Hi M. They were scratch built. the nuts & bolts are 1/35 scale of various sizes. You can get them from MENG. You get a whole lot. Worth the buy. So, they do work with 1/24, depending on the sizeof the model you will be working with.


Comment