Scale Model Shop

Collapse

Bob's Academy 1/72 Mig 21

Collapse
This topic is closed.
X
X
 
  • Time
  • Show
Clear All
new posts
  • Guest

    #1

    Bob's Academy 1/72 Mig 21

    Hi all, 


    This is my entry into the SIG. 


    It is the Academy Mig 21 Fishbed. 


    The Plan


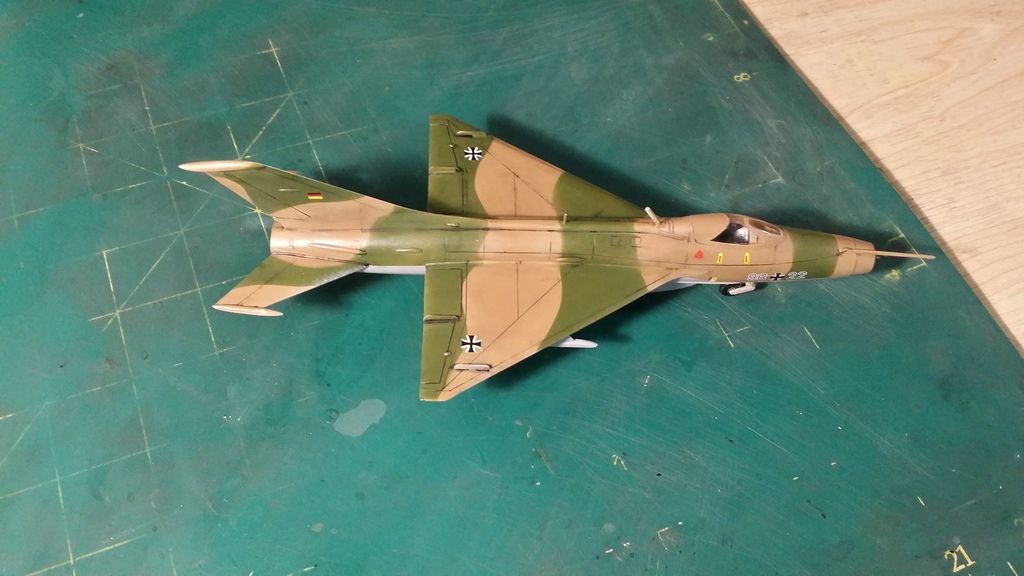
    To build the kit in a German Chamo scheme, using spare decals from a few other kits I have built or plan to build. The kit is simple, although the cockpit is too simple and I will also use another spare cockpit from a Tamiya General Dynamics 1/72 F-16 kit that had the option for a two seater but I built it as a 1 seater, so have a spare cockpit and seat for it. Will try to keep the rest of the build simple. This will be part of my 1/72 German Airbase Project


    Kit Details (from scalmates.com)


    Facts


    Brand:


    Academy


    Title:


    M-21 Fishbed


    Number:


    12442


    Scale:


    1:72


    Type:


    Full kit
    [COLOR=rgb(136,136,136)]Includes: Plastic sprues, Waterslide decals, Clear parts[/COLOR]


    Released:


    201x | Rebox [COLOR=rgb(136,136,136)](Changed box only)[/COLOR]


    Decal options

    1. Mikoyan-Gurevich MiG-21F-13 Fishbed-C
        Ilmavoimat (Finnish Air Force 1918-Now)
      HävLLv 31 MG-48
      Rissala | 1963

    2. Mikoyan-Gurevich MiG-21F-13 Fishbed-C
        Ilmavoimat (Finnish Air Force 1918-Now)
      HävLLv 31 MG-47
      1963


    Kit History: The kit is a rebox of an older Academy mold from 1986 - kit No 1618. 


    Box Art:
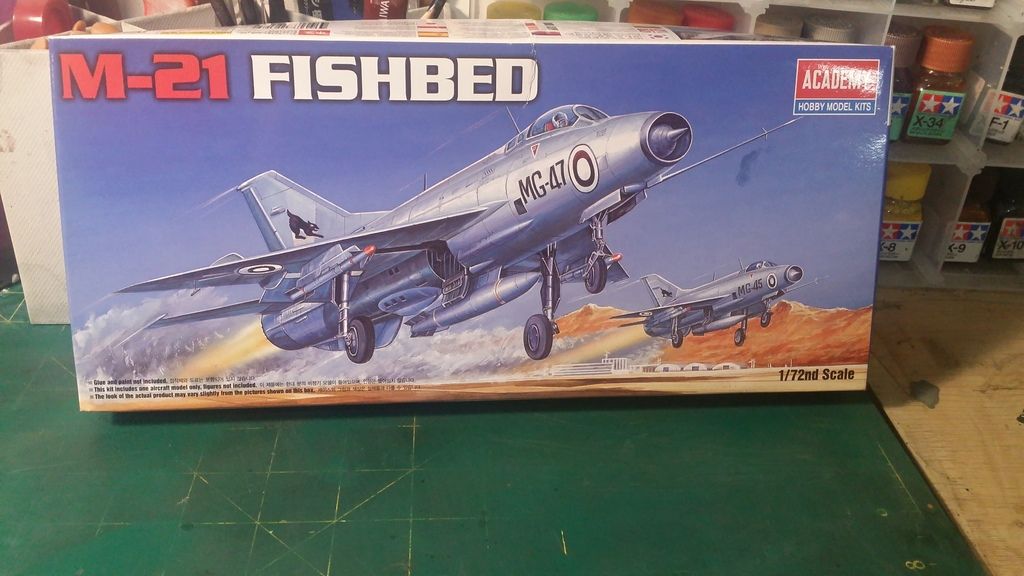


    Kit Contents
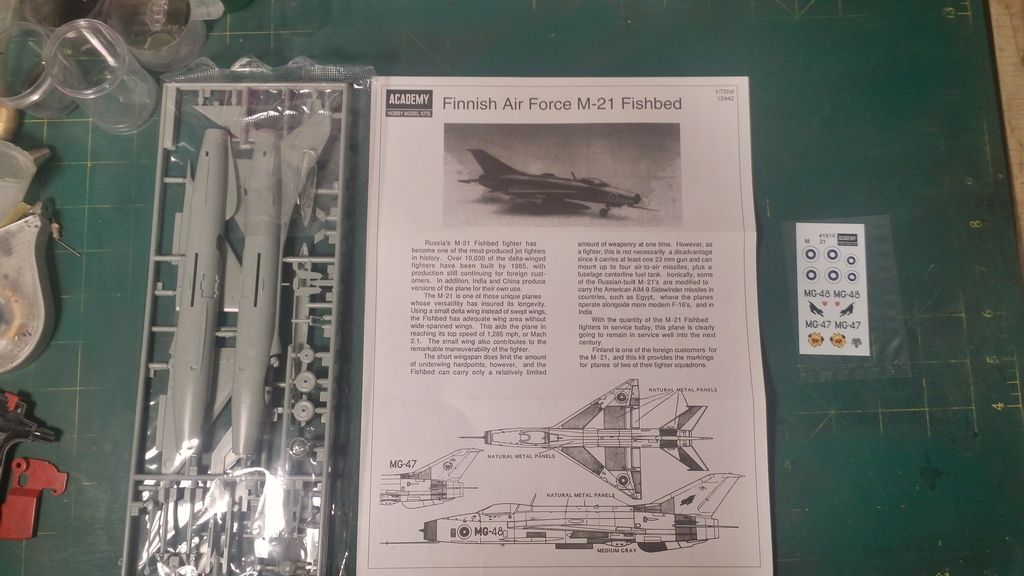


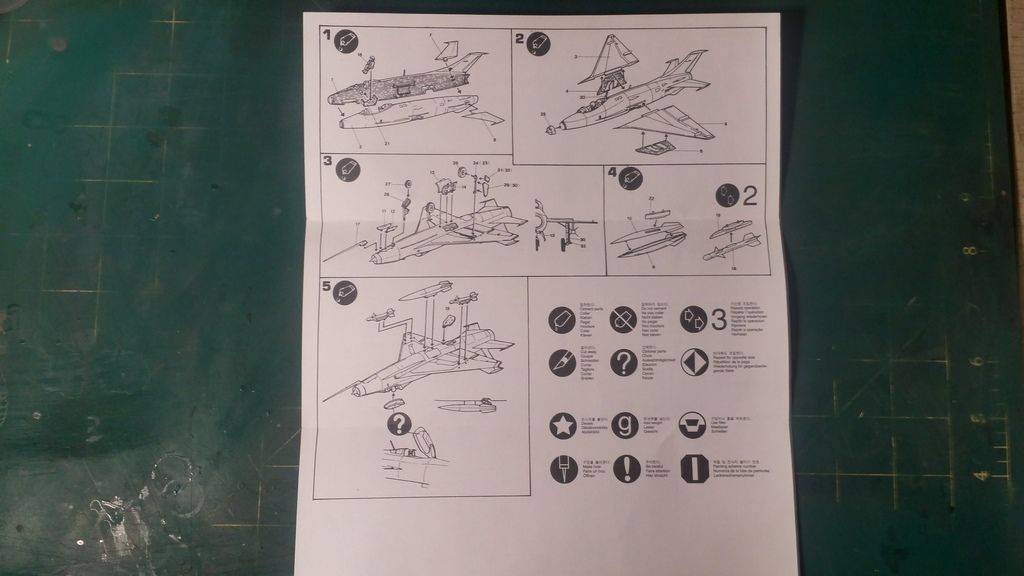
    Simple Instructions


    The proposed Scheme


  • Guest

    #2
    Work has begun on this already. Here is the first update


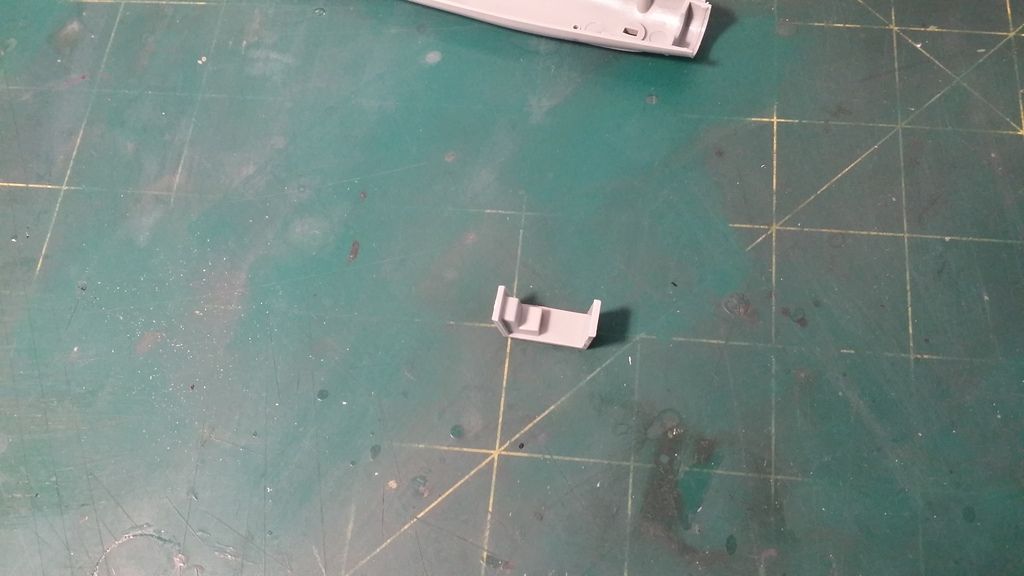
    This is the cockpit tub which was too simple which is why I am going to change it (also because I have a spare cockpit too)


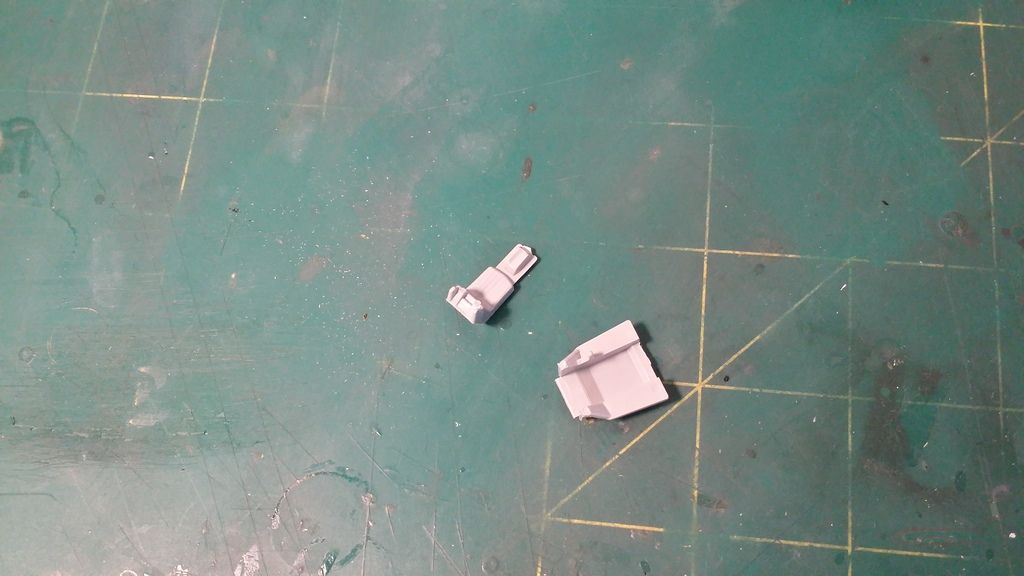
    Here is the spare cockpit I will use to replace it


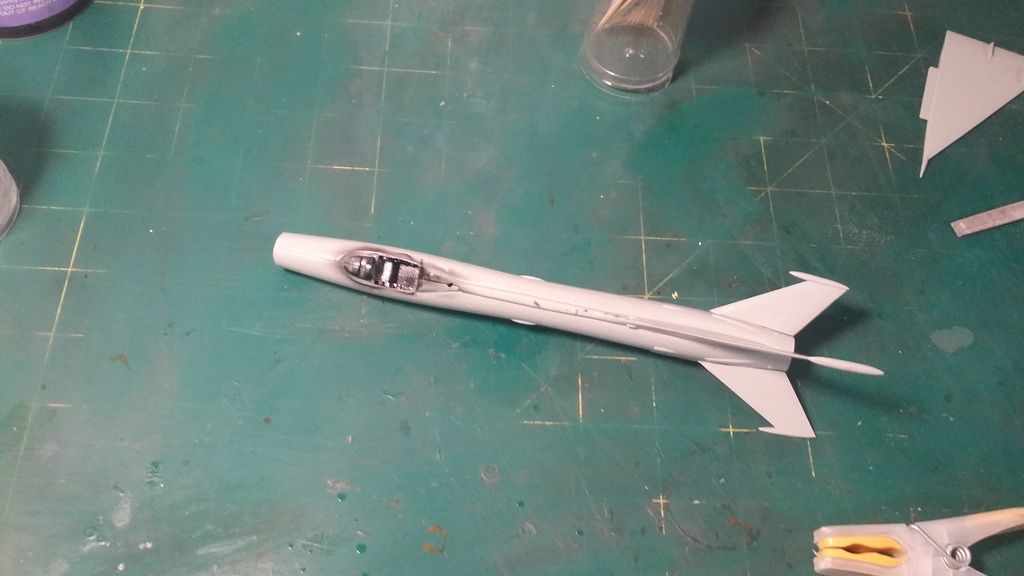
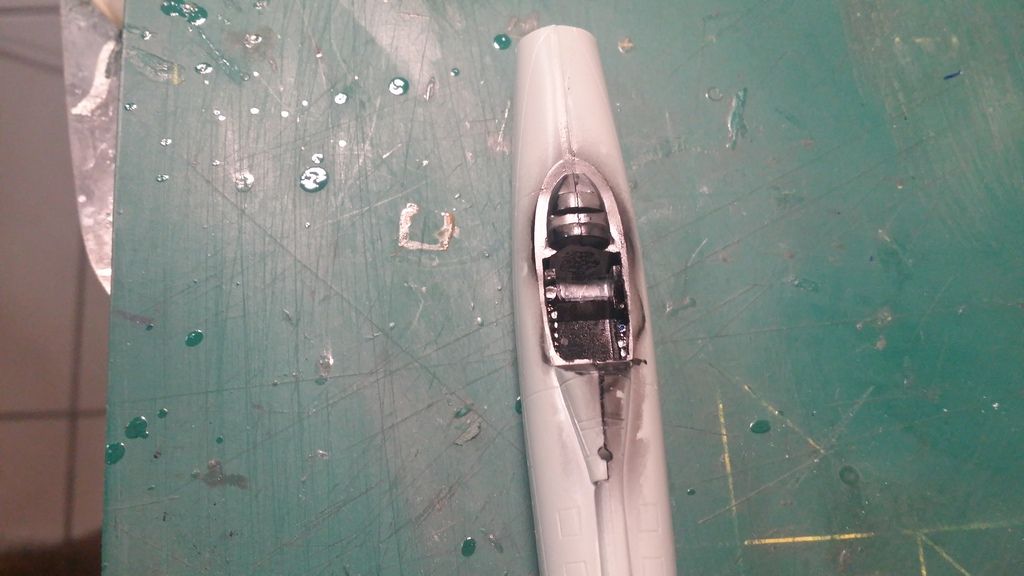
    This was assembled and halves joined


    Looks like there will be some filling in this one. Will start on that next. 


    I hope you all liked the update. All comments welcome

    Comment

    • flyjoe180
      SMF Supporters
      • Jan 2012
      • 12372
      • Joe
      • Earth

      #3
      Looks good so far Bob. Have heard various things about this kit, the filler requirement does not surprise me.

      Comment

      • colin m
        Moderator
        • Dec 2008
        • 8740
        • Colin
        • Stafford, UK

        #4
        A nice fact about 1:72, builds can be quick. You're moving along nicely with this one.

        Comment

        • papa 695
          Moderator
          • May 2011
          • 22769

          #5
          A very nice start Bob.

          Comment

          • Guest

            #6
            Originally posted by flyjoe180

            Looks good so far Bob. Have heard various things about this kit, the filler requirement does not surprise me.

            Originally posted by colin m

            A nice fact about 1:72, builds can be quick. You're moving along nicely with this one.

            Originally posted by papa 695

            A very nice start Bob.
            Thanks all. Its not the best kit out there. But the filler required wasnt that bad. Ive seen much worse. 


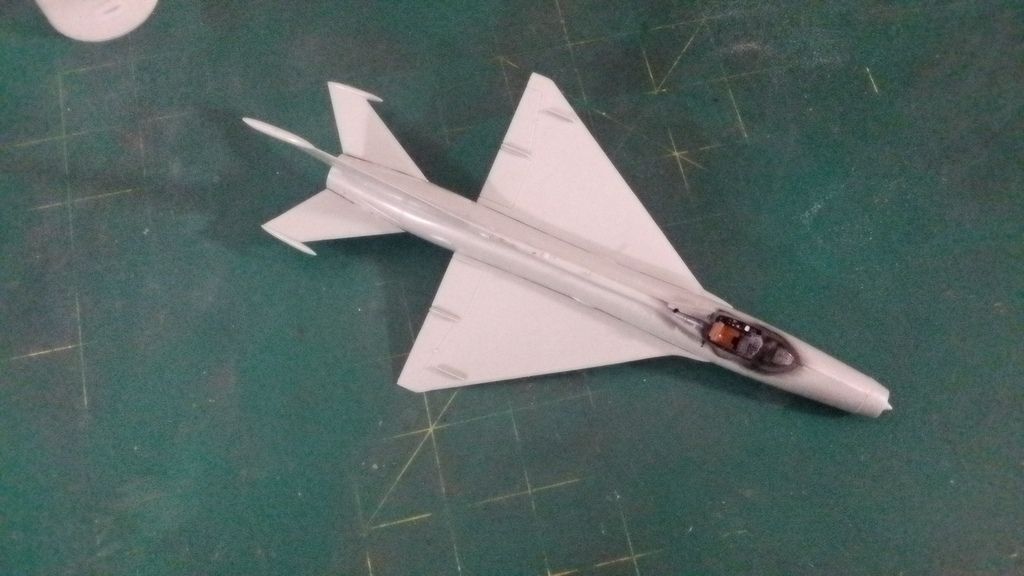
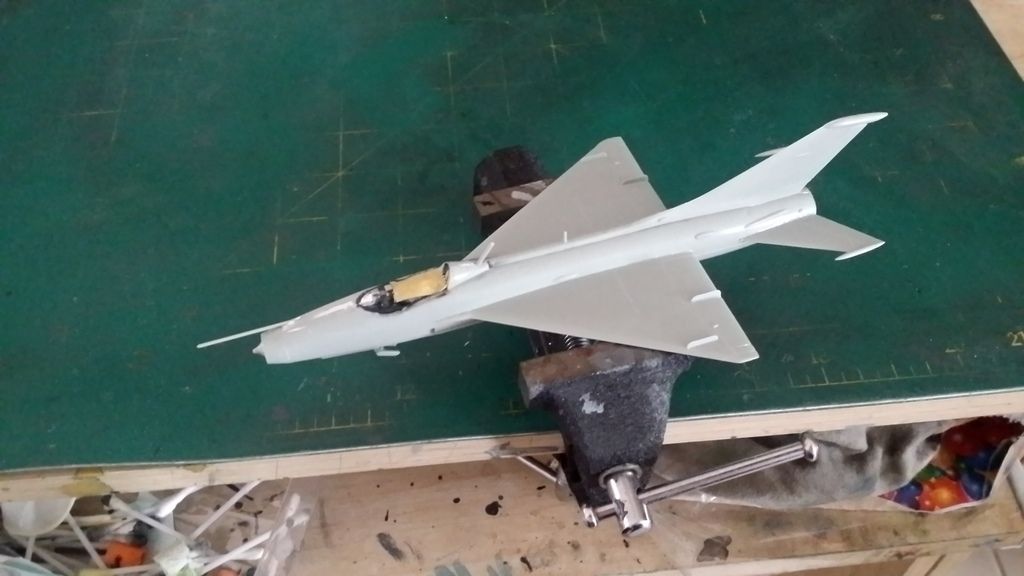
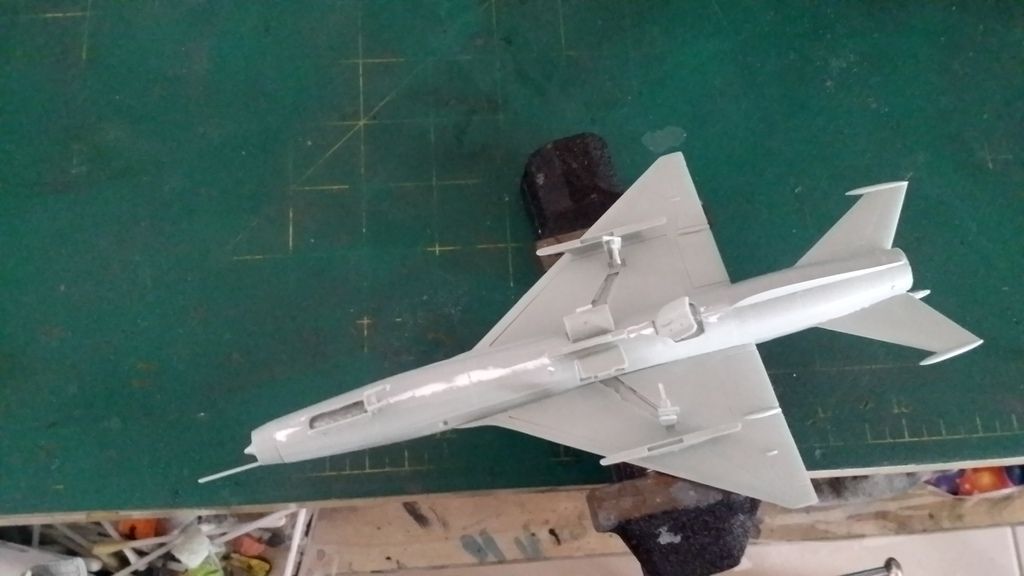
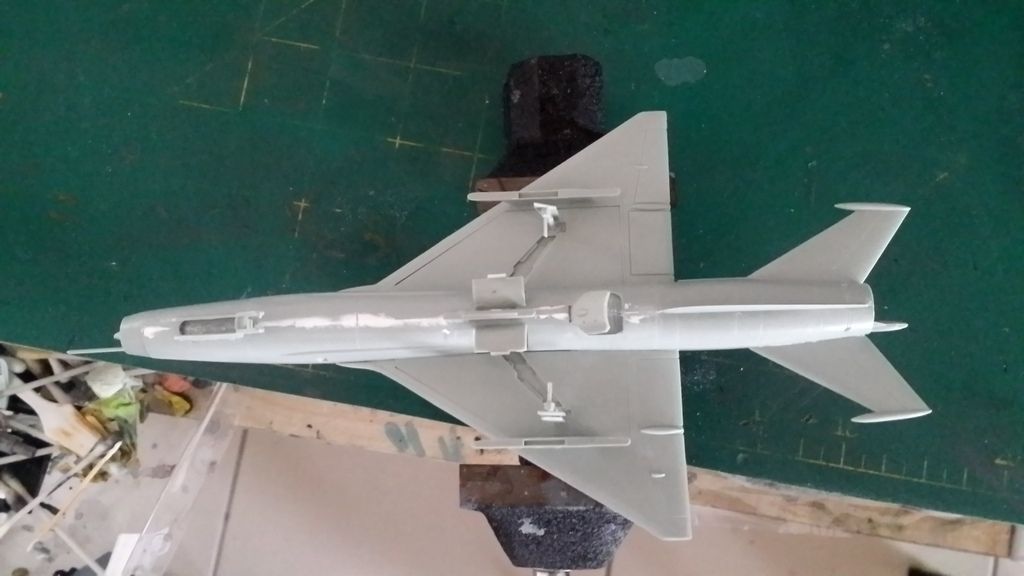
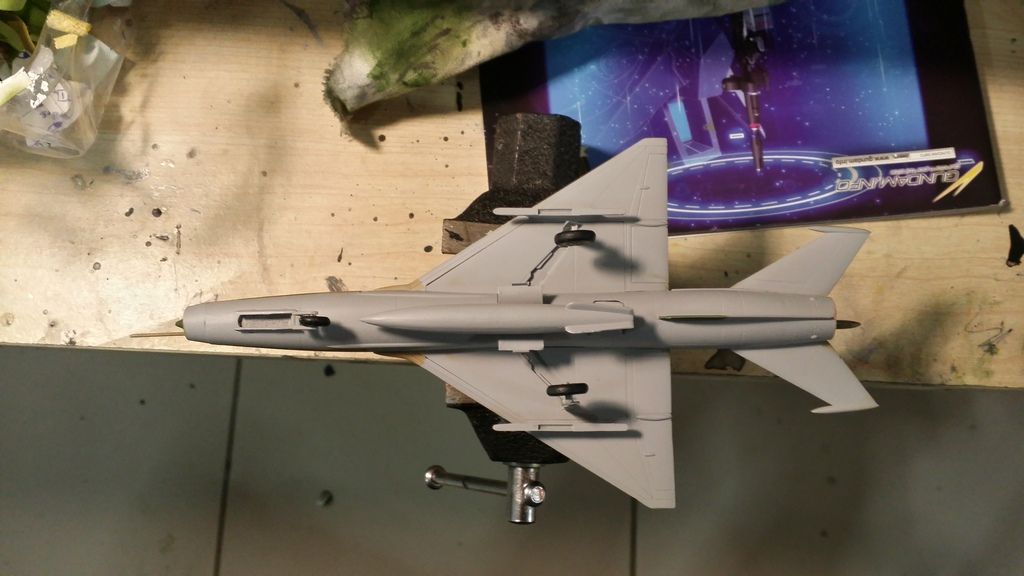
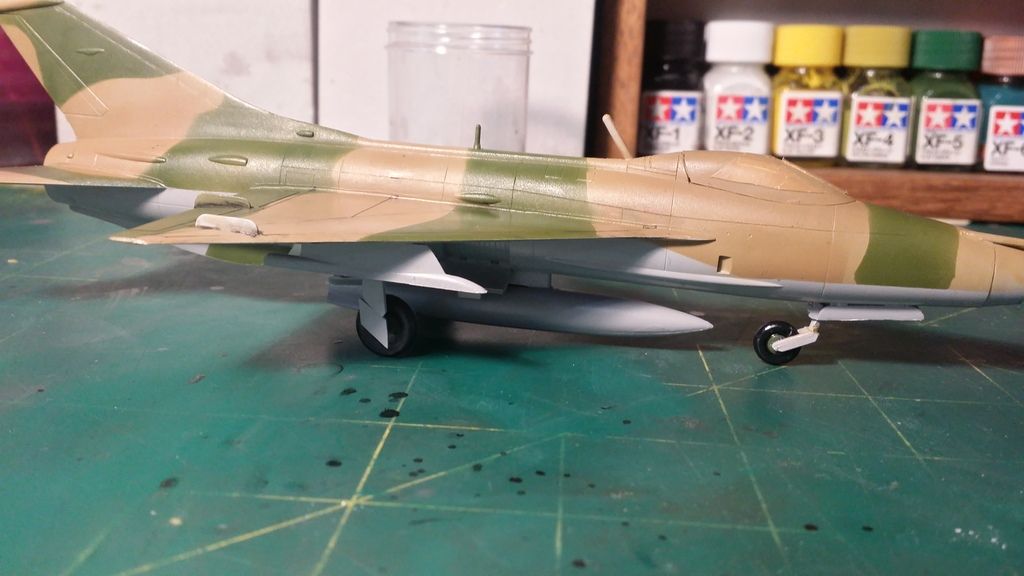
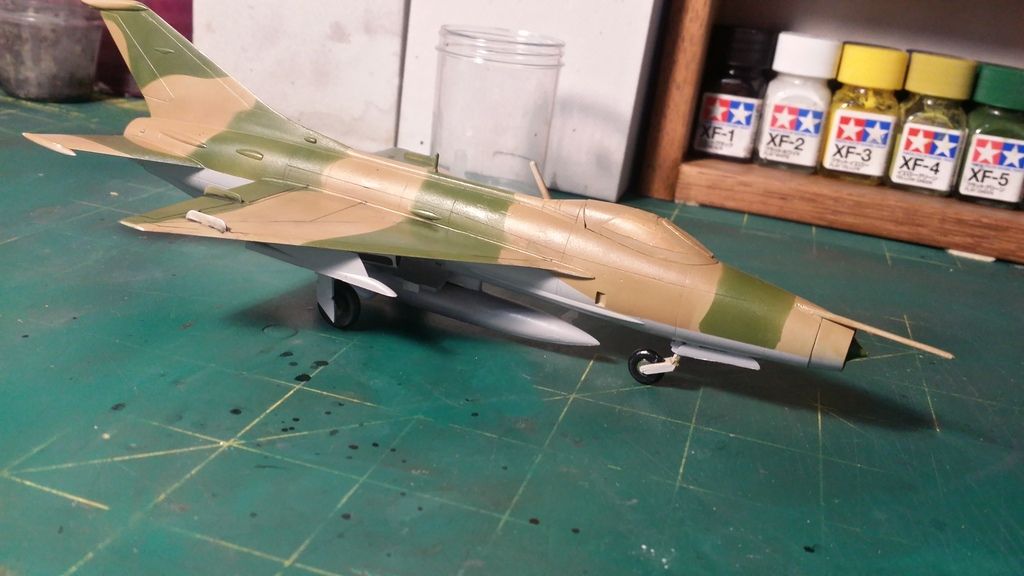
            The build is coming along 


            Kit was built up without wheels and weapons. 


            I placed the antenna on the top as in the images ive seen. Here it is with filler


            I then primed it painted the base colour on top. Couldnt take photos cause phone had died. 


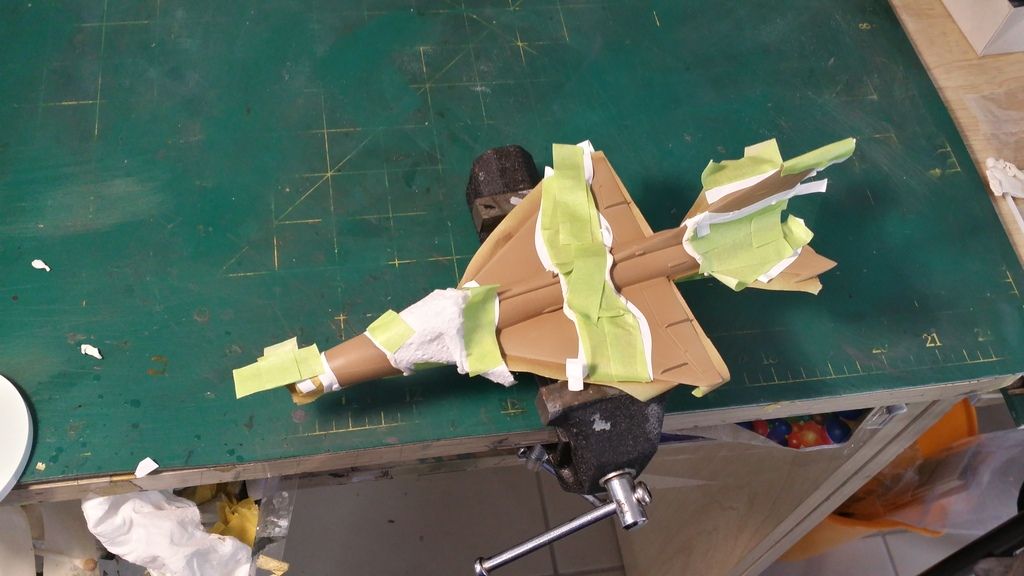
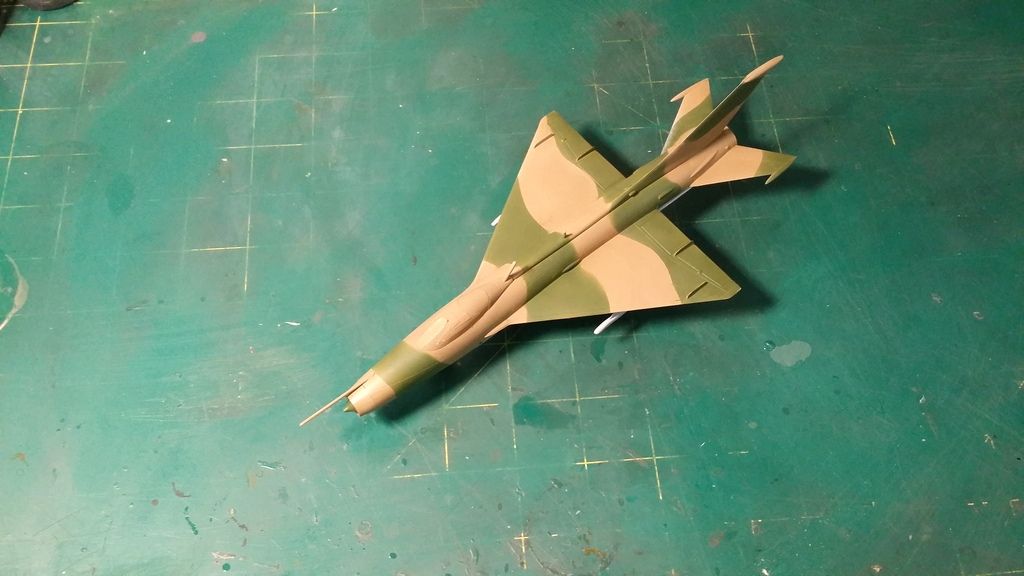
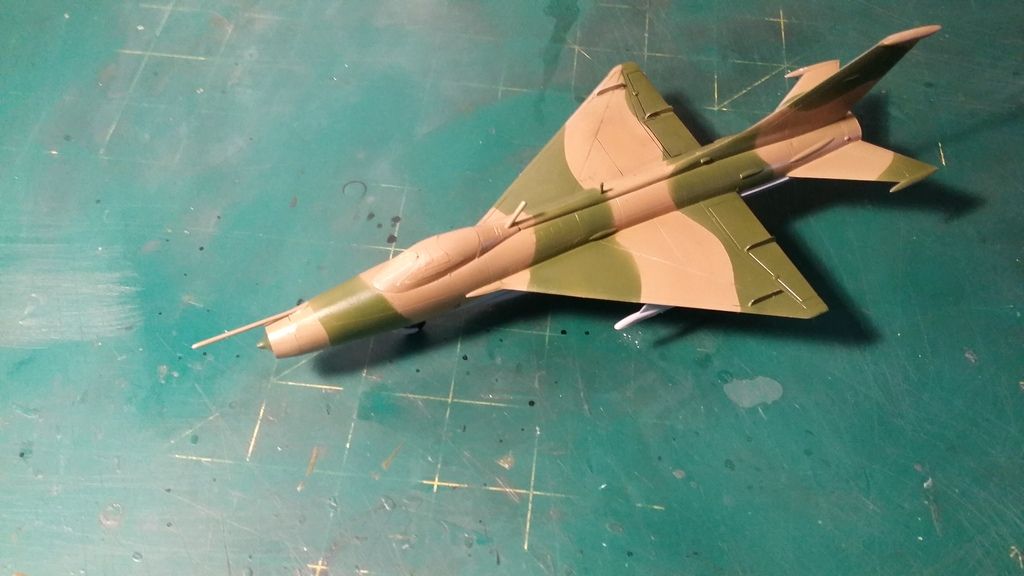
            Then masked it off and applied second colour. I used a mix of tamiya curved masking tape and glutec to mask the camo pattern 


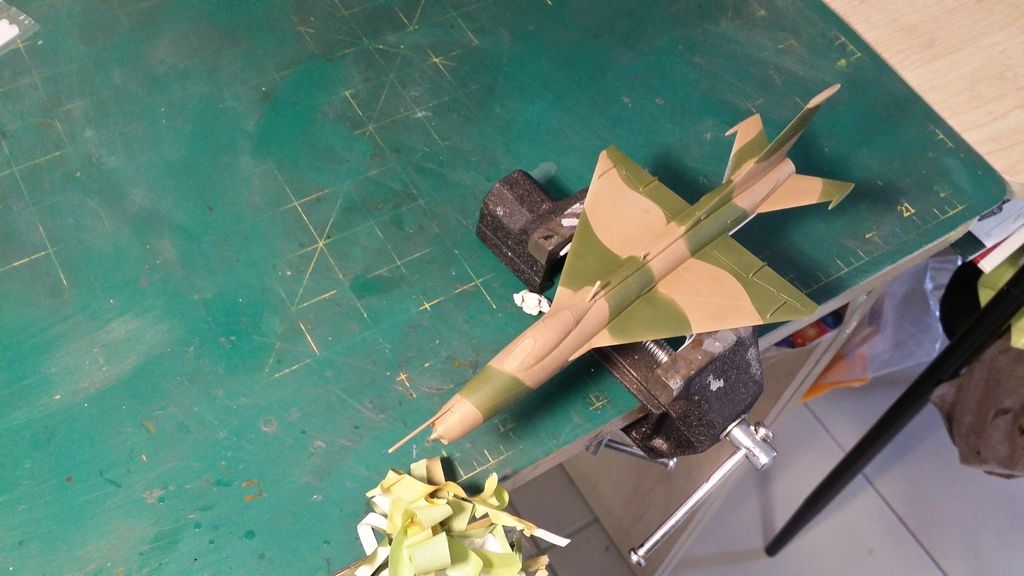
            Here it is


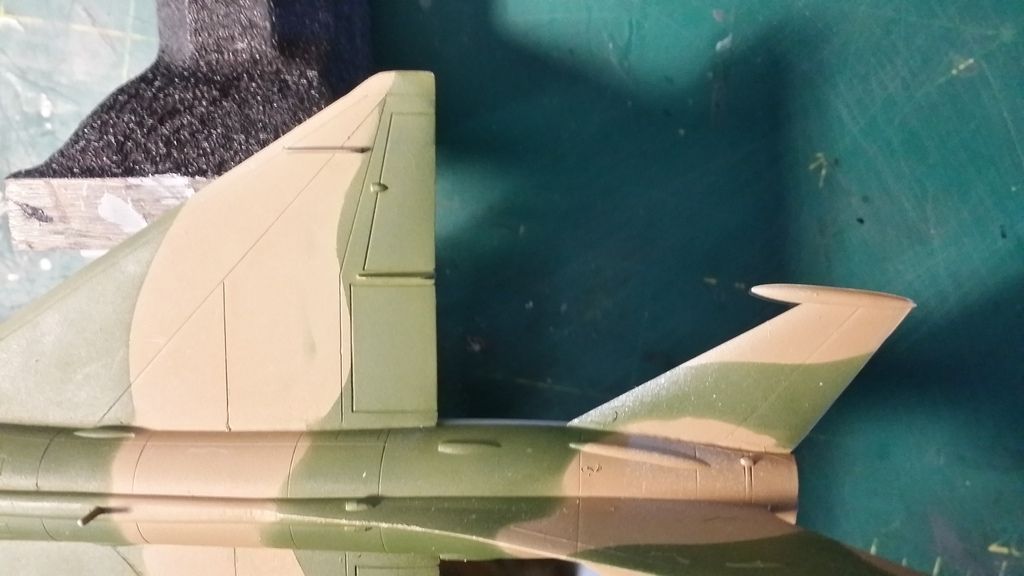
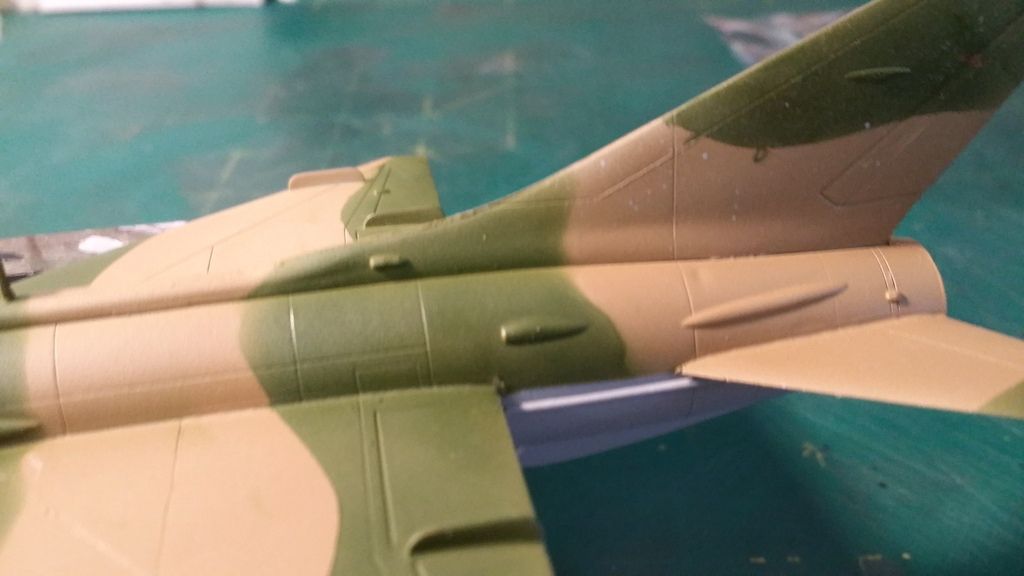
            A bit of over spray and some primer which i resprayed on the bottom again but forgot to mask the top. Silly me. 


            Now have to remask and repaint those oversprays then work on the landing gear and weapons. Might gloss coat it before attaching the wheels. Dont know yet. 


            Hope you like the build update. All comments welcome 

            Comment

            • papa 695
              Moderator
              • May 2011
              • 22769

              #7
              Nice work there Bob pity about the paint bleed under the masking.

              Comment

              • Guest

                #8
                Originally posted by papa 695

                Nice work there Bob pity about the paint bleed under the masking.
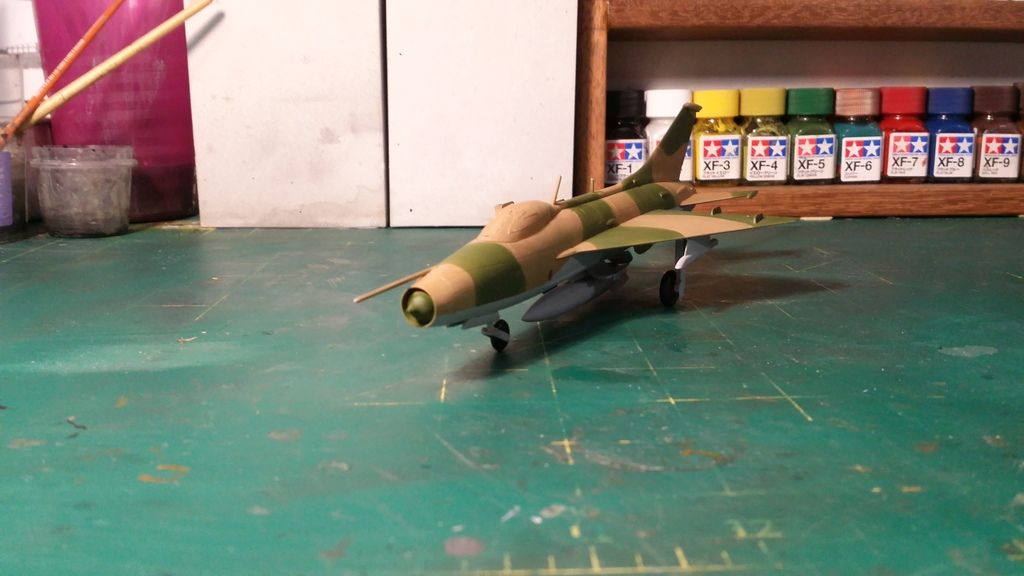
                Thanks Ian, yeah it was a bit disappointing but I was expecting some bleed like always. I've fixed it and attached the wheels. for now. 


                The wheels didnt line up properly but it was too late as the landing gear was attached. 


                The wheels also have ejector pin marks on one side of them which is a bummer. Very big let down s even after I've filled the marks up, I've lost all the detail on the wheel. 


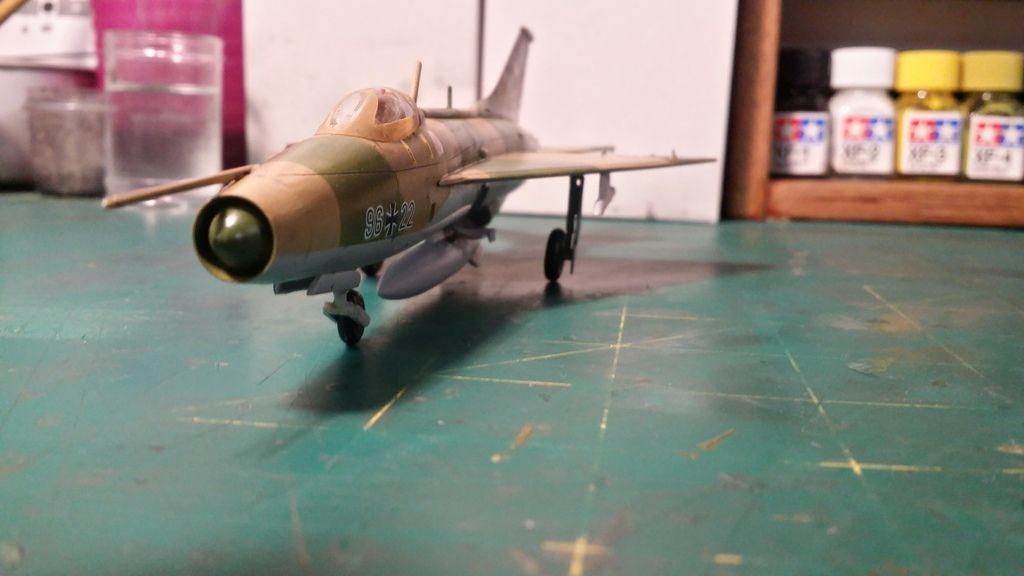
                The kit is very well balanced though as can be seen here


                Here it is for now


                Now will apply the gloss coat next. I dont know if I can apply a gloss coat with that canopy still masked and attached on. I've never done that before. Will do some research and decide. 


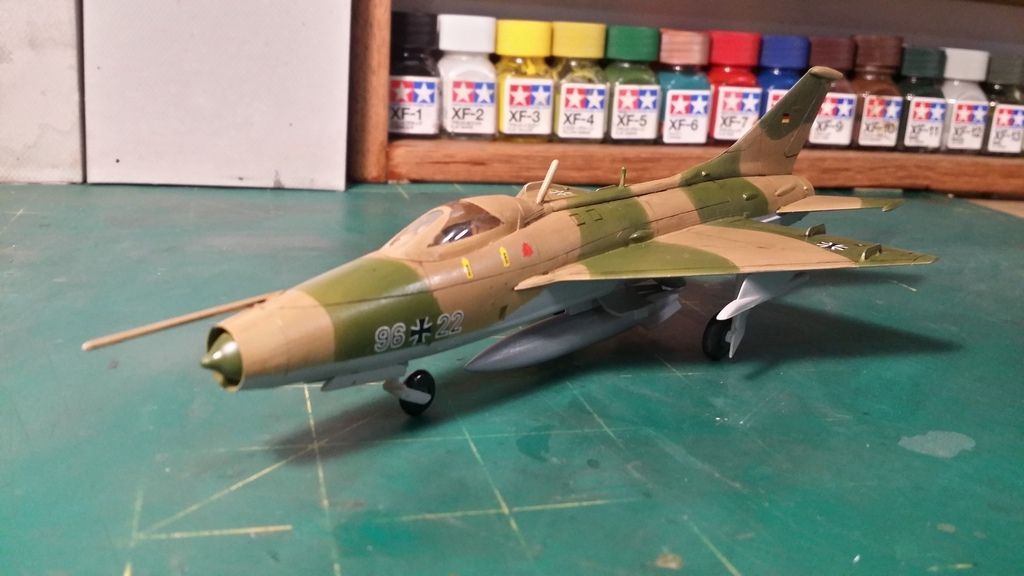
                I havnt mentioned before, but I have painted this with Humbrol Enamels. The bottom is actually Tamiya Grey Primer and the top is a camo pattern of Humbrol 118 and 117. Once again very happy with Humbrol, just still need a good method of getting that paint out as it is very thick, have tried straws but they didnt work too well. 


                I hope you all liked the update. All comments welcome. 

                Comment

                • flyjoe180
                  SMF Supporters
                  • Jan 2012
                  • 12372
                  • Joe
                  • Earth

                  #9
                  Hey Bob, nice work on the MiG, doesn't look too bad at all.

                  Originally posted by Builder

                  havnt mentioned before, but I have painted this with Humbrol Enamels. The bottom is actually Tamiya Grey Primer and the top is a camo pattern of Humbrol 118 and 117. Once again very happy with Humbrol, just still need a good method of getting that paint out as it is very thick, have tried straws but they didnt work too well. 
                  I'm a Humbrol user too. I use small syringes to extract the paint from the tinlets. Others use disposable pipettes etc. You can get a lot of that sort of thing from craft shops at a cost which isn't too bad.

                  Comment

                  • dave
                    SMF Supporters
                    • Nov 2012
                    • 1828
                    • Brussels

                    #10
                    Looking Good Bob,  nice to see something in the build that is not a 1/48 Eduard kit.

                    Comment

                    • Guest

                      #11
                      Originally posted by flyjoe180

                      Hey Bob, nice work on the MiG, doesn't look too bad at all.


                      I'm a Humbrol user too. I use small syringes to extract the paint from the tinlets. Others use disposable pipettes etc. You can get a lot of that sort of thing from craft shops at a cost which isn't too bad.
                      Thanks Joe, would you have a picture of the syringes you use, as the ones I have all seem to break after a few uses. 

                      Originally posted by dave

                      Looking Good Bob,  nice to see something in the build that is not a 1/48 Eduard kit.
                      Thanks Dave, yeah I cant really afford most eduard kits, although they are great!


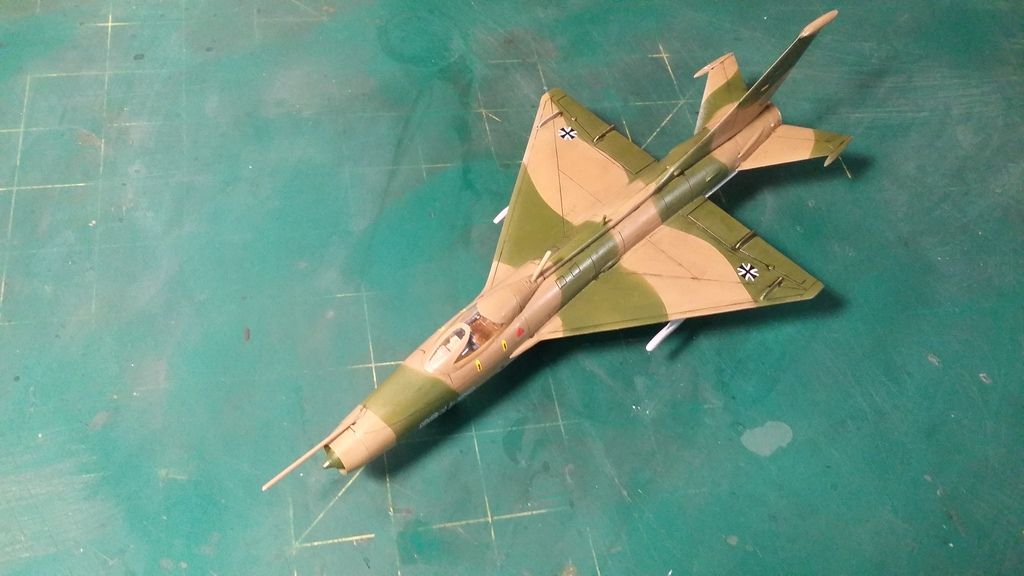
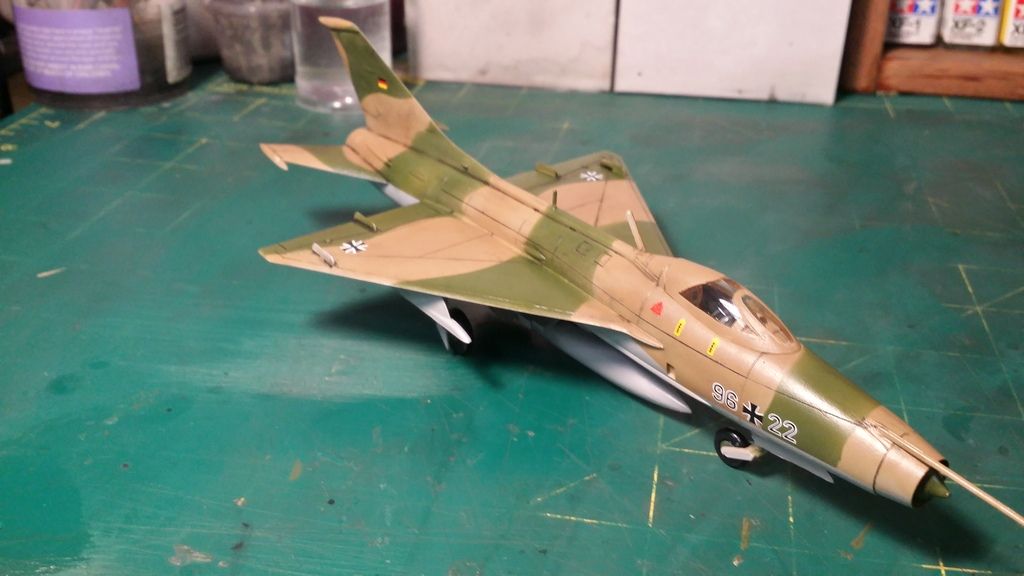
                      Well heres another update


                      I applied the new Pledge Floor Care and must say it is the best gloss I have used


                      I dont know if you can see the gloss in the photos here


                      I then applied Tamiya Panel line Accent - an enamel oil wash. I only did the top part, and then applied the decals. I also removed the masking on the canopy. Here it is for now


                      Lots more work to do. I have to do a wash on the underside, then seal it all in another gloss coat. I also have to do up the missiles, and the exhaust which I completely forgot to do! Finally will apply a matte coat over the top. 


                      Hope you all liked the update. All comments welcome. 

                      Comment

                      • Guest

                        #12
                        Just caught up with this one Bob it is looking very nice mate.

                        Comment

                        • colin m
                          Moderator
                          • Dec 2008
                          • 8740
                          • Colin
                          • Stafford, UK

                          #13
                          Looking good. Nice camo.

                          Comment

                          • Guest

                            #14
                            Just caught up with this one Bob & I must say it's looking very good. The wash has given it depth & your camo scheme is excellent.

                            Comment

                            • Guest

                              #15
                              Looking very good so far!!


                              I'm wishing  to see the finished model

                              Comment

                              Working...