
Hi all,
This is my first Build Post on the forum. Here is my entry into this GB.
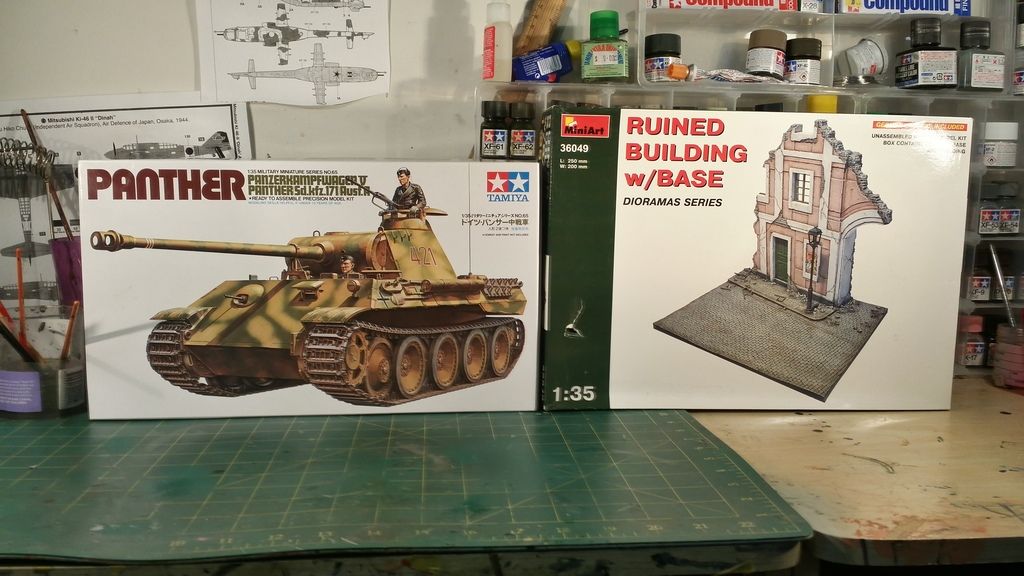
It is the Tamiya 1/35 Panther and Miniart 1/35 Runied Building with Base.
The Plan
to build a Panther Tank with a ruined Building in the background using these two kits. I plan not to paint the Panther in a camo patter but rather in Tamiya XF 63 - German Grey as I really like that colour and the instructions offer it as an optional colour. The Tamiya kit will be built OOB, whilst the Miniart kit will have some extra details such as grass and tress added to it. Weathering will be kept to a minimum as I am not an expert in it yet and just want to get the basics right.
I wasn't able to get much info about the Miniart kit so only have details of the Tamiya Kit.
Details of the Tamiya Kit
Kit Overviews
Here are the two boxes:
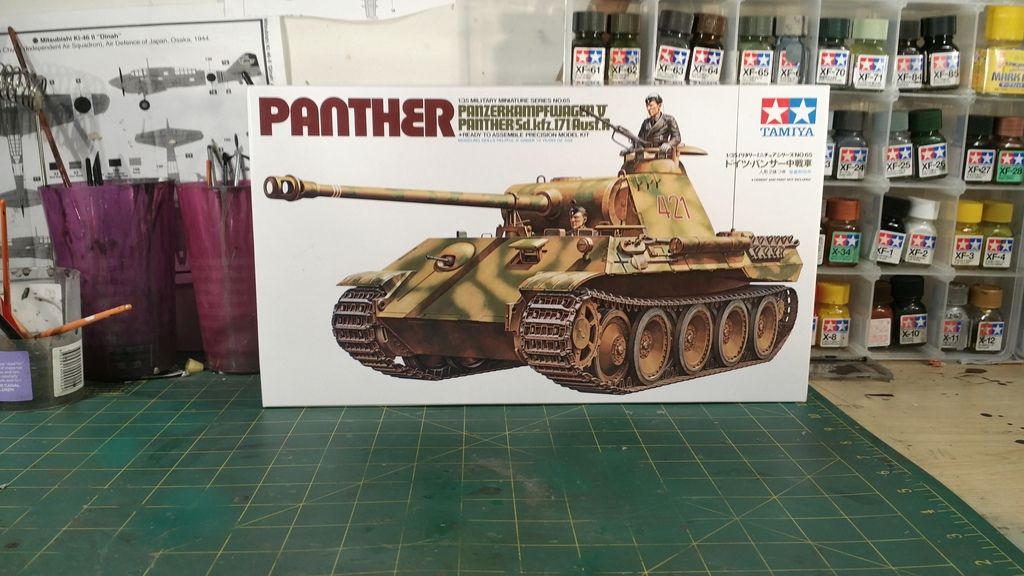
Tamiya 1/35 Panther
First off, the Panther Box Art:
Kit Contents:
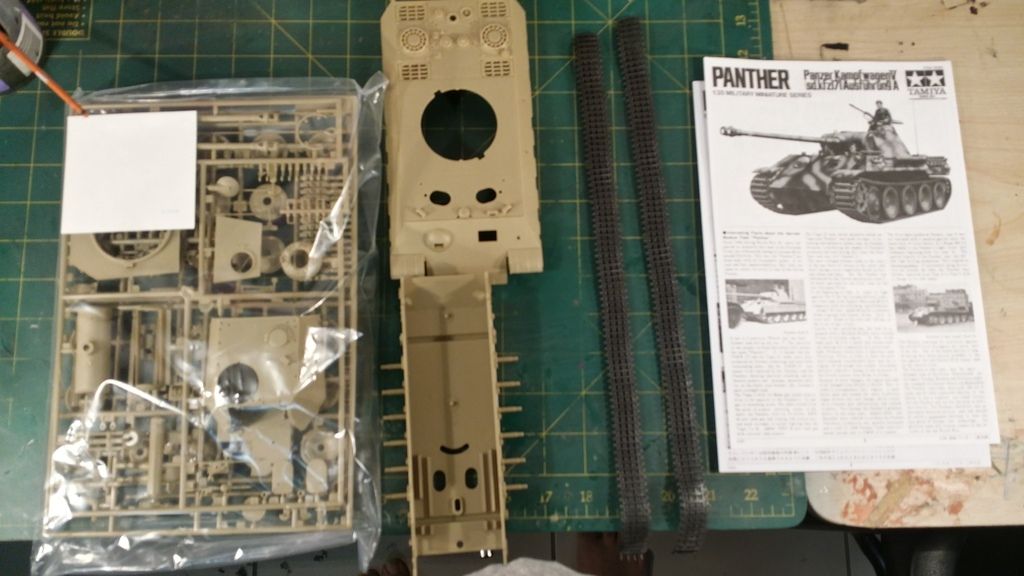
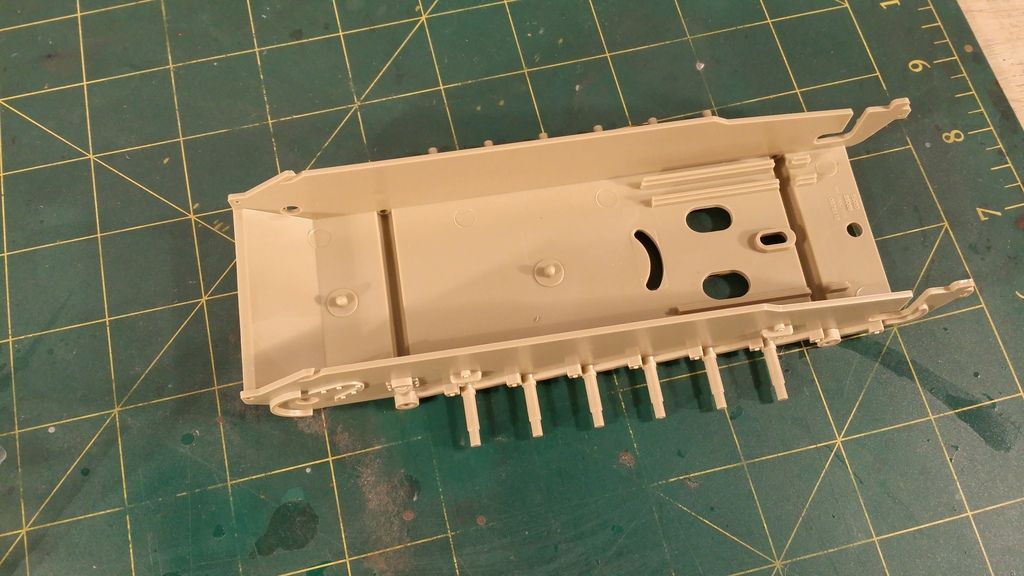
The Hull - Very nicely molded and some nice detail
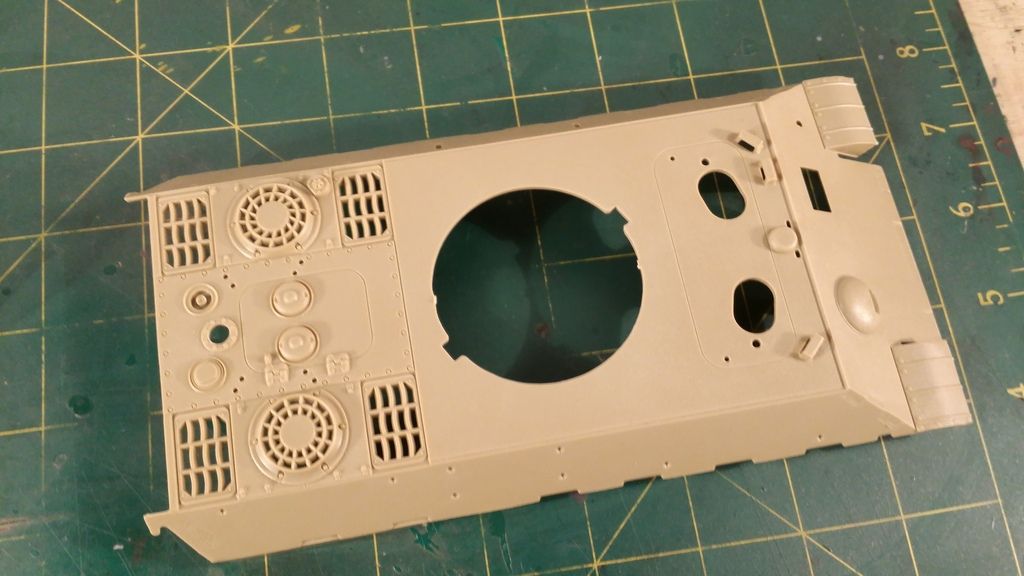
The undercarriage
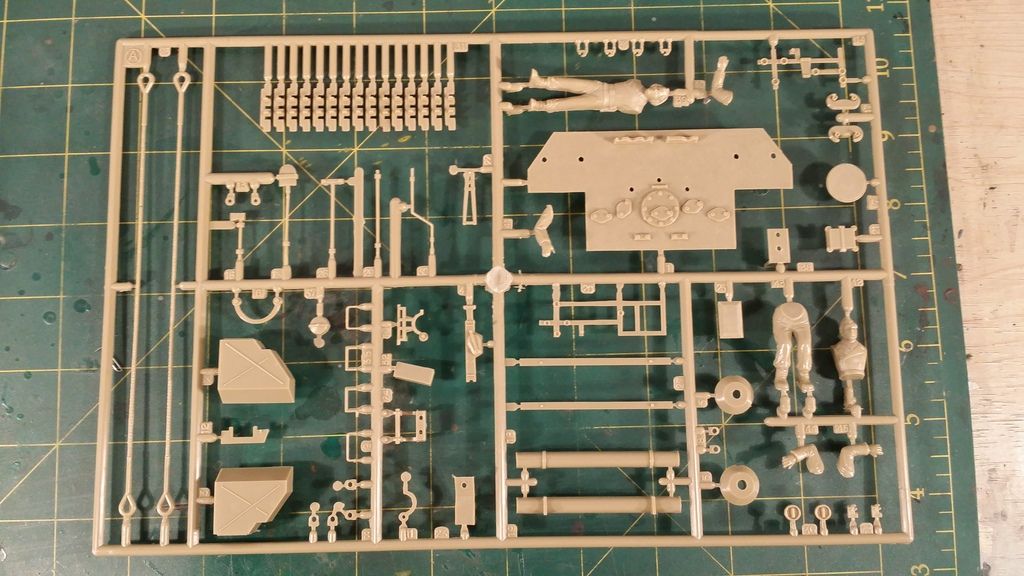
Sprue A - Detail parts, and figure
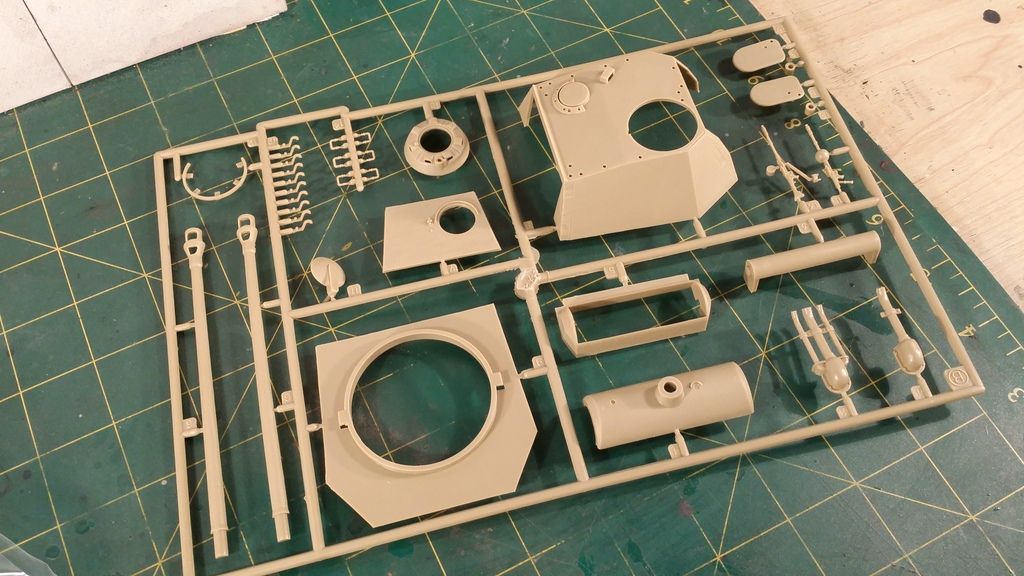
Sprue B - Turret Parts
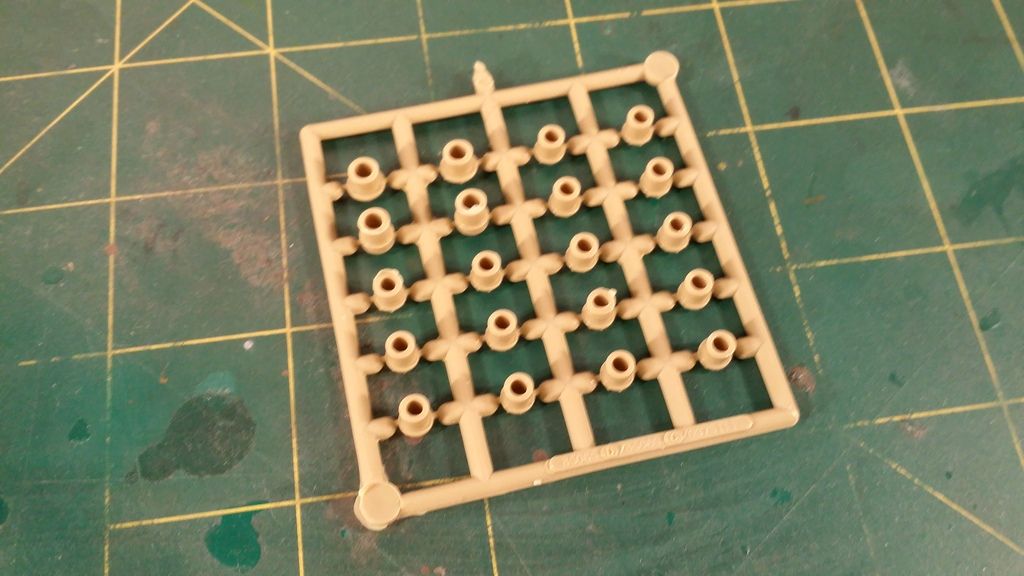
Sprue C - Wheels
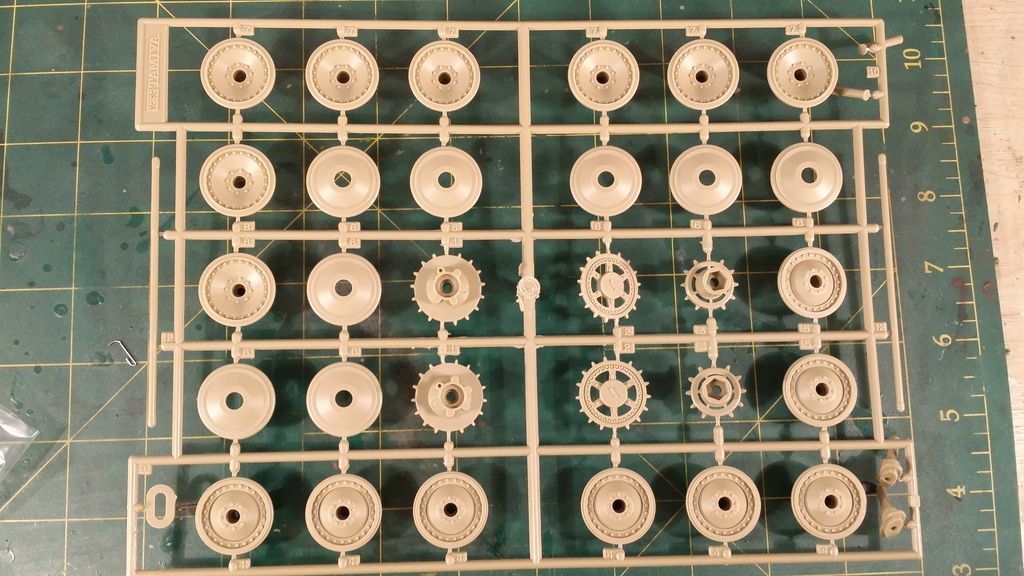
Wheel connectors
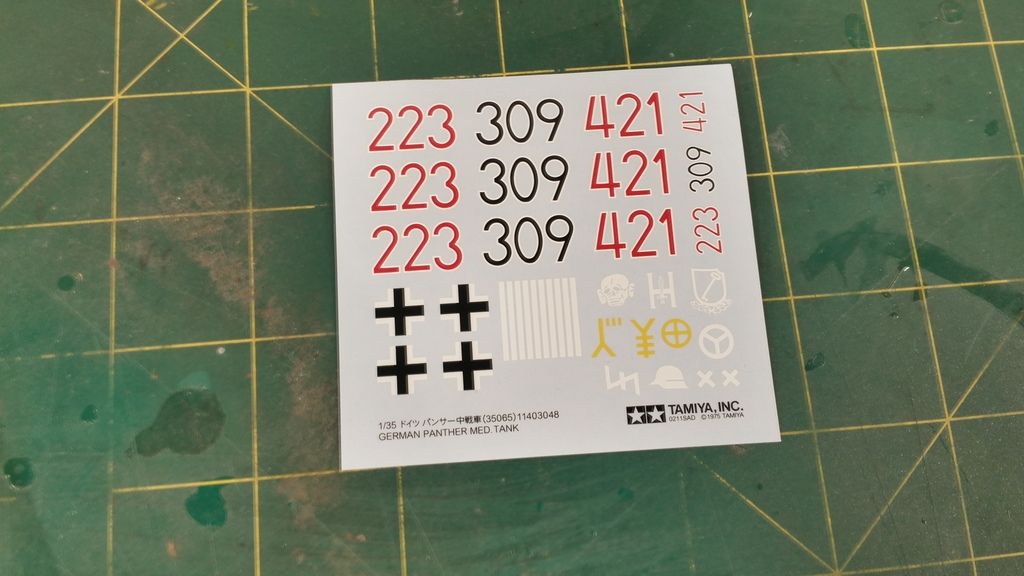
Decals
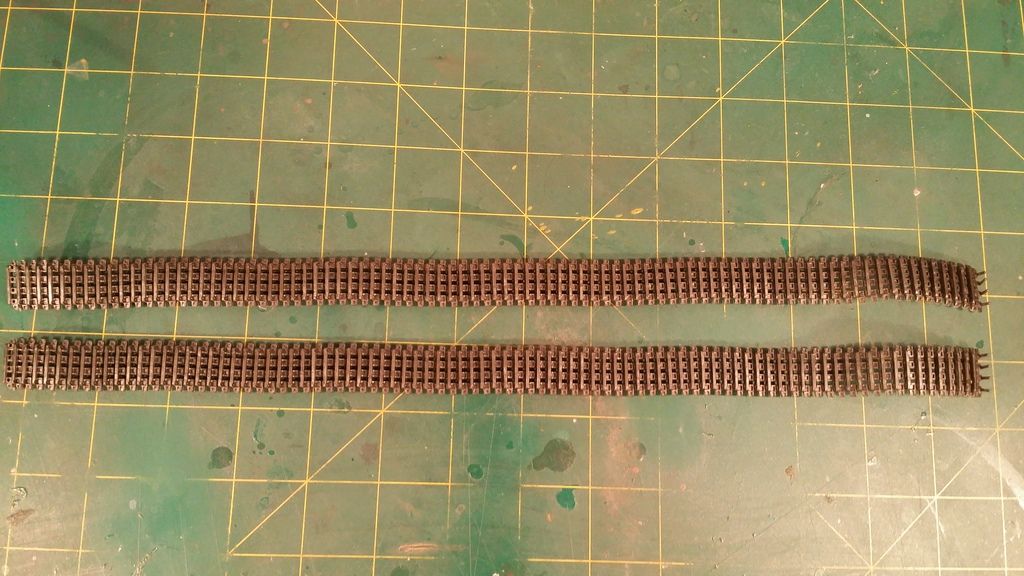
The Tracks - rubber band tracks,

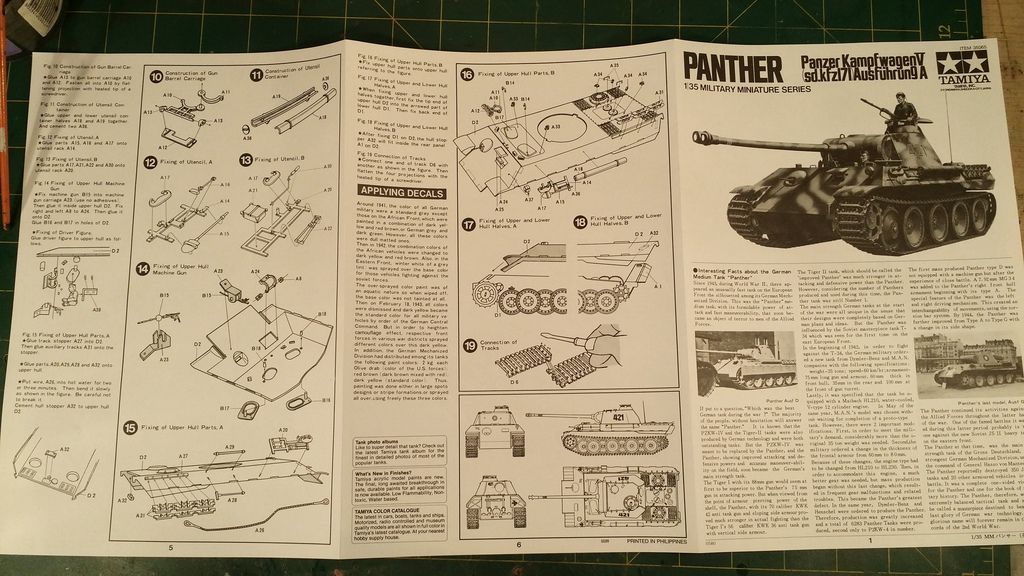
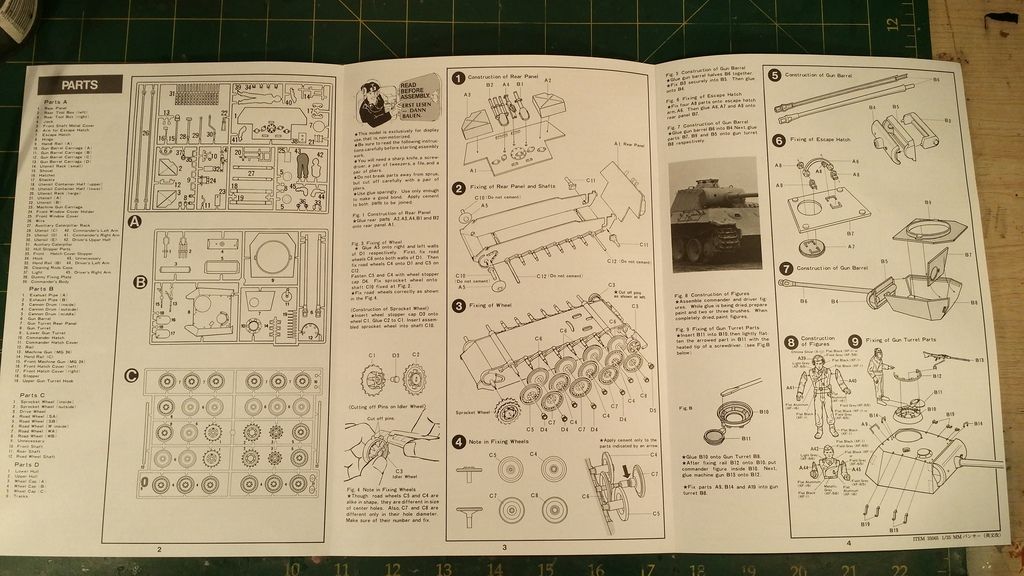
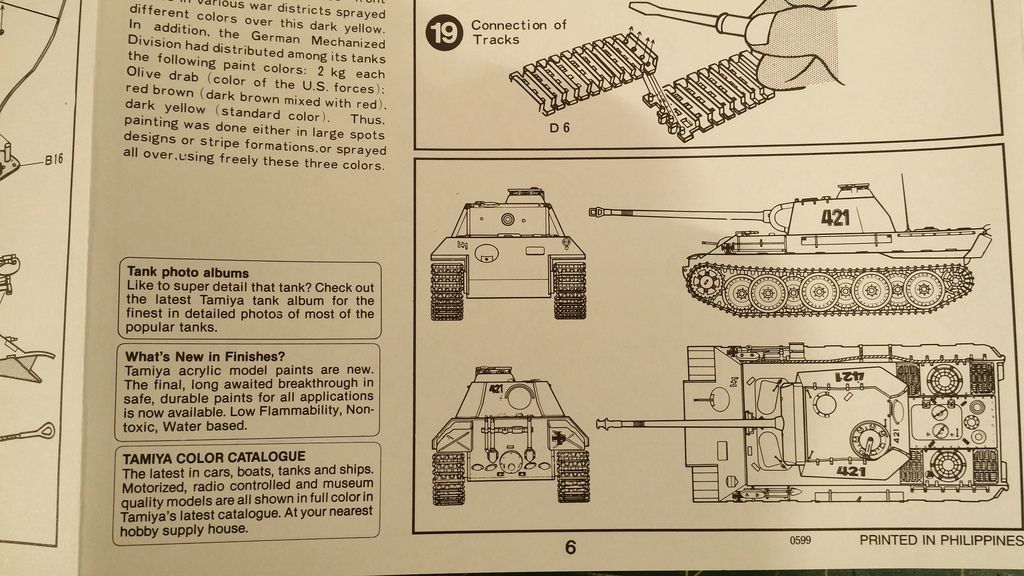
The Instruction manual
Overall Impression:
Nice kit, not many parts but as I am not very experienced in modelling, I think this will be a fun and easy build with enough detail to keep me happy. The turret itself is molded in two parts so will have to do a bit of sanding, hopefully that turns out alright. But in terms of quality of the mold, it is very good.
on to the next kit:
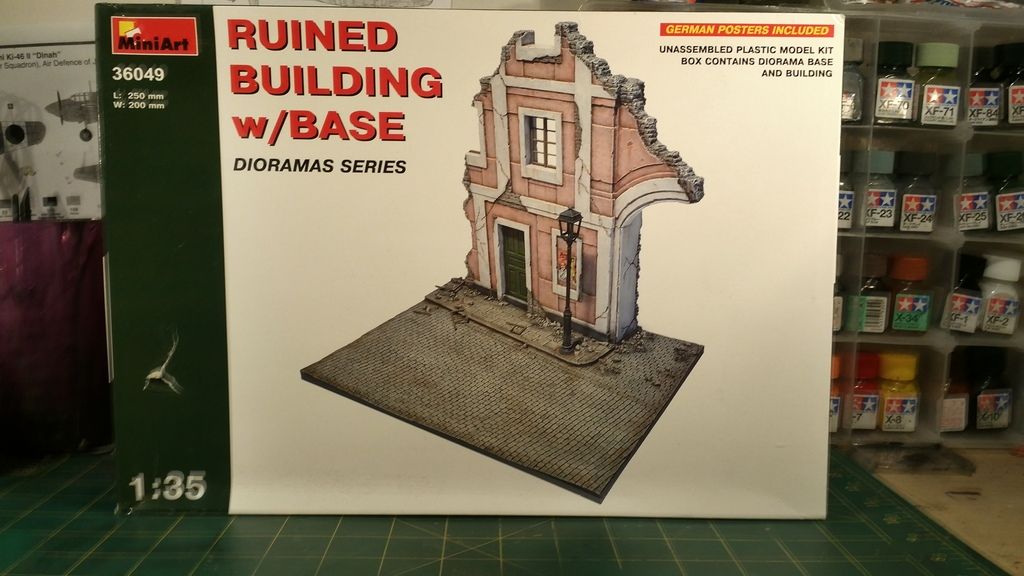
Miniart 1/35 Ruined Building with Base
Box art
Kit Contents

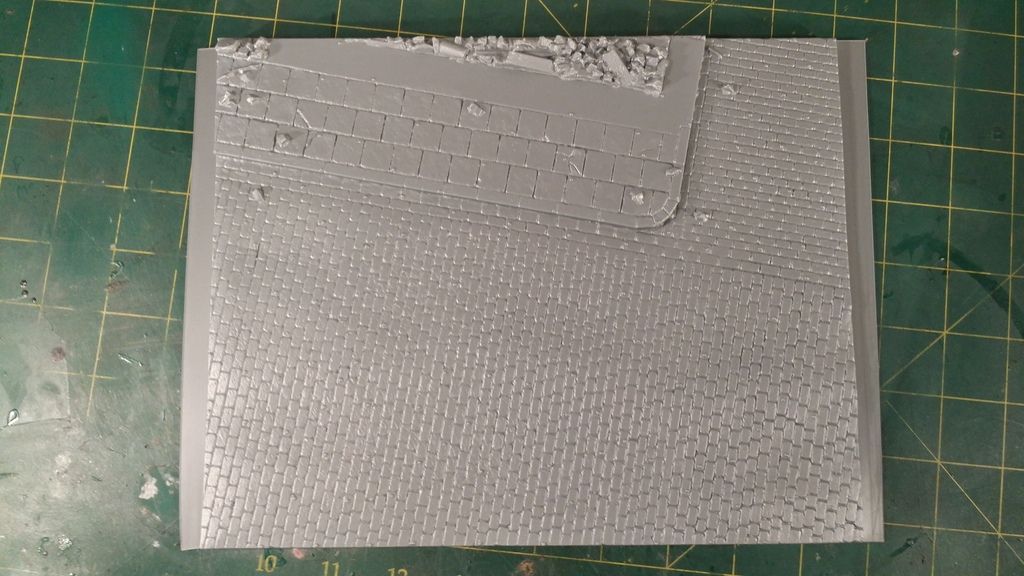
The base
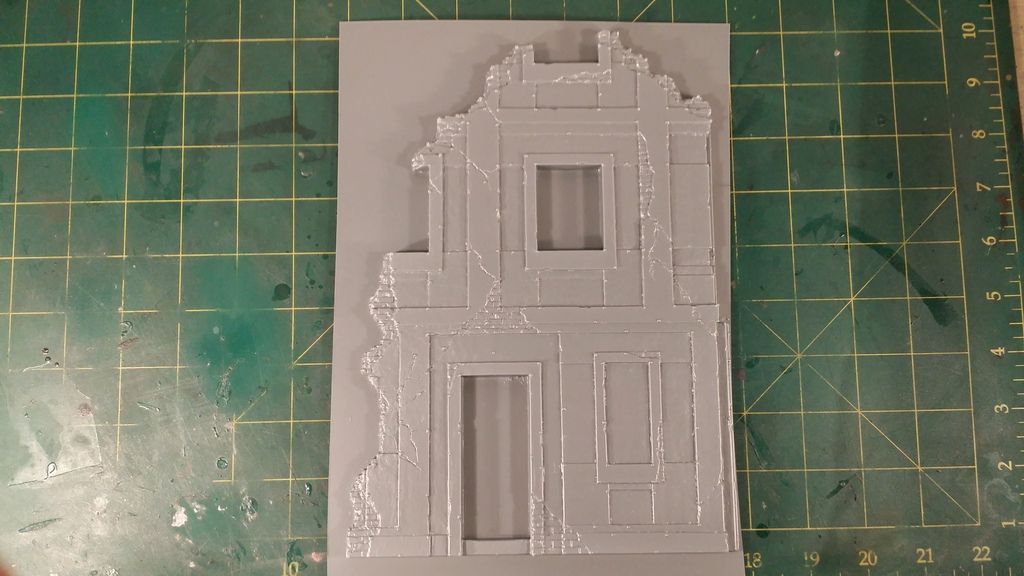
The front of the building
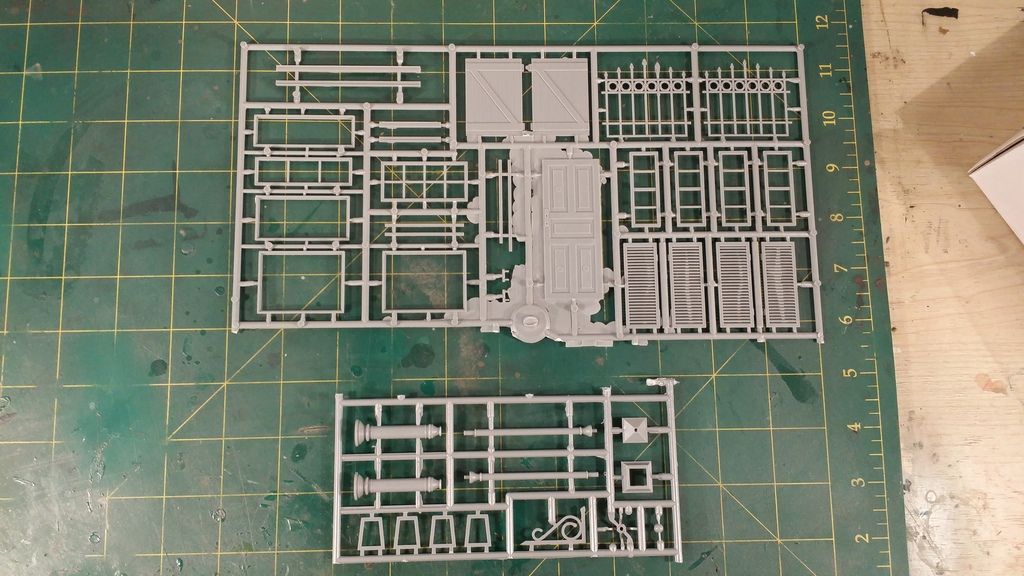
Detail parts and Door - lots of flash present
The back of the building

The arc of the building

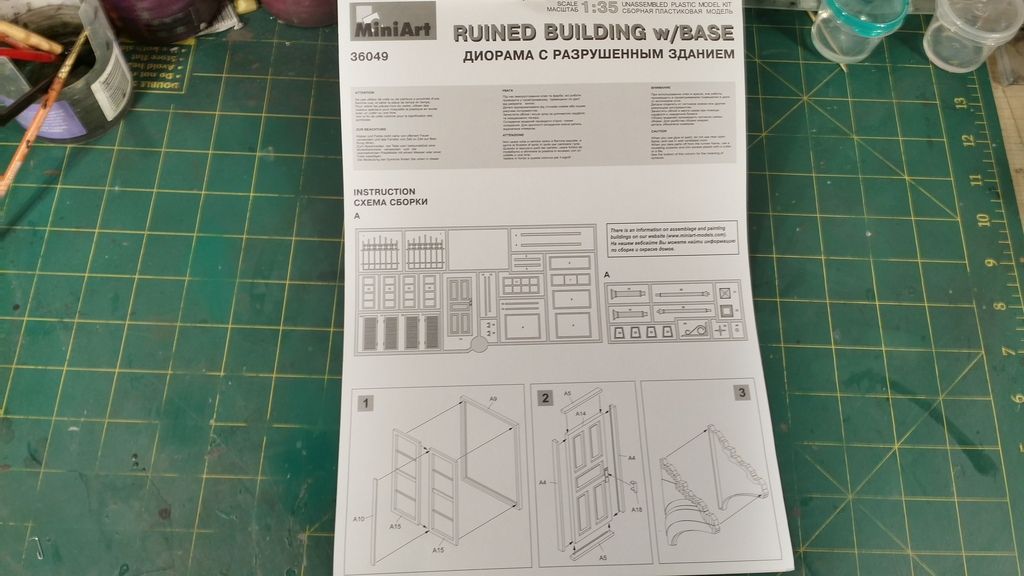
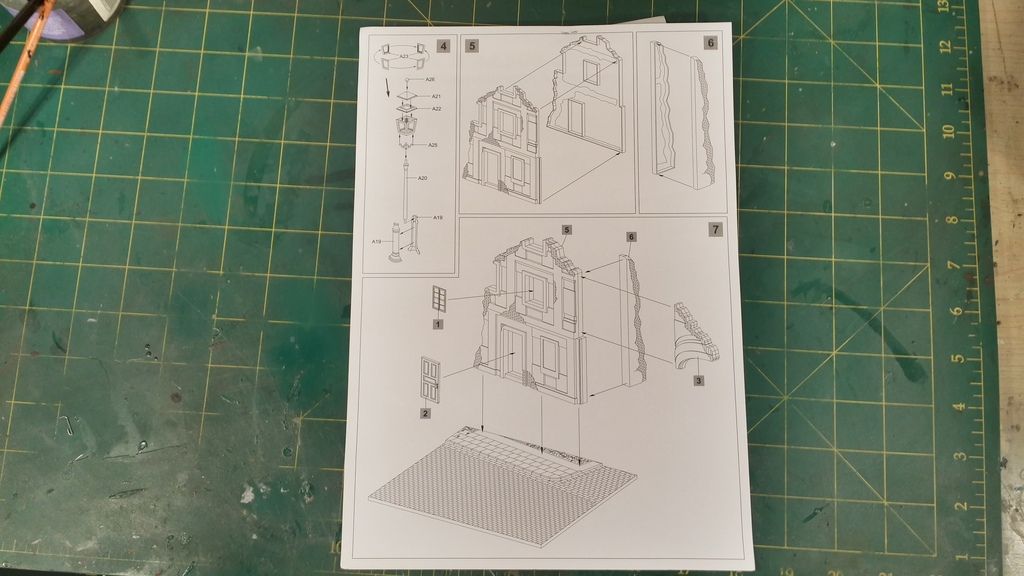
Intructions
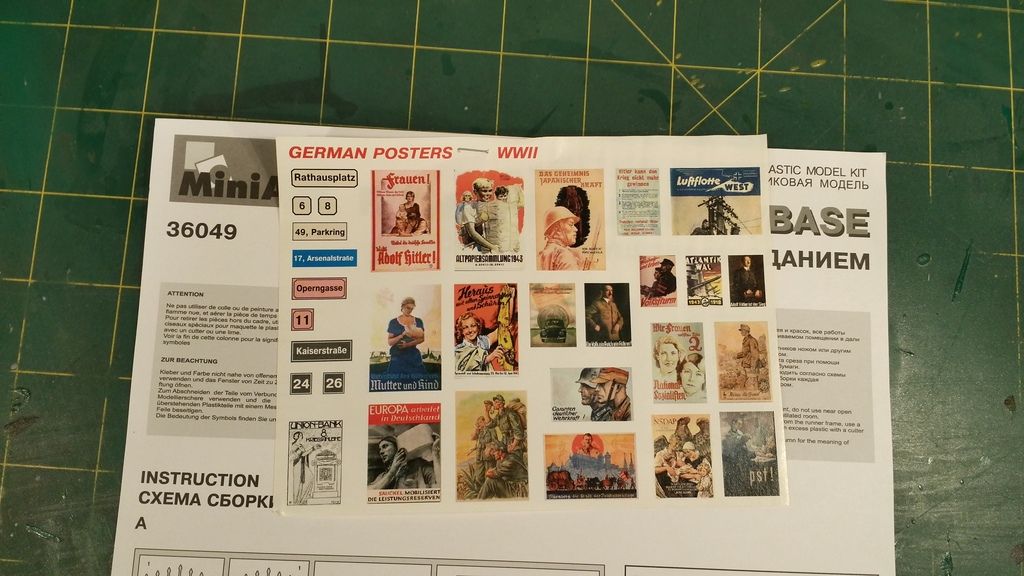
And a very nice addition of small 1/35 posters - these look like they are printed on stamp like paper
Overall Impression:
I have never built a Miniart kit before - so am unsure if the flash on the side of the buildings is how they normally do it or just this kit comes with flash on the side of the all the large sprues. Their is also a large amount of flash on the details sprue so not very happy with that. The detail though in the actual parts themselves is top notch. The kit doesnt come with all the extra details like the grass or the tree so that is a bit of a let down seeing as how these kits can be a tad expensive sometimes.
Well that's it for now, next up will be posts of the builds being started. Till then I hope you guys liked the post and the photos.
This is my first Build Post on the forum. Here is my entry into this GB.
It is the Tamiya 1/35 Panther and Miniart 1/35 Runied Building with Base.
The Plan
to build a Panther Tank with a ruined Building in the background using these two kits. I plan not to paint the Panther in a camo patter but rather in Tamiya XF 63 - German Grey as I really like that colour and the instructions offer it as an optional colour. The Tamiya kit will be built OOB, whilst the Miniart kit will have some extra details such as grass and tress added to it. Weathering will be kept to a minimum as I am not an expert in it yet and just want to get the basics right.
I wasn't able to get much info about the Miniart kit so only have details of the Tamiya Kit.
Details of the Tamiya Kit
- Kit Name:
Tamiya 1/35 Panzerkampfwagen V Panther Sd.kfz.171 Ausf.A - Kit Product Number:
35605 - Kit History:
This Kit was released in 1976 and is a rebox of Tamiya Kit 30223 released in 1968. So the Mold is actually from 1968. - Marking options:
Two marking options both for German Tanks in Camo Pattern - However the instruction manual suggests that you can paint the kit single colours such as grey or desert brown - Scalemates link:

Kit Overviews
Here are the two boxes:

Tamiya 1/35 Panther
First off, the Panther Box Art:

Kit Contents:

The Hull - Very nicely molded and some nice detail

The undercarriage

Sprue A - Detail parts, and figure

Sprue B - Turret Parts

Sprue C - Wheels

Wheel connectors

Decals

The Tracks - rubber band tracks,


The Instruction manual


Overall Impression:
Nice kit, not many parts but as I am not very experienced in modelling, I think this will be a fun and easy build with enough detail to keep me happy. The turret itself is molded in two parts so will have to do a bit of sanding, hopefully that turns out alright. But in terms of quality of the mold, it is very good.
on to the next kit:
Miniart 1/35 Ruined Building with Base
Box art

Kit Contents

The base

The front of the building

Detail parts and Door - lots of flash present

The back of the building

The arc of the building

Intructions


And a very nice addition of small 1/35 posters - these look like they are printed on stamp like paper

Overall Impression:
I have never built a Miniart kit before - so am unsure if the flash on the side of the buildings is how they normally do it or just this kit comes with flash on the side of the all the large sprues. Their is also a large amount of flash on the details sprue so not very happy with that. The detail though in the actual parts themselves is top notch. The kit doesnt come with all the extra details like the grass or the tree so that is a bit of a let down seeing as how these kits can be a tad expensive sometimes.
Well that's it for now, next up will be posts of the builds being started. Till then I hope you guys liked the post and the photos.


 .
.


Comment