
Hi All,
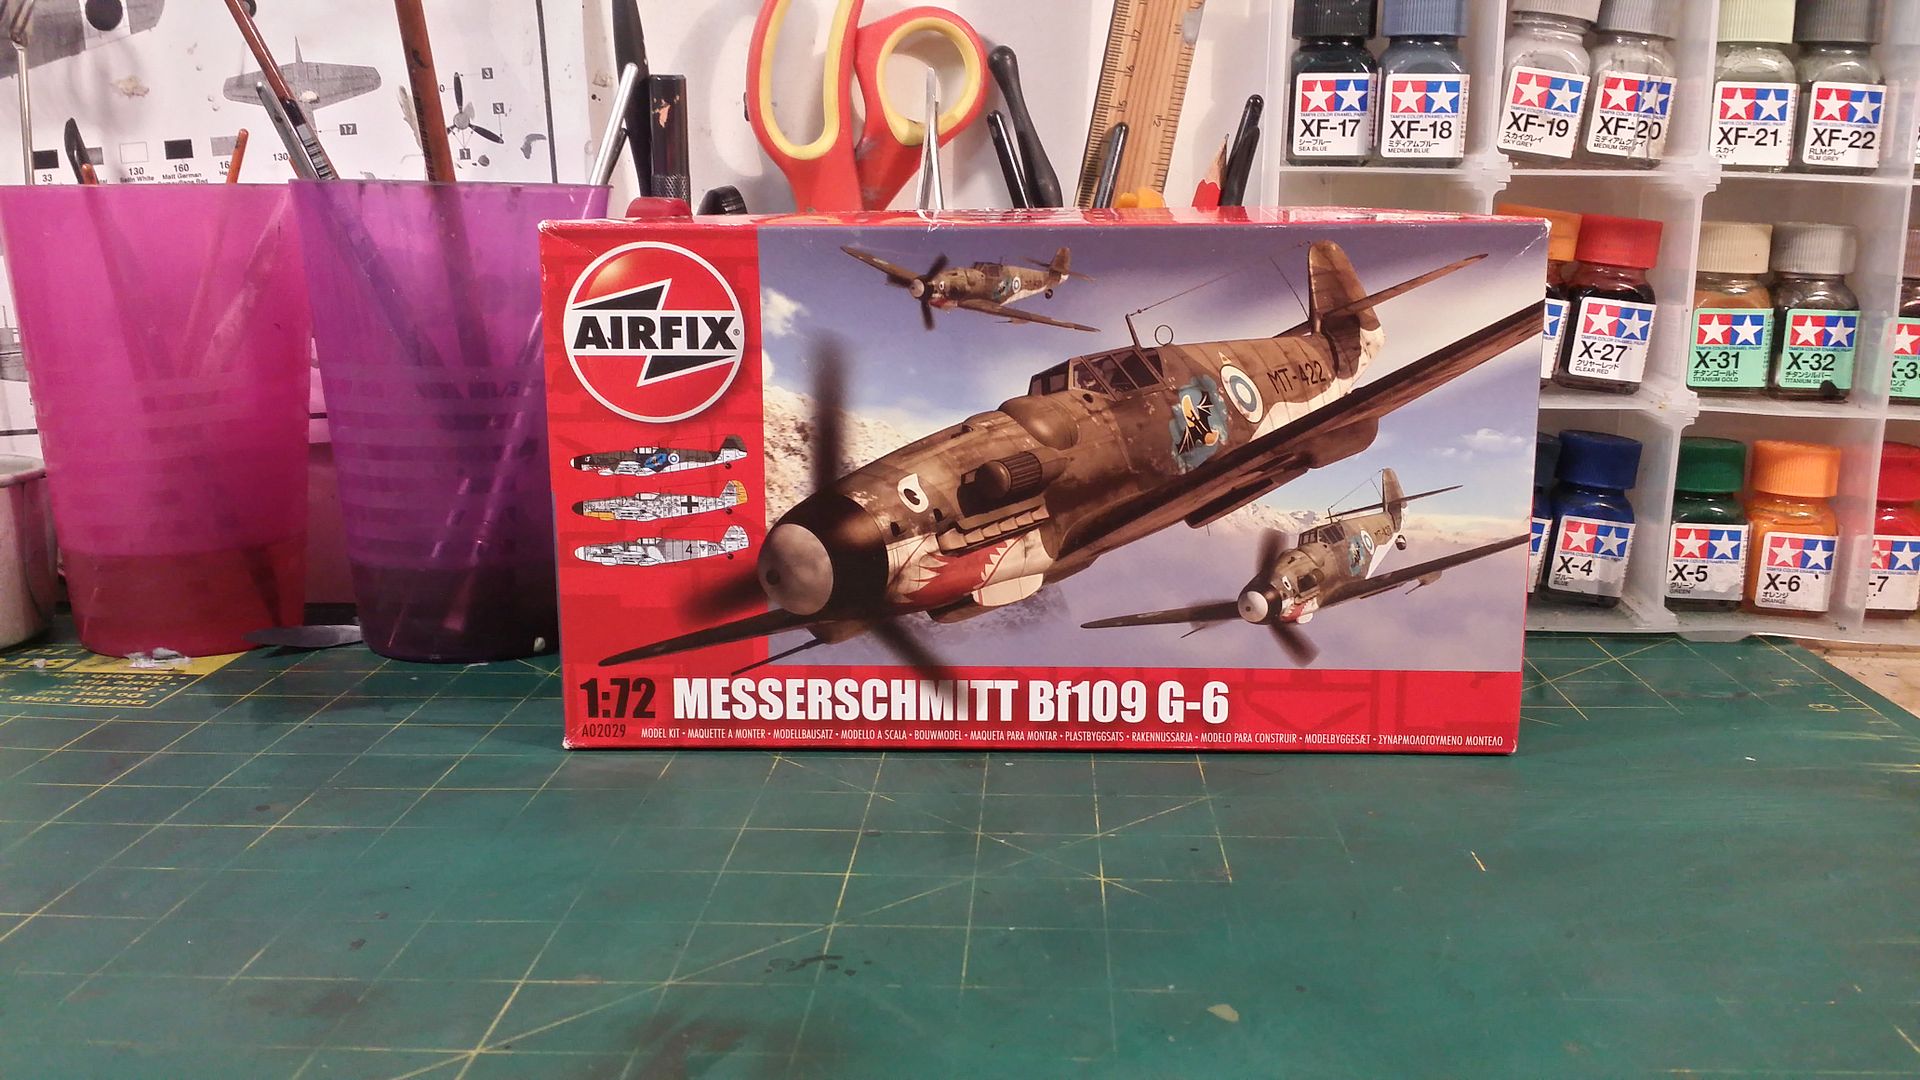
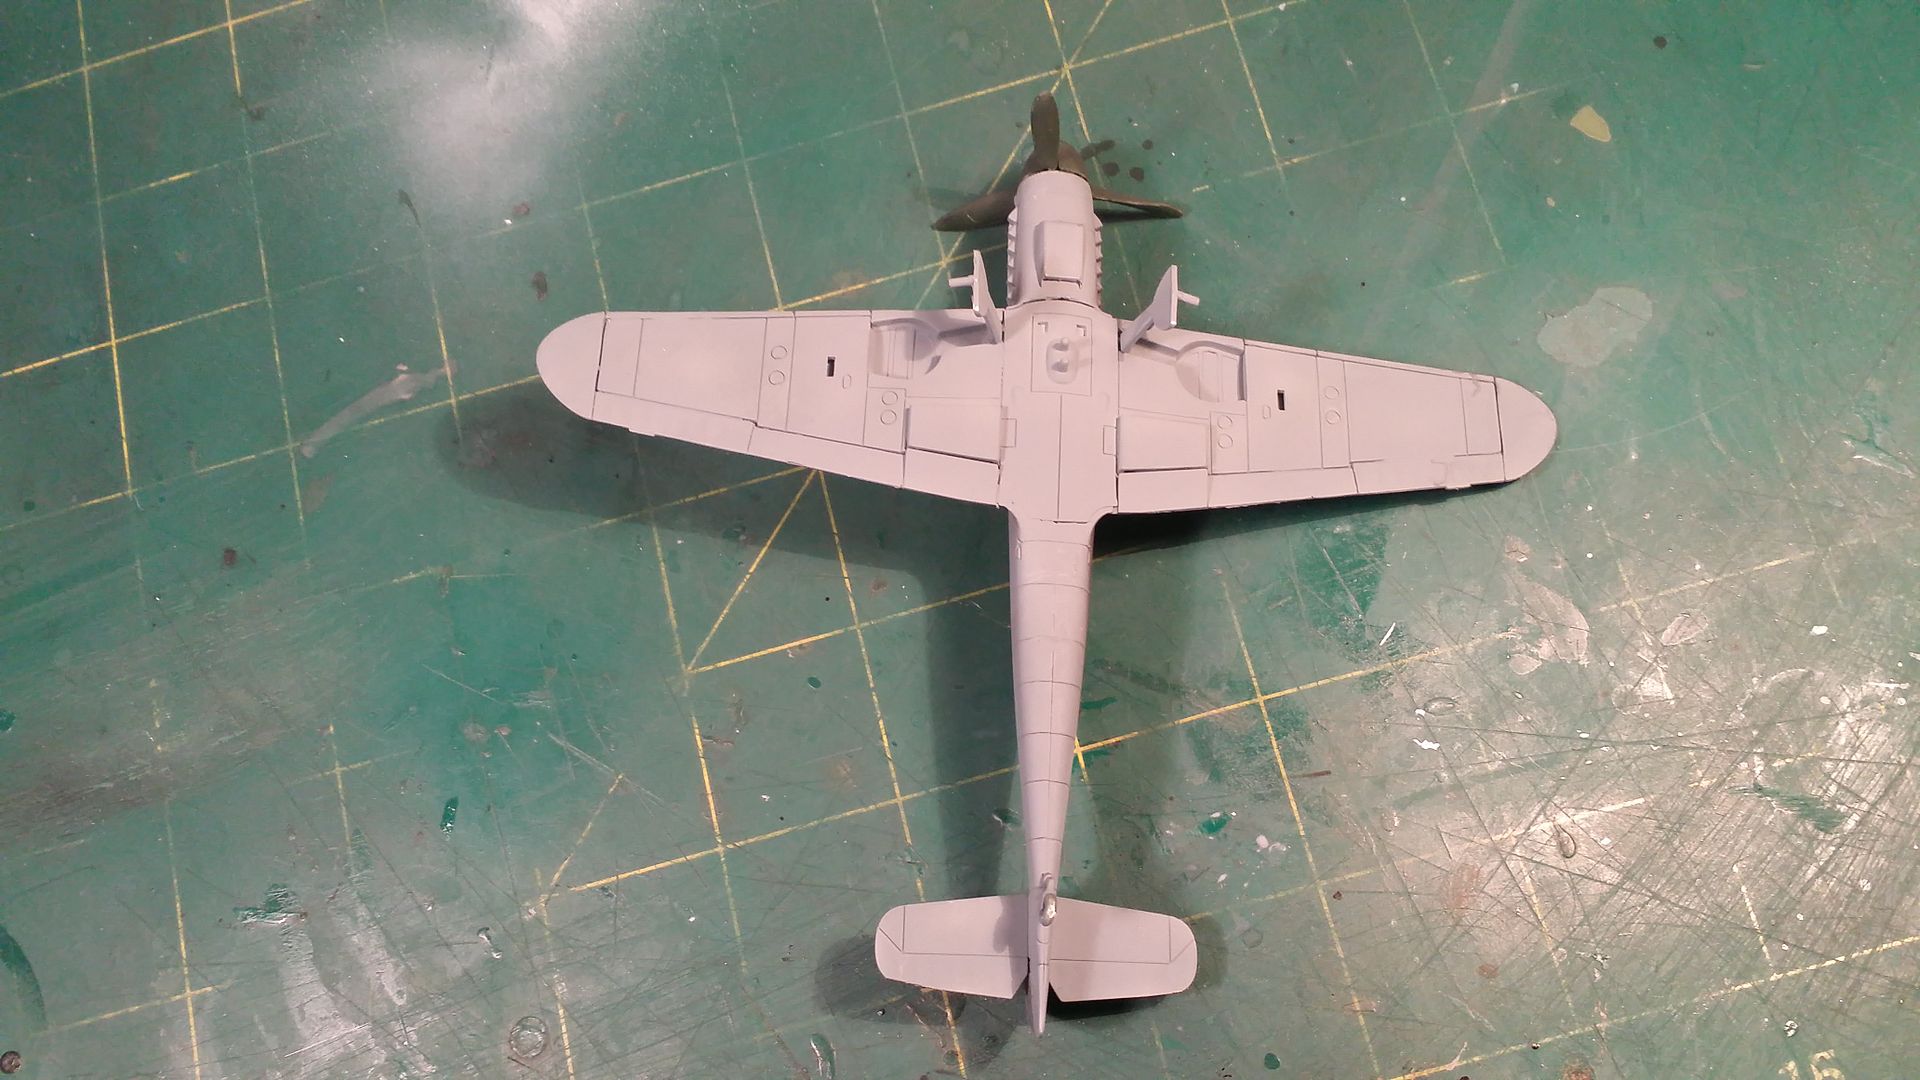
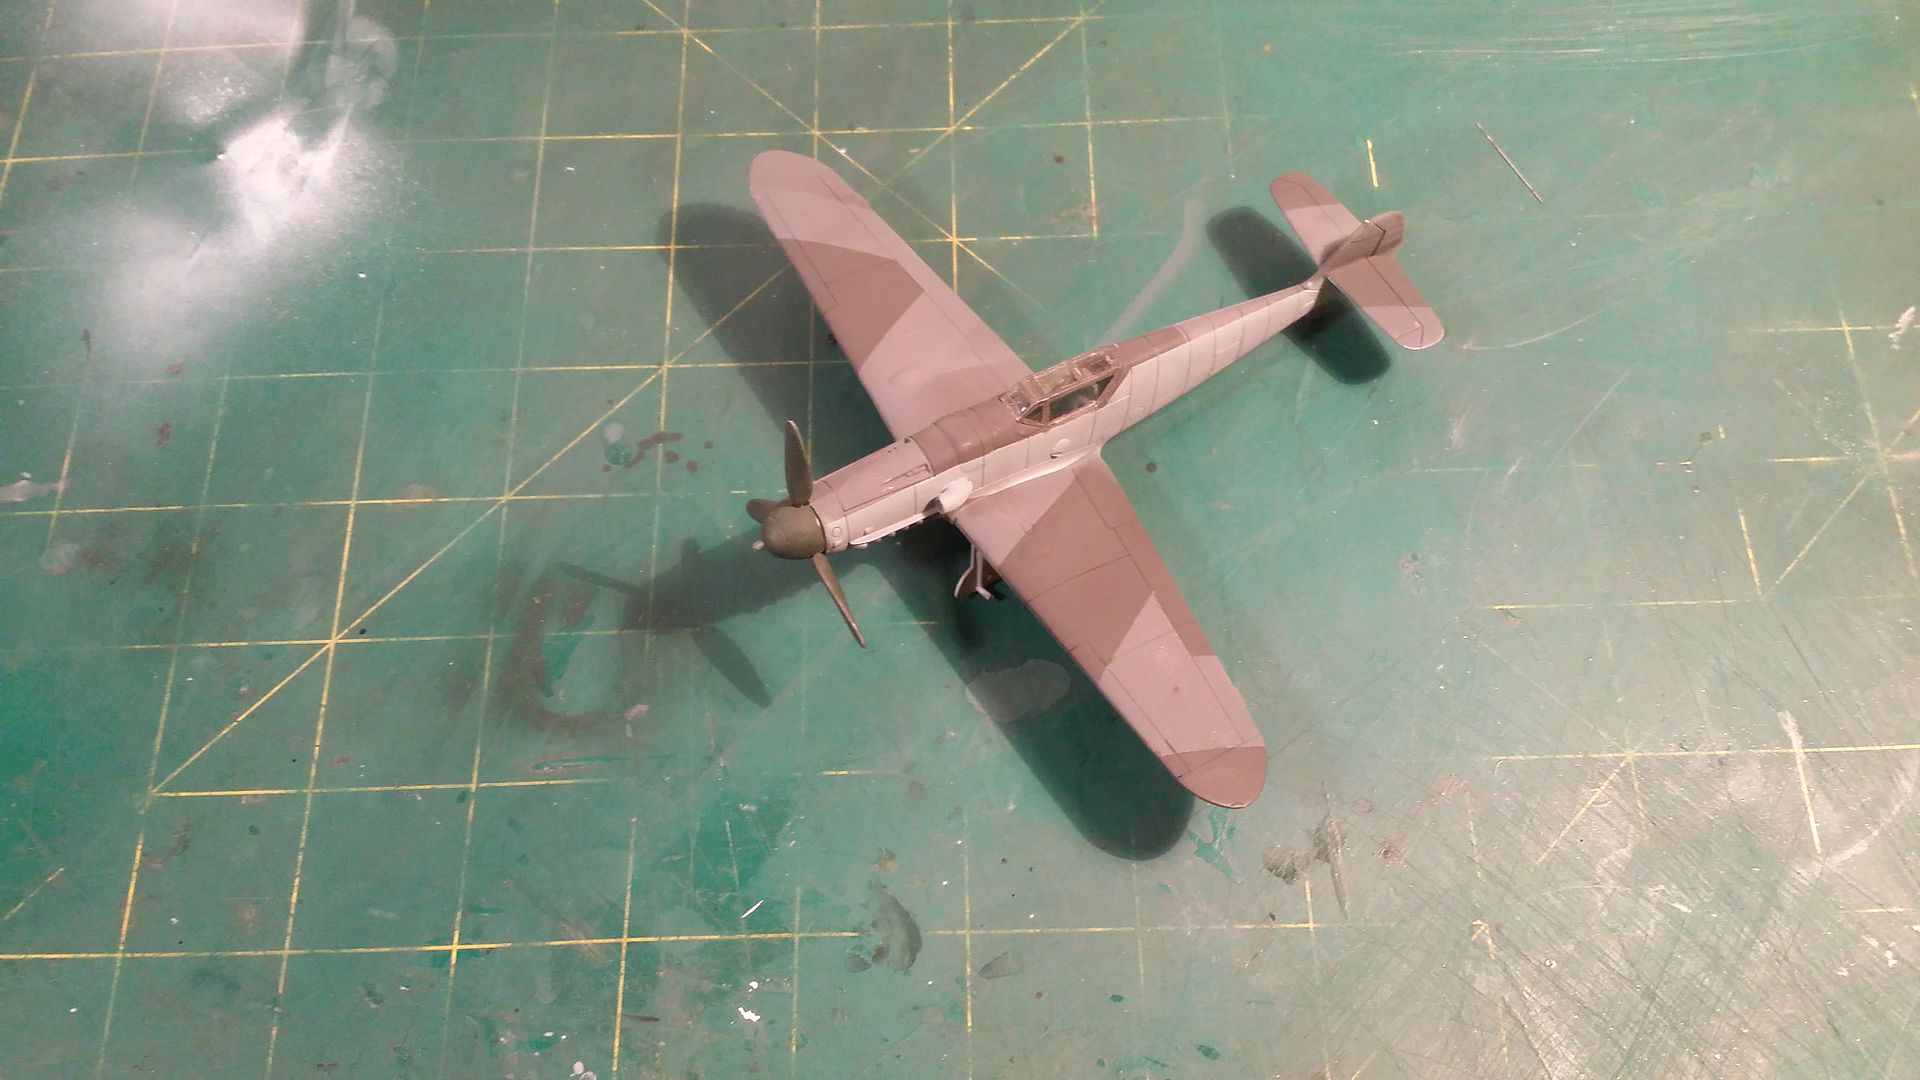
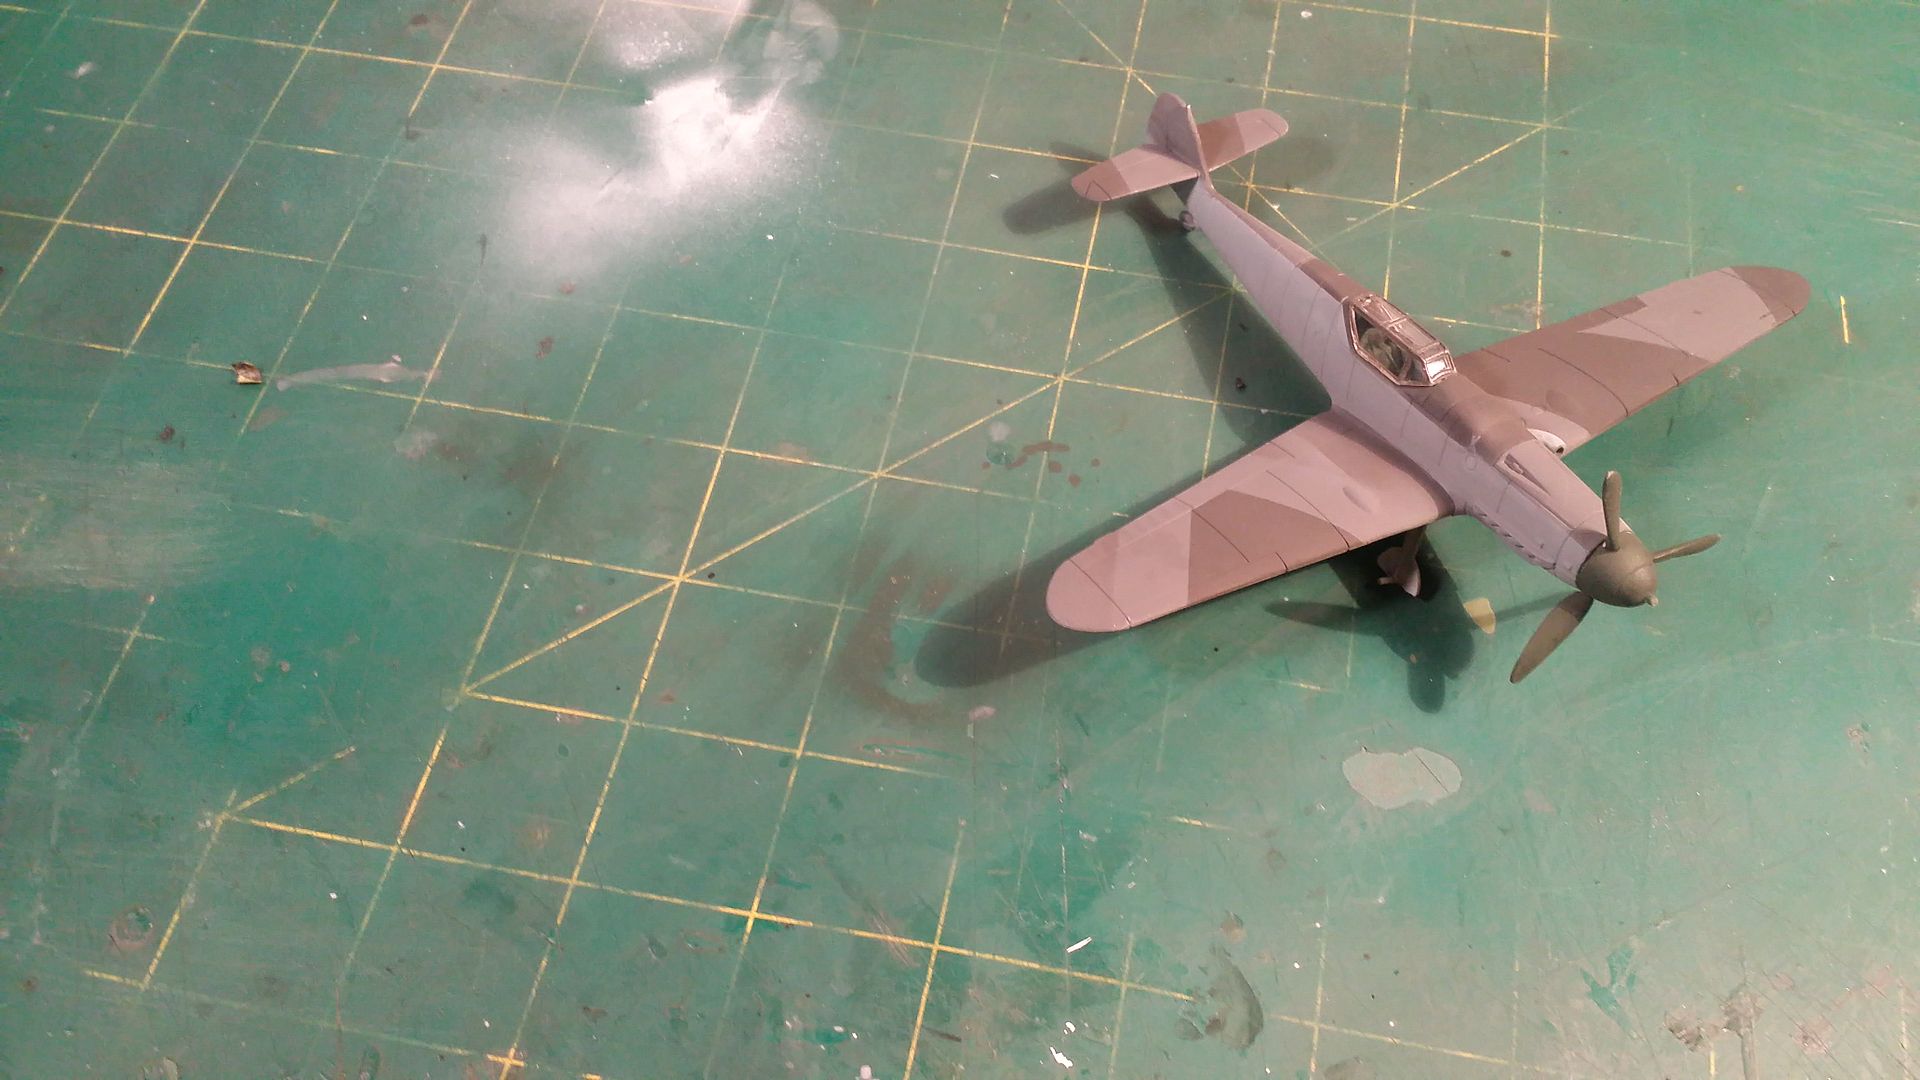
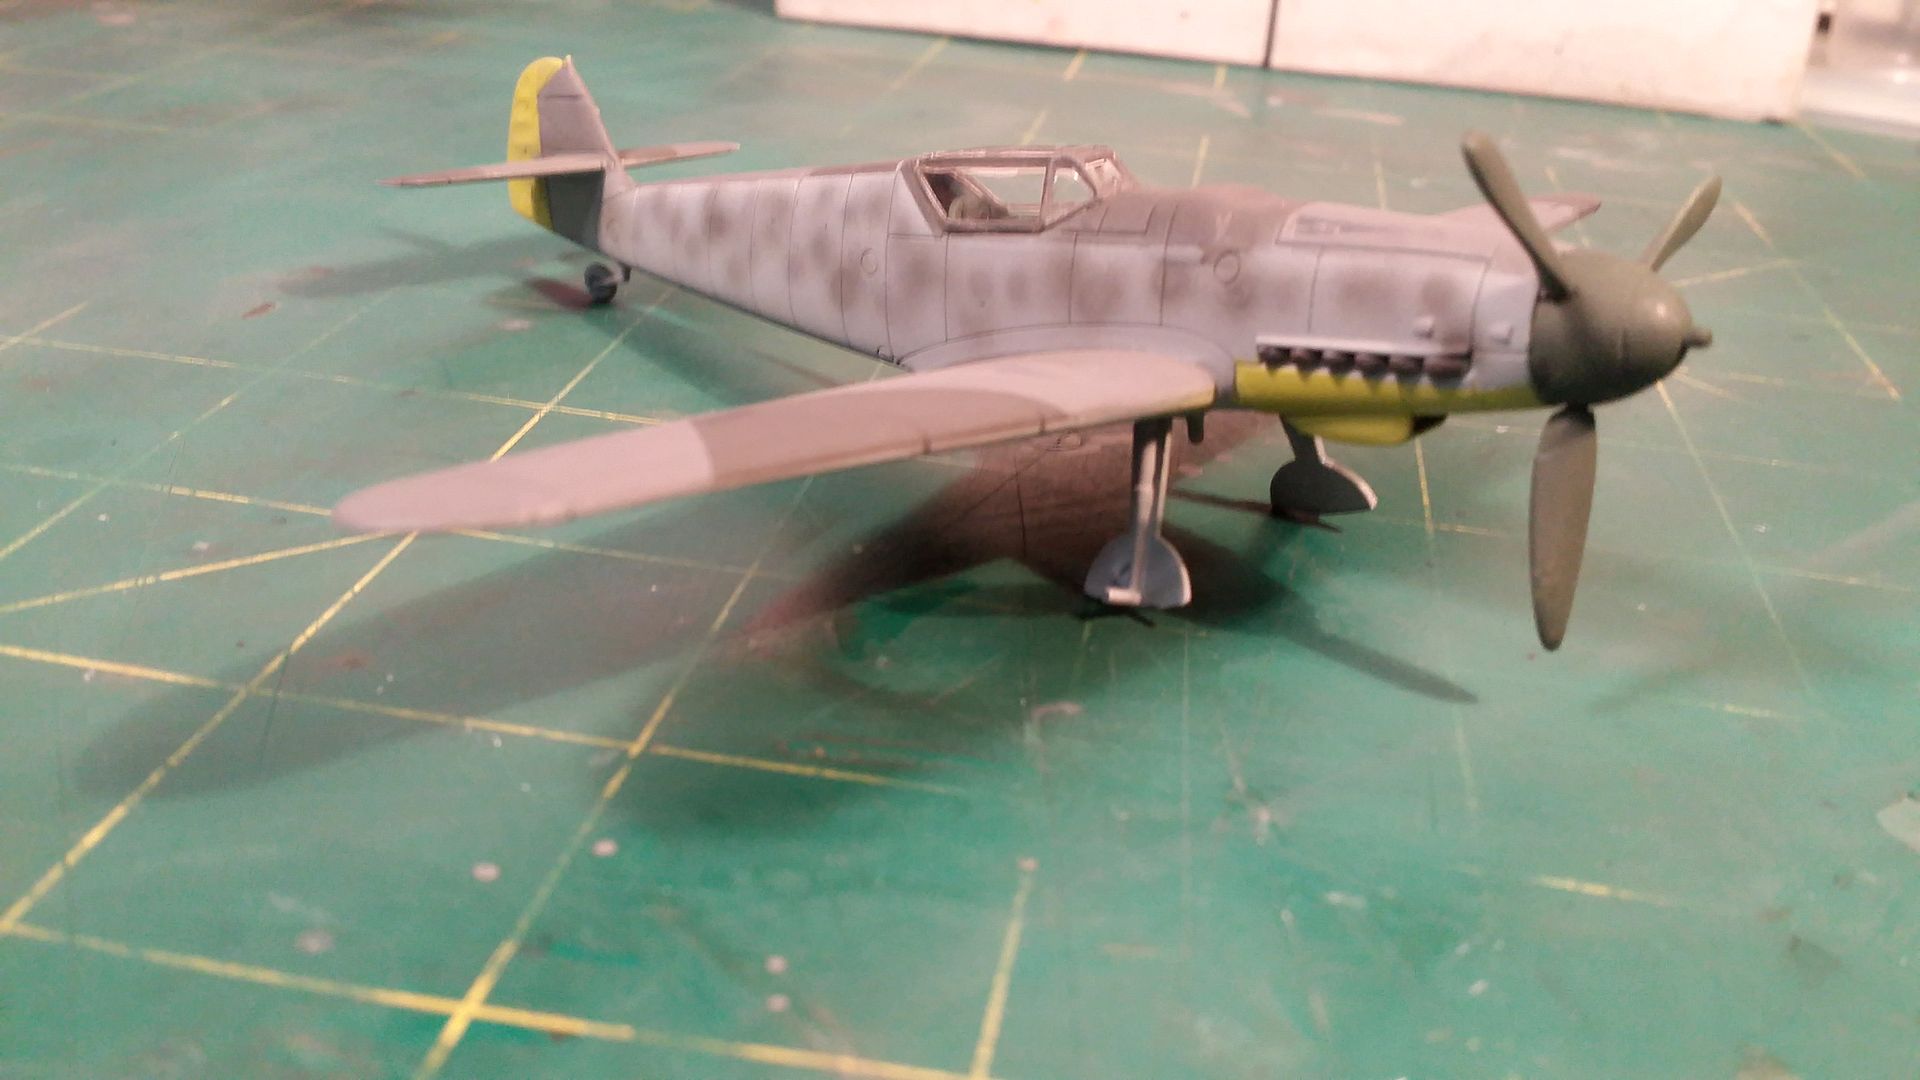
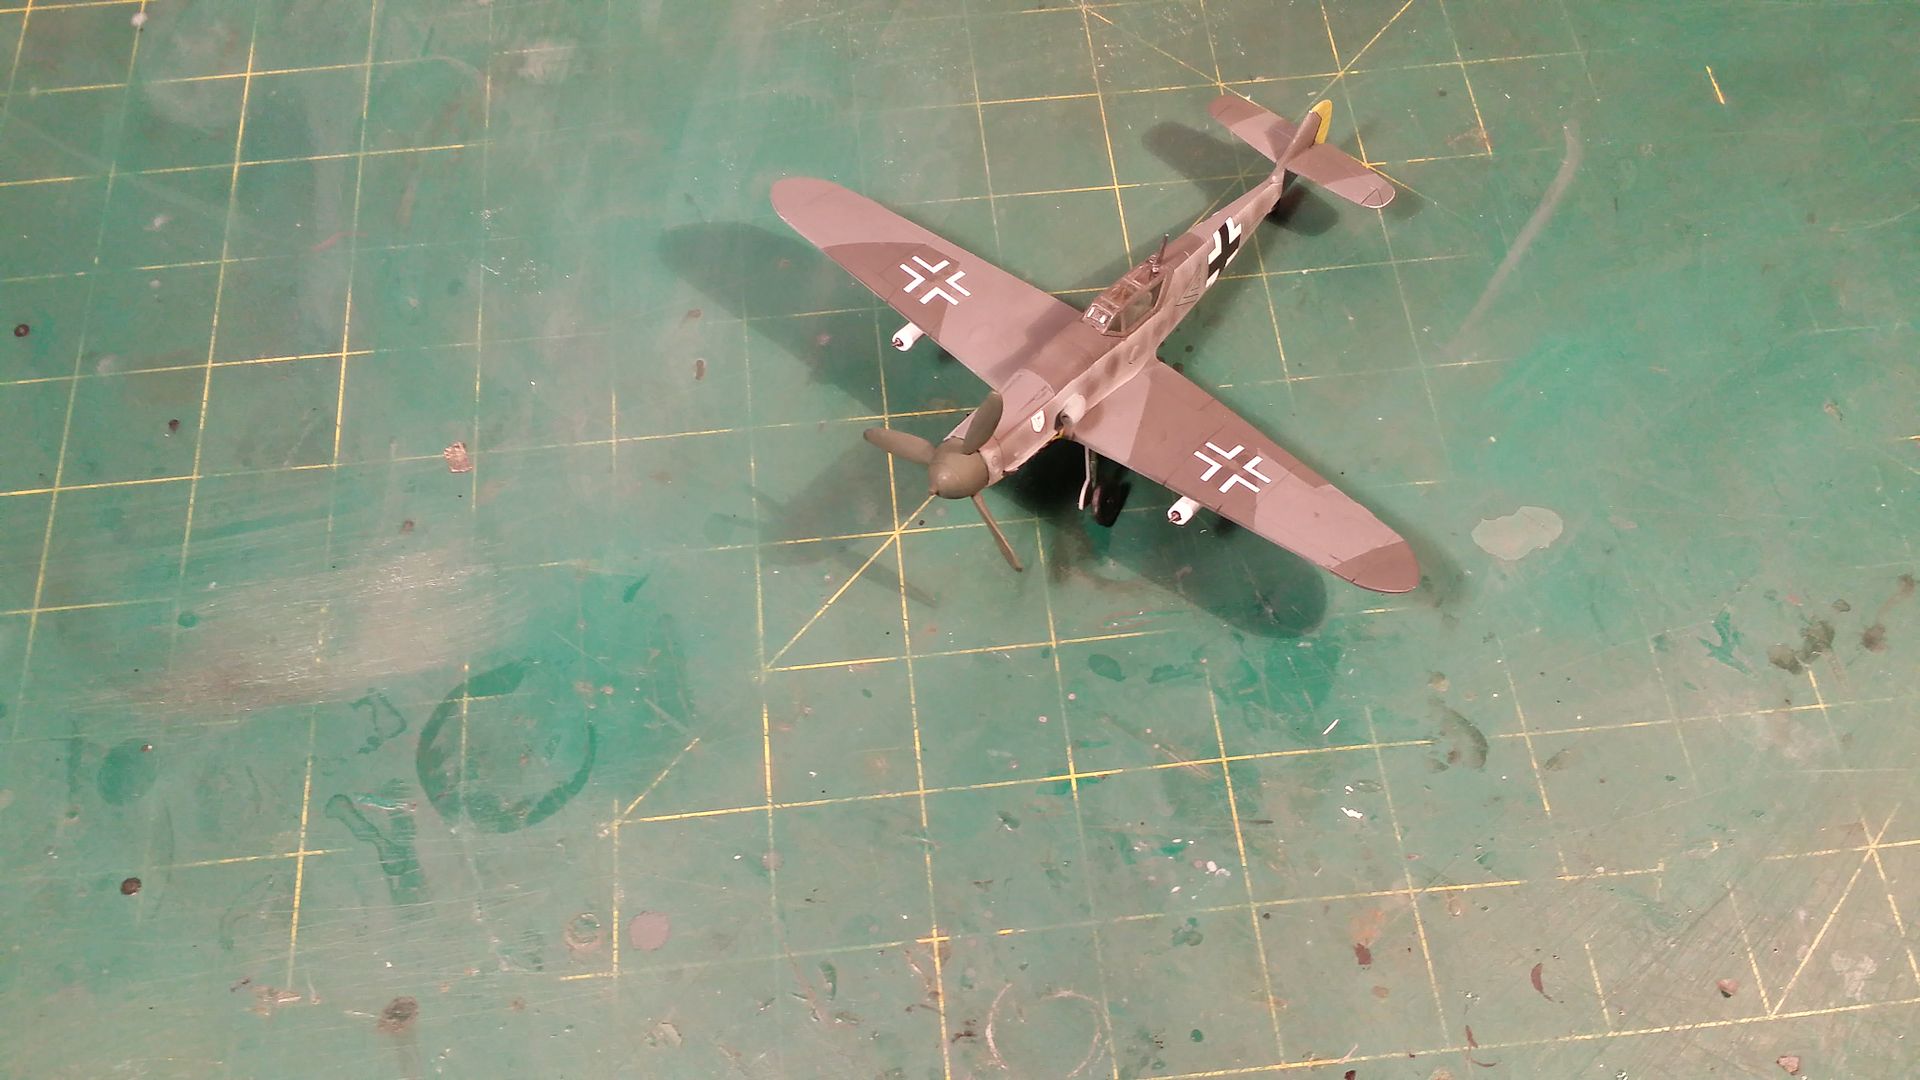
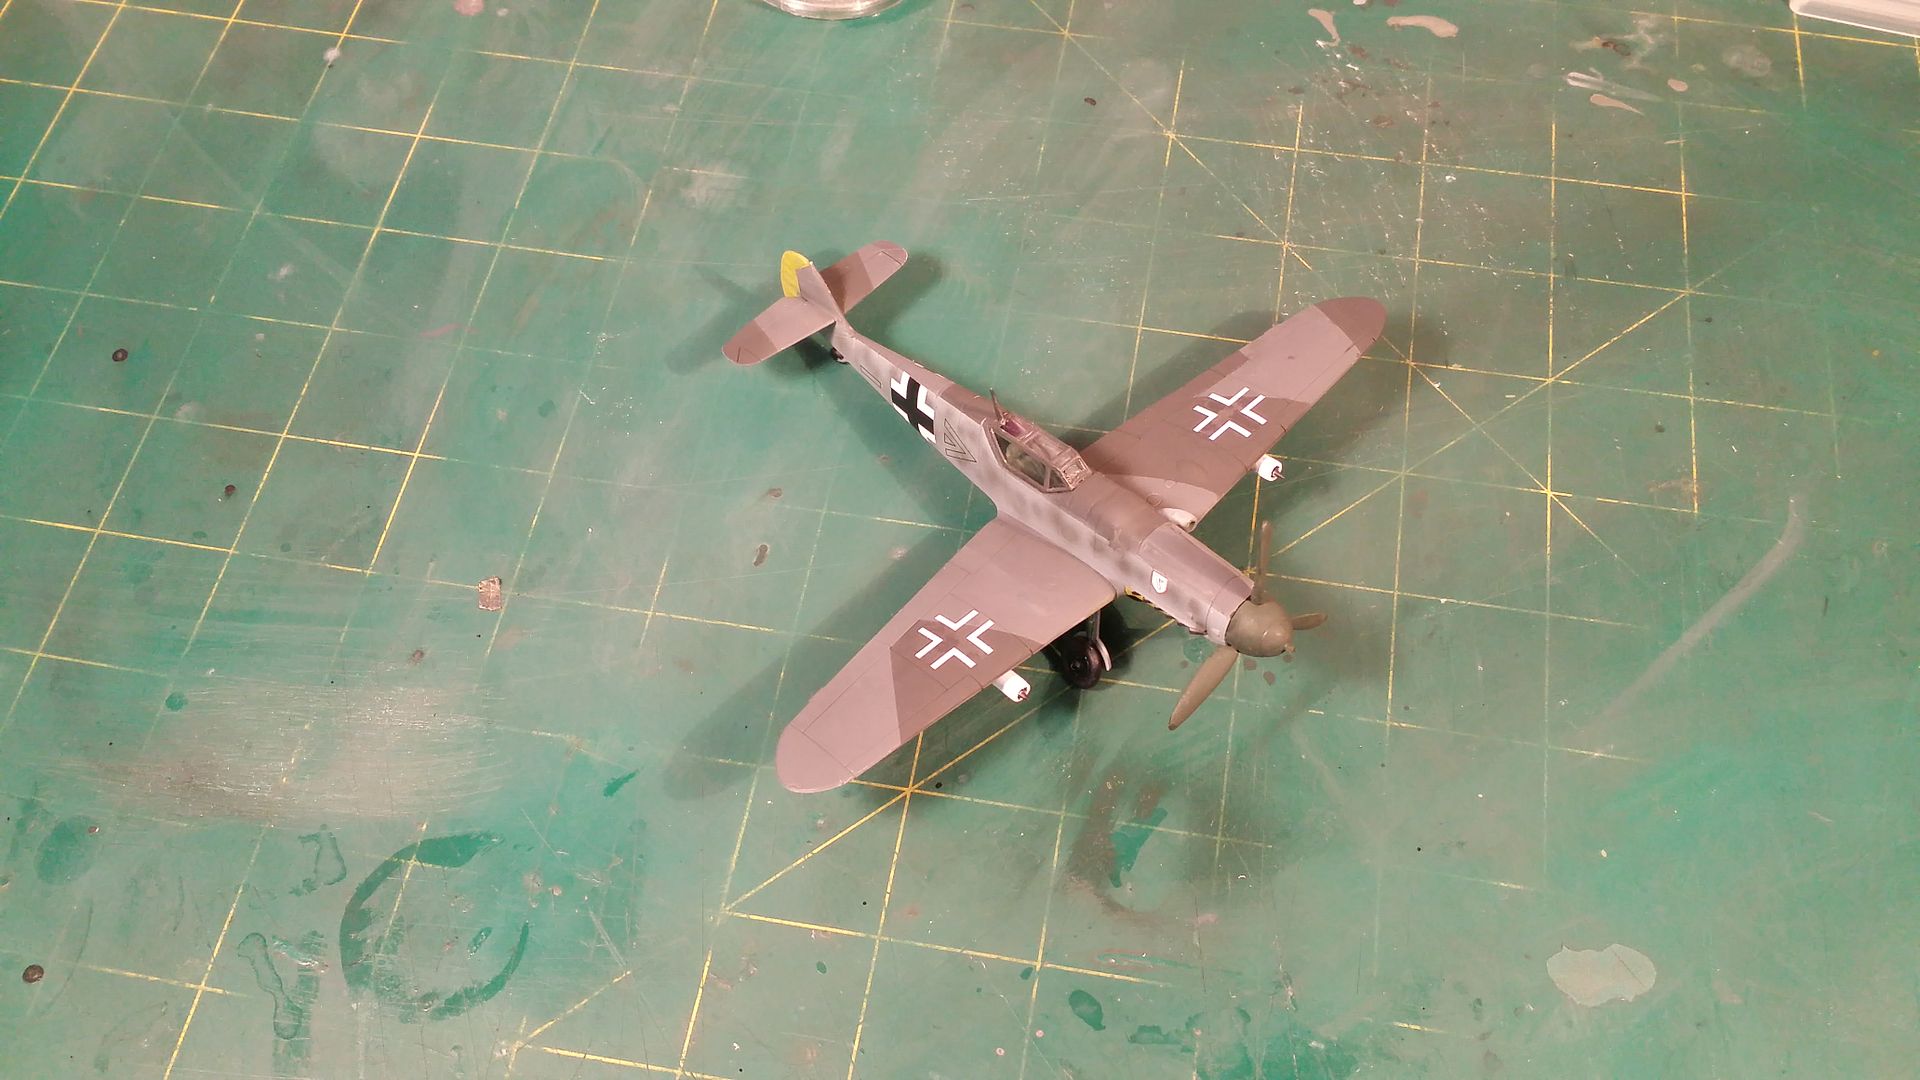
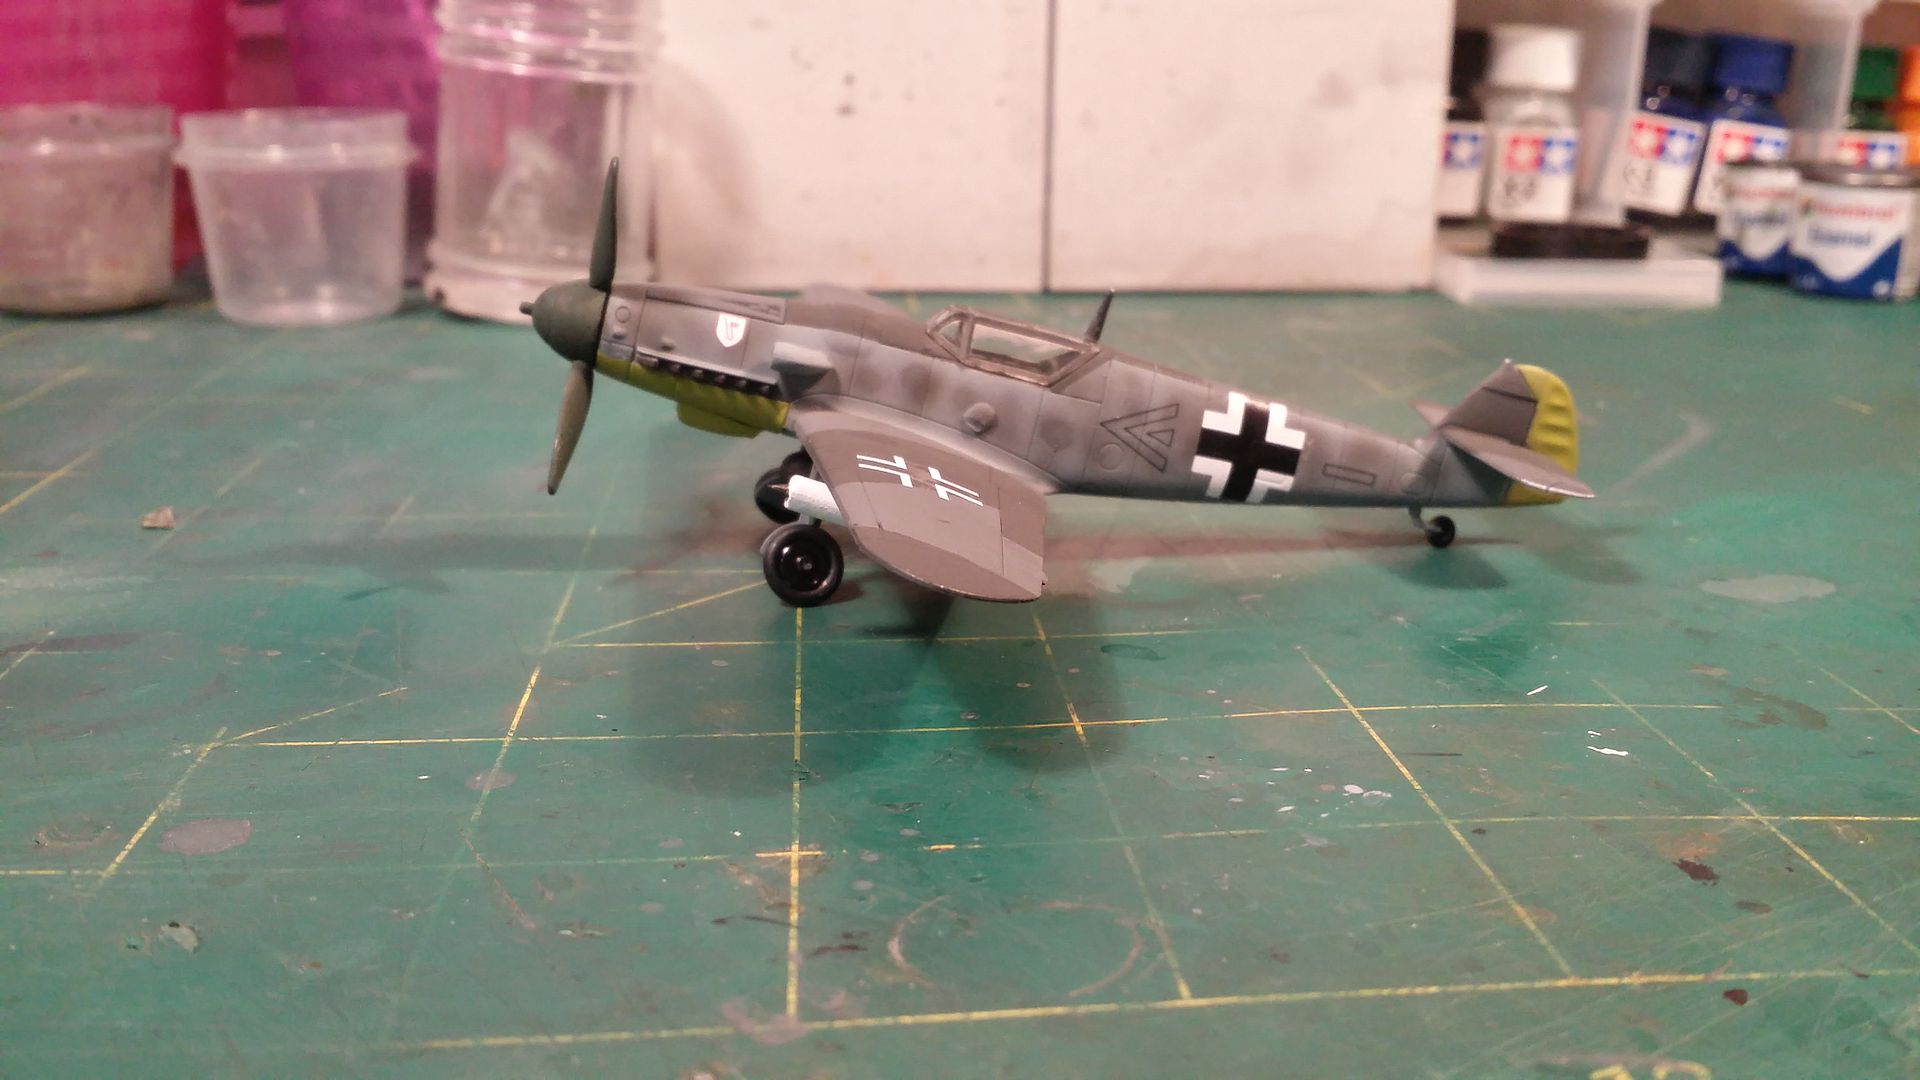
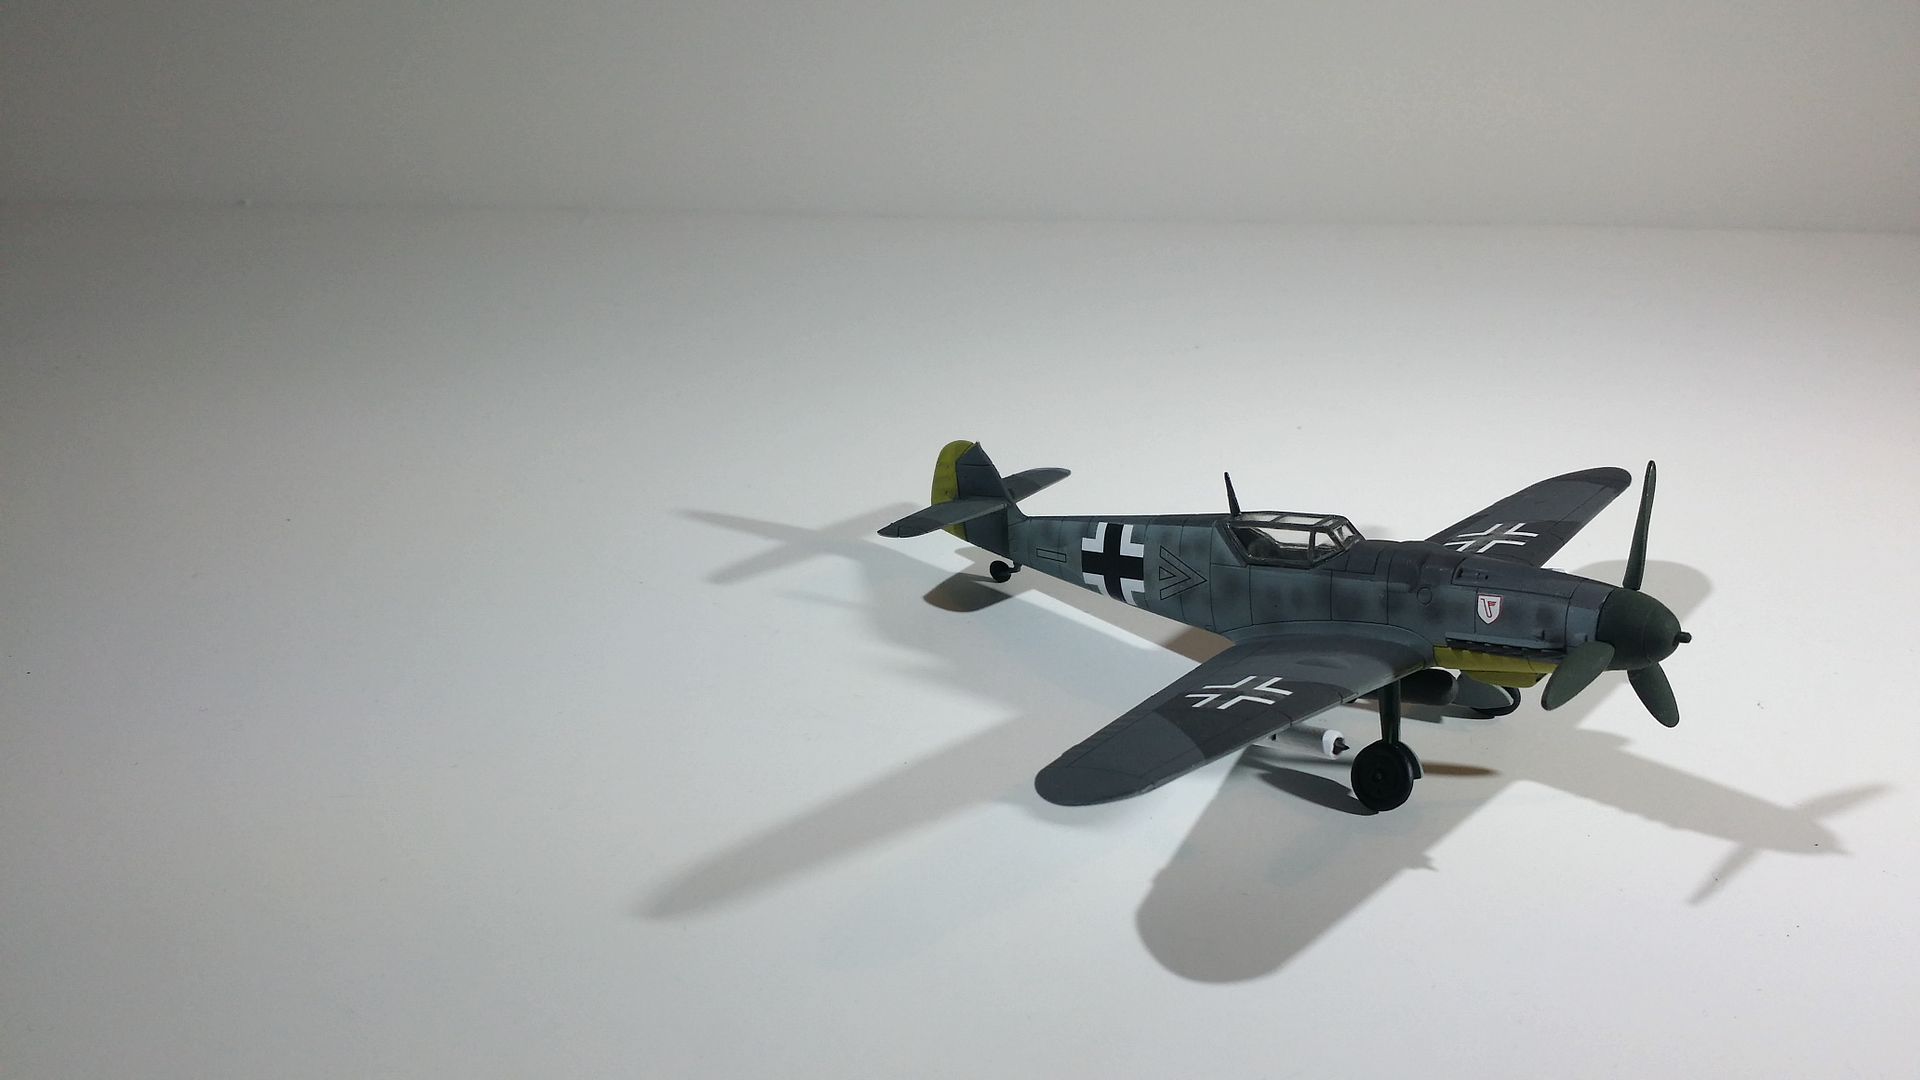
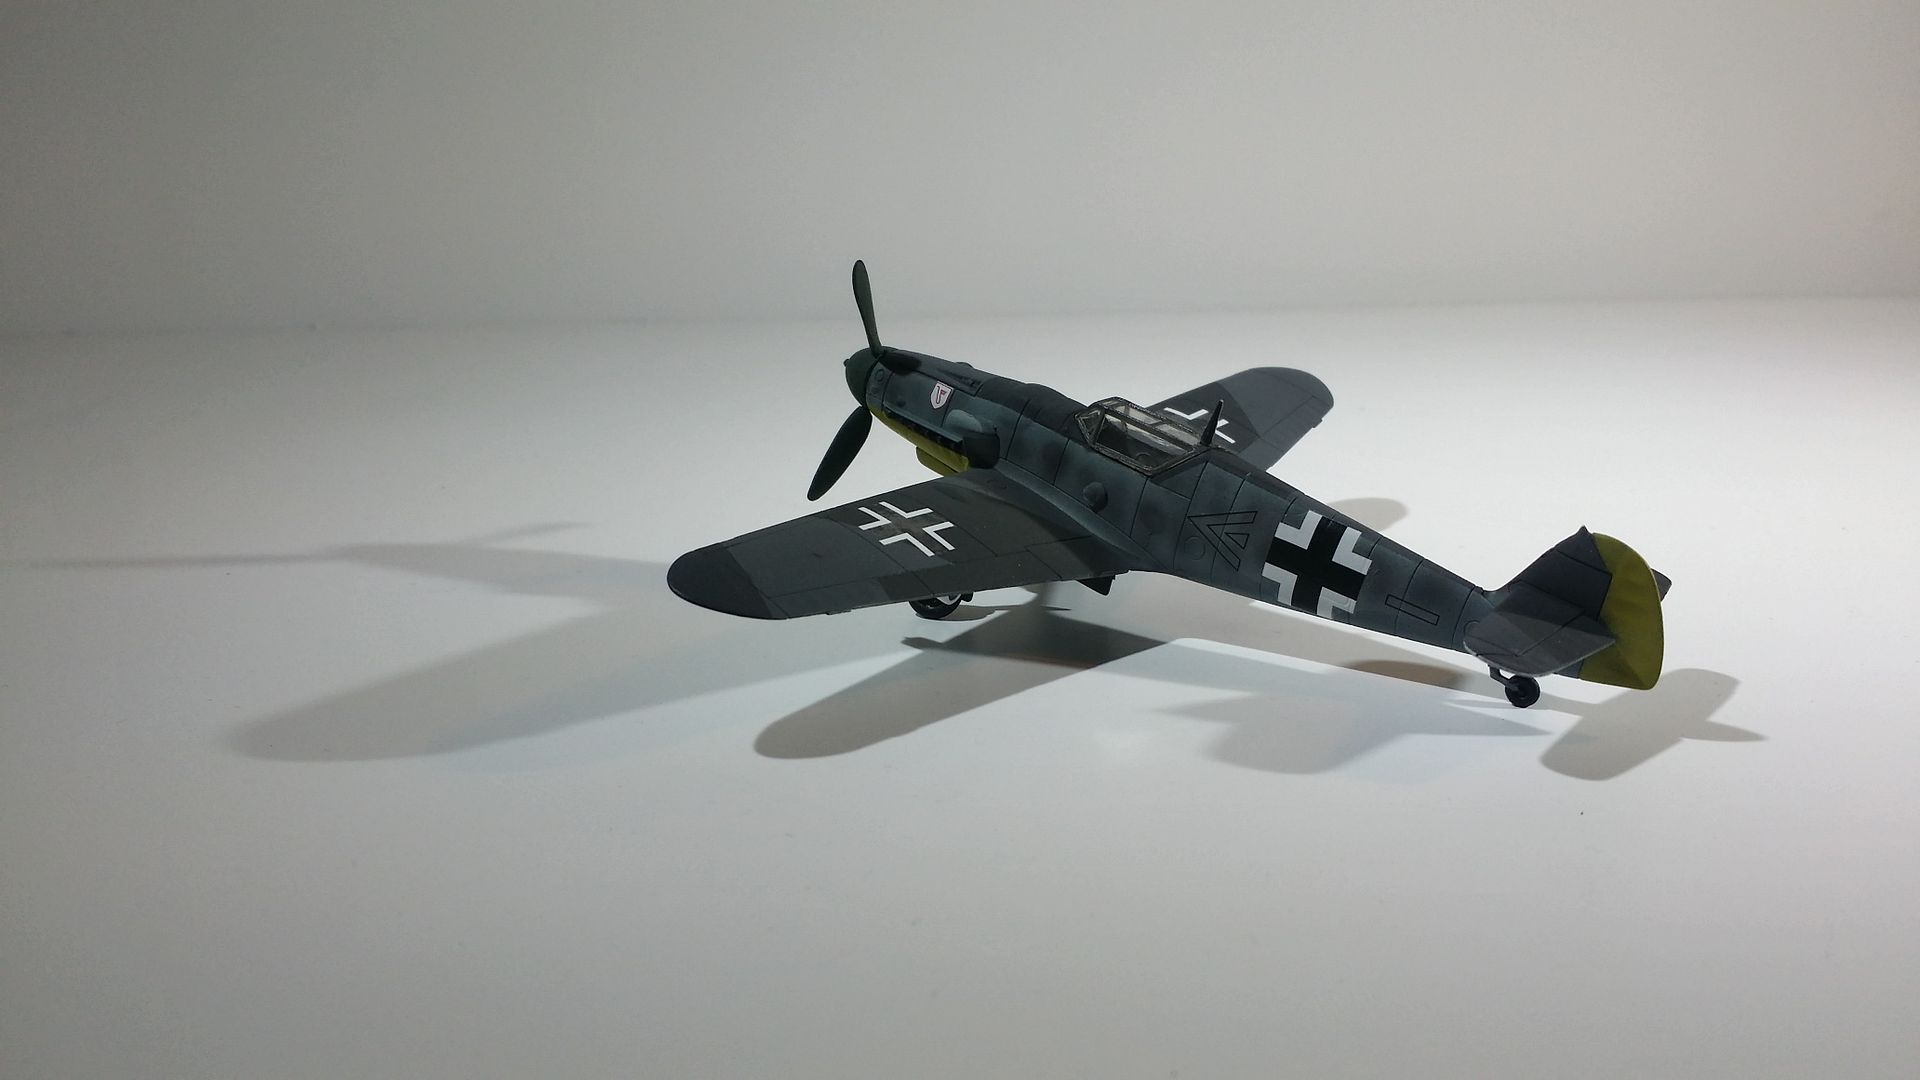
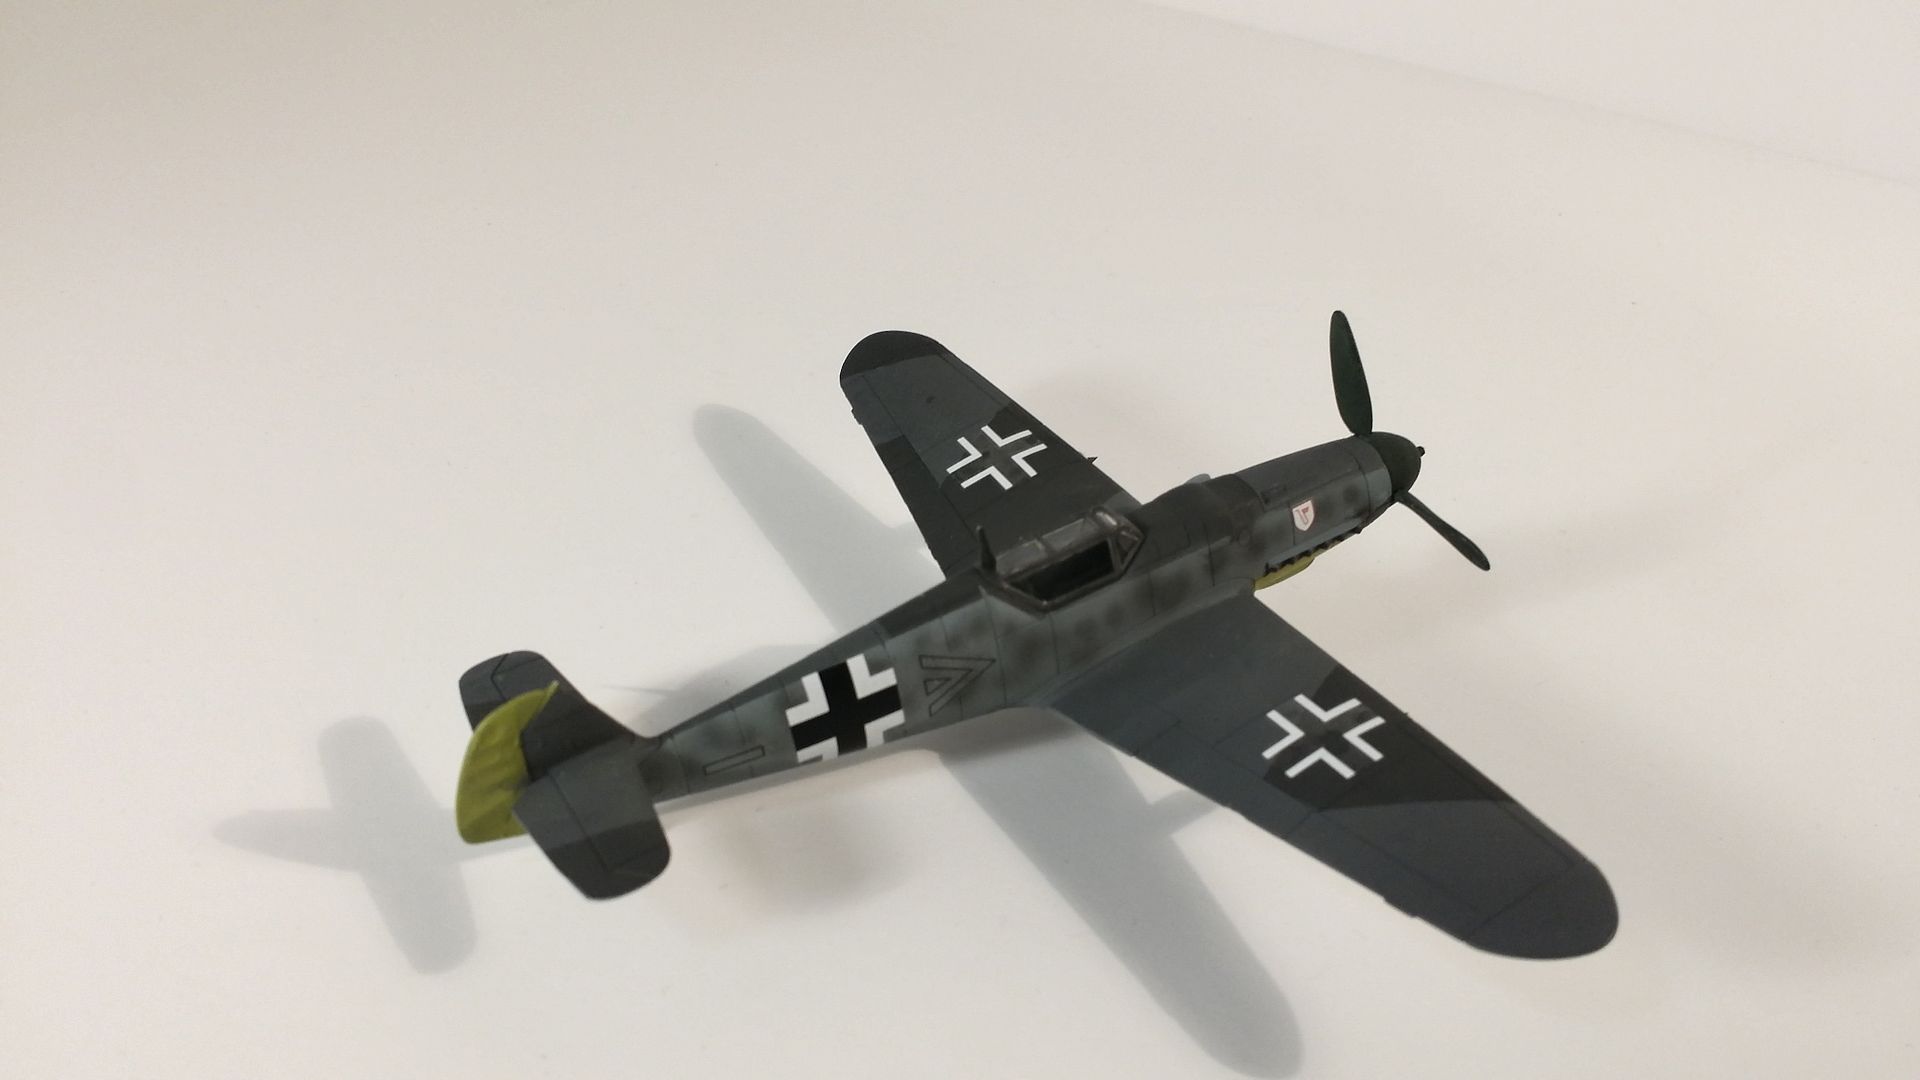
This is my entry into the GB. The Airfix 1/72 Bf 109 G-6
The Plan
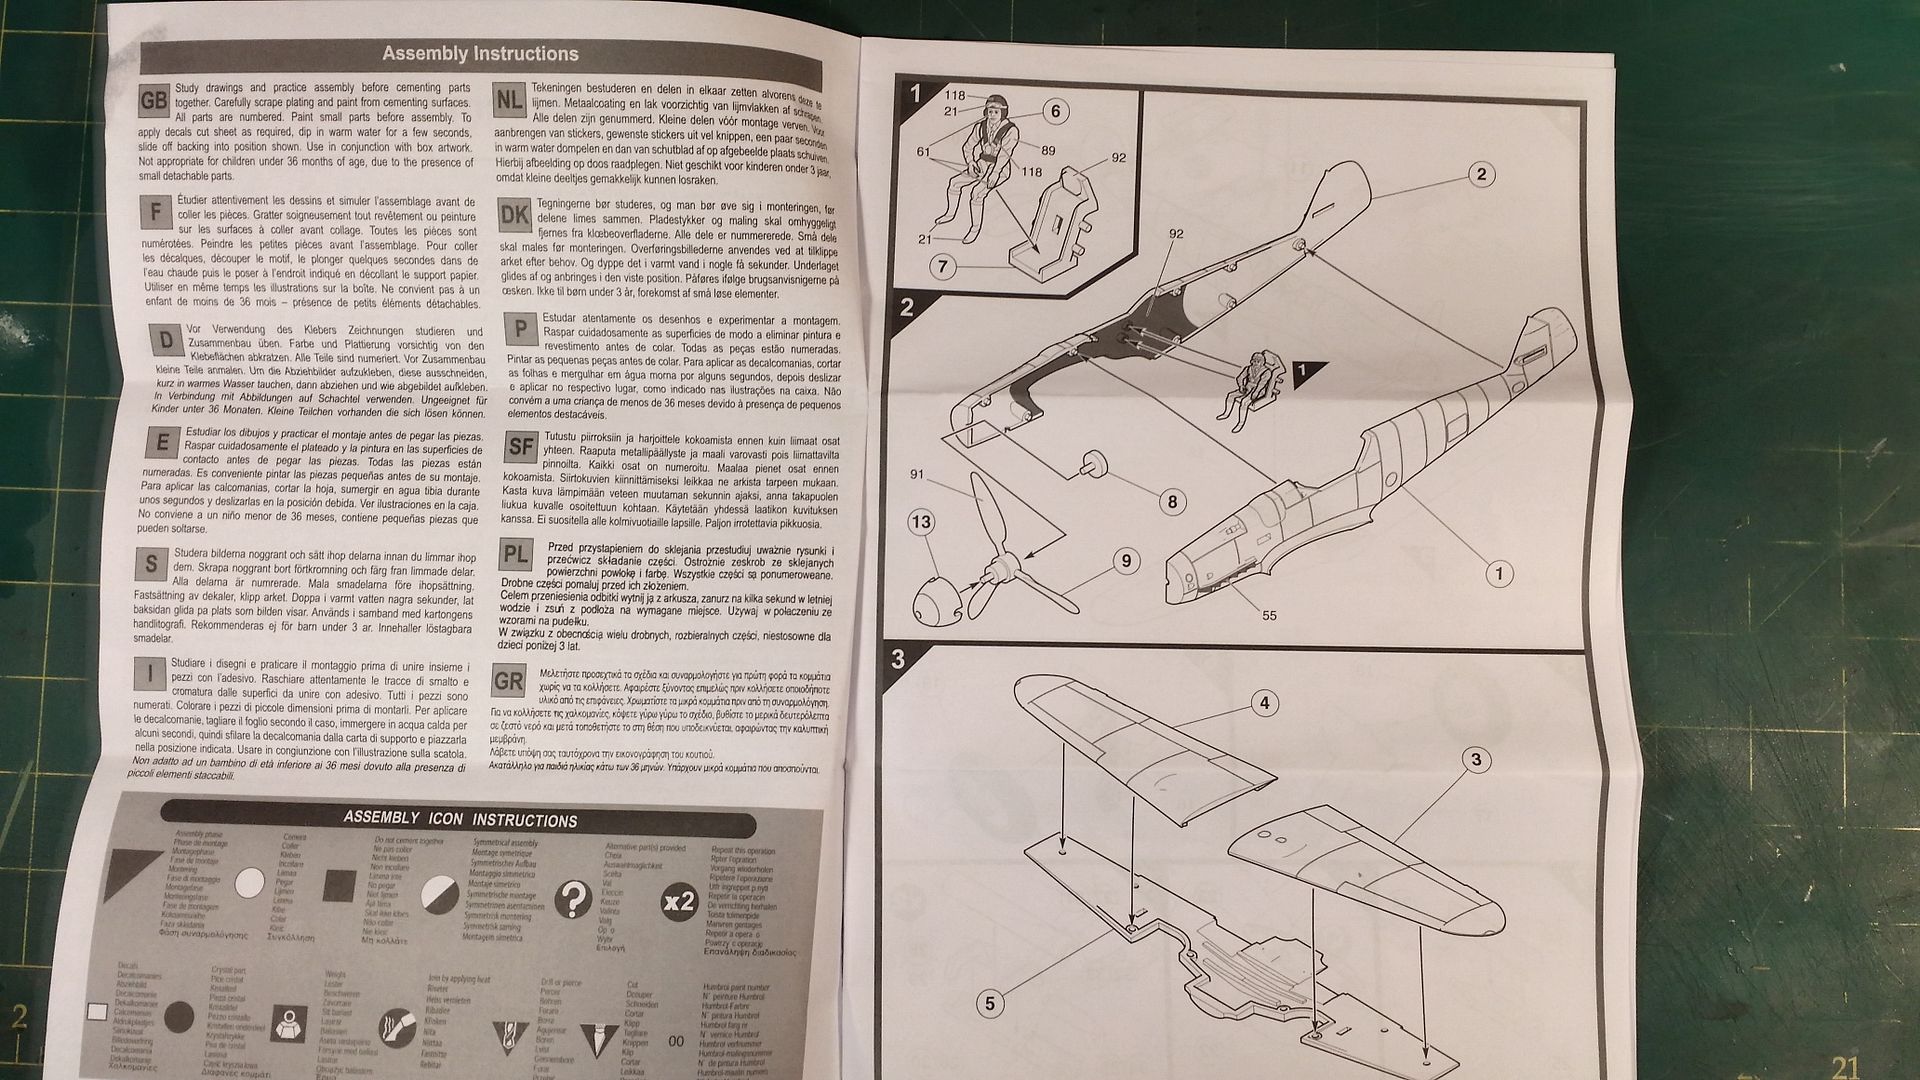
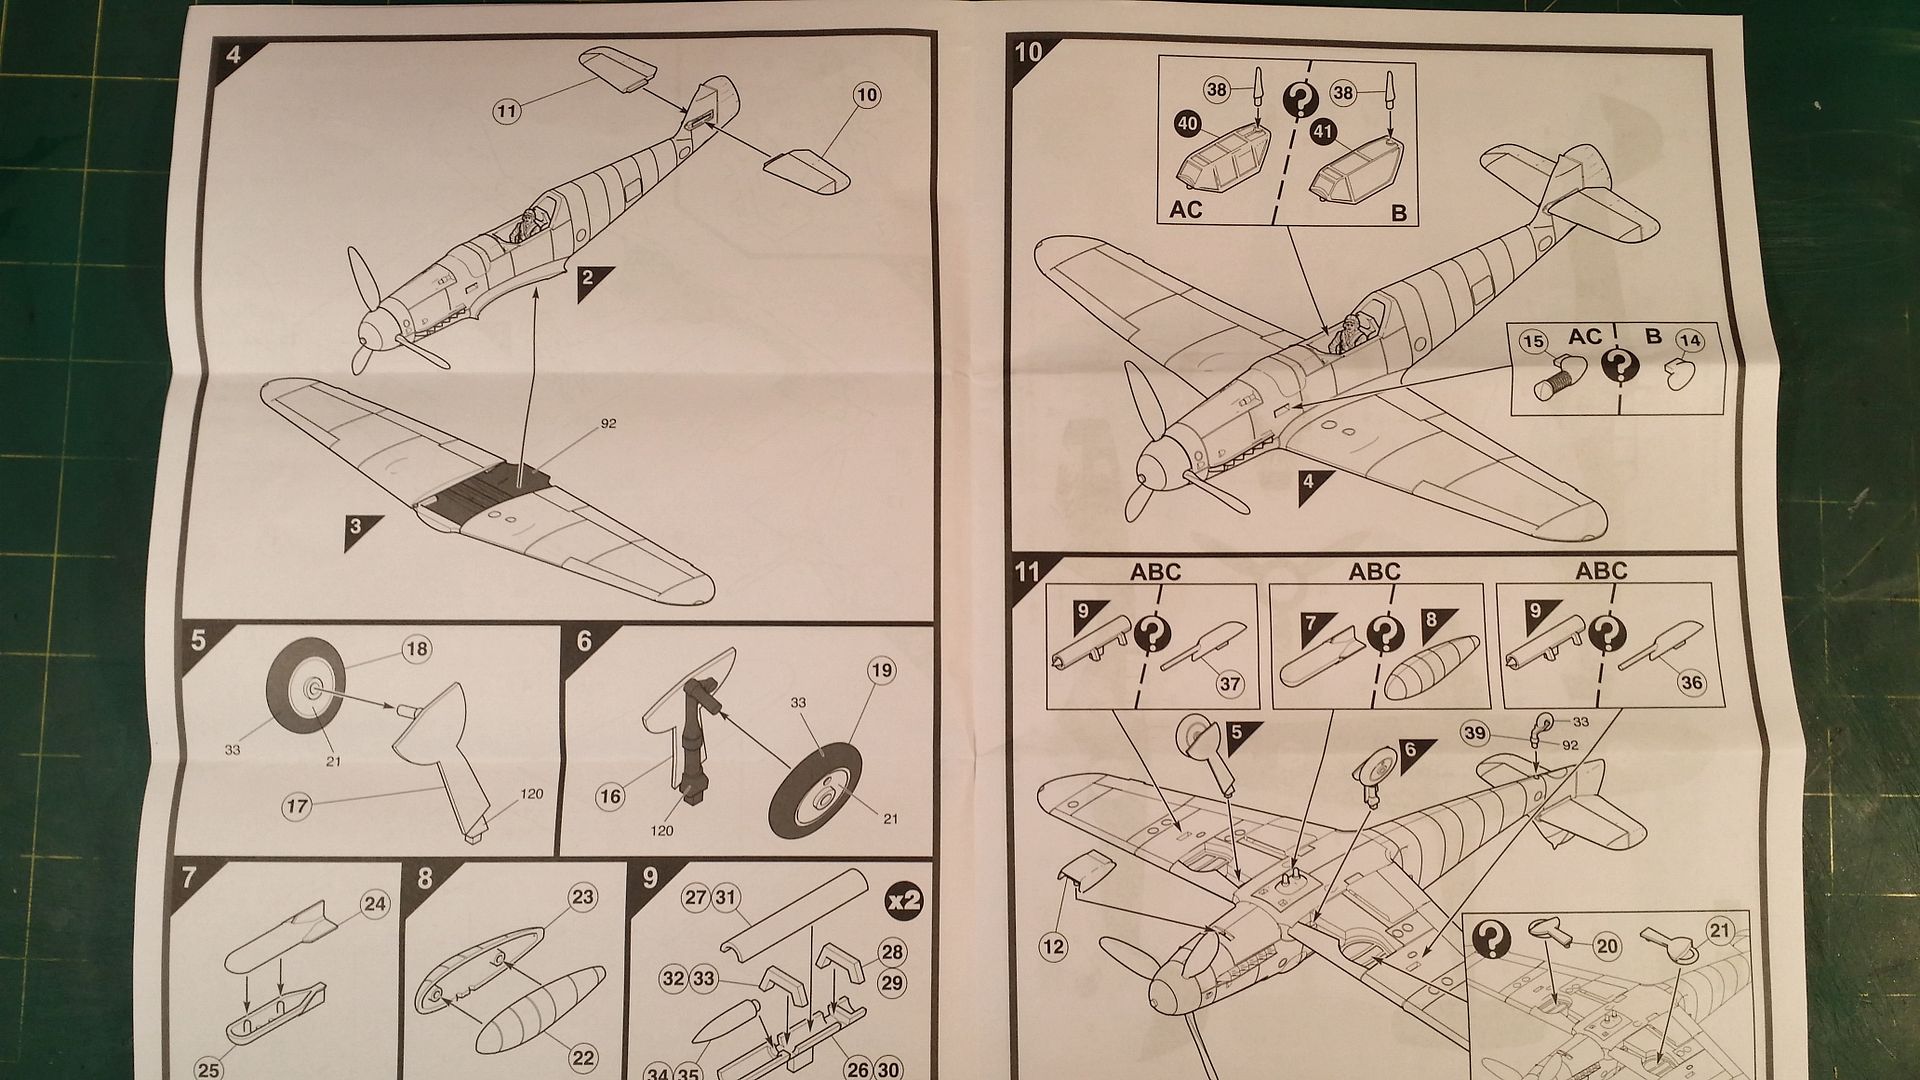
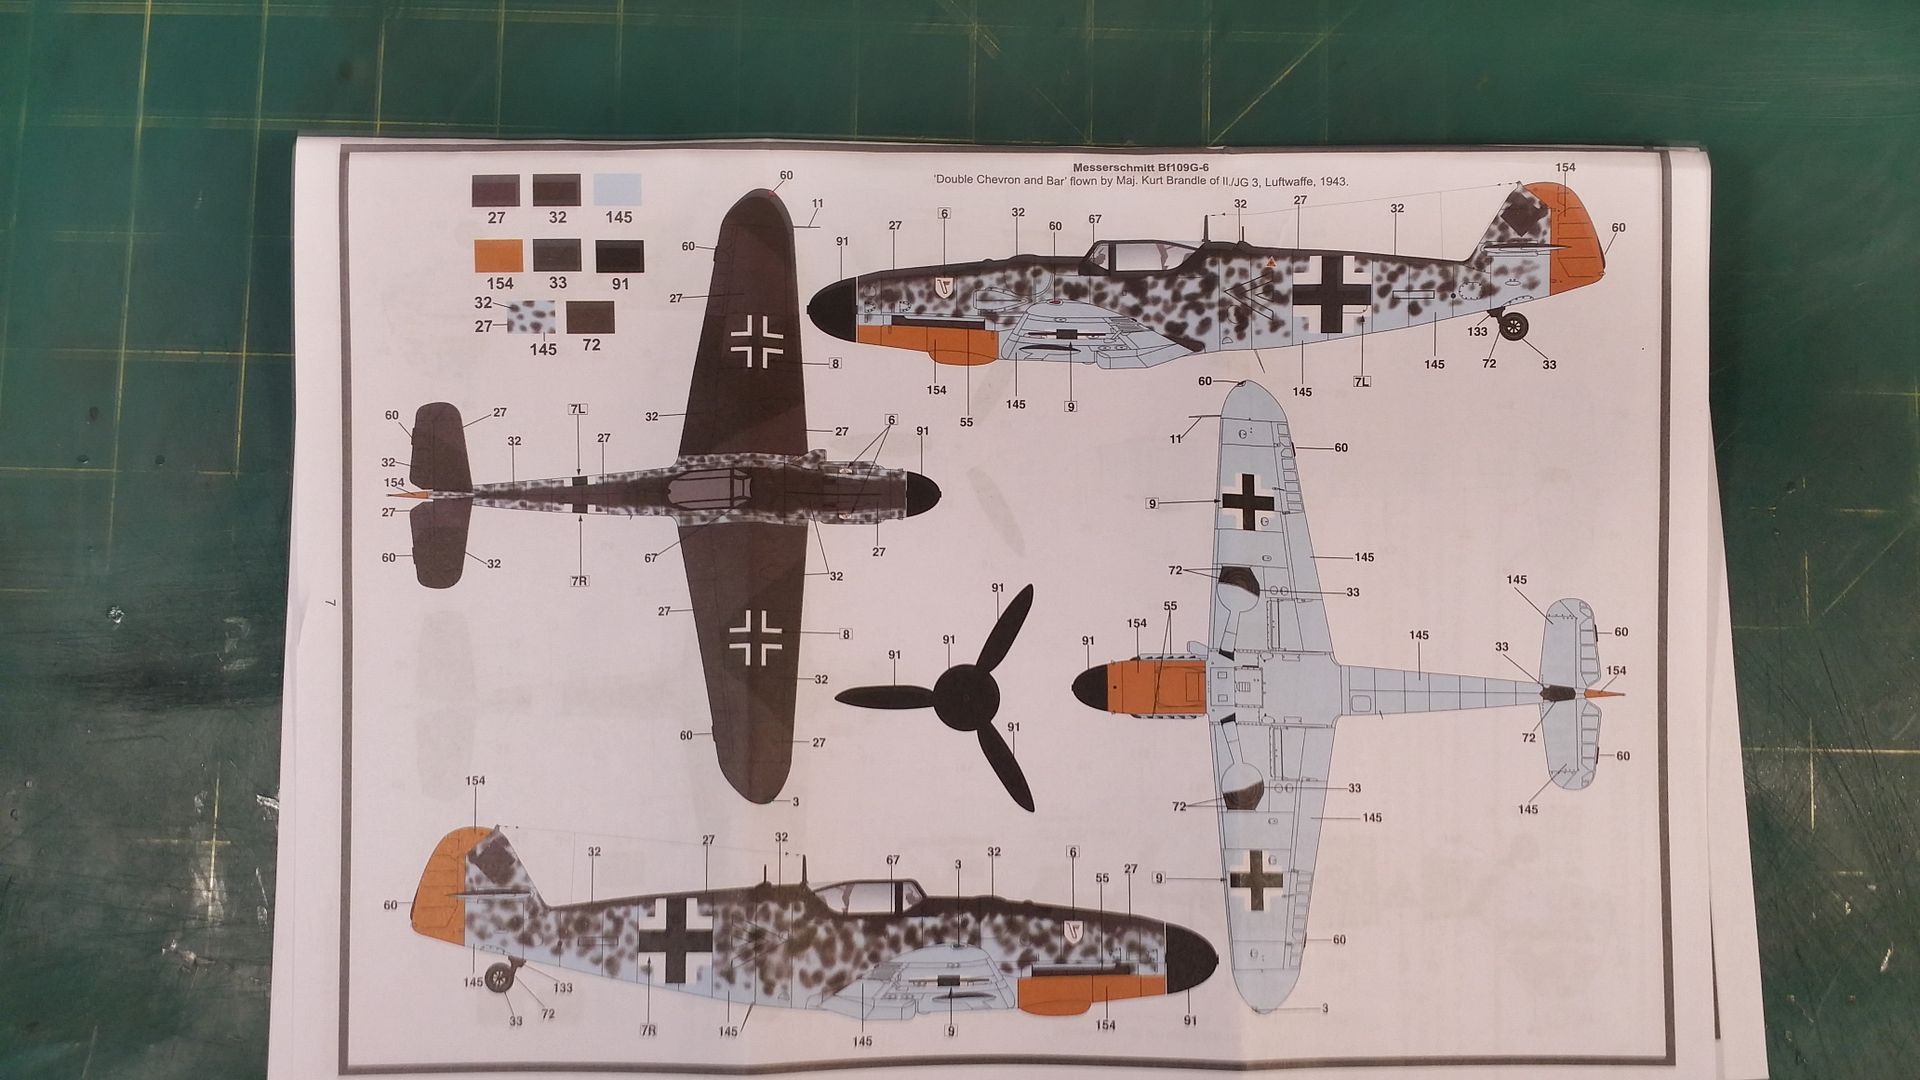
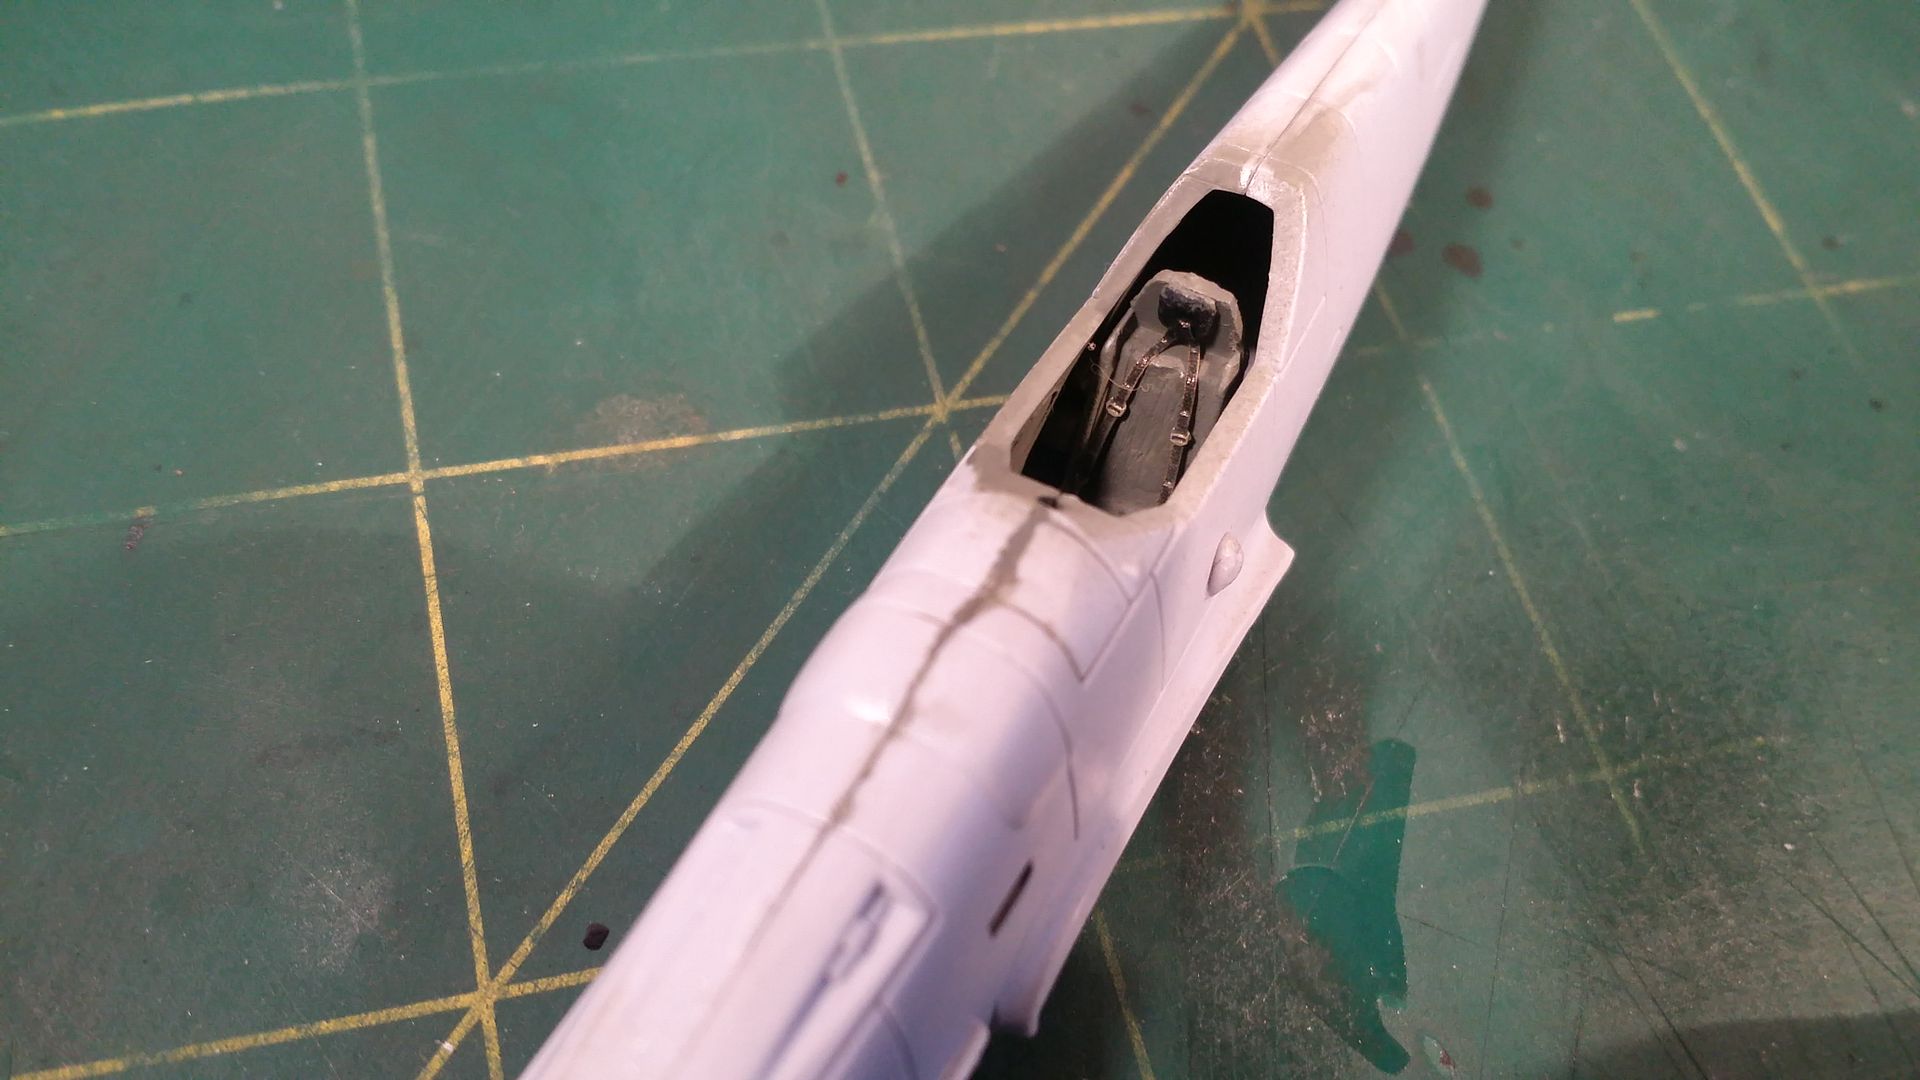
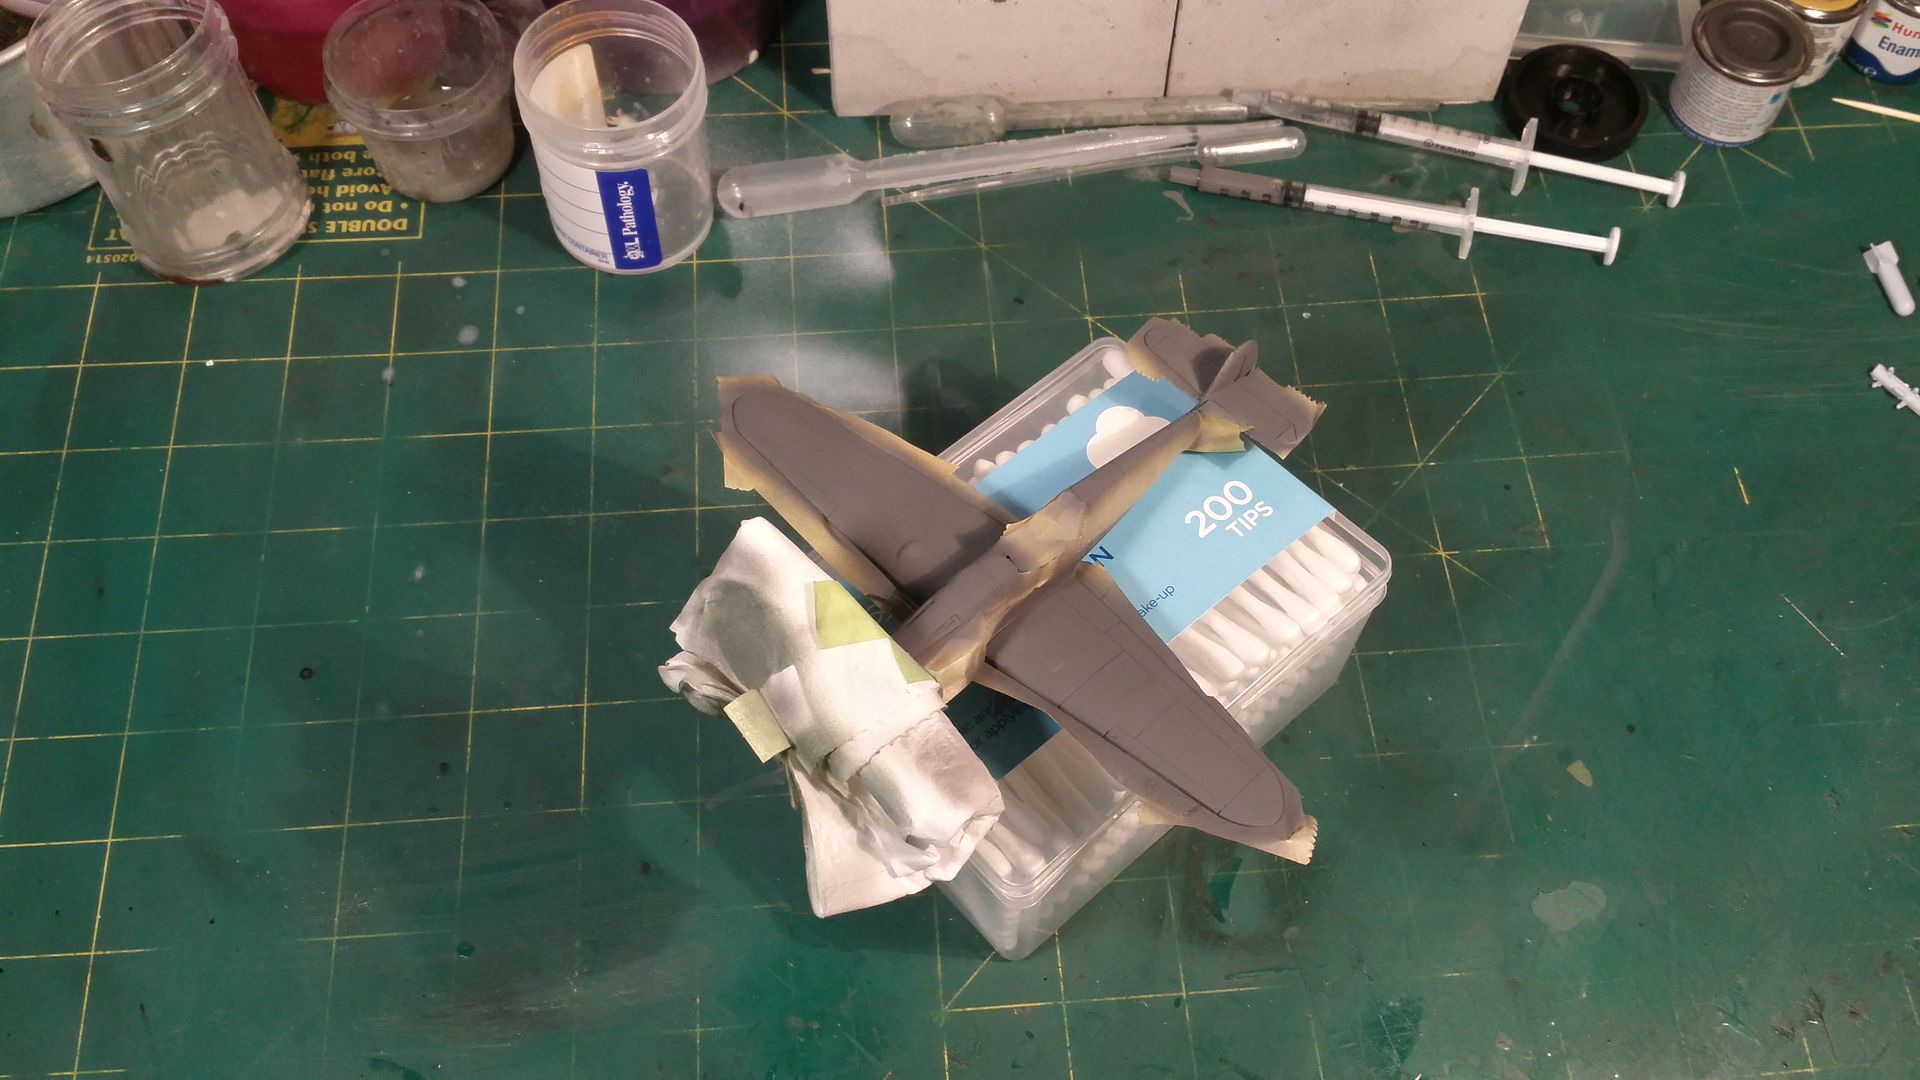
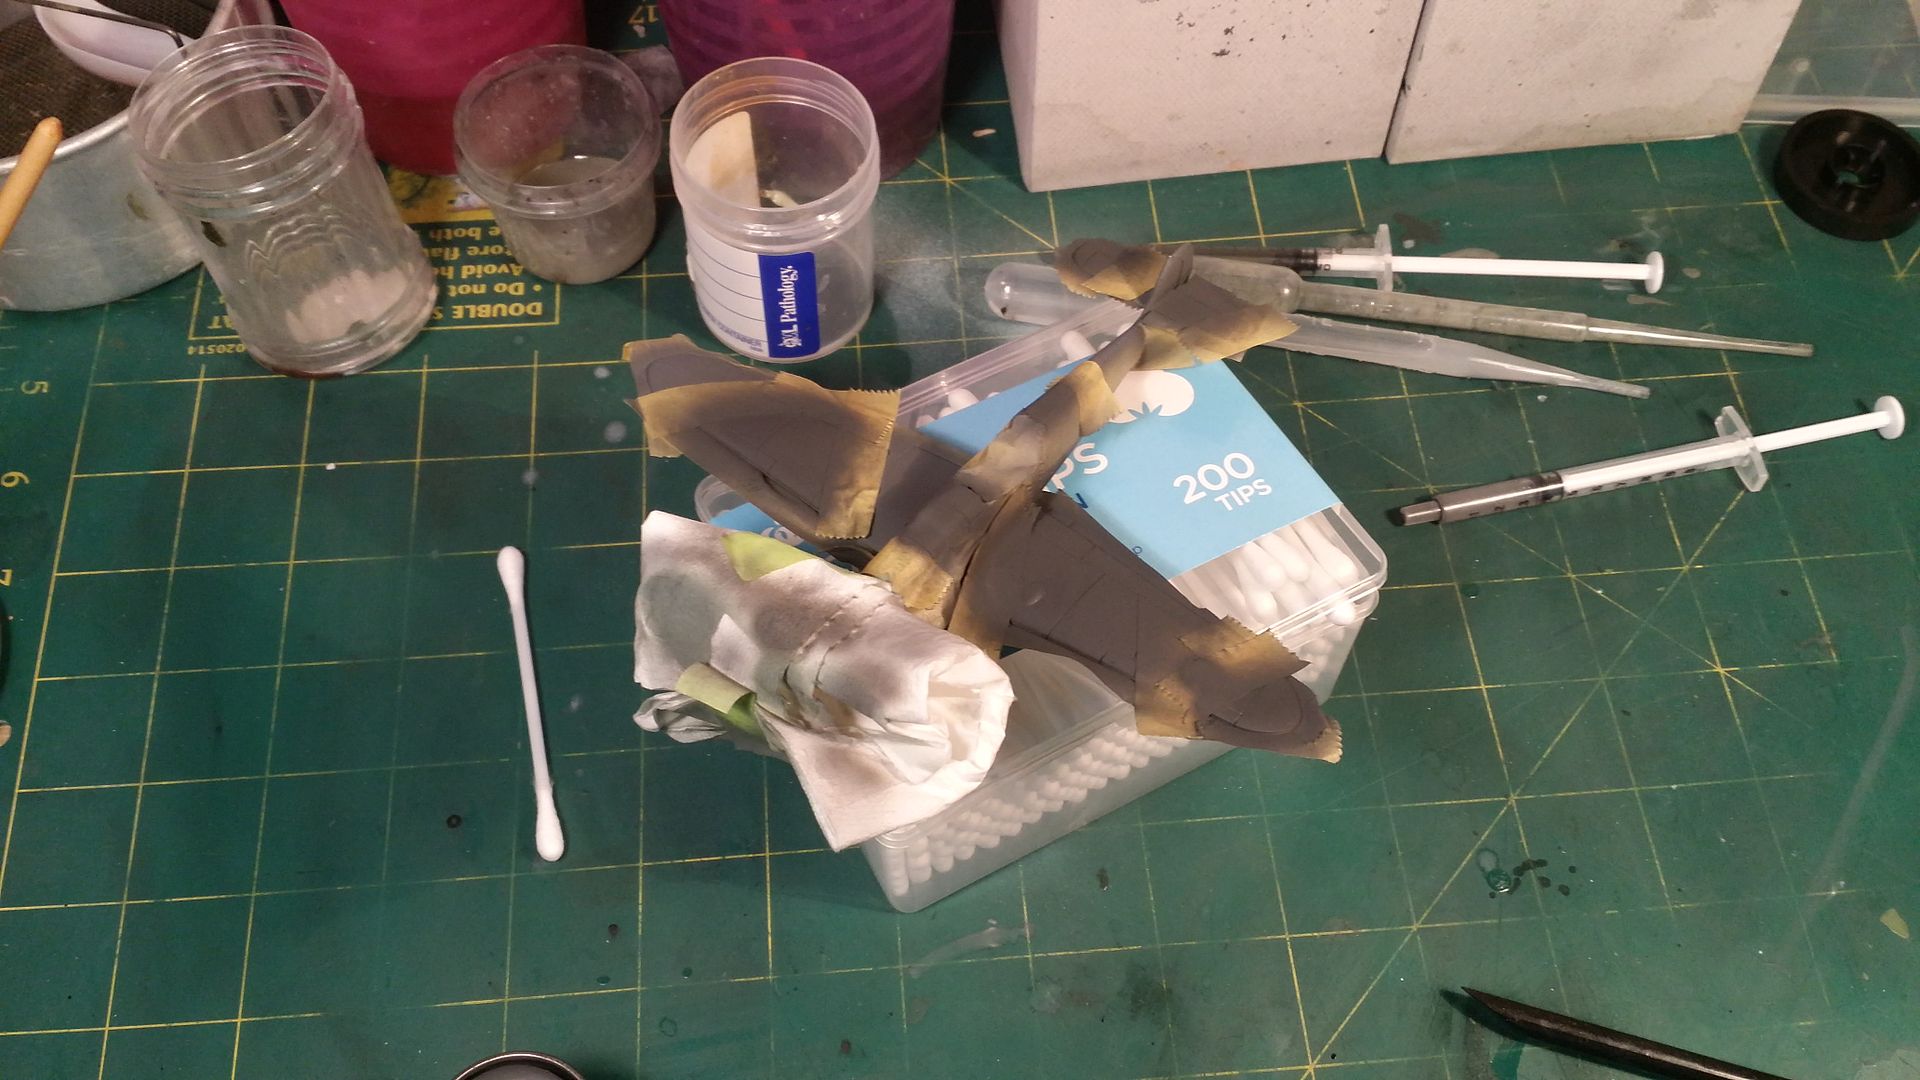
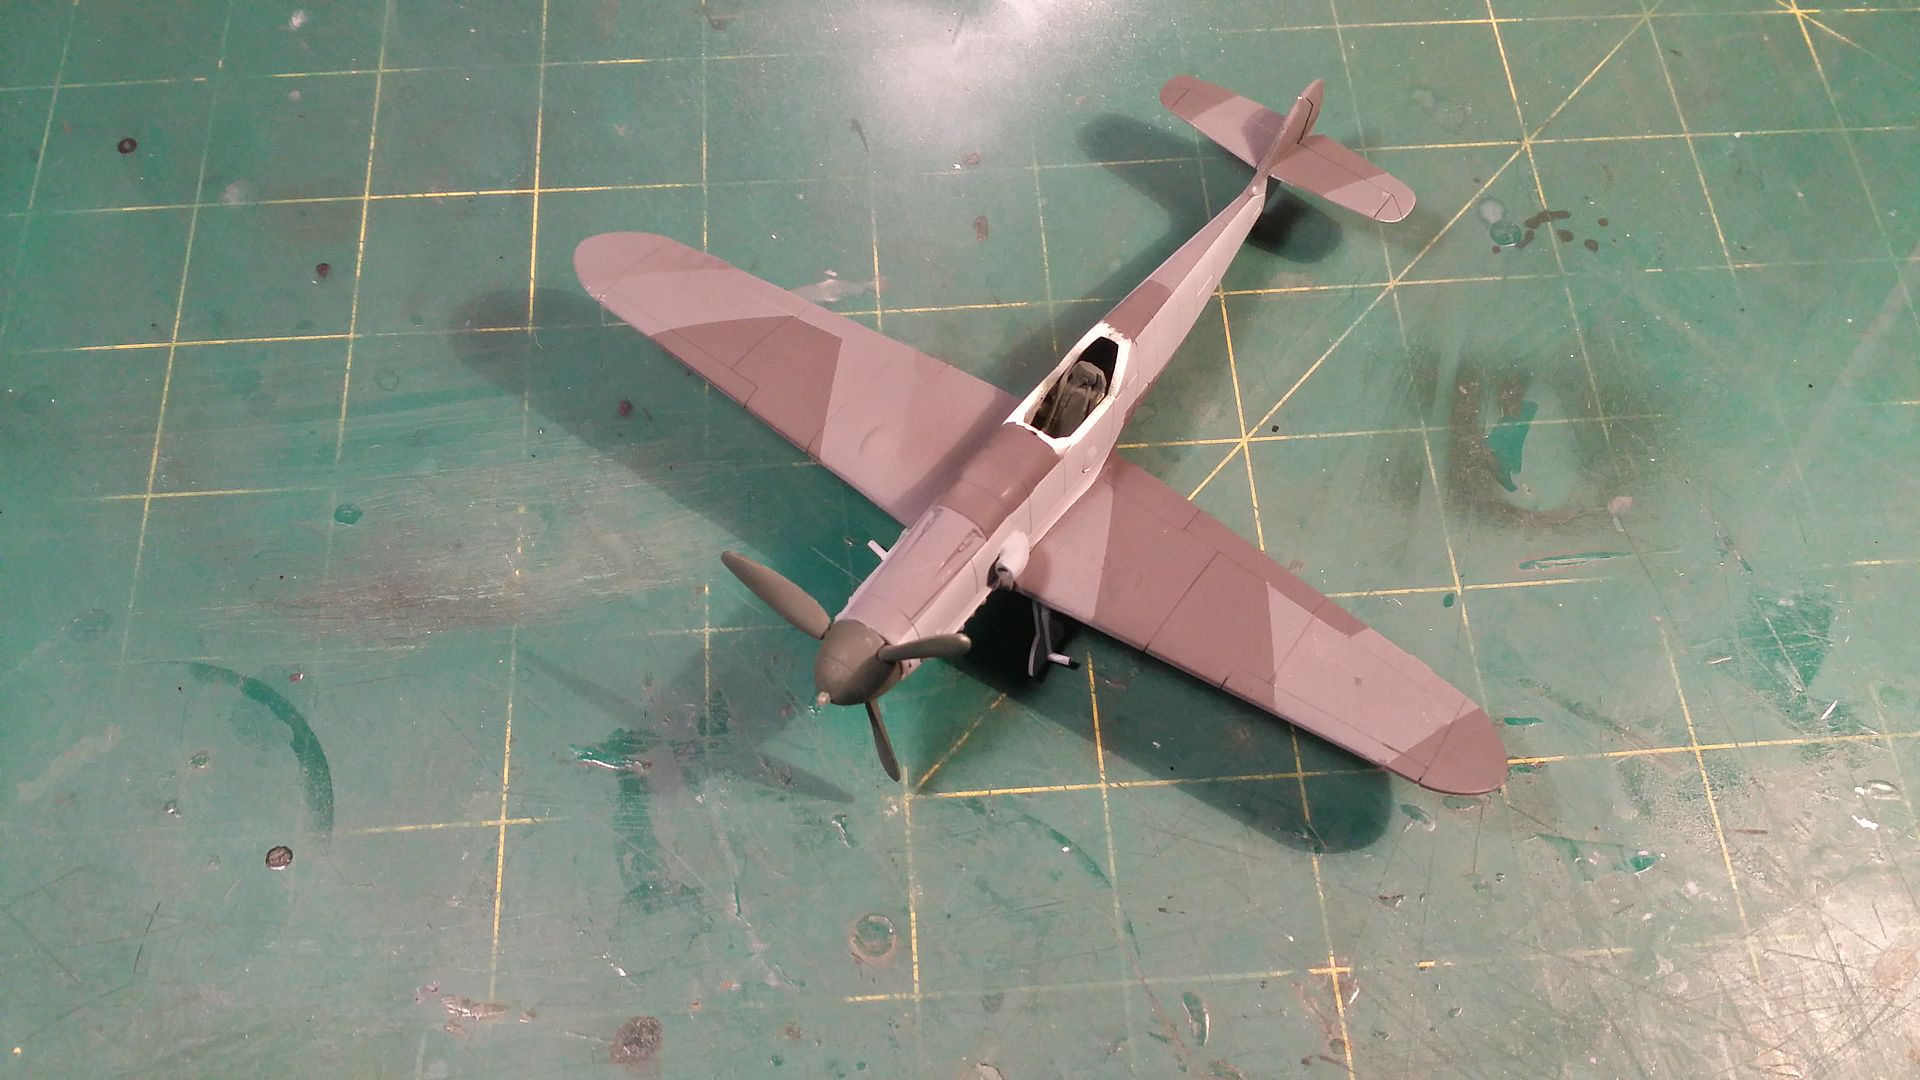
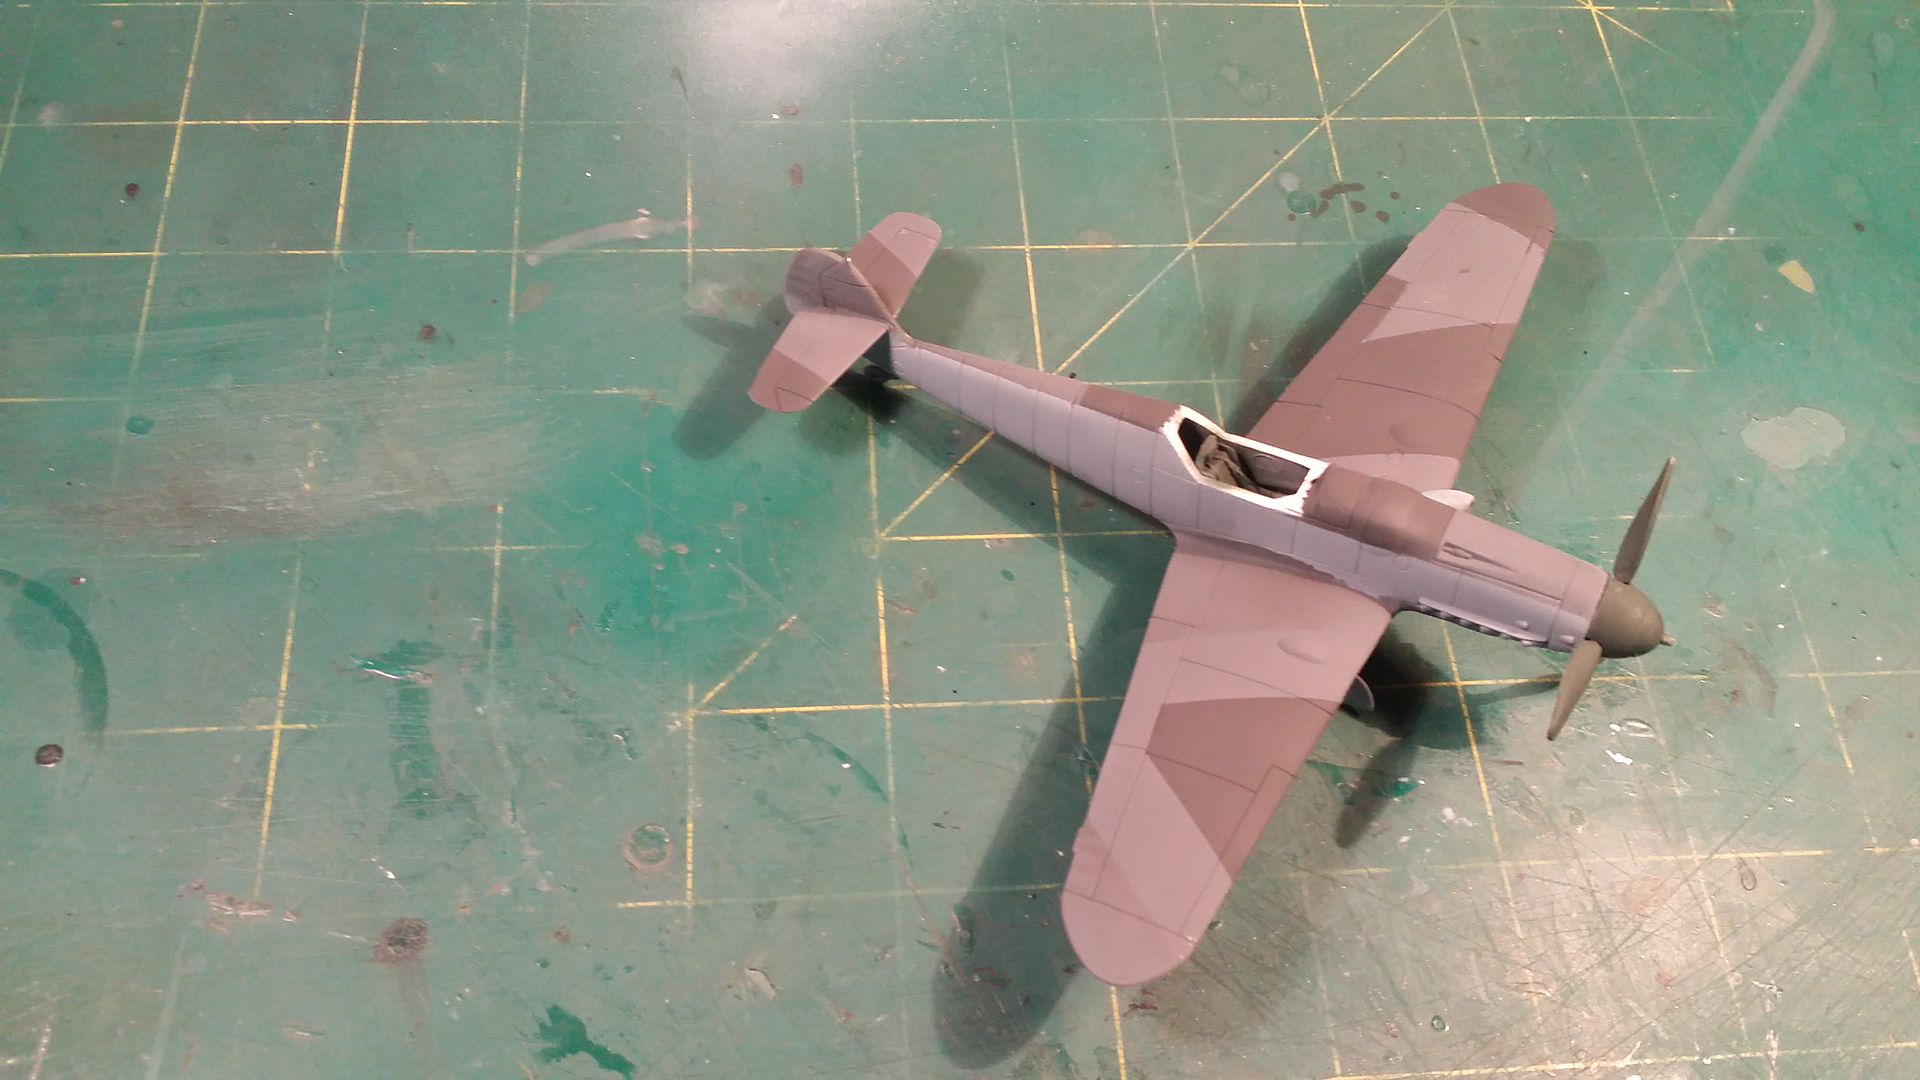
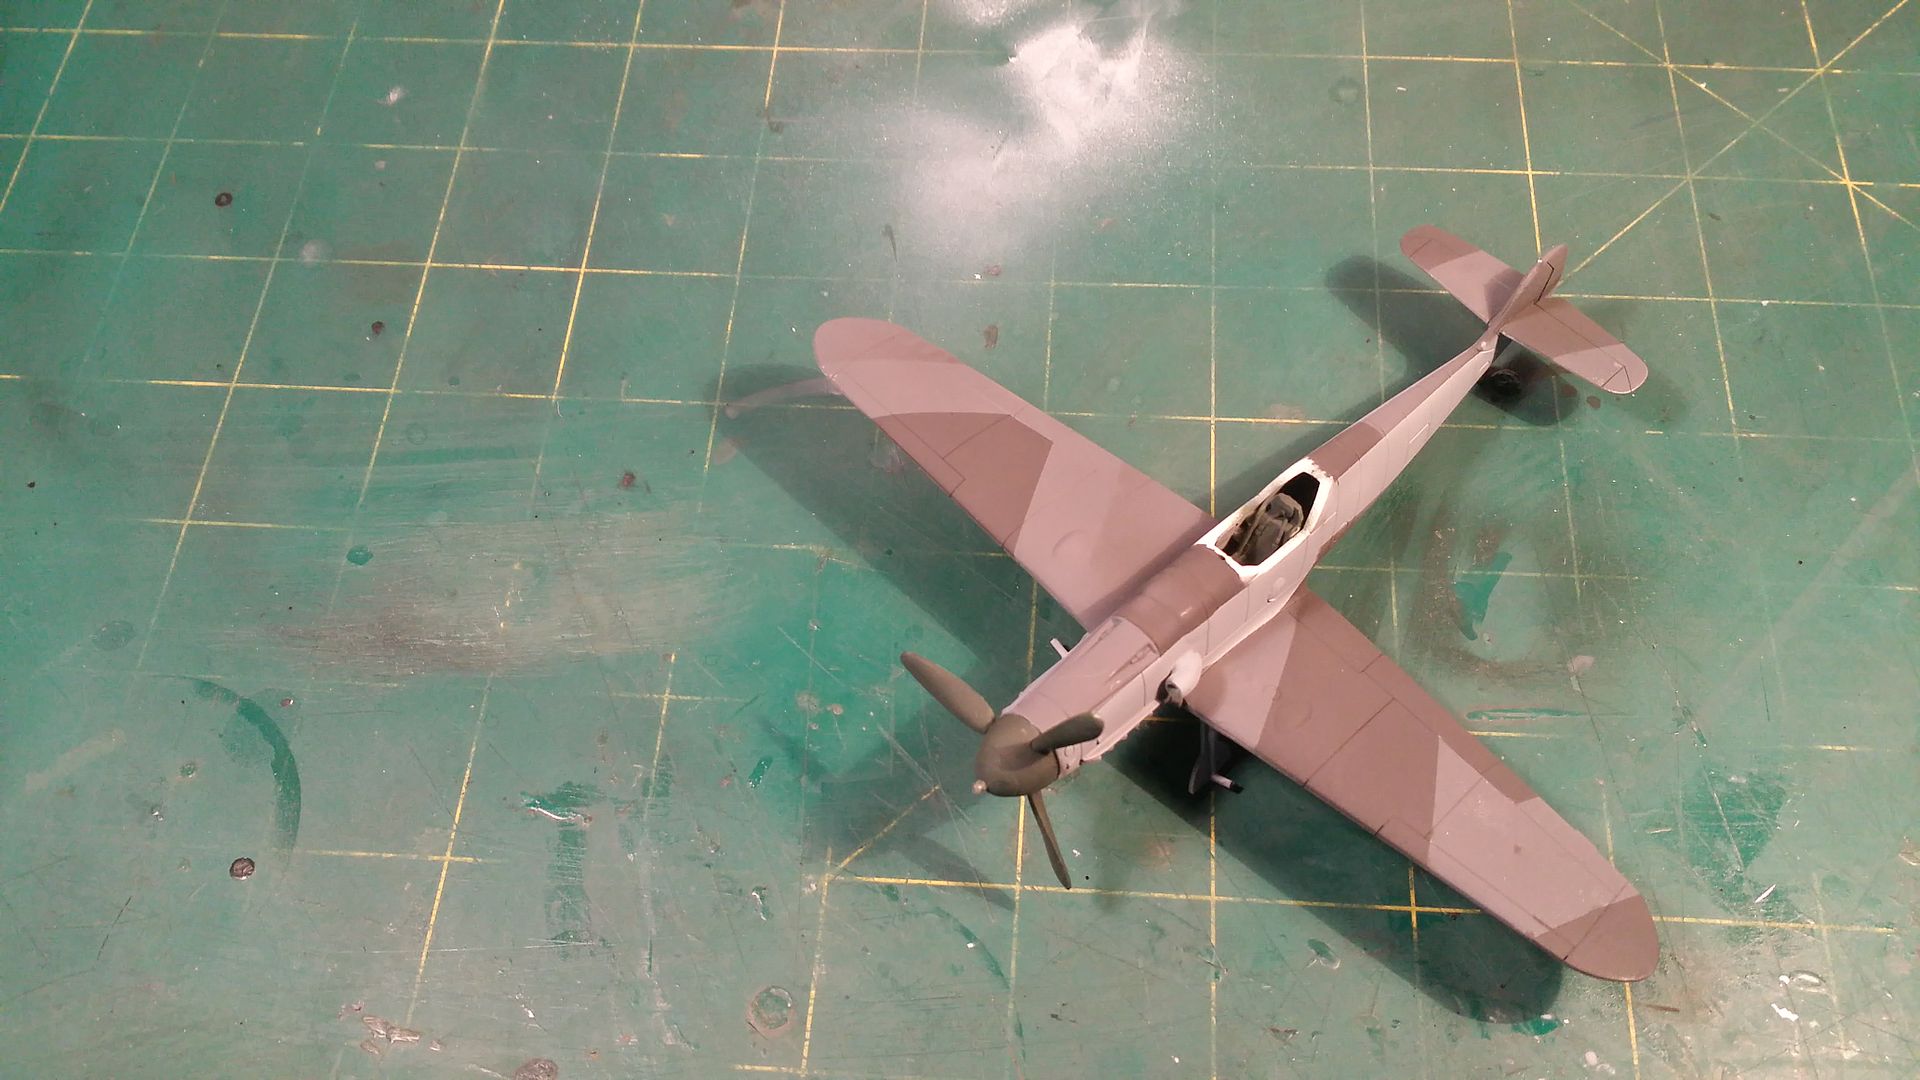
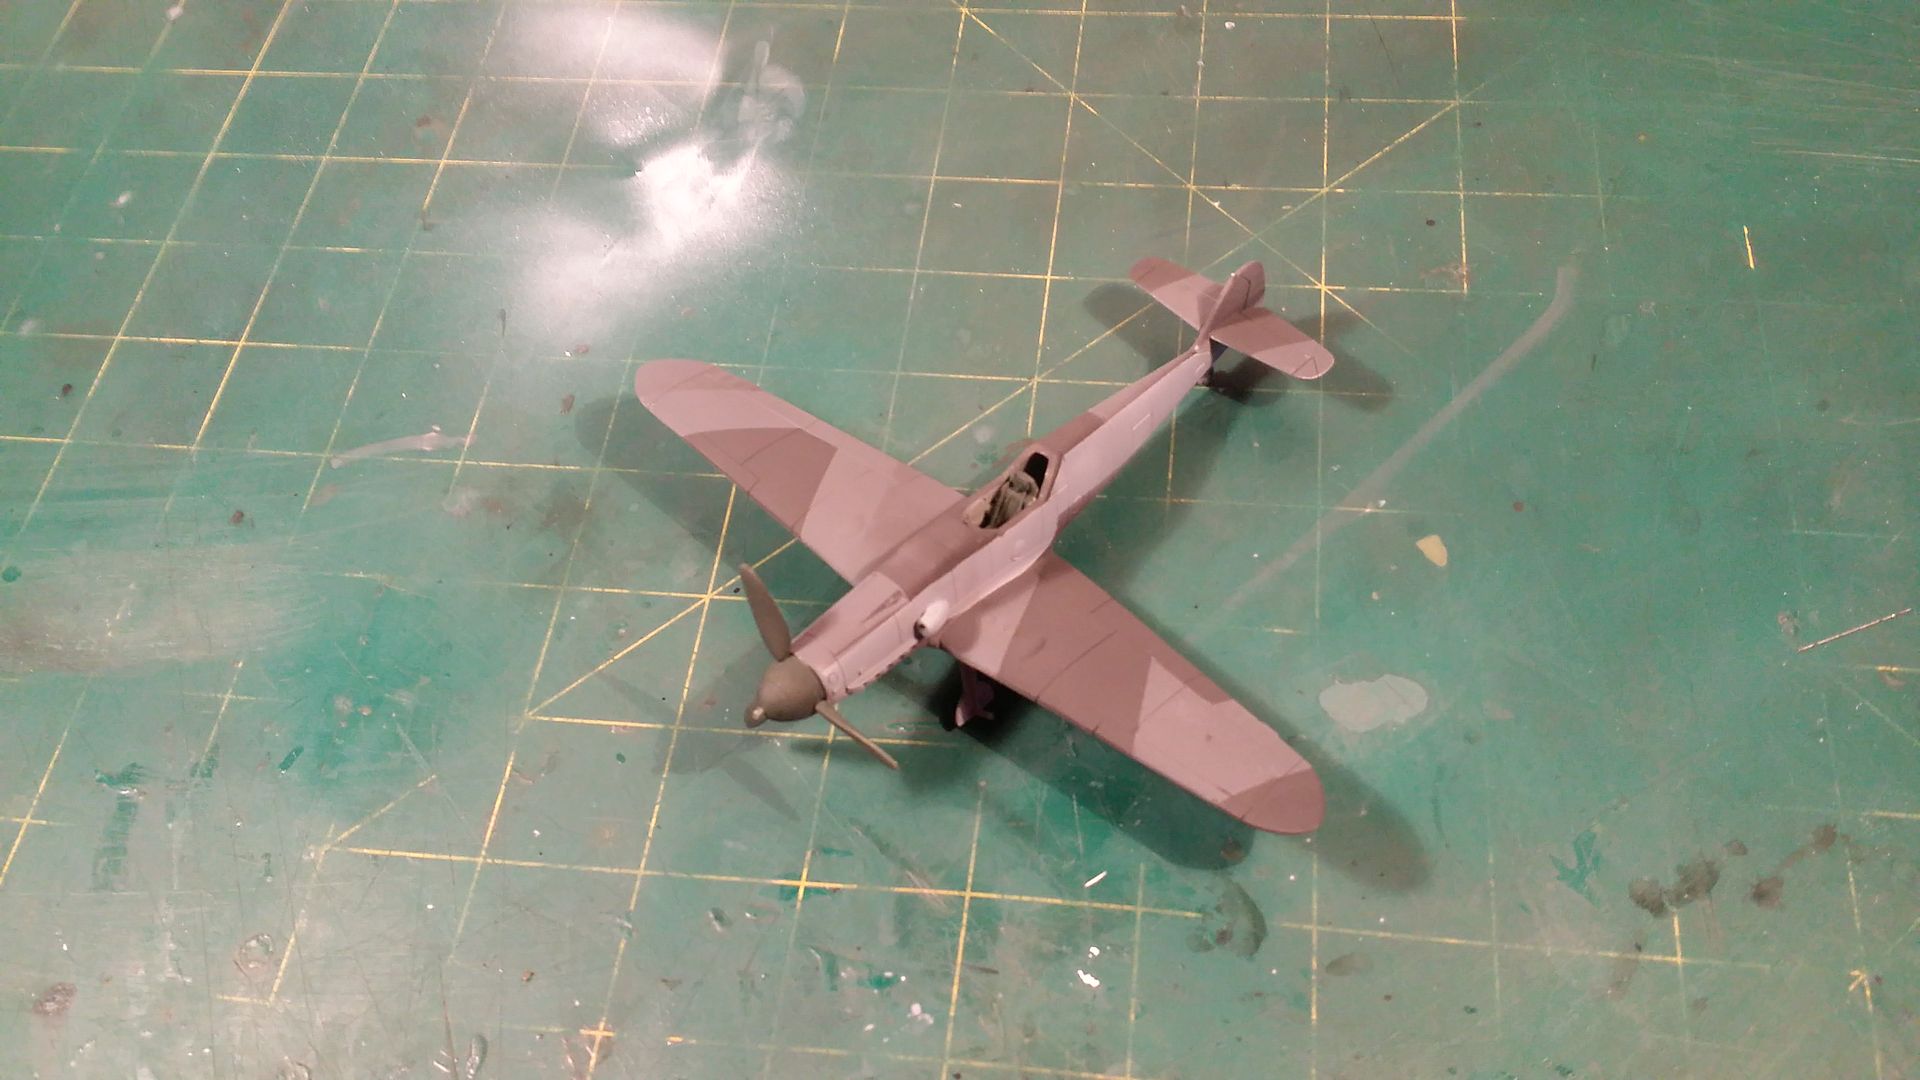
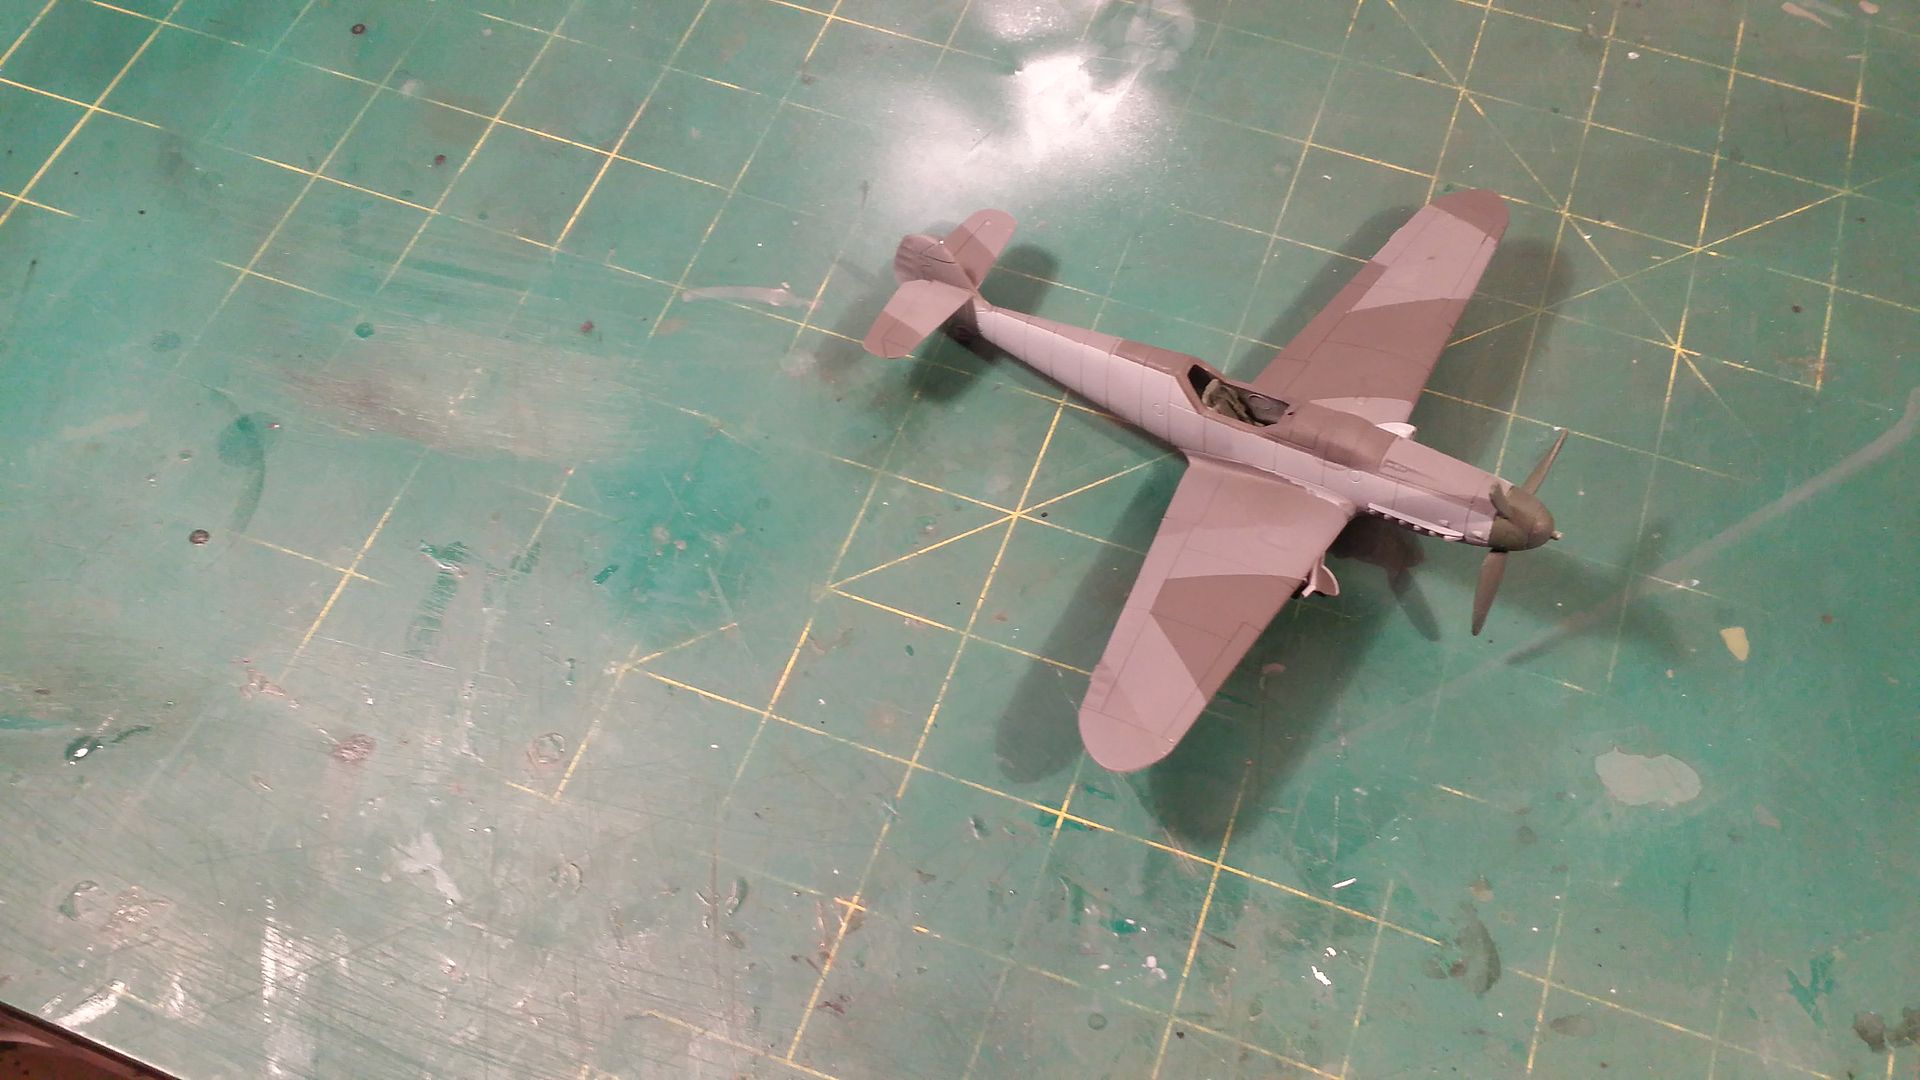
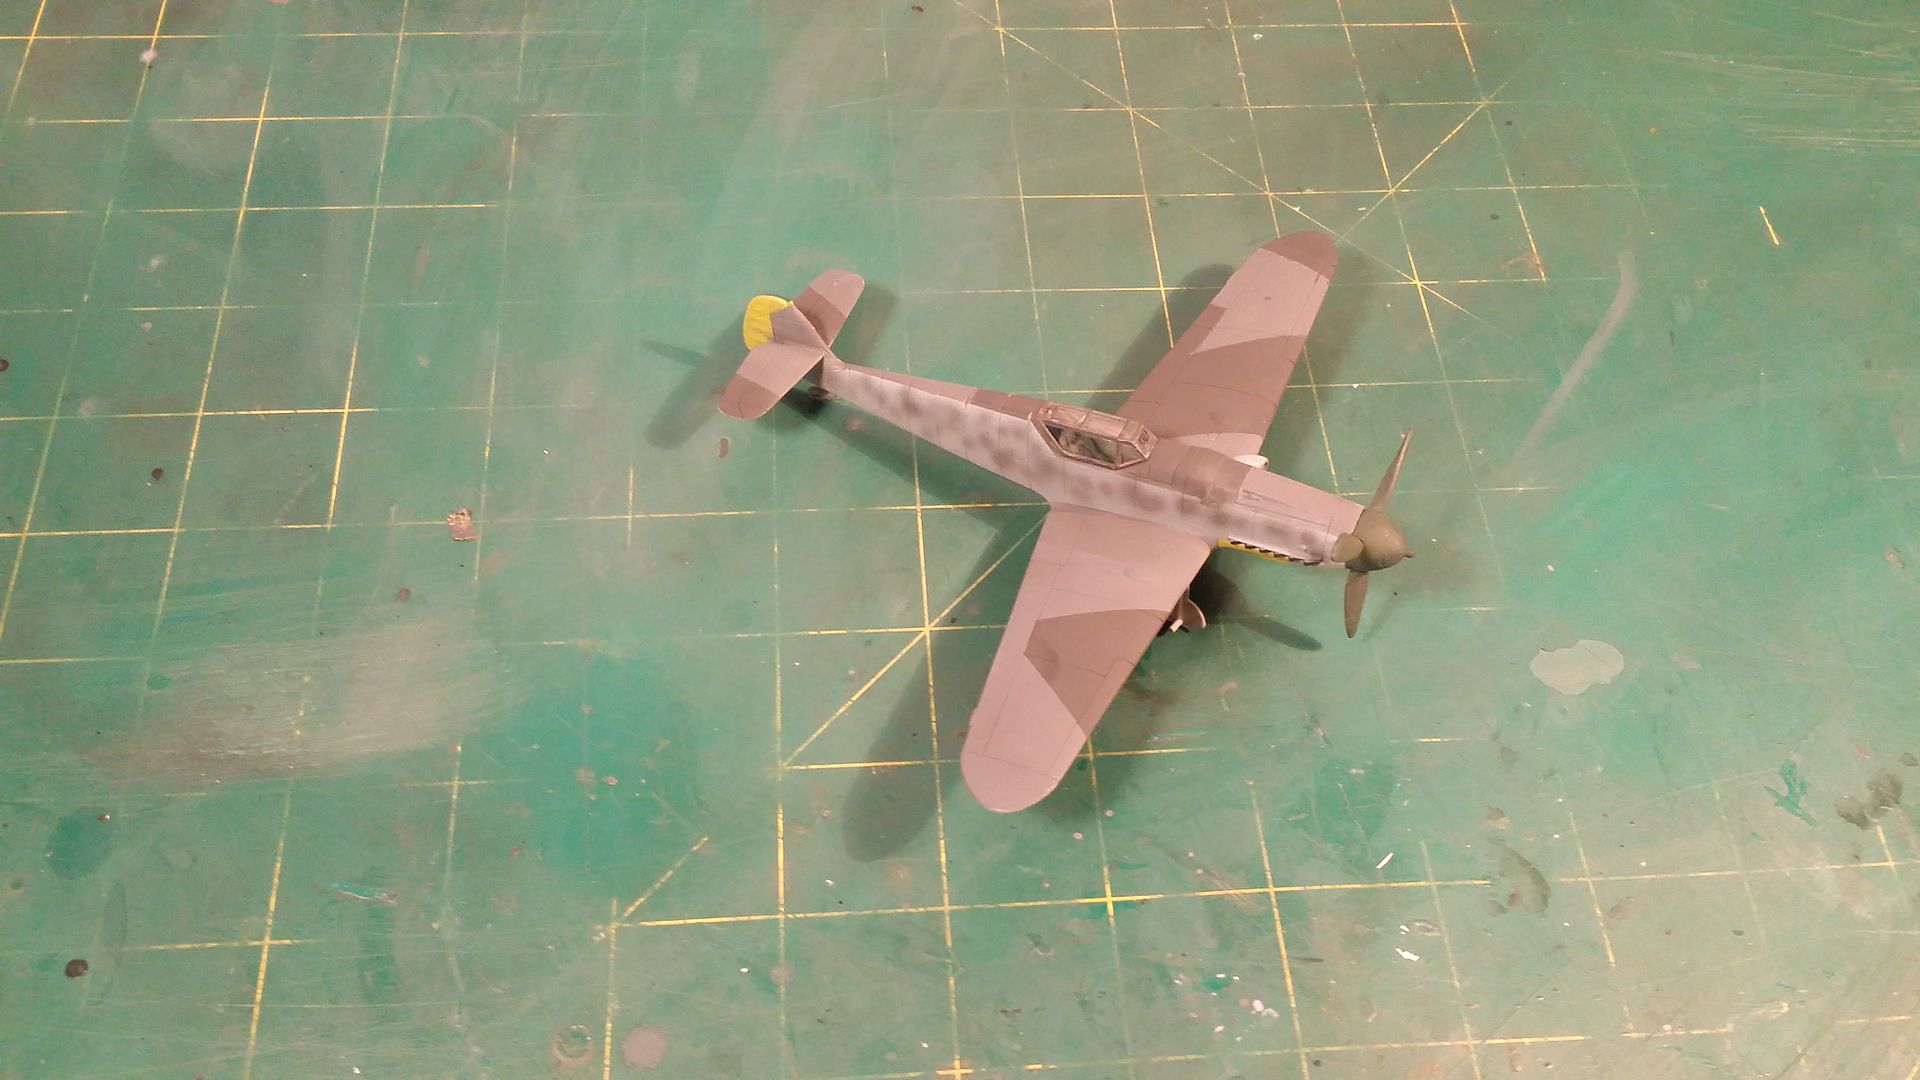
To build the kit pretty much OOB, might add some seat belts to it. This kit has no cockpit; I will not add one either. I will keep this build simple. I will try out two new things with this model. I will paint it in the German scheme shown - though I might not attempt the spotted camo.
So this project will serve to test out the above two purposes. Once the build is complete I will try out making a video with the model spinning on a turntable and see how I go!
Kit Details (From Scalemates.com)
Product name:
Messerschmitt Bf 109G-6
Product number:
A02029
Scale:
1:72
Type:
Full kit
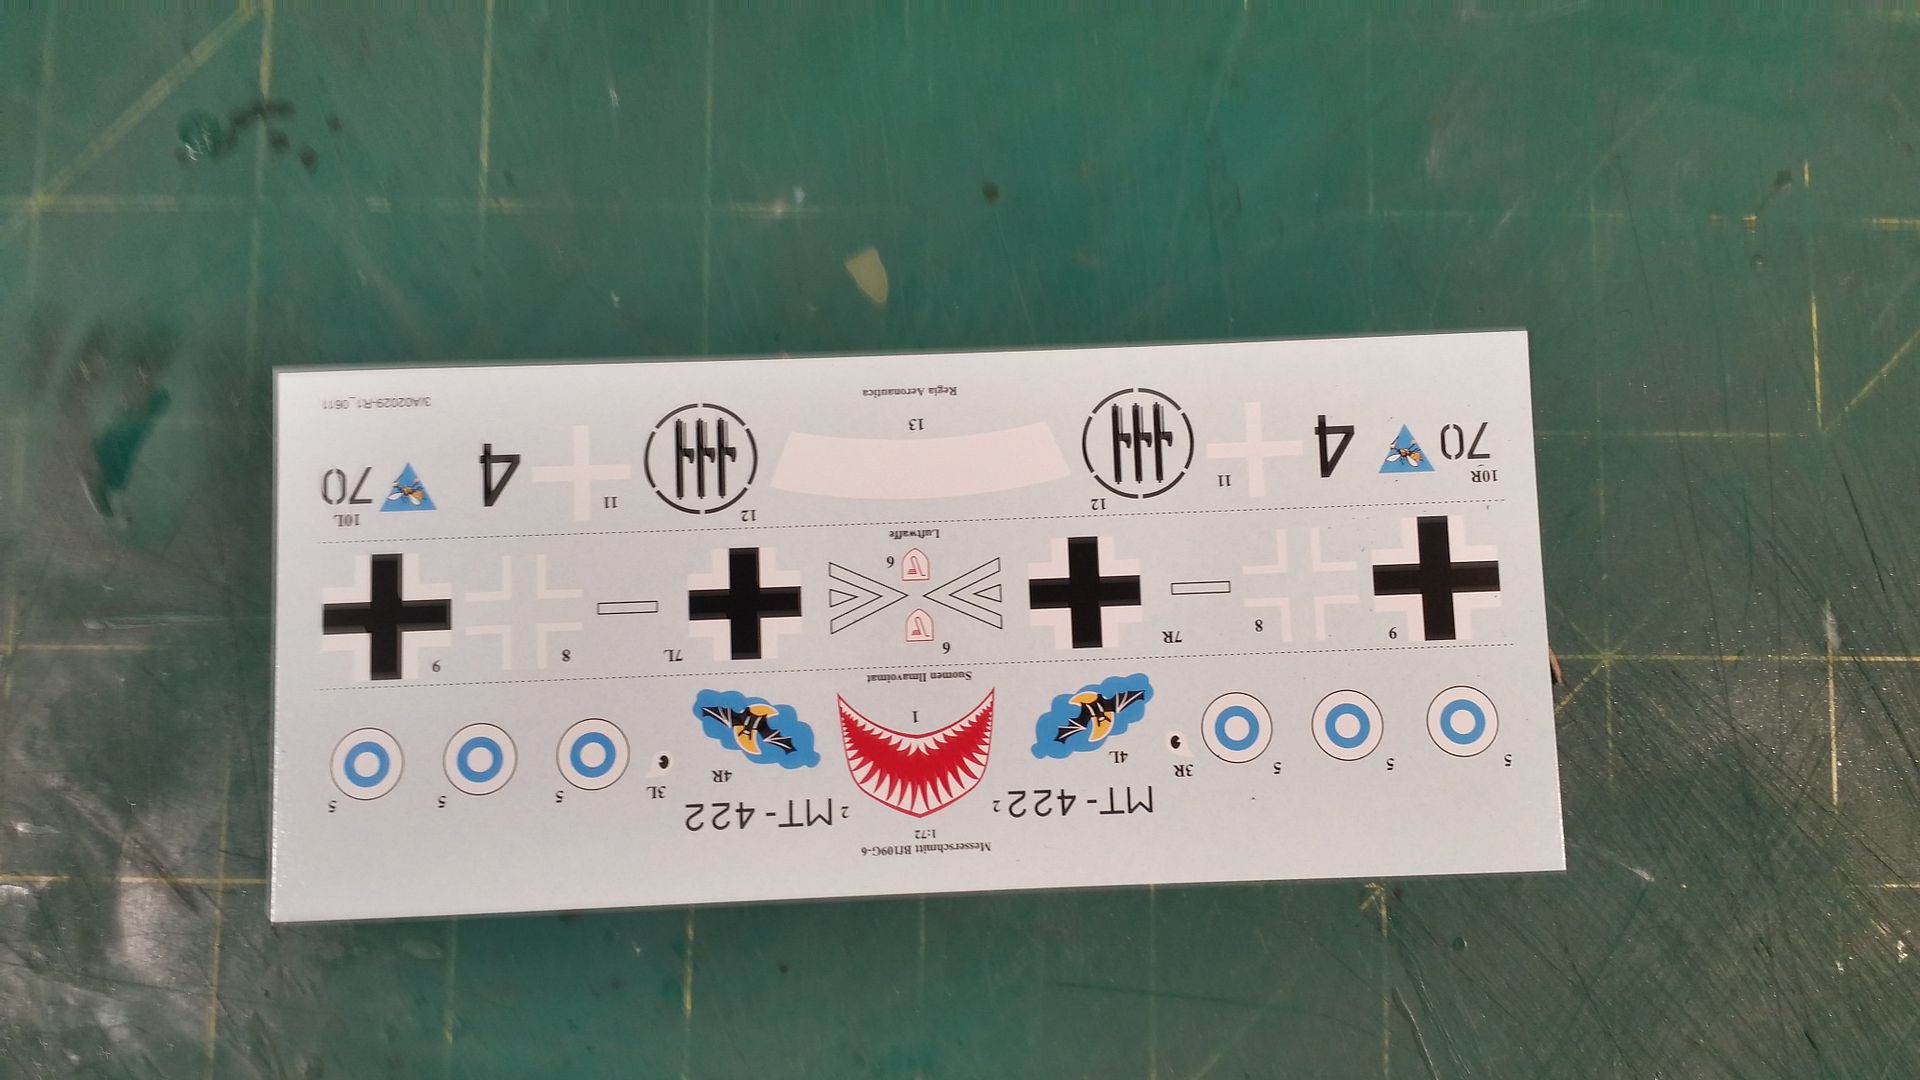
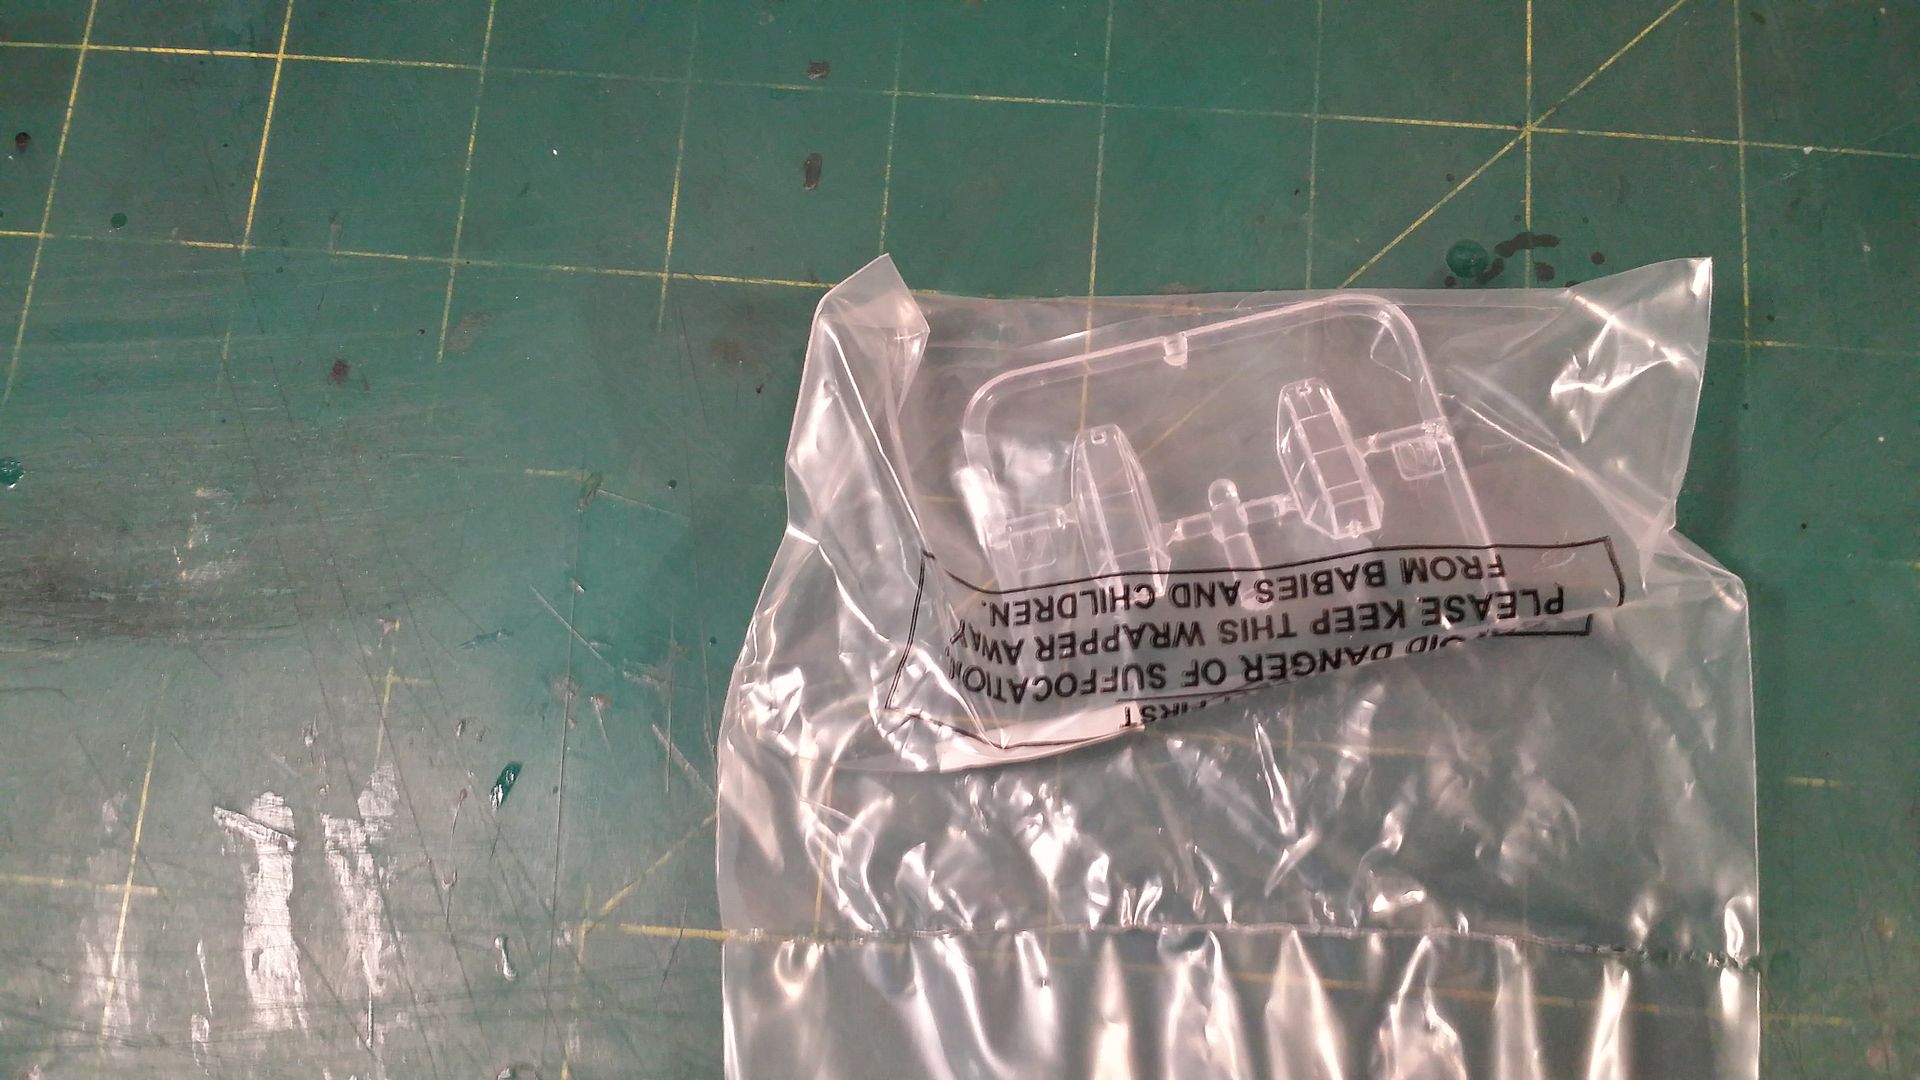
[COLOR=rgb(136,136,136)]Includes: Plastic sprues, Waterslide decals, Clear parts[/COLOR]
Released:
2009 | Initial release - new tool
Decal options
Scalemates Link: https://www.scalemates.com/kits/1002...mitt-bf-109g-6
Box Art
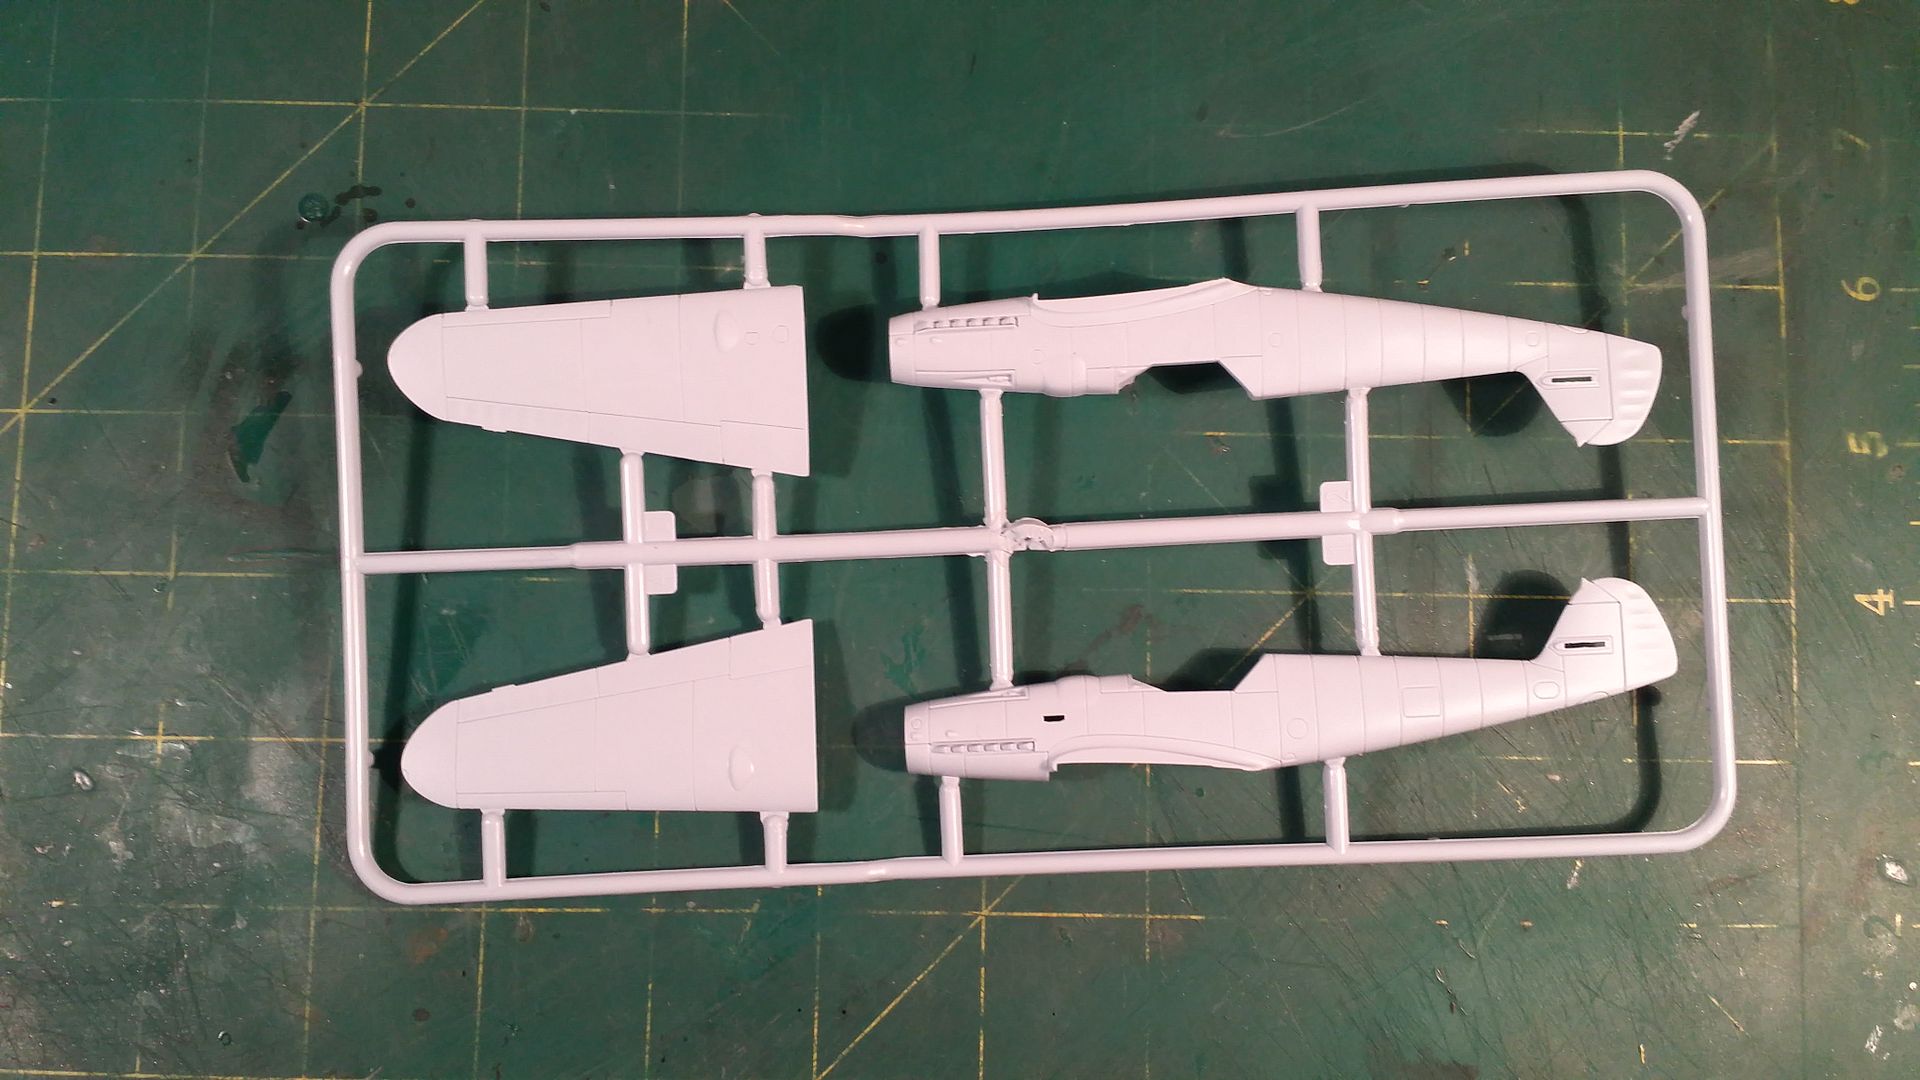
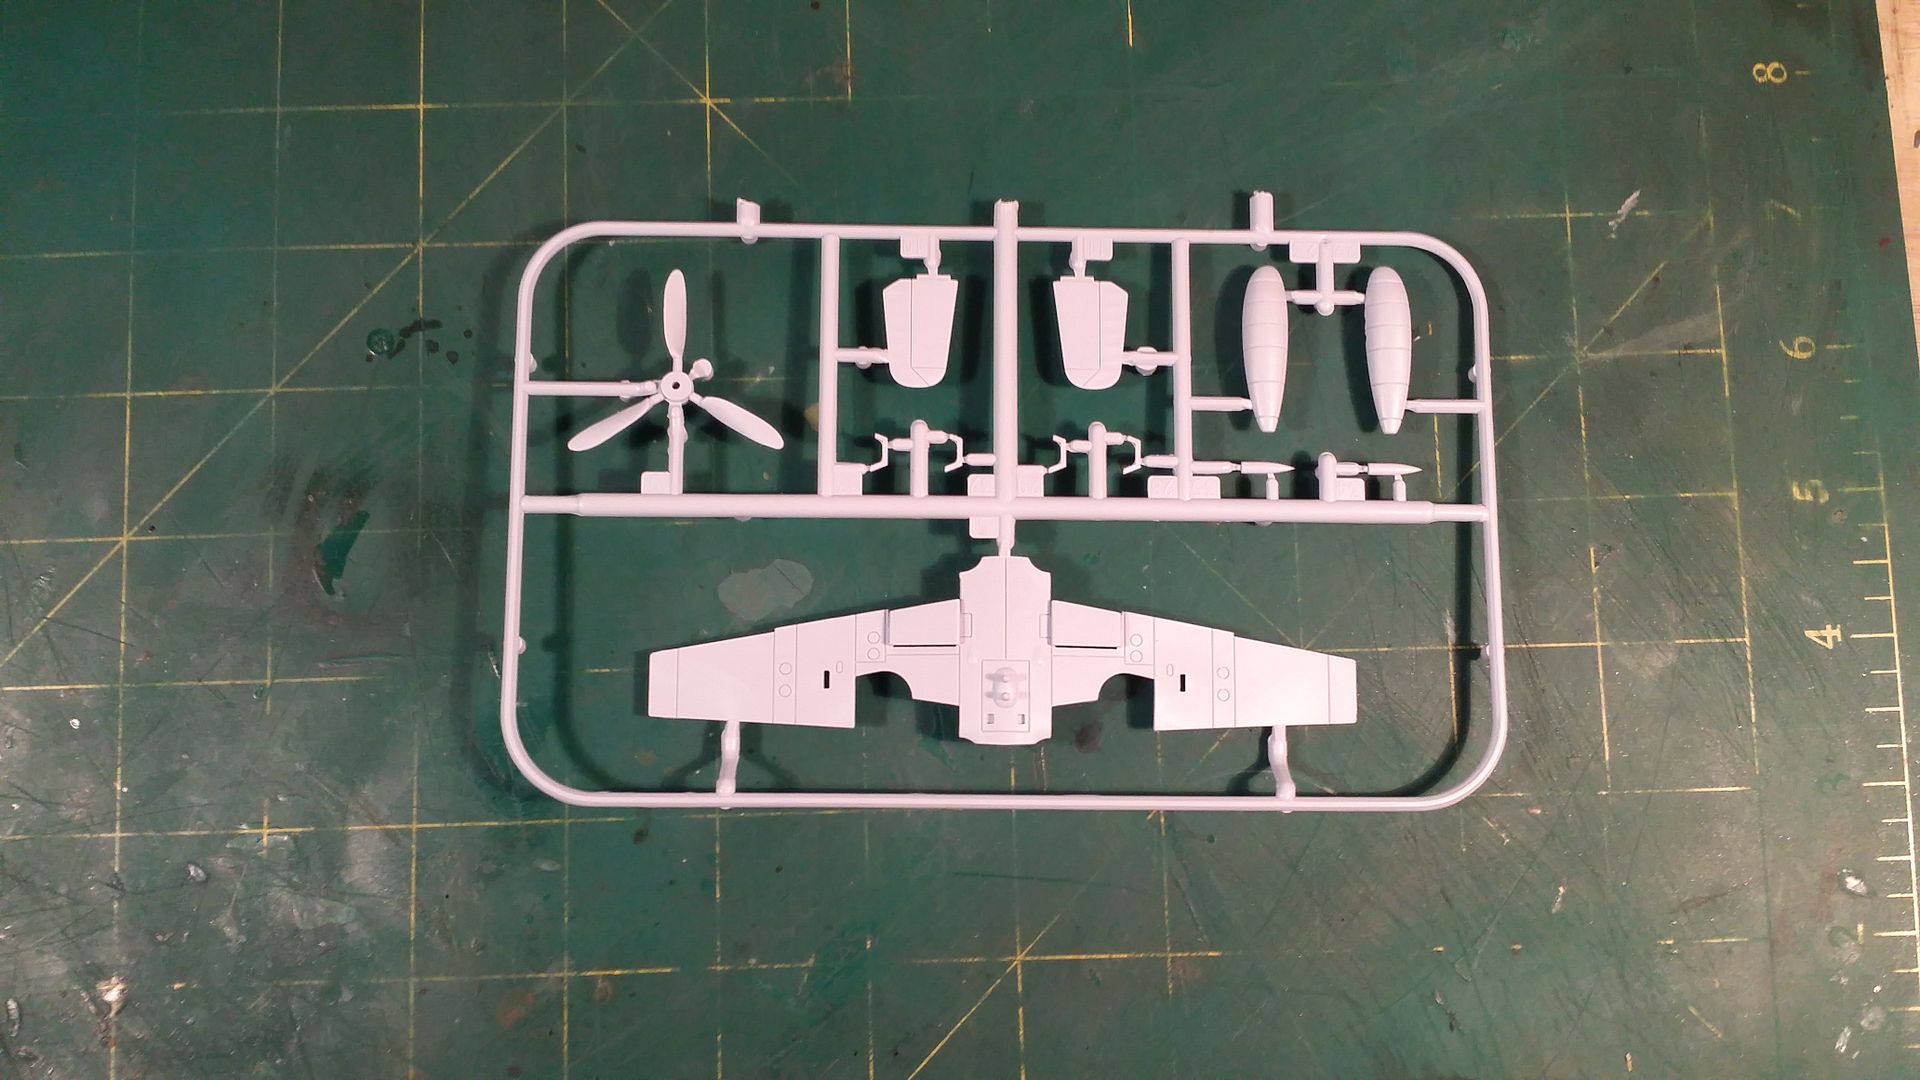
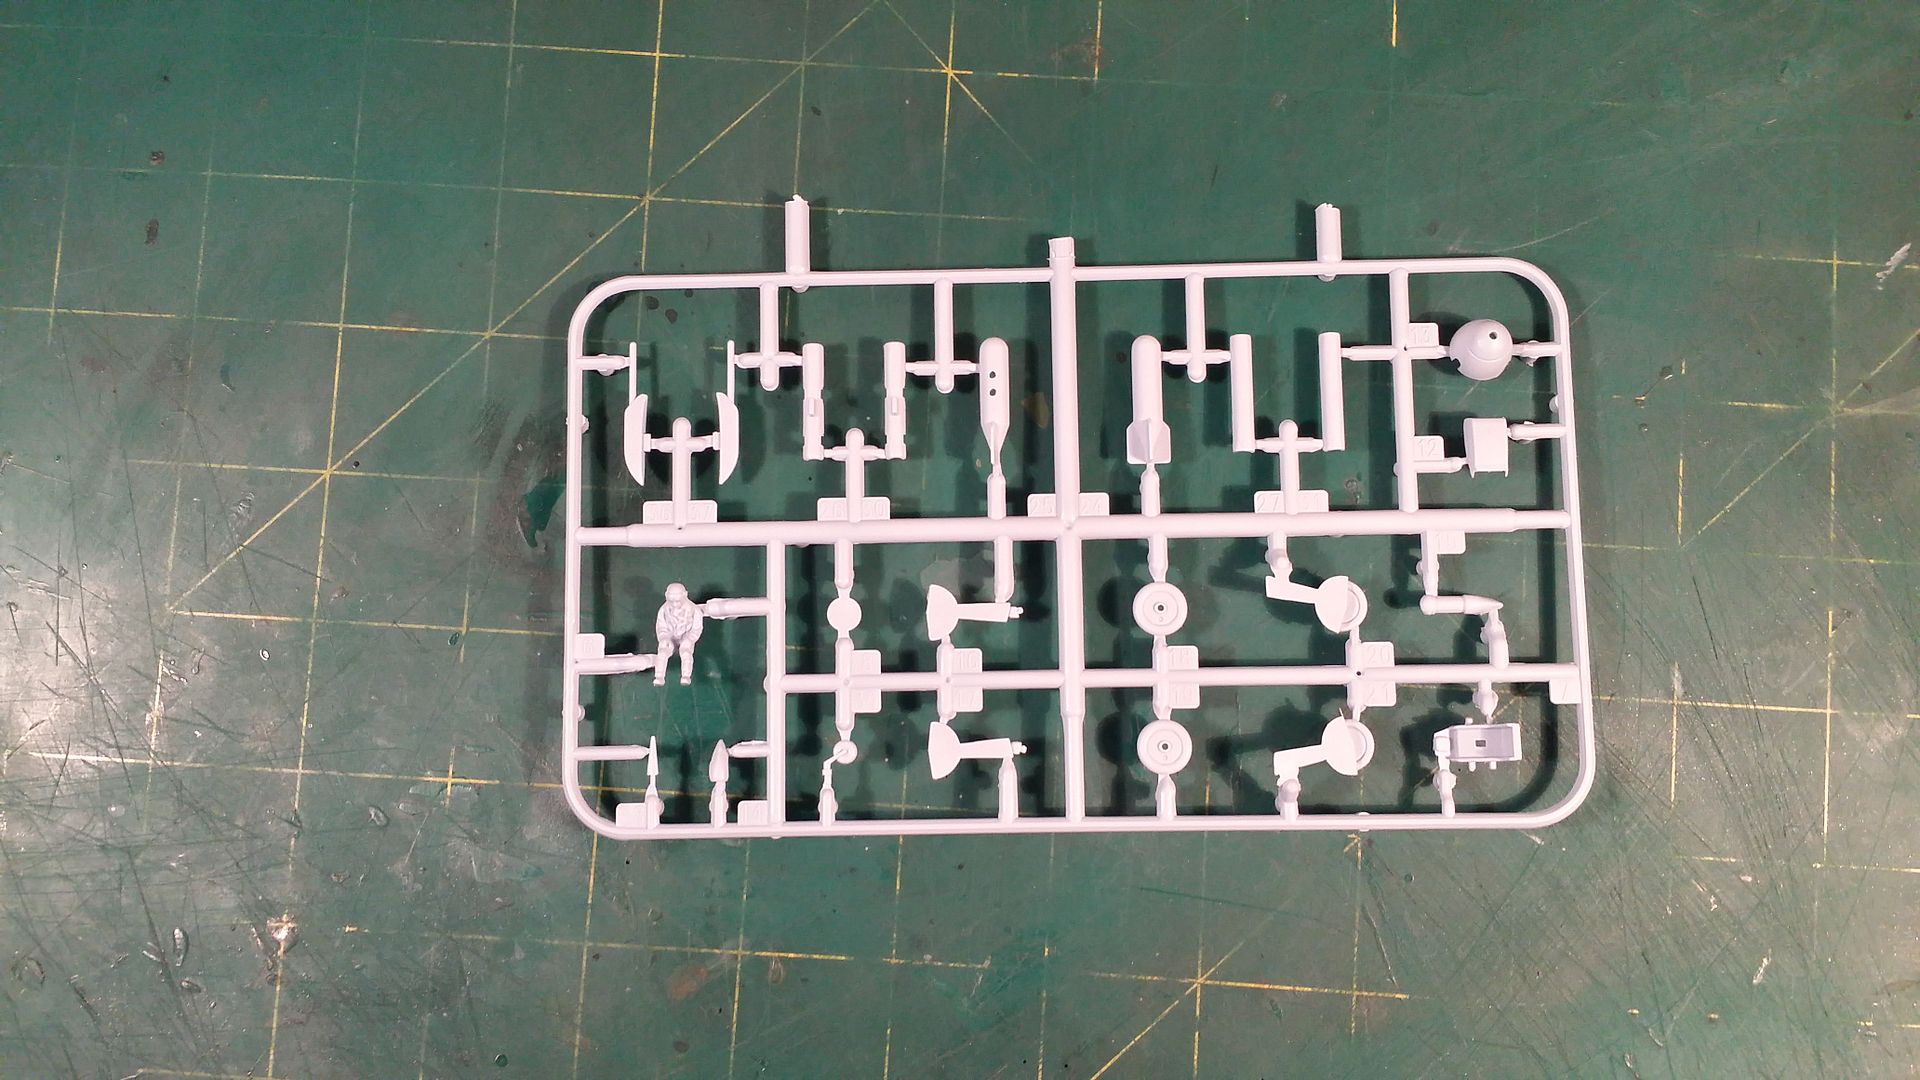
Kit Contents


The Chosen Paint Scheme
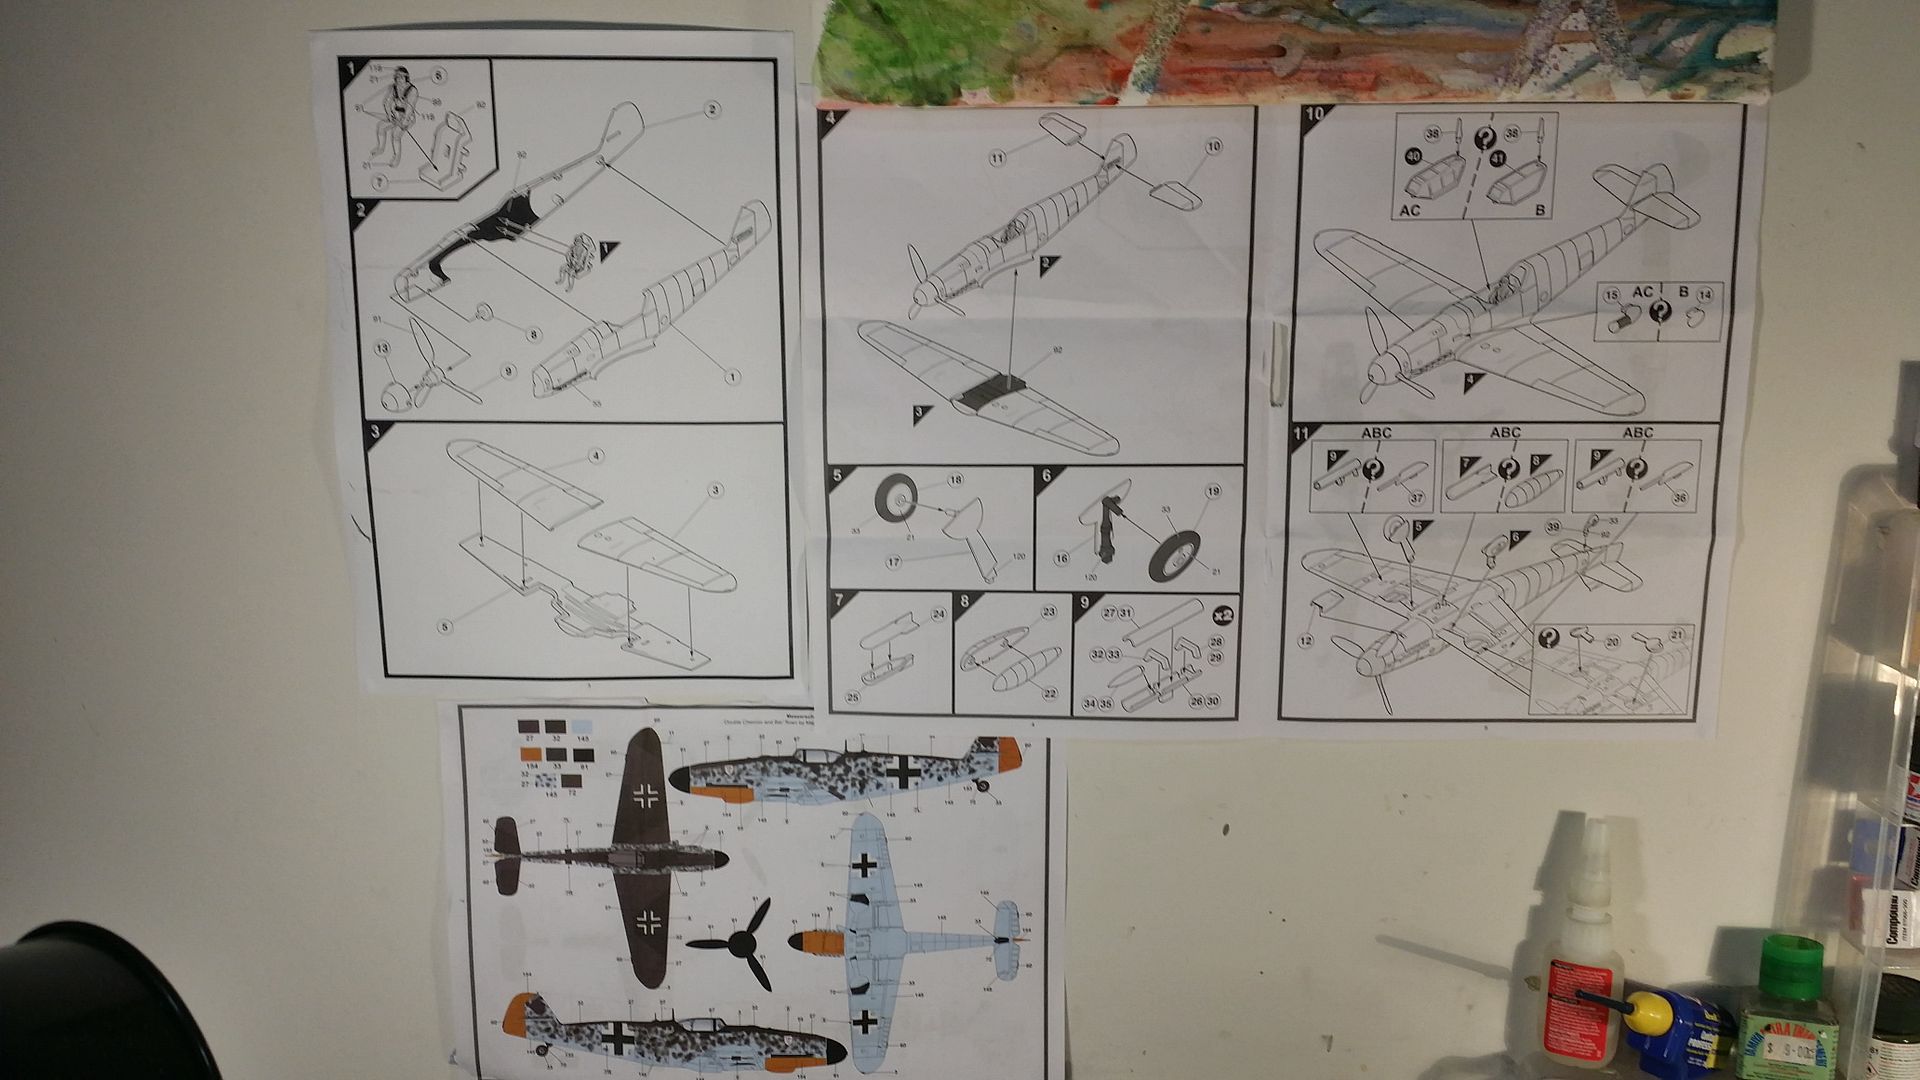
I made a copy of one of the pages and tore the paint scheme page off, then put all the pages on the wall
Building will commence soon!
I hope you all liked the post. All comments are welcome.
This is my entry into the GB. The Airfix 1/72 Bf 109 G-6
The Plan
To build the kit pretty much OOB, might add some seat belts to it. This kit has no cockpit; I will not add one either. I will keep this build simple. I will try out two new things with this model. I will paint it in the German scheme shown - though I might not attempt the spotted camo.
- First I will use Future Floor polish as a clear coat, and then conduct a panel line wash with Tamiya Panel line wash after the clear coat. It may seem strange but I have never weathered a model after gloss coating it, as I paint with enamels, I usually use acrylic washes over the enamel paint - this does damage the paint sometimes - thus I am trying this method.
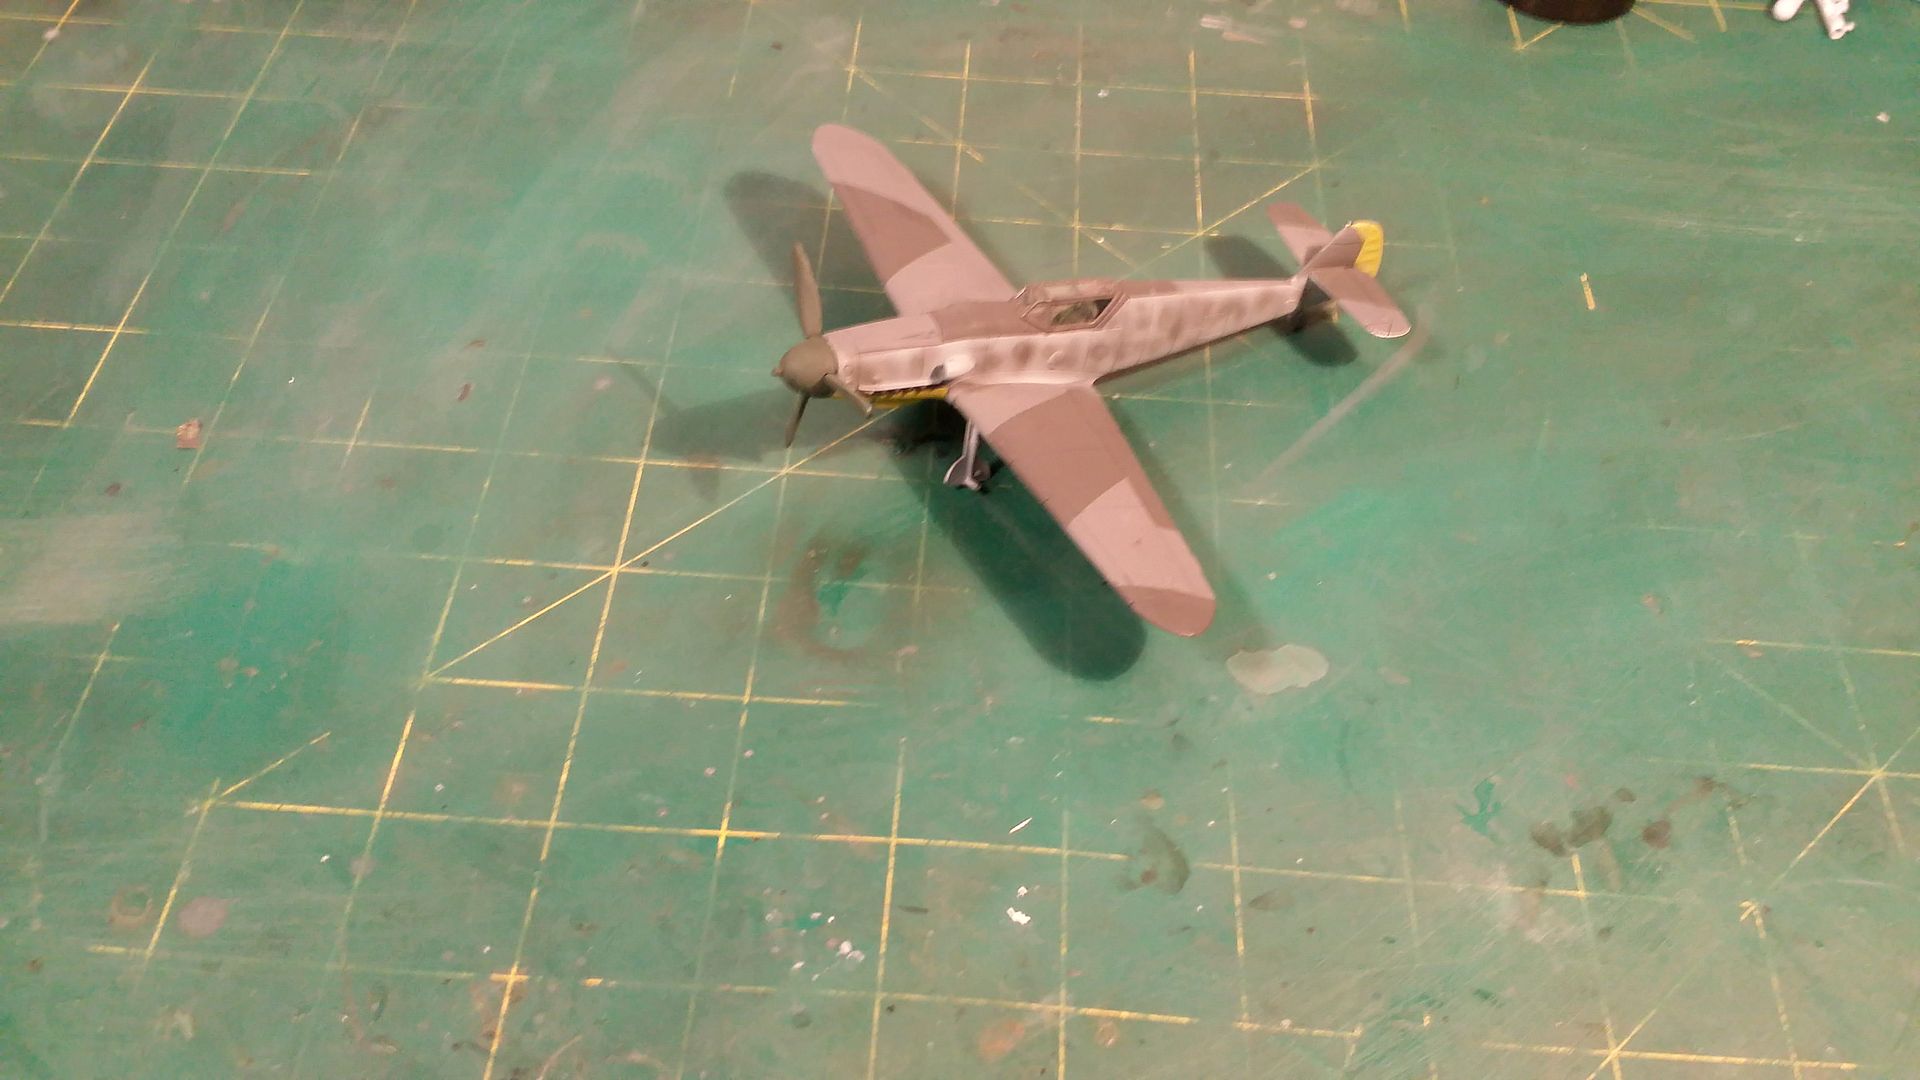
- Second I will try out building a kit with mainly Humbrol paints, I have decided to start moving my paint collection (from Tamiya enamels) over to Humbrol, but before I do that I want to see if they are as good as the Tamiya Enamels (especially the gloss ones).
So this project will serve to test out the above two purposes. Once the build is complete I will try out making a video with the model spinning on a turntable and see how I go!
Kit Details (From Scalemates.com)
Product name:
Messerschmitt Bf 109G-6
Product number:
A02029
Scale:
1:72
Type:
Full kit
[COLOR=rgb(136,136,136)]Includes: Plastic sprues, Waterslide decals, Clear parts[/COLOR]
Released:
2009 | Initial release - new tool
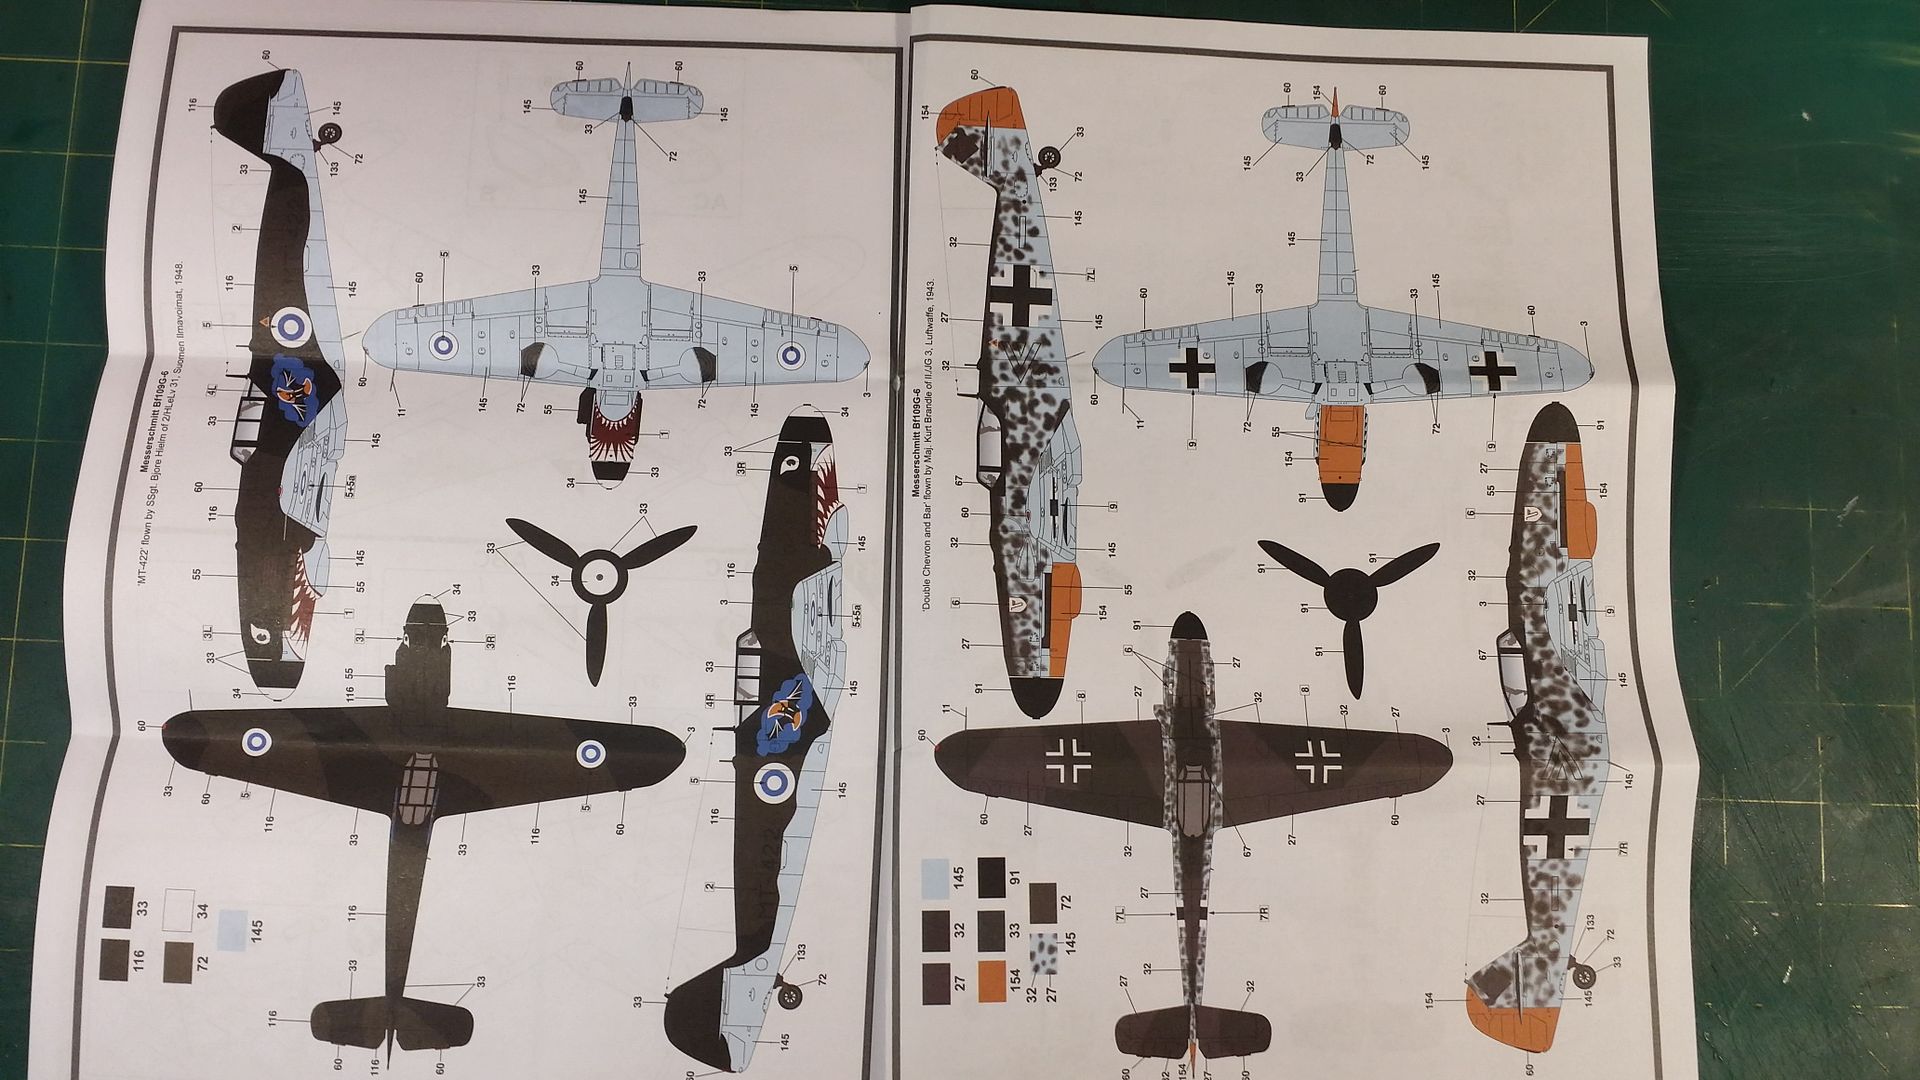
Decal options
- Messerschmitt Bf 109 G-6

 Ilmavoimat (Finnish Air Force 1918-Now)
2./HLeLv 31 MT-422 (SSgt. Bjore Hielm)
1948
- Messerschmitt Bf 109 G-6
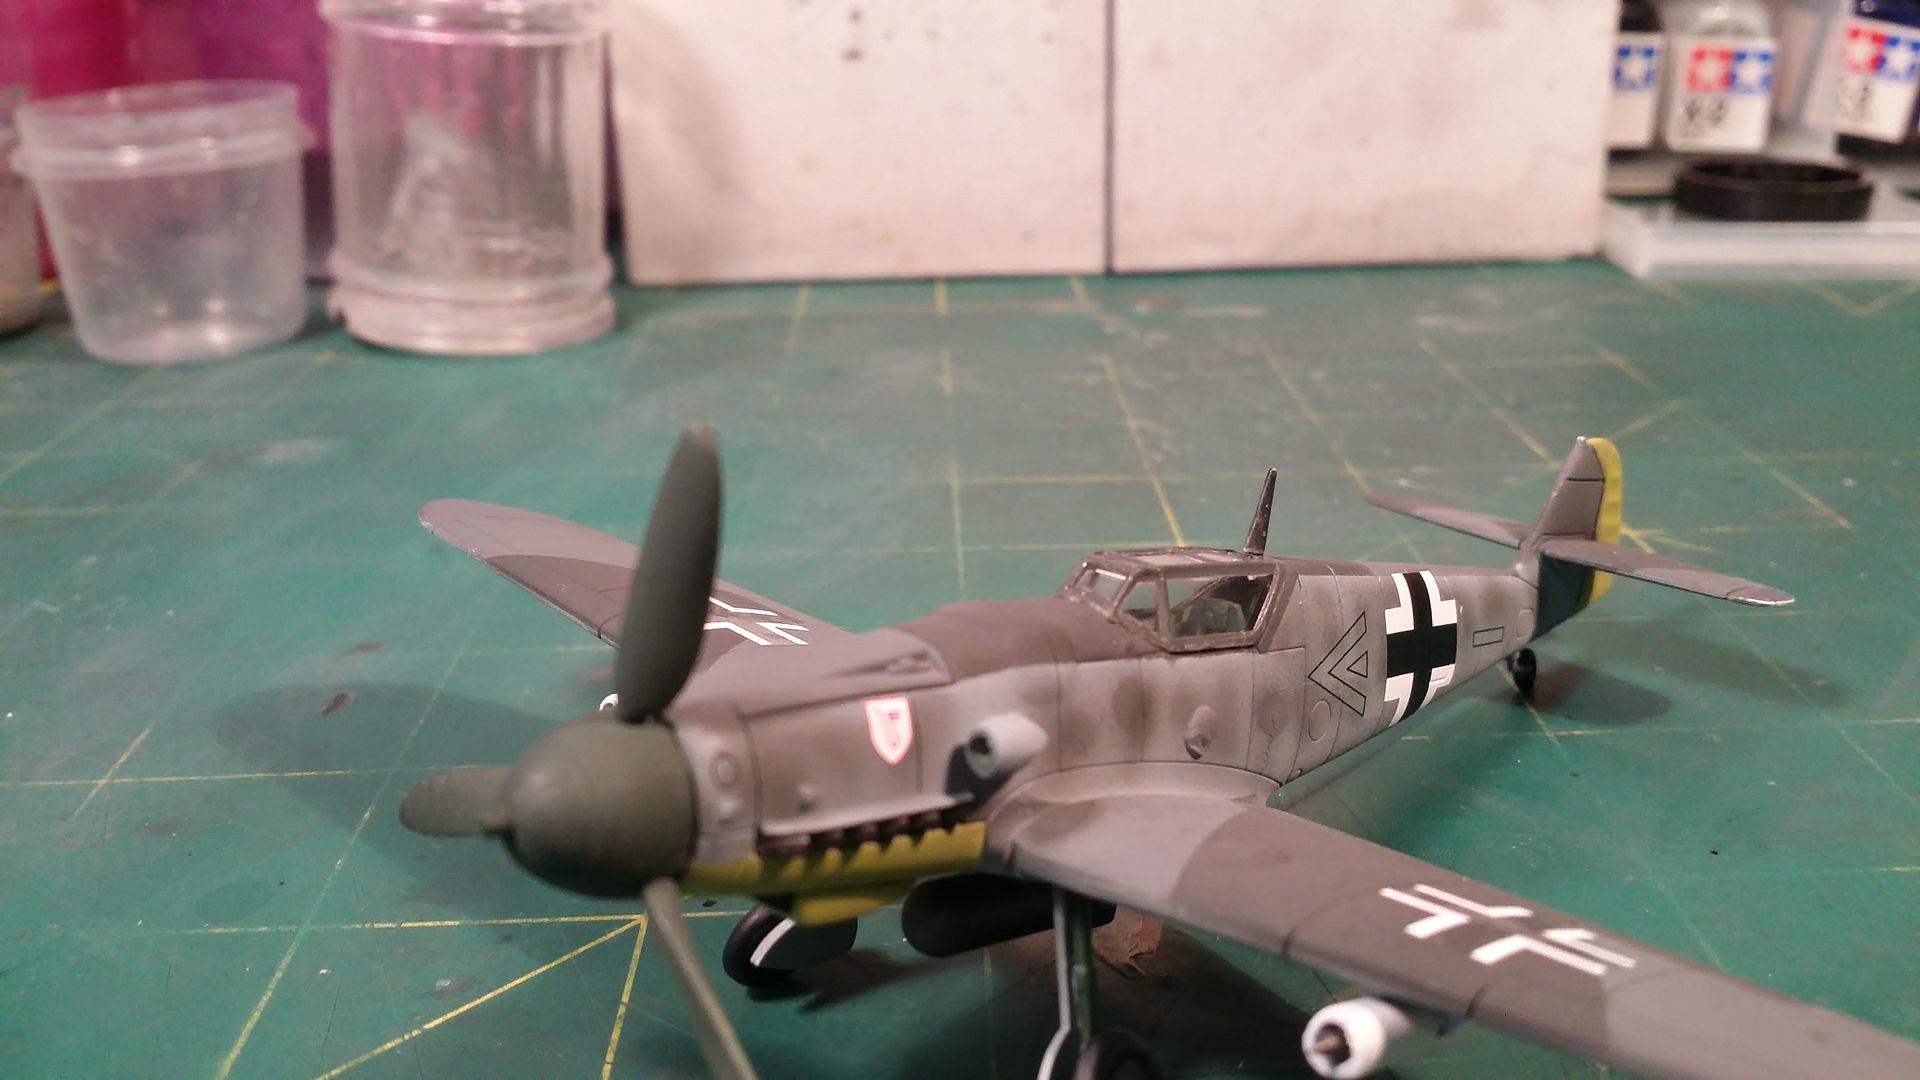
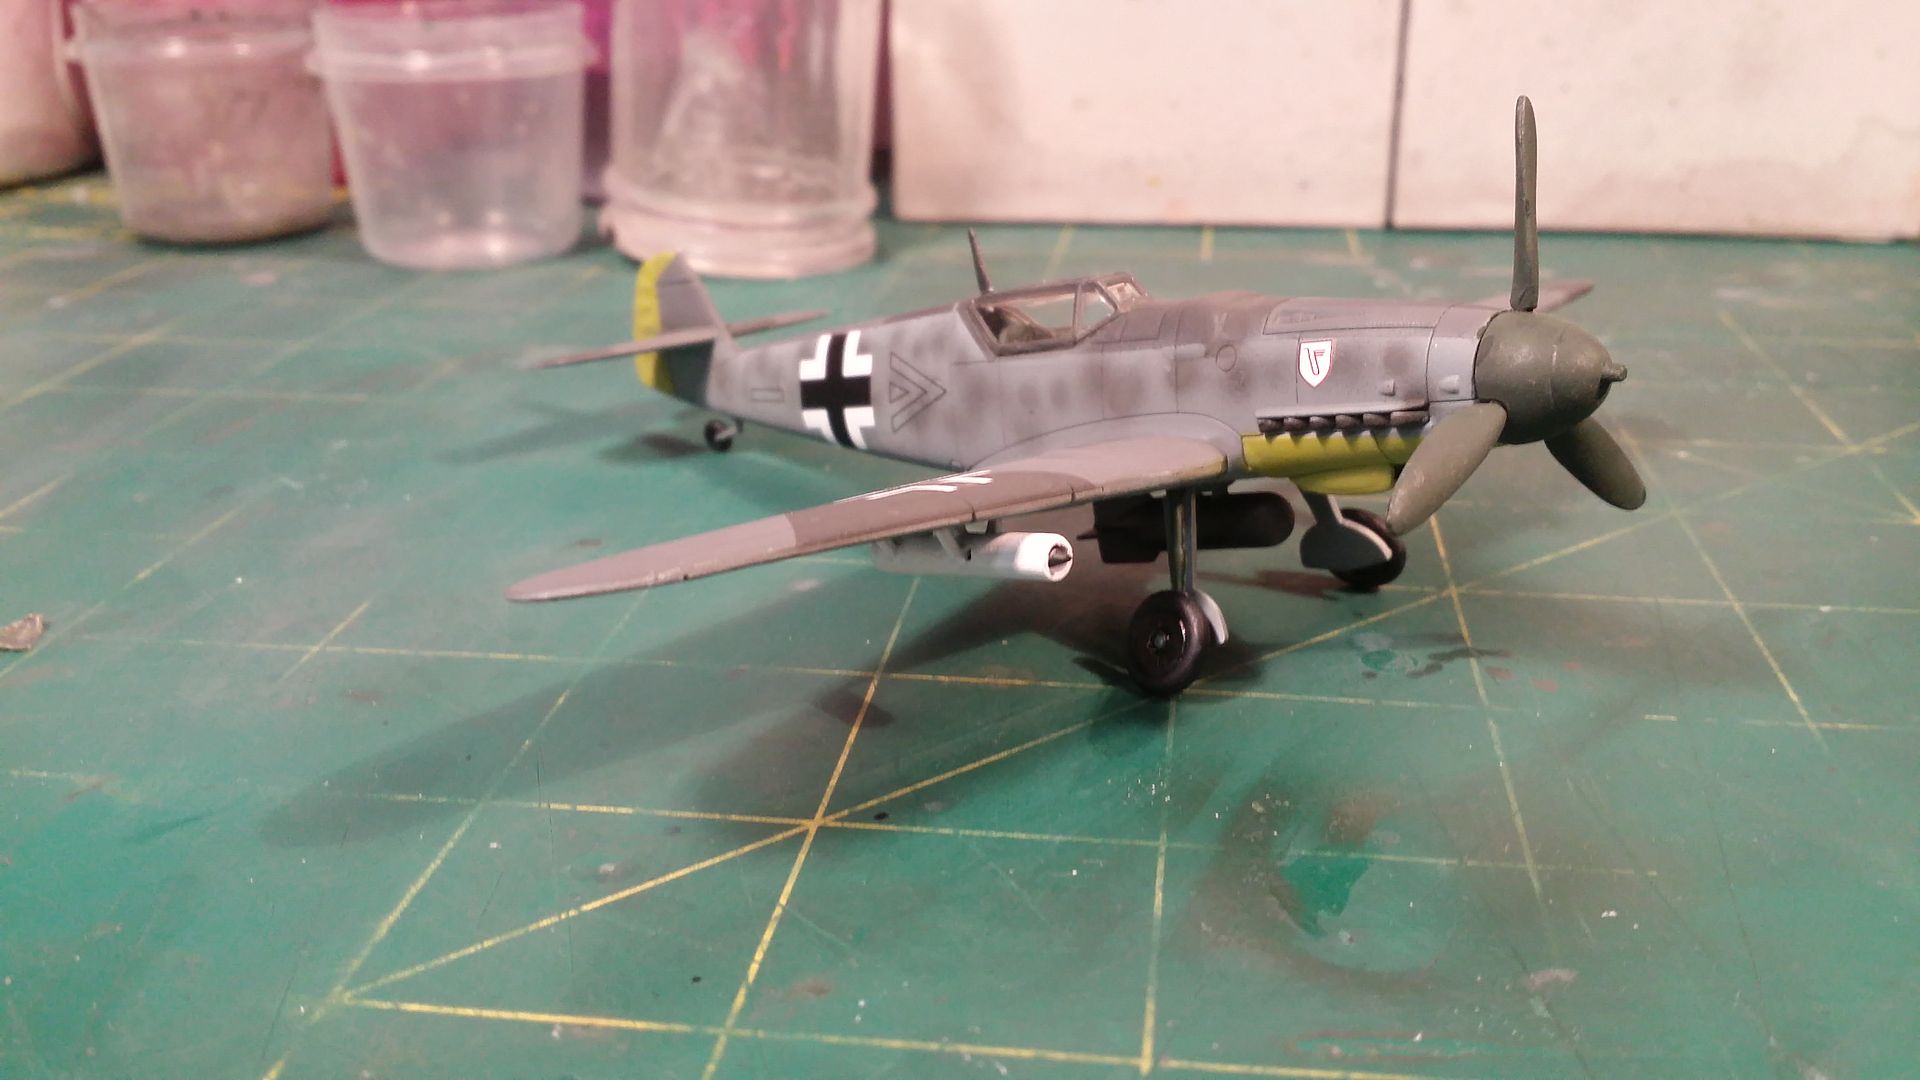
 Wehrmacht Luftwaffe (German Air Force 1935-1946)
11./JG 3 (Maj. Kurt Brandle)
1943
- Messerschmitt Bf 109 G-6/R6 Trop
 Regia Aeronautica (Italian Air Force 1935-1943)
3° Stormo, 23° Gruppo
- St. Cerveteri | August 1943
Scalemates Link: https://www.scalemates.com/kits/1002...mitt-bf-109g-6
Box Art
Kit Contents
The Chosen Paint Scheme
I made a copy of one of the pages and tore the paint scheme page off, then put all the pages on the wall
Building will commence soon!
I hope you all liked the post. All comments are welcome.
 I've got to on my Airfix 109!
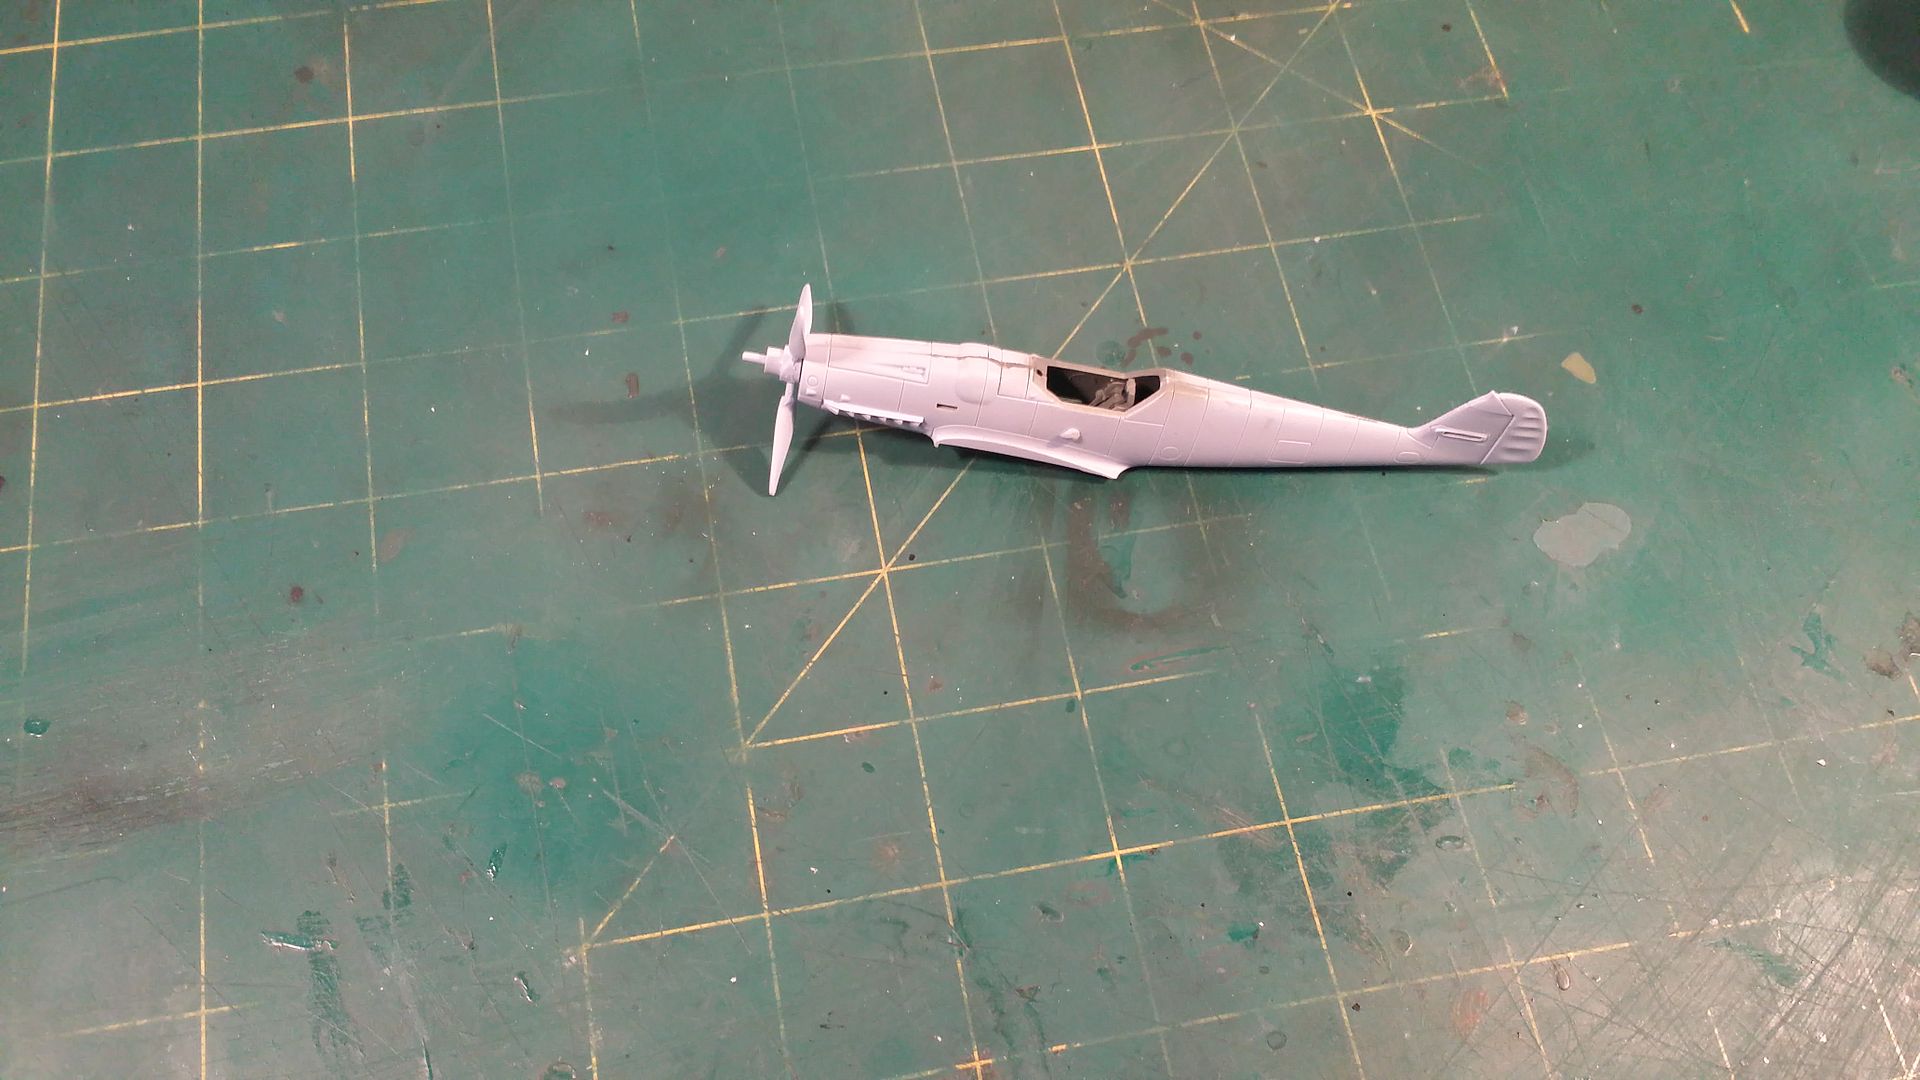

 superb work.
Comment