Scale Model Shop

Collapse

Tamiya 1/35 M792 Gama Goat Ambulance Truck

Collapse
This topic is closed.
X
X
 
  • Time
  • Show
Clear All
new posts
  • Guest

    #1

    Tamiya 1/35 M792 Gama Goat Ambulance Truck

    This is my entry into this GB

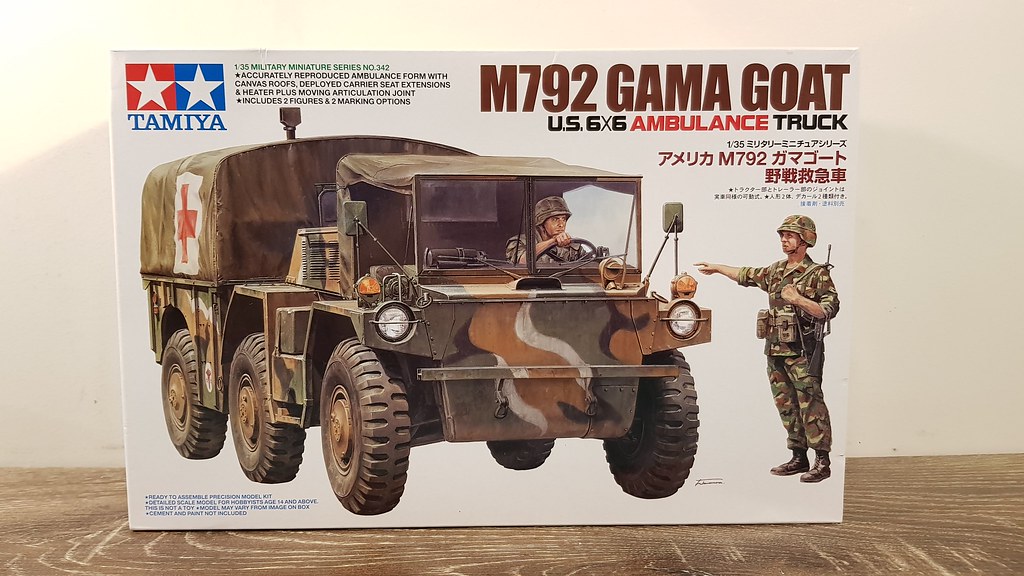
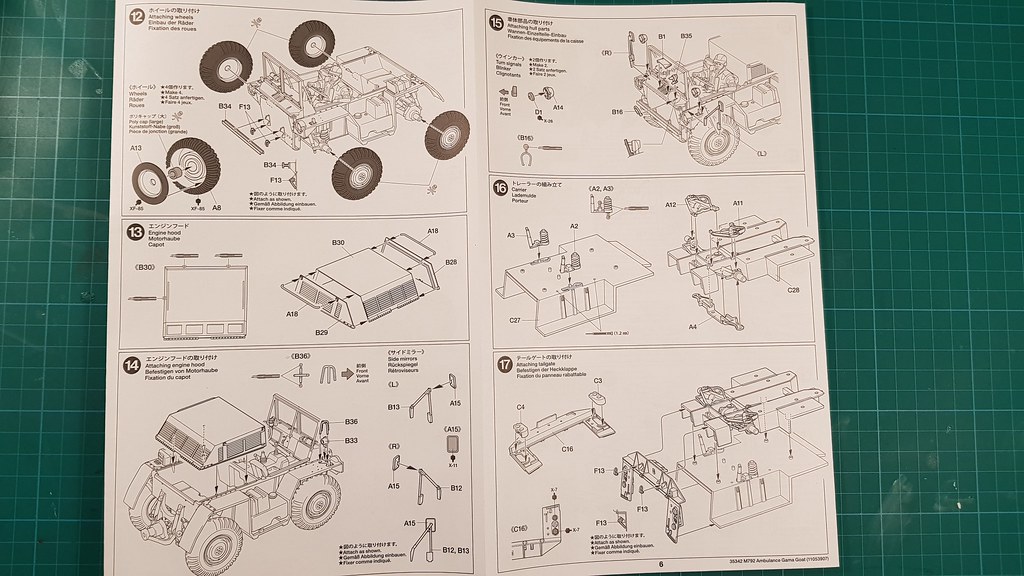
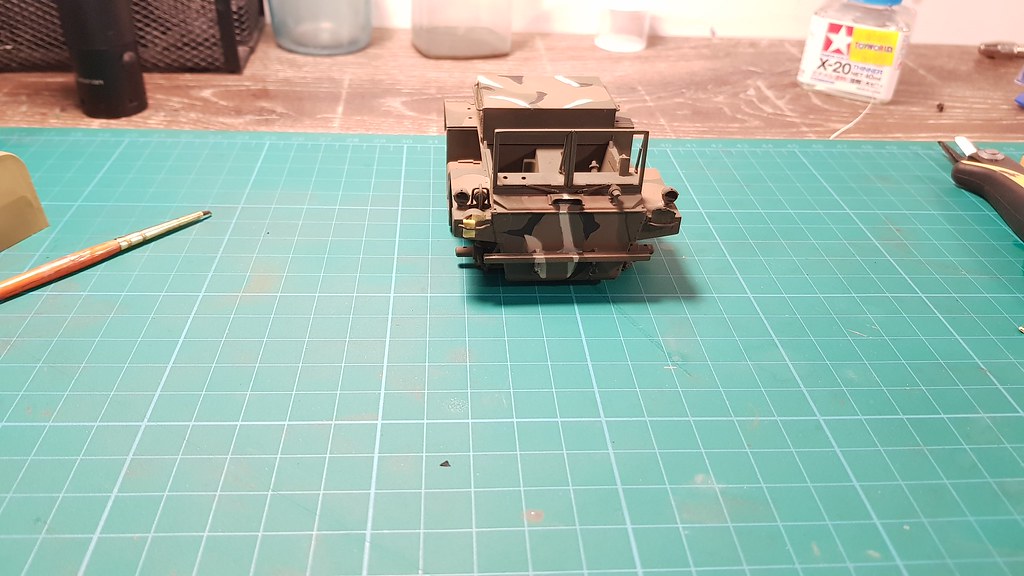
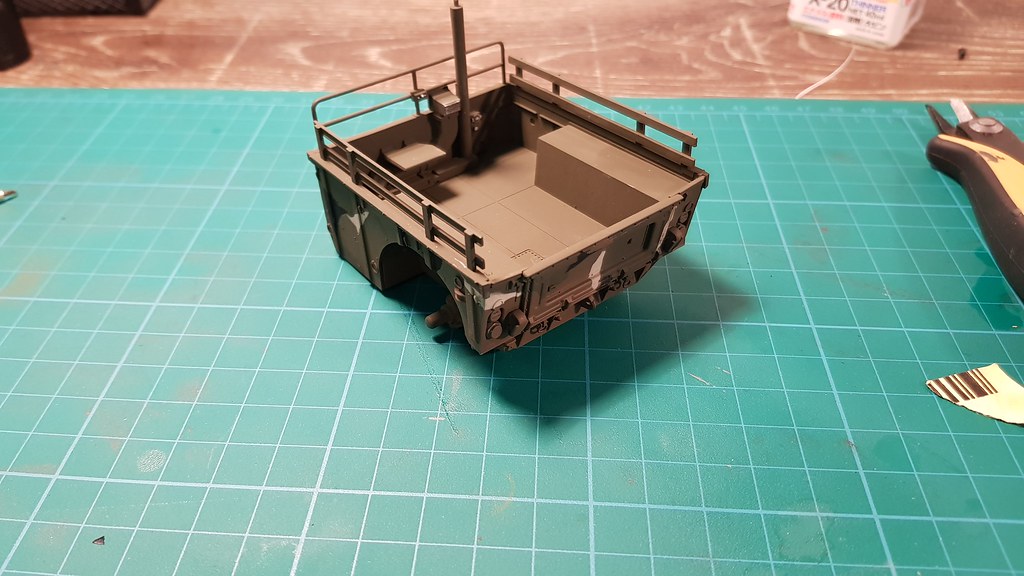
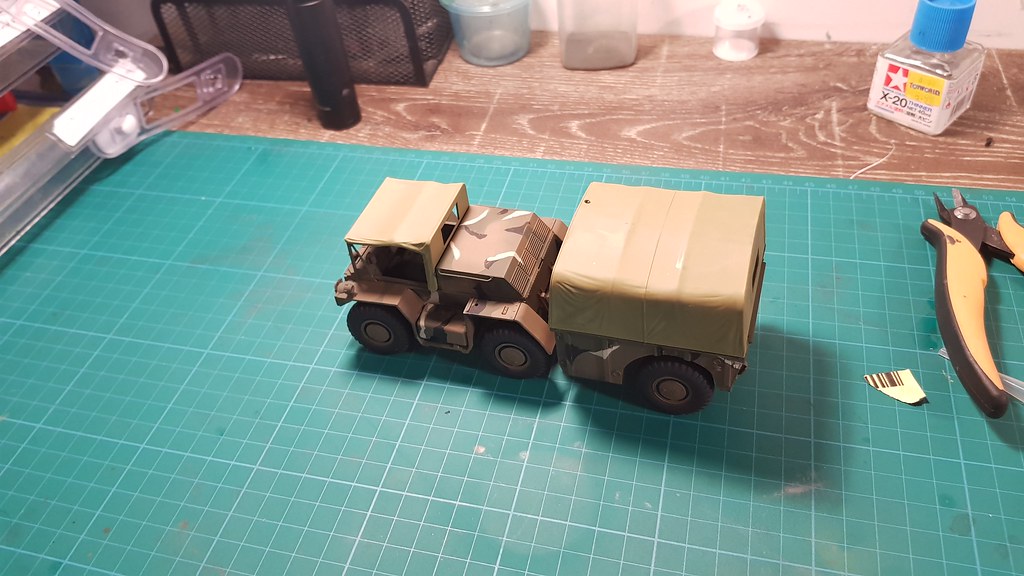
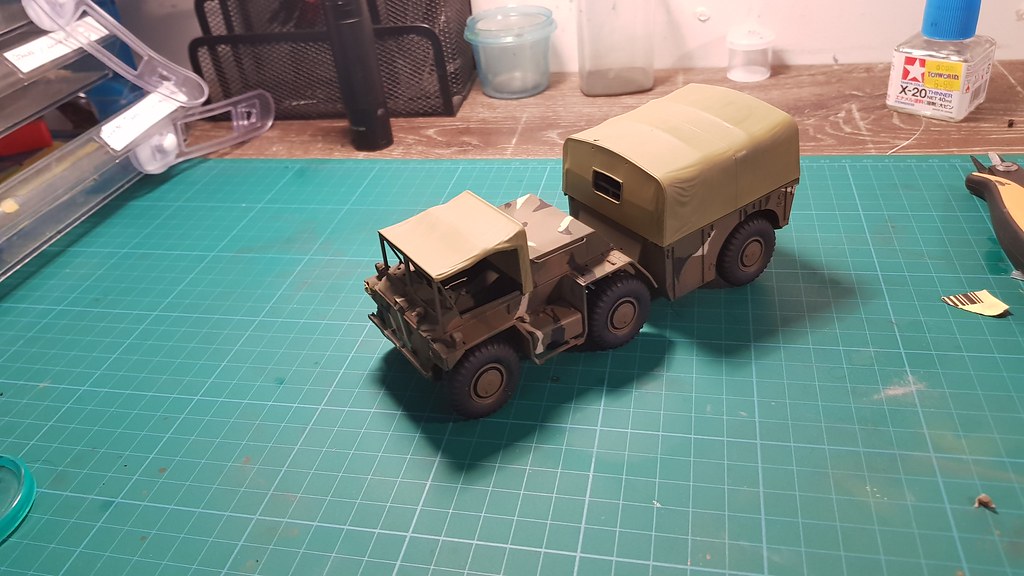
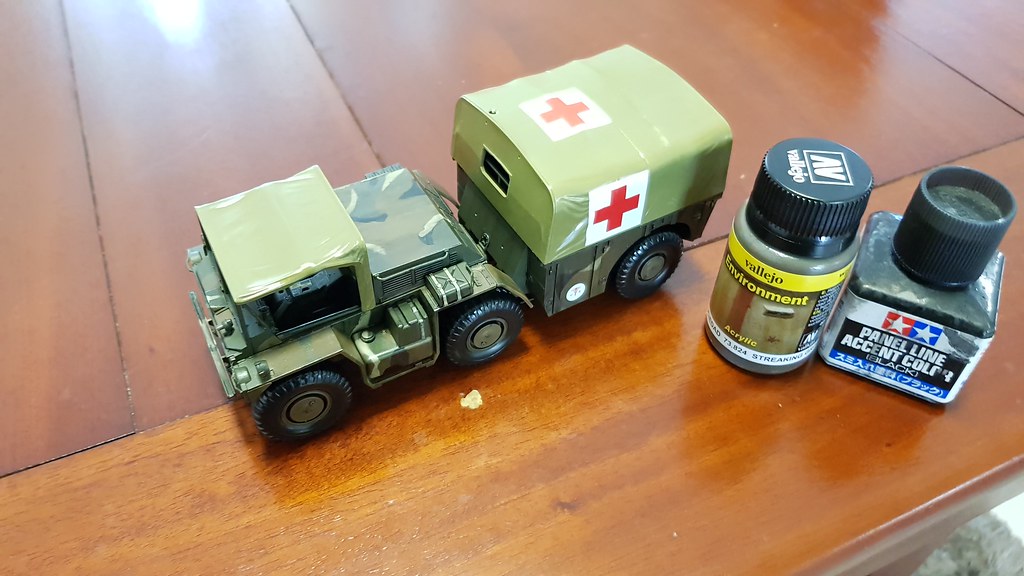
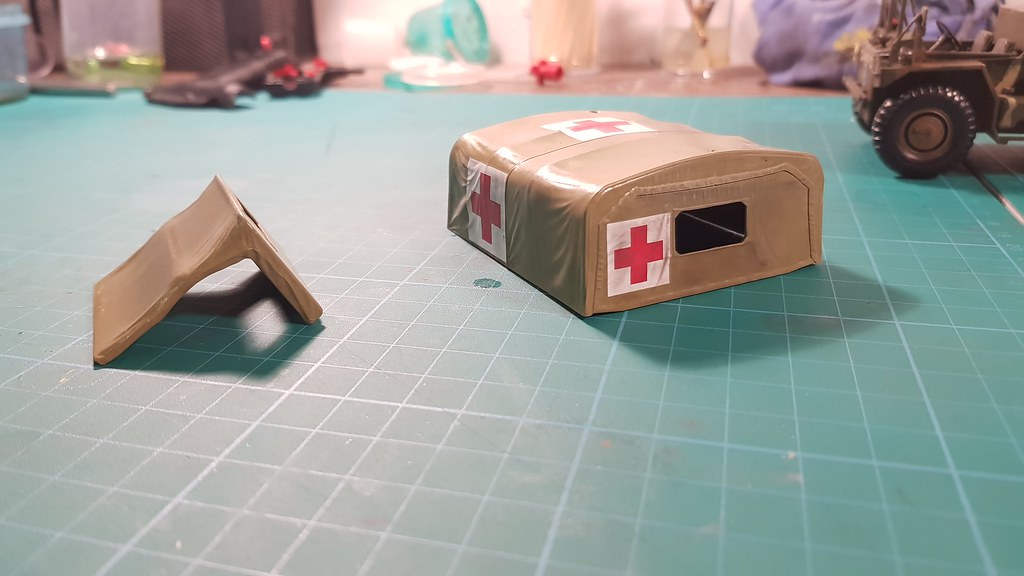
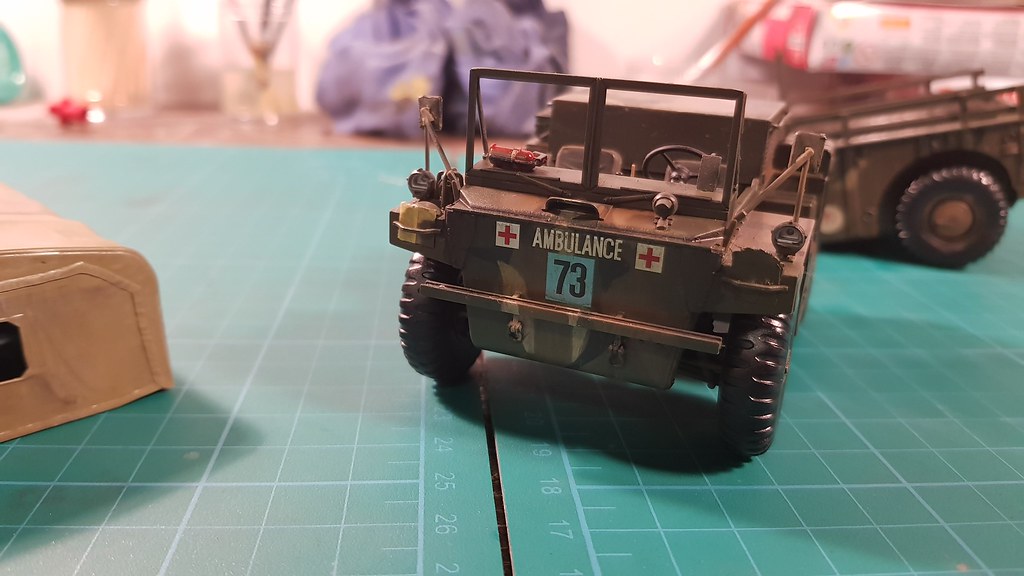
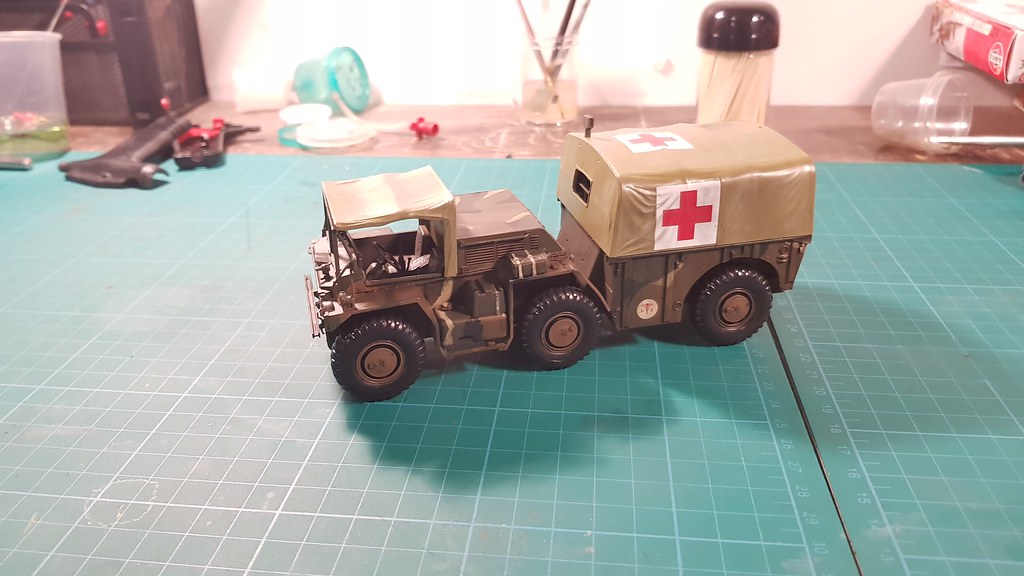
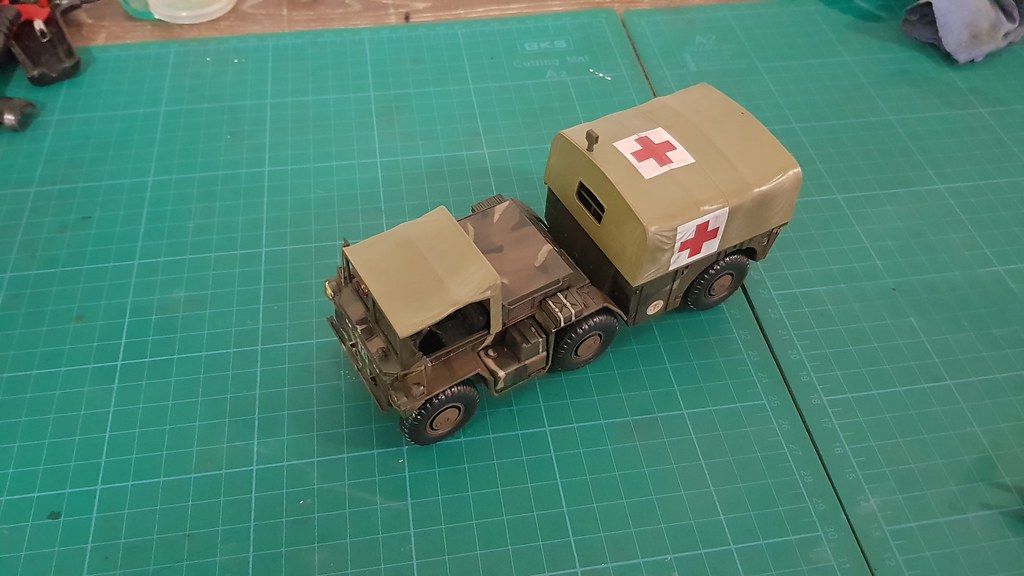
    It is the Tamiya 1/35 Gama Goat Ambulance Truck

    Build Plan
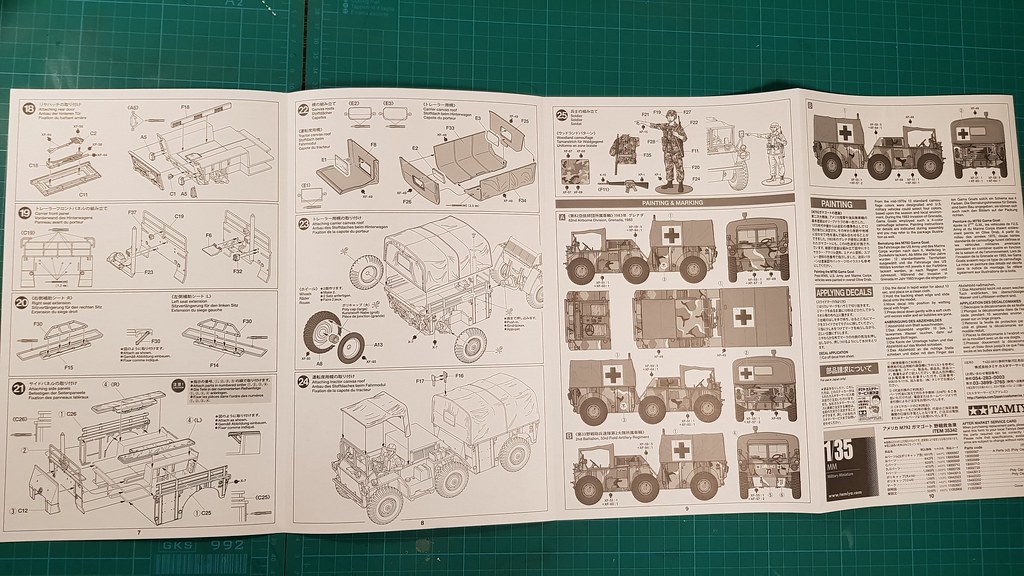
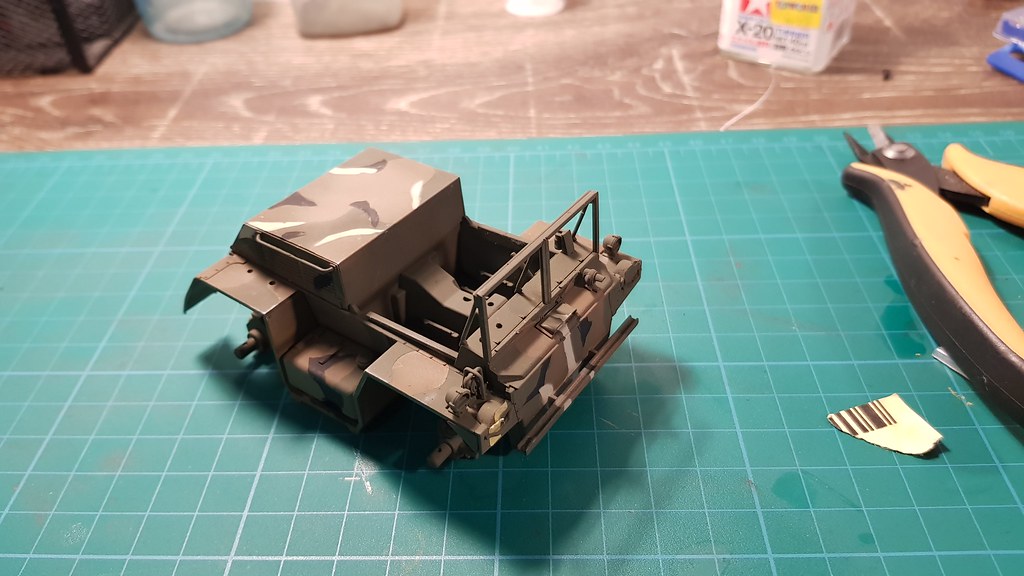
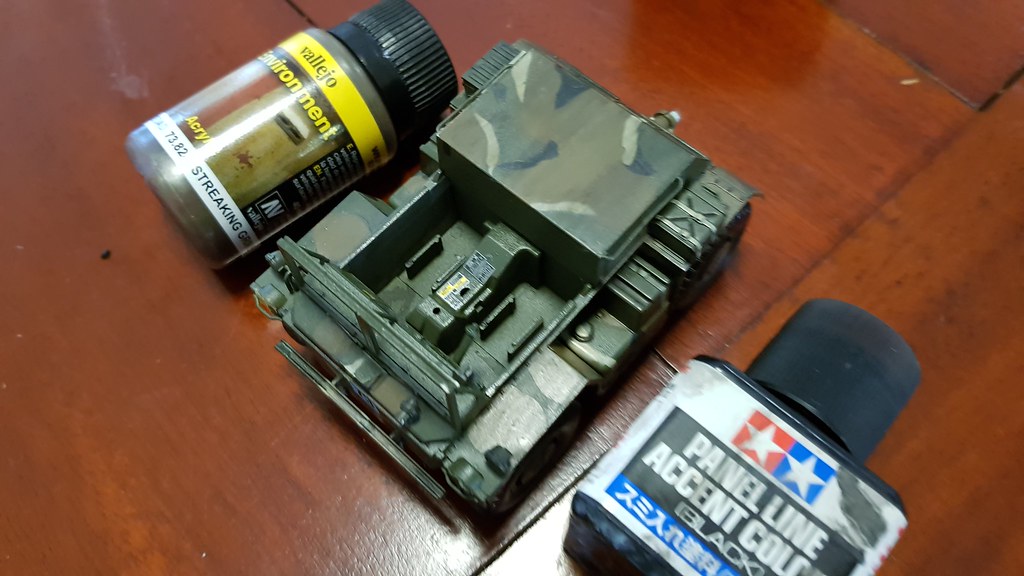
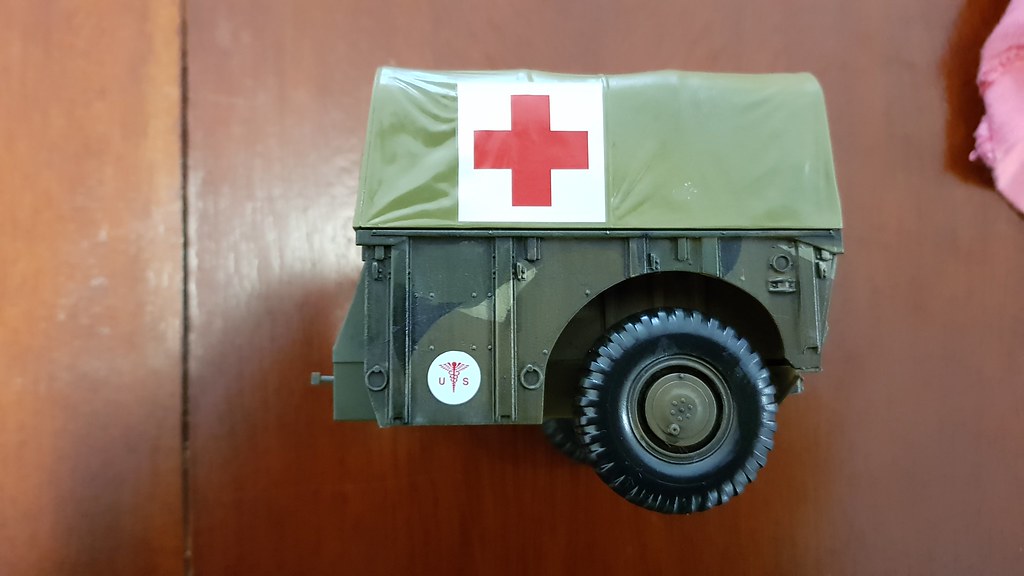
    I plan to build this kit OOB, with maybe a spare machine gun mounted on it from my spares box. It will be painted and decaled in one of the two ambulance schemes provided. Weathering will be kept to a minimum, as I wish to depict a well maintained, and overall clean vehicle.

    Kit details from www.scalemates.com
    Title:U.S. 6X6 Ambulance Truck M792 Gama Goat
    Number:35342
    Scale:1:35
    Released:2014 - based on Tamiya kit 35330 released in 2013

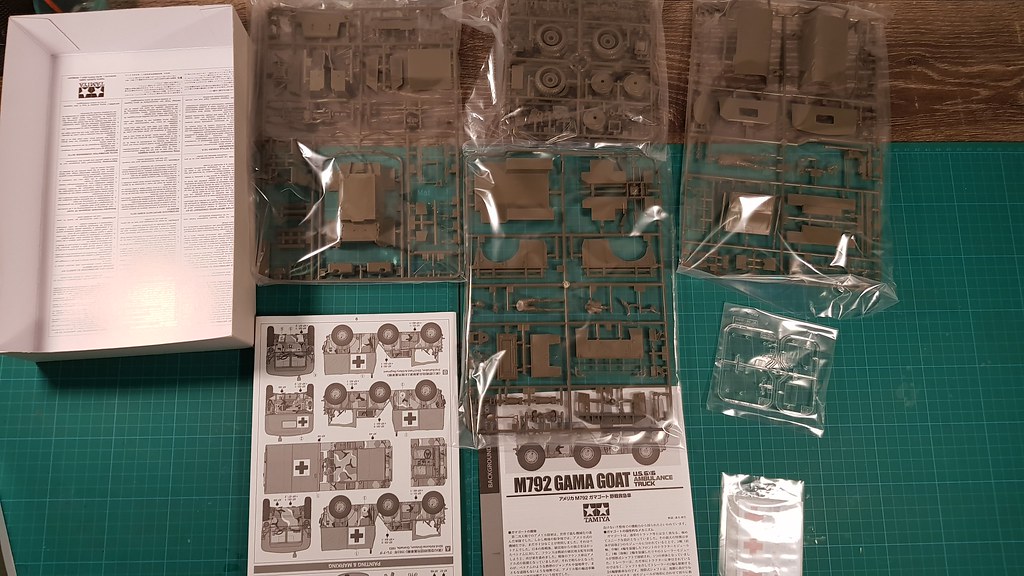
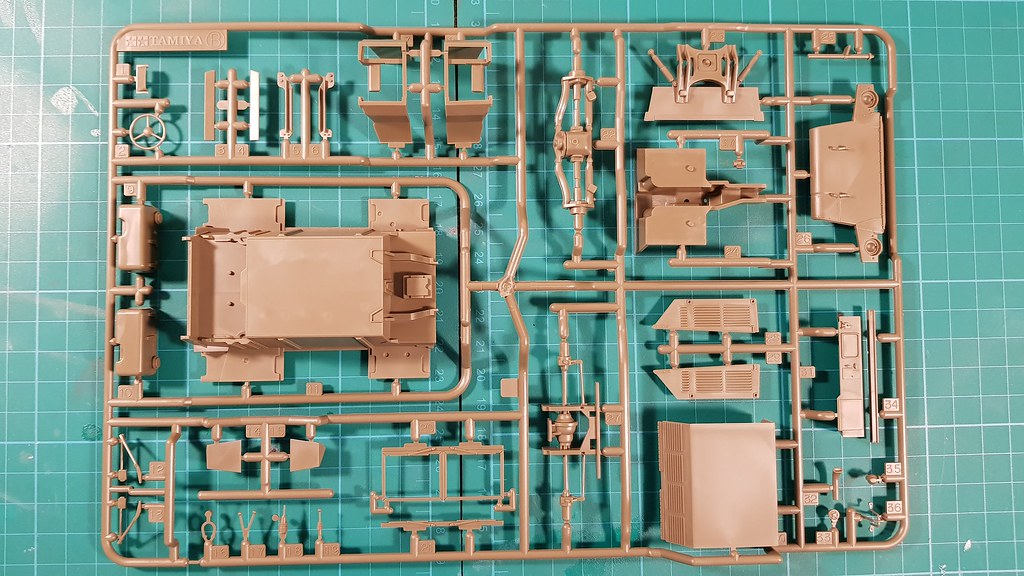
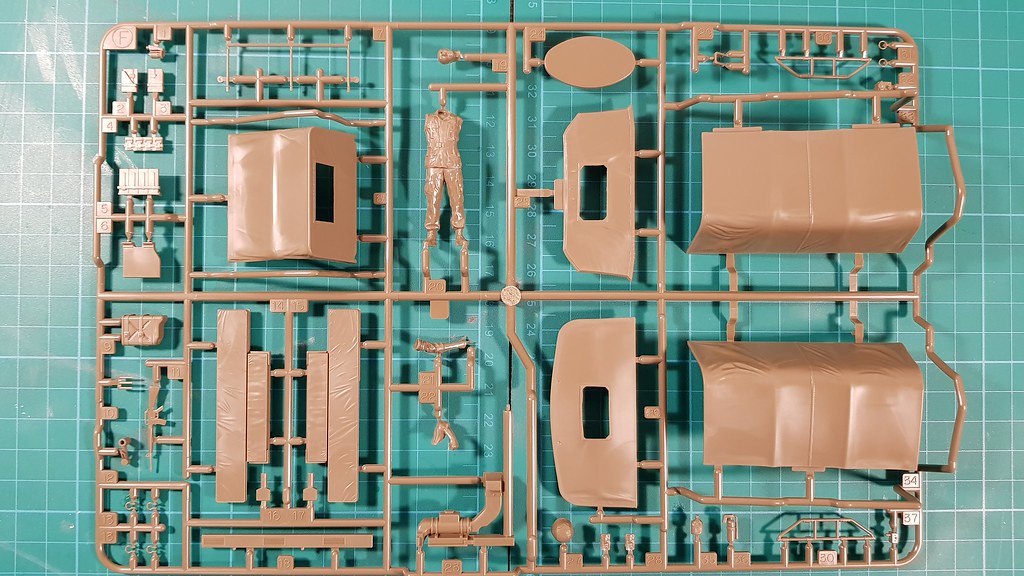
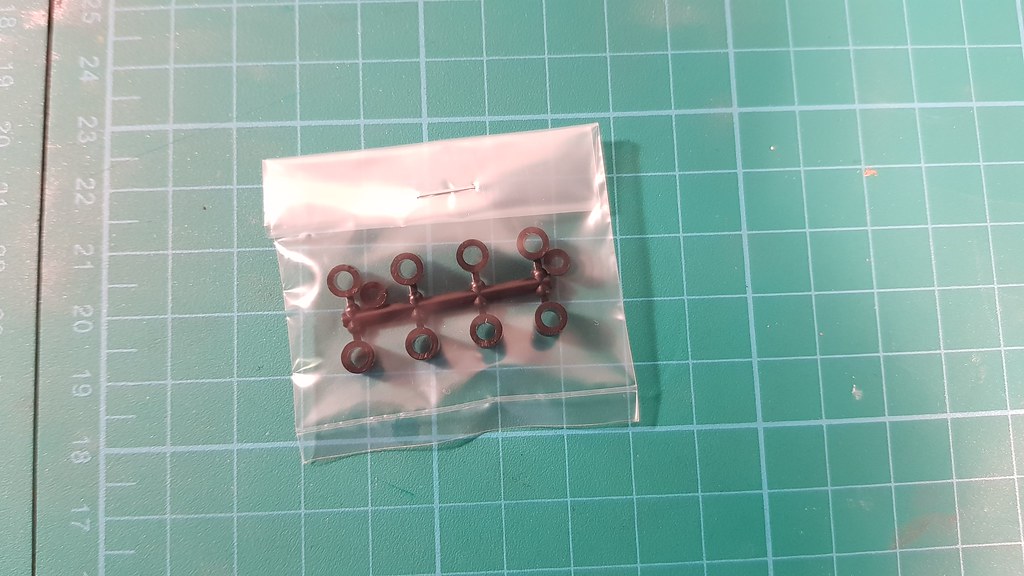
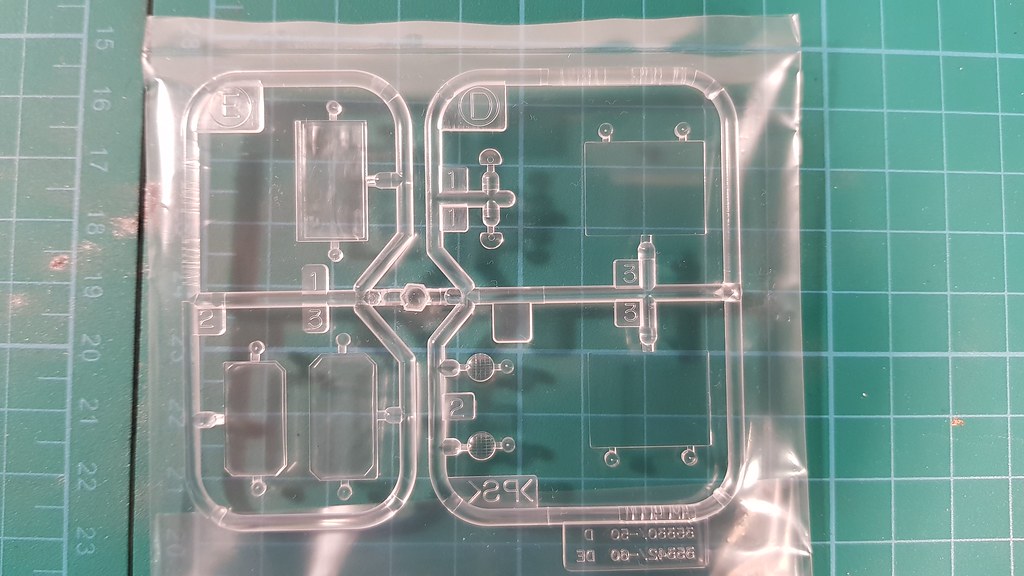
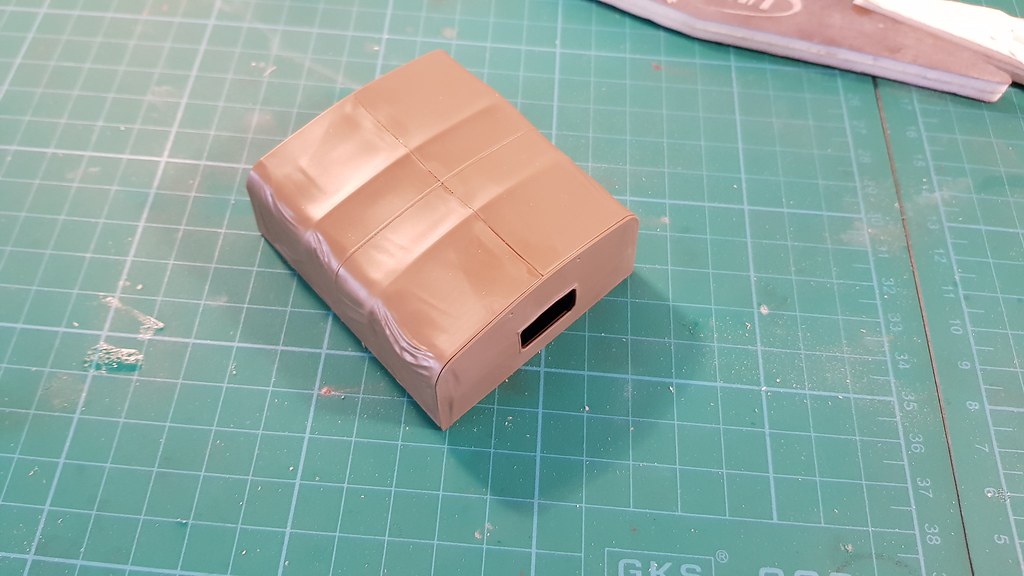
    Kit Box and Contents
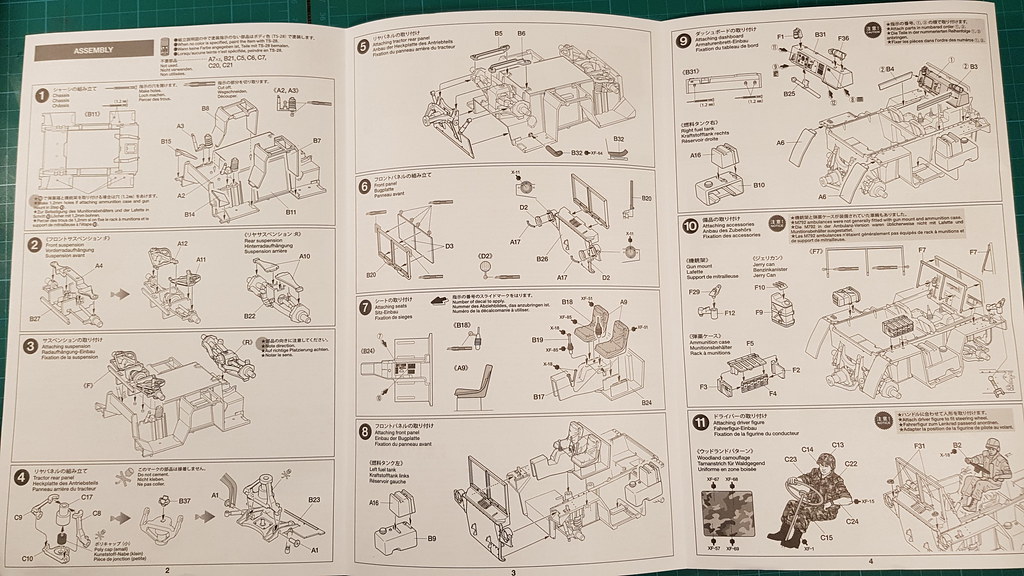
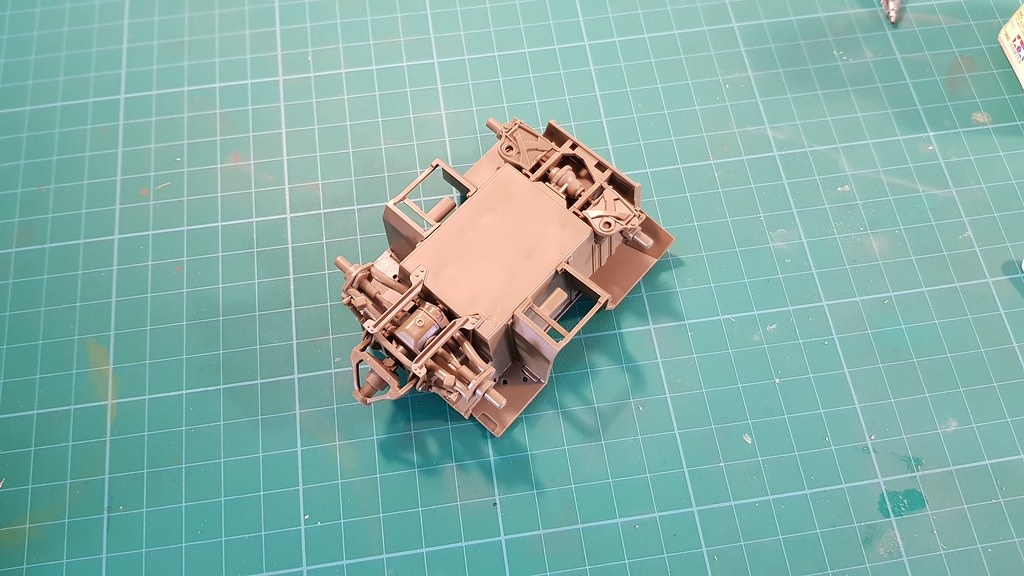
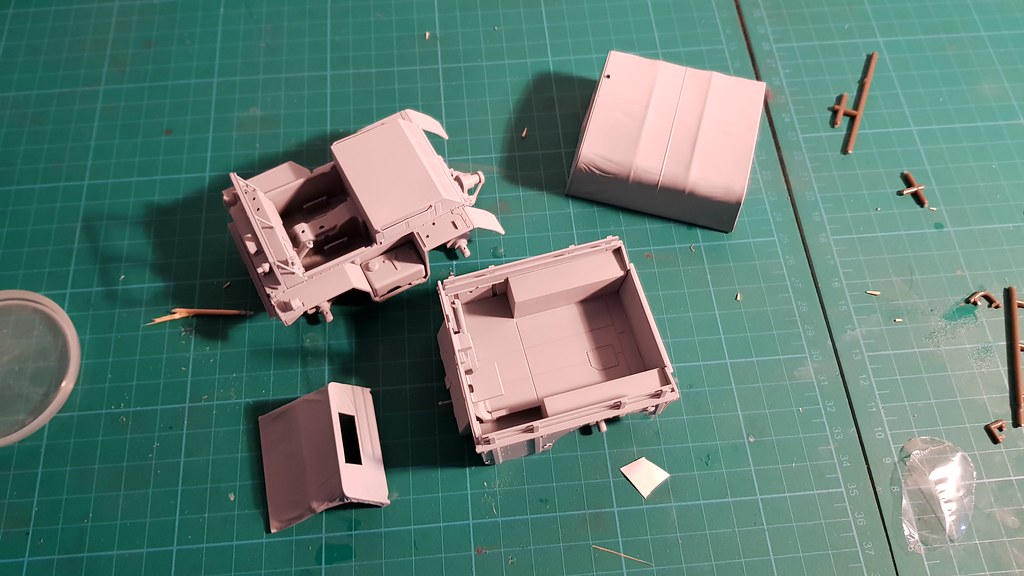


    Build Begins

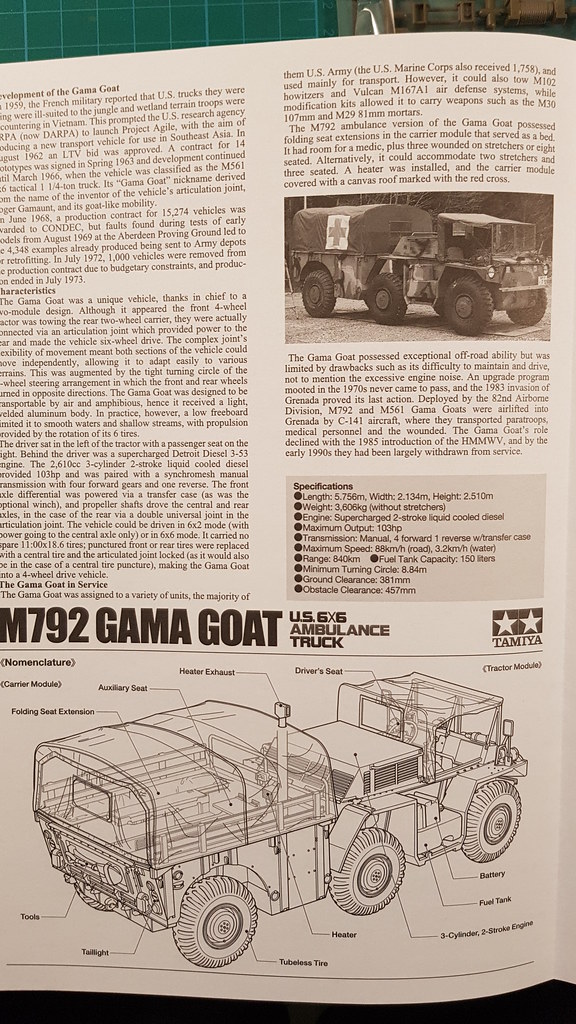
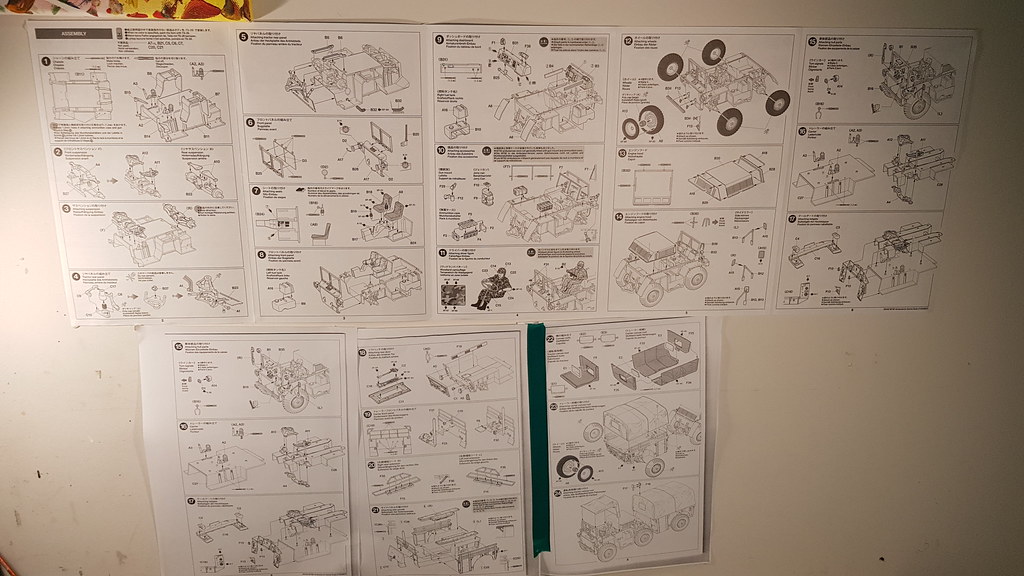
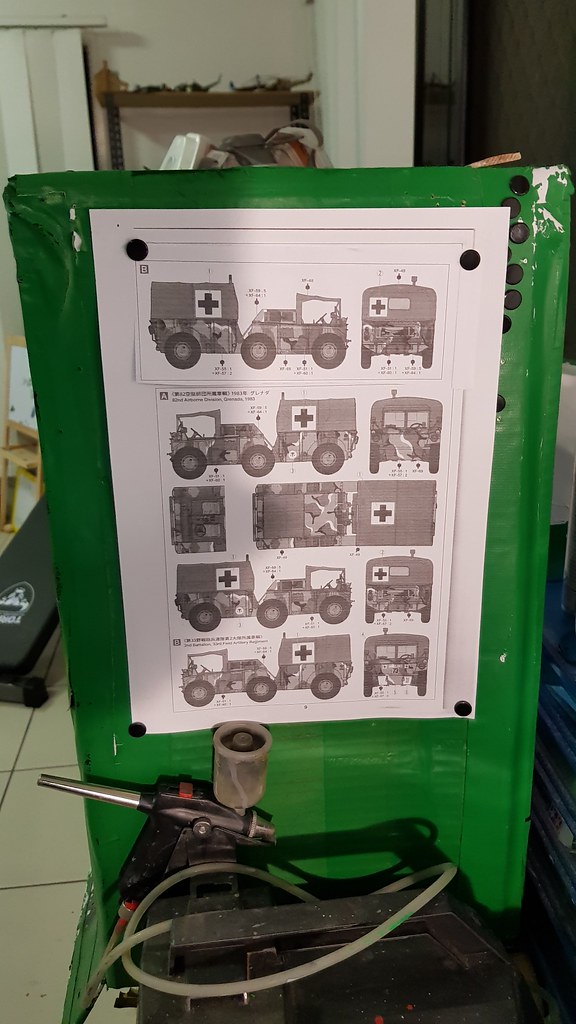
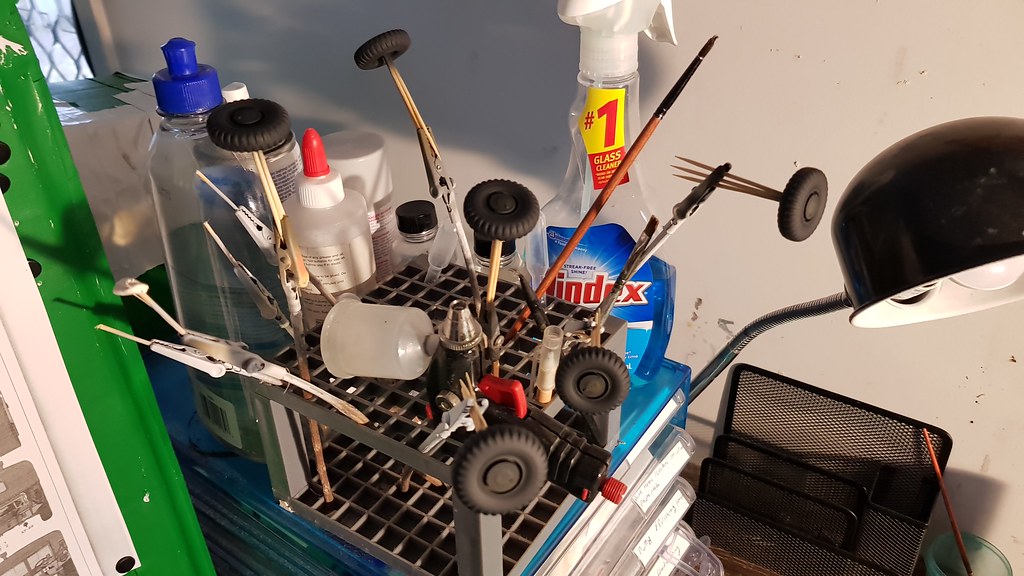
    The bottom half of the instructions was photo copied and stuck to my wall and side of my Airbrush booth


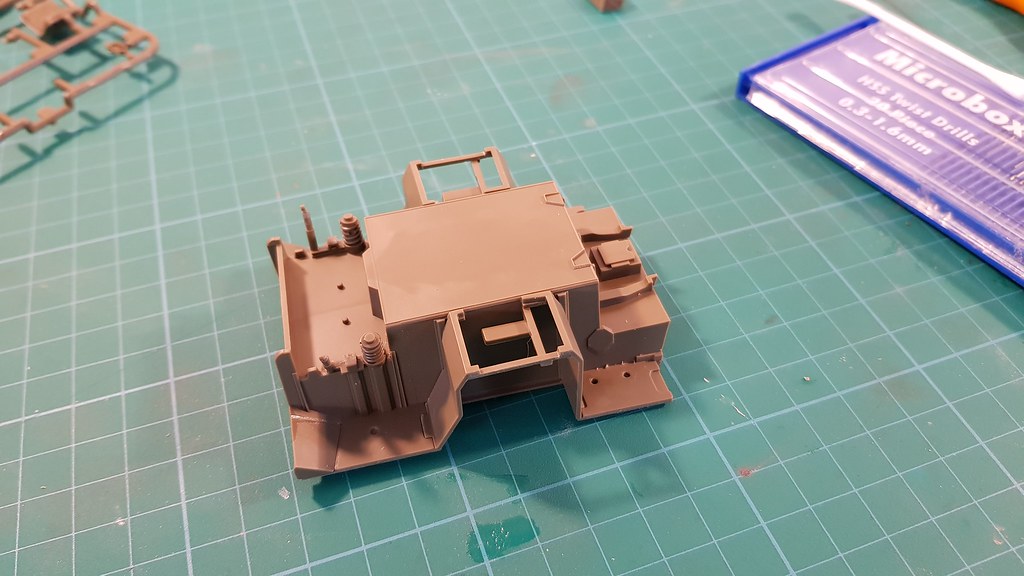
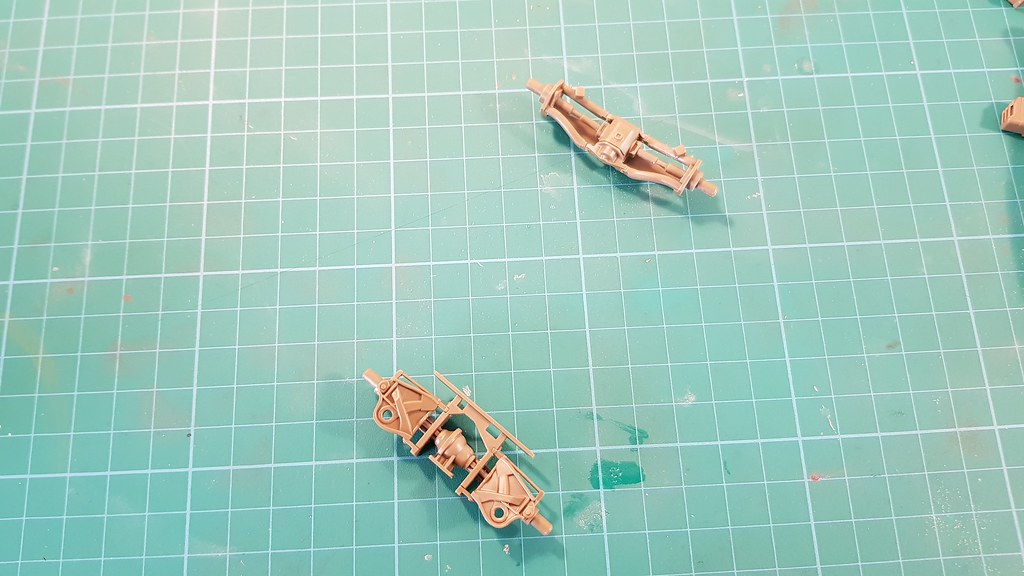
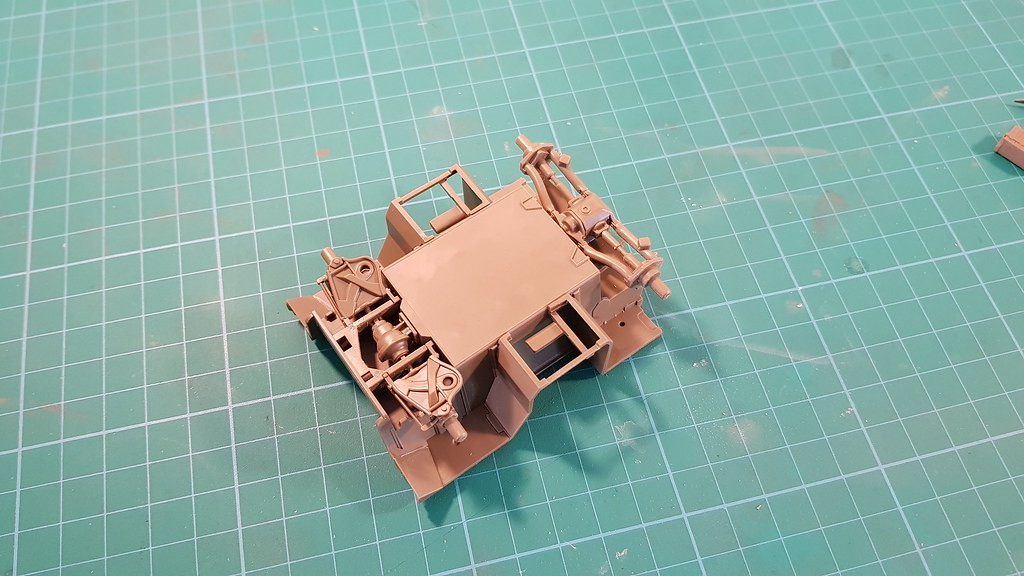
    The build will begin today.

    I hope you all liked the post. As always, all comments welcome.
  • Guest

    #2
    Looking forward to this Bob.
    I think the airbrush needs a good clean.

    Comment

    • PaulTRose
      SMF Supporters
      • Jun 2013
      • 6441
      • Paul
      • Tattooine

      #3
      always fancied a go at a Gama kit so look forward to seeing who it goes together

      i would like to make one point though, under the Geneva Convention medical vehicles are not allowed to be armed, and personnel are only allowed 'light personal weapons' for defence.
      Per Ardua

      We'll ride the spiral to the end and may just go where no ones been

      Comment

      • Guest

        #4
        Can't wait for this one Bob, like Paul i fancied a go at this kit.

        Have fun, John

        Comment

        • Guest

          #5
          Originally posted by beowulf
          always fancied a go at a Gama kit so look forward to seeing who it goes together

          i would like to make one point though, under the Geneva Convention medical vehicles are not allowed to be armed, and personnel are only allowed 'light personal weapons' for defence.
          Originally posted by Trekkie_John
          Can't wait for this one Bob, like Paul i fancied a go at this kit.

          Have fun, John
          Originally posted by SWR
          Looking forward to this Bob:smiling3:.
          I think the airbrush needs a good clean.
          Thanks all. Paul thanks for the info, I read it in time and removed the machine gun. There is however an ammo box left on the vehicle - This could always be empty.

          In any case, this will be a massive update, as I havn't uploaded my photos for a while.

          So here we go:


          Basic construction begins

          [ATTACH]292244[/ATTACH]

          [ATTACH]292243[/ATTACH]

          [ATTACH]292245[/ATTACH]

          [ATTACH]292247[/ATTACH]

          [ATTACH]292246[/ATTACH]

          [ATTACH]292248[/ATTACH]

          [ATTACH]292249[/ATTACH]

          [ATTACH]292250[/ATTACH]

          Gap filling using Tamiya Basic Putty

          [ATTACH]292251[/ATTACH]

          For the headlights, I use Bare Metal foil on the inside of the headlight to give a more realistic look

          [ATTACH]292252[/ATTACH]


          [ATTACH]292253[/ATTACH]

          The rear was completed and all parts then primed using Tamiya Primer - Grey

          [ATTACH]292254[/ATTACH]

          [ATTACH]292255[/ATTACH]

          Tires painted Rubber Black first - Tamiya XF-85 Enamel

          [ATTACH]292256[/ATTACH]

          Canvases painted Tamiya XF-49 - these needed a bit more filling as there was a gap still present

          [ATTACH]292257[/ATTACH]

          Comment

          • Guest

            #6
            Camo painted - This took me about a month - on and off. The camo scheme is quite complicated. Colours used were Humbrol 116, Humbrol 29, Tamiya XF-1 Enamel, and a mix of Tamiya XF-55 + XF 57 Enamels for the light colour.

            [ATTACH]292258[/ATTACH]

            [ATTACH]292259[/ATTACH]

            [ATTACH]292260[/ATTACH]

            [ATTACH]292261[/ATTACH]

            Before Weathering and detailing

            [ATTACH]292262[/ATTACH]


            This was gloss coated using Pledge floor care, and left for a few days. Weathering then began. I did not want to chip the vehicle, but just have some streaking marks and have the paint look a bit faded, as in the box art. So I used Tamiya Panel liner and Vallejo Streaking grime.

            I applied the weathering before applying decals in some cases


            [ATTACH]292263[/ATTACH]


            The canvas has been weathered using Tamiya Weathering master sets, although it is not visible in the above photo, it will be seen once the kit is matte coated.

            Here it is weathered with the Tamiya Weathering sets, pretty much dry brushing with pigments


            The decals were also then washed with vallejo streaking grime


            Orange lights put in


            Interior - side view mirrors made using bare metal foil


            Here it is for now


            I hope you all enjoyed the update - luckily I still have one more update - so I didnt do it all on one go this time!


            Next I will seal the decals in with another clear coat, final matte coat, and finish off the lights, the windows and tools.


            As always, all comments welcome.

            Comment

            • Guest

              #7
              Kit was completed on Deadline day.

              [MEDIA=flickr]21GjYBx[/MEDIA]

              More pics and video coming soon.

              Comment

              • Guest

                #8
                Nice work Bob!!!!

                Comment

                • Guest

                  #9
                  Originally posted by Polux
                  Nice work Bob!!!!
                  Thanks Polux. Here is the final reveal thread with a Timelapse video as well

                  Comment

                  • papa 695
                    Moderator
                    • May 2011
                    • 22769

                    #10
                    Great work Bob

                    Comment

                    Working...