That’s looking rather fine now Dave. Good to see the old Humbrol paint in action. I’d forgotten how slow they are to use though. I guess we are spoilt with the newer acrylic formulations.
DaveCov's Airfix 1/72 Supermarine Spitfire IX (02081)
Collapse
X
-
-
Thanks Tim. :thumb2:
I am still making progress as I juggle this build with lots of others currently underway.
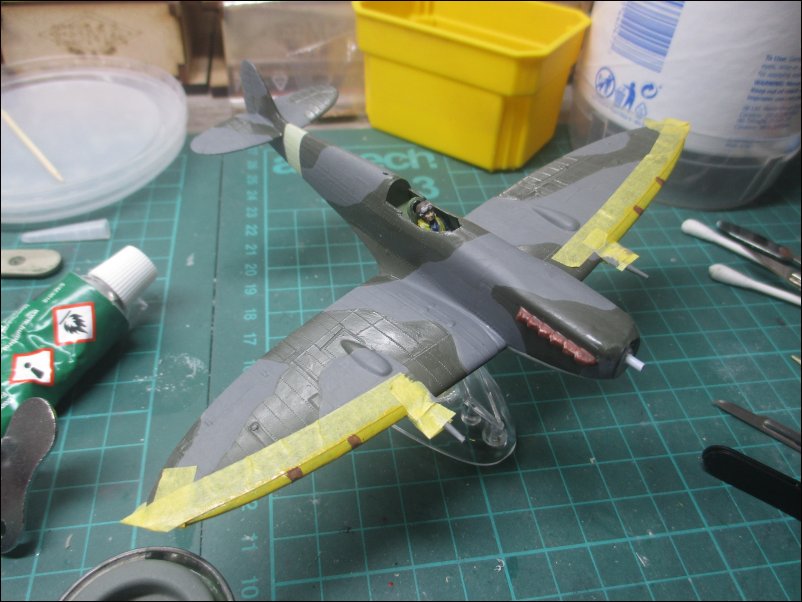
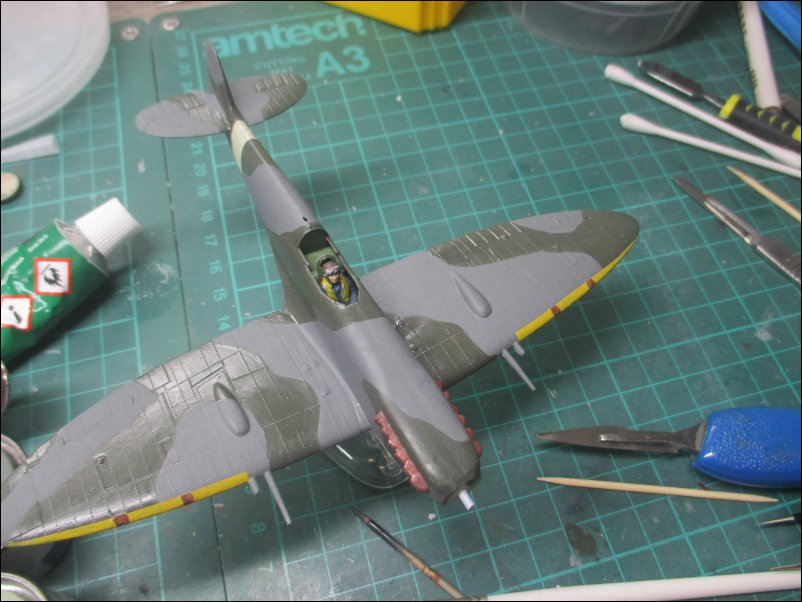
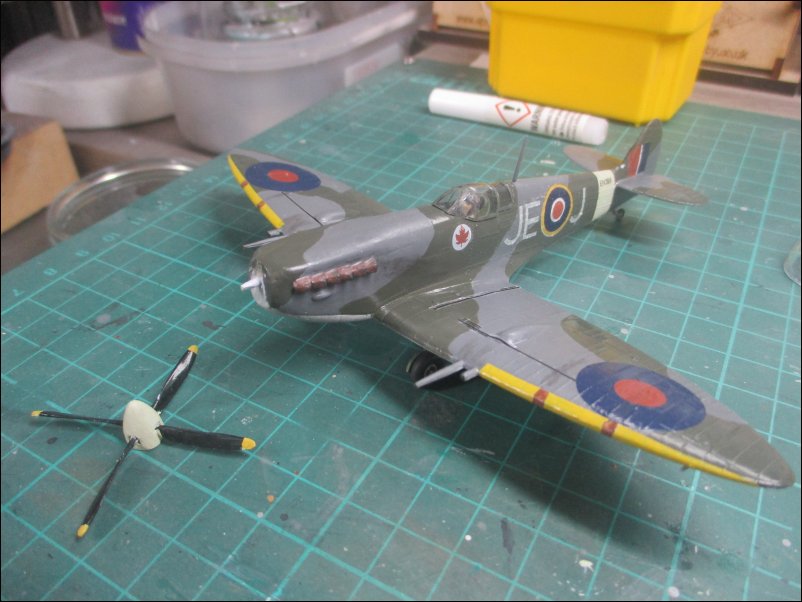
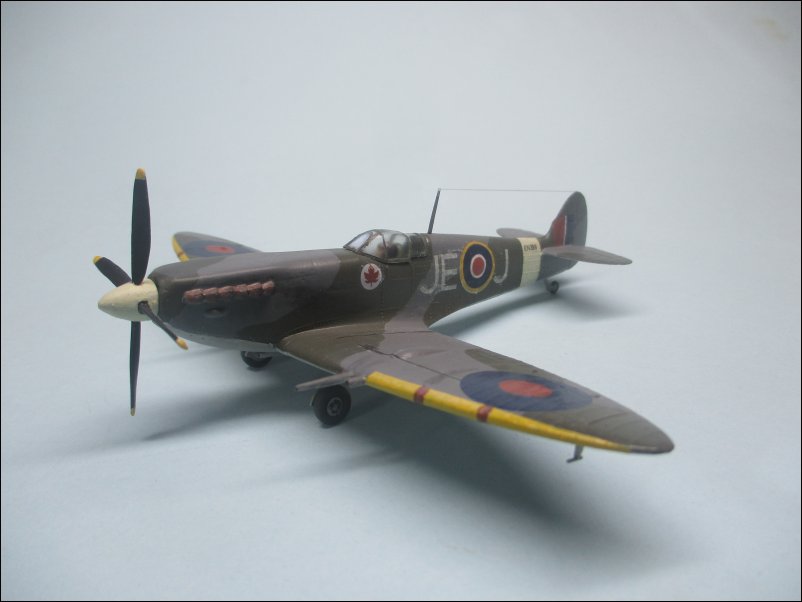
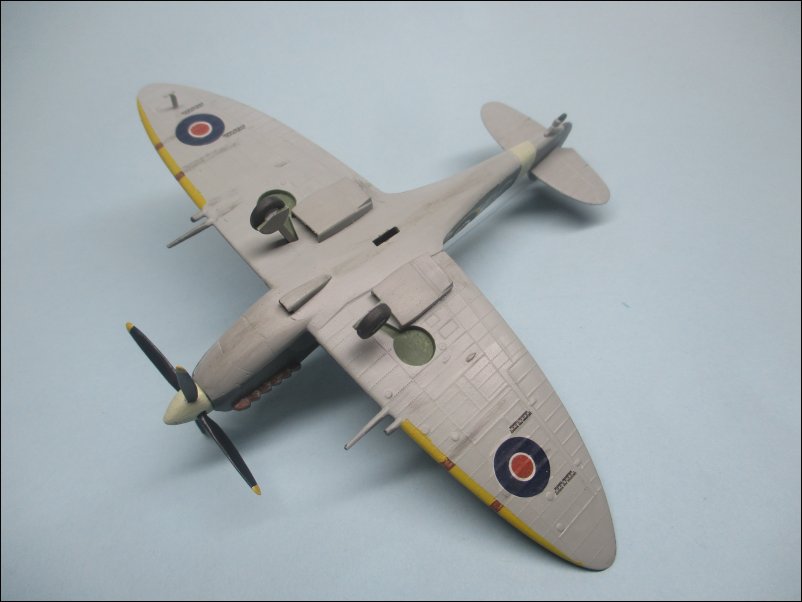
The leading edges were painted with H24 Matt Trainer Yellow. The gun ports and exhausts were painted with H70 Matt Brick Red:
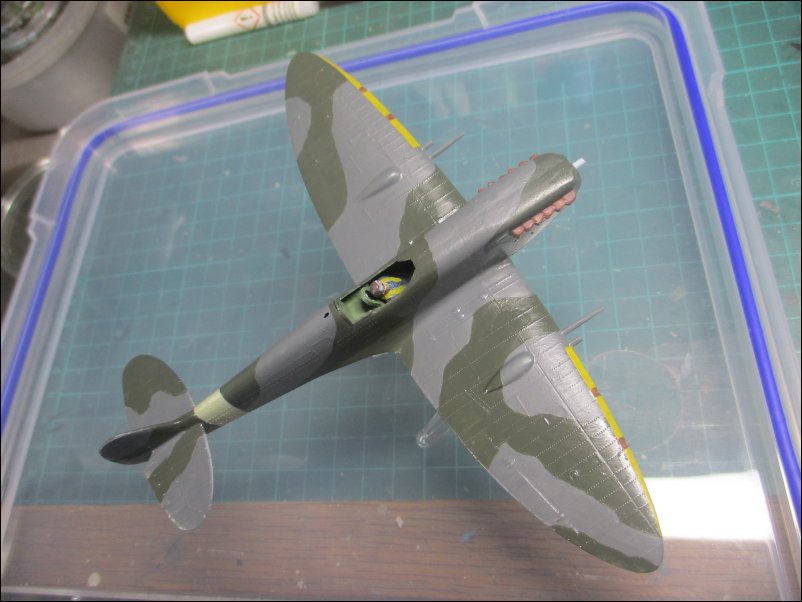
Masking tape has been removed and the next step will be to apply some Klear or gloss varnish in readiness for decalling and weathering:
That is all for now
DaveDaveCov - Founder of The Airfix Tribute Forum 2006Comment
-
Thanks Andrew. :thumb2:
My final build report now.
I brush painted a coat of Klear on in readiness for decals:
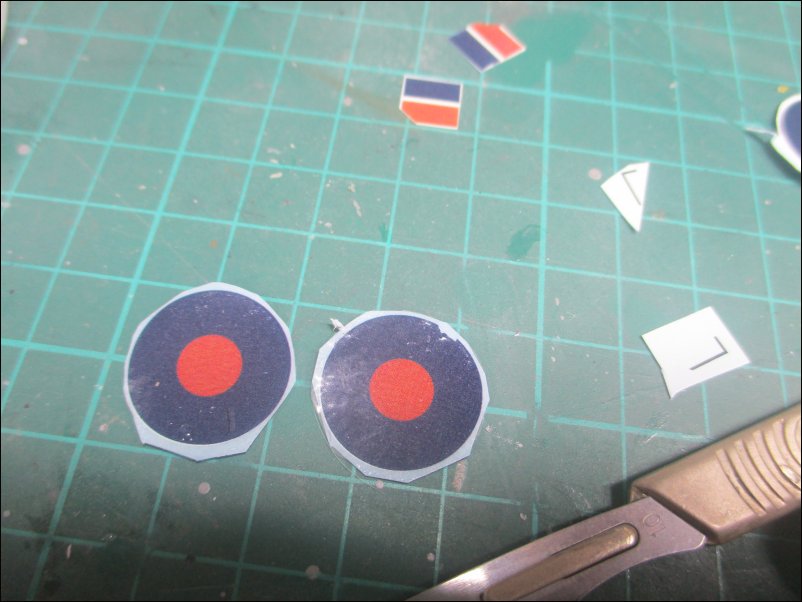
Turning to the decalling, it was a nightmare. The decals were very glossy but were stuck to the backing paper in all sorts of places. Here you can see the upper wing roundels which proved to be unusable after dunking in water. To the right are two line decals that did not have carrier film on them so I had to cover them in Microscale Liquid Decal Film:
The remaining decals turned out to be pretty useless too as the decals were off register - but that wasn't obvious before applying. The upper wing roundels are from a XtraDecal sheet. The white surround of the maple leaf decal stuck to the backing sheet and that will need to be painted later. The two right-angle decals I mentioned previously turned out to be impossible to apply:
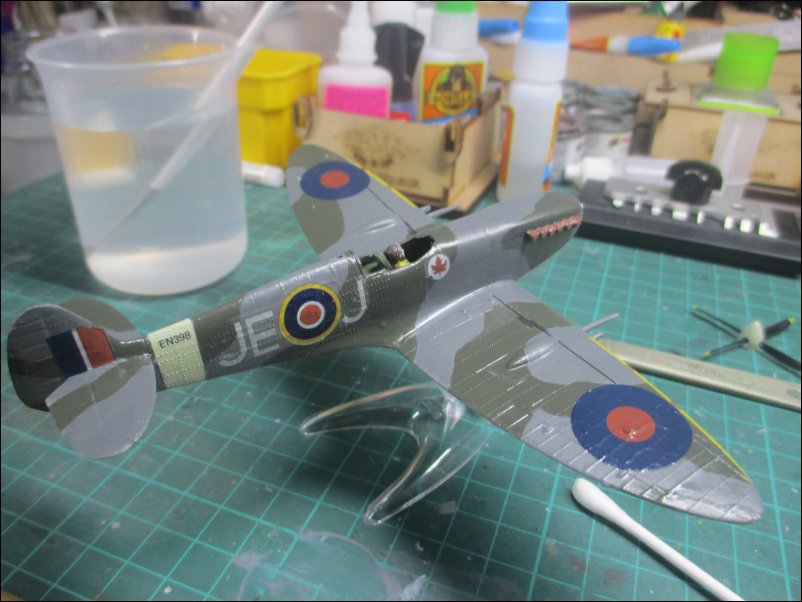
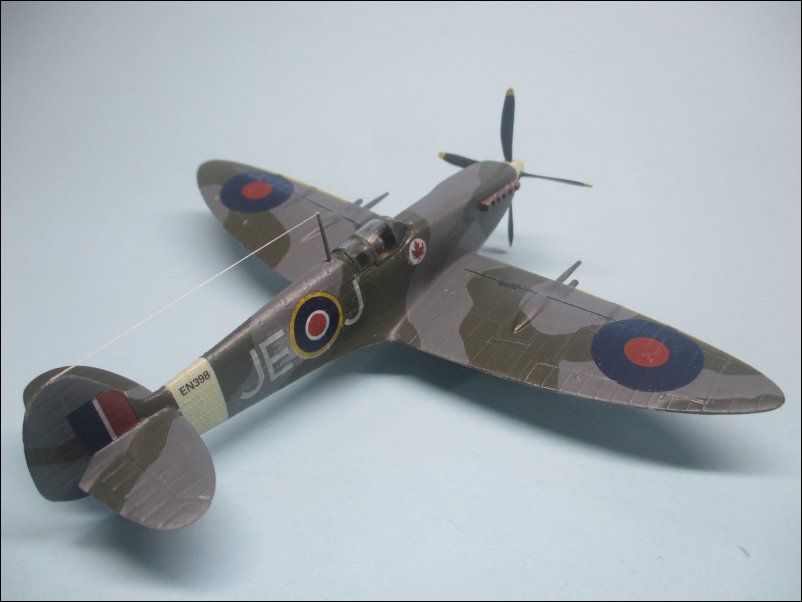
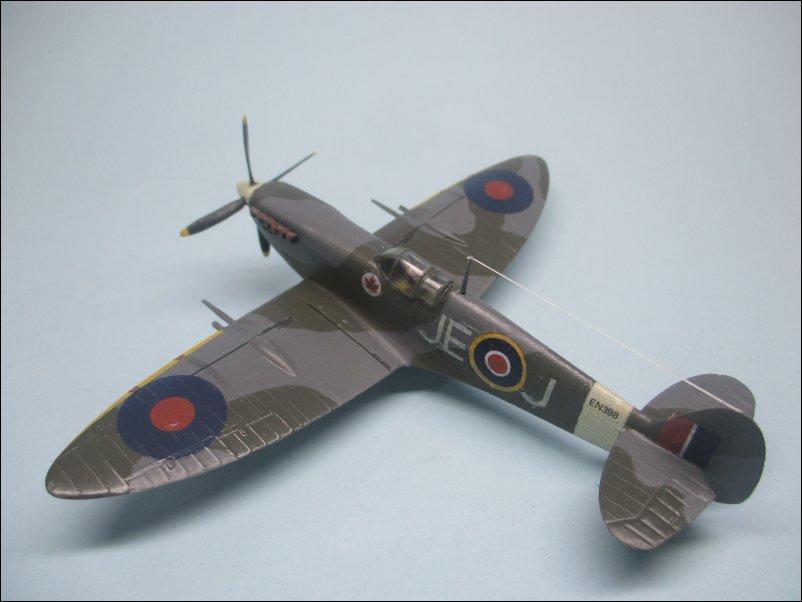
Despite the decalling nightmare, I was determined to finish the build without replacing any more decals. I fitted the main undercarriage legs having painted some detail on the wheel hubs. I painted part of the maple decal and then applied some weathering to the wings, fuselage and exhausts. I decided that the propeller boss didn't look right so I filled in the gaps underneath/behind the propeller blades with plastic card and filler. The propeller boss and blades will need painting before fitting.
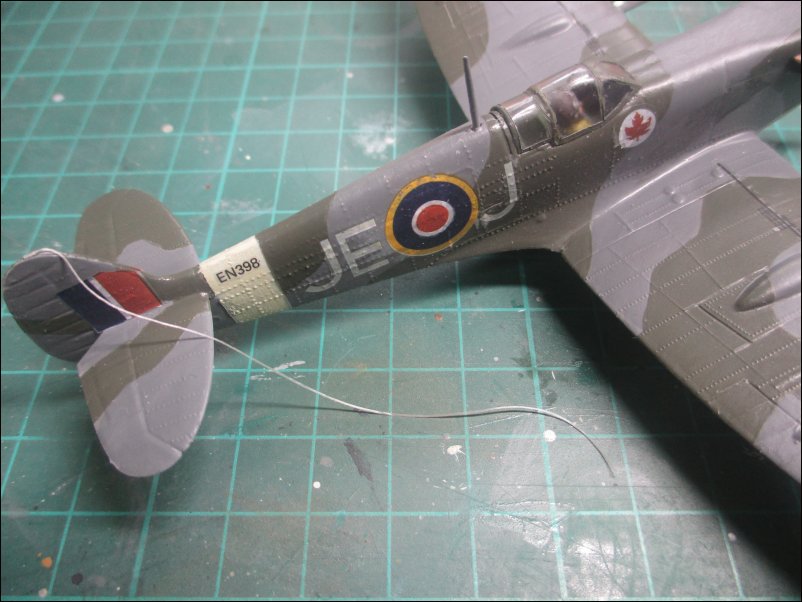
Final steps now. The Spitfire has received it's Light Sheen coat and I am now using some elasticated thread to rig the aerial:
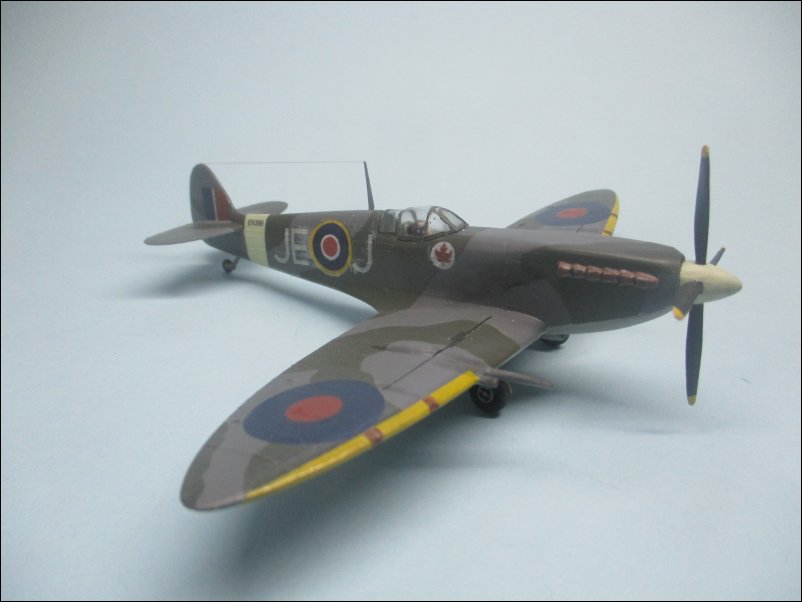
It is now finished. It is unfortunate that the decals were so lousy but even so I enjoyed building one of Airfix's golden oldies:
That is all for now
DaveDaveCov - Founder of The Airfix Tribute Forum 2006Comment
-
Well i think that looks GREAT Dave ,
,
Very nicely done indeed.... one thing i did notice is the amount of rivets along the fuselage.... my ICM Mk IX doesn`t have anywhere near that amount :thinking:,just goes to show how different manufacturers approach the same subject!
Once again Dave.... I love your build:thumb2: ,
AndyComment
-
-
Thanks Andy and Tim :thumb2:
I do have a soft spot for the old Airfix "rivet queens" but they do make the applying of decals a nightmare. Sometimes I remove all rivets but in this case I wanted an OOB build. I do have one more of these Spitfires in my stash and when I do build it there won't be any rivets left by the time decalling starts on that.
DaveDaveCov - Founder of The Airfix Tribute Forum 2006Comment
-
That looks pretty good to me Dave. Well done!
Andy you have to remember that the kit Dave has posted here is older than I am!!! lol
I think Dave said it was tooled in 1959.Comment

Comment