I realise that "iconic" is sometimes over-used but having just binge-watched all four series of Starsky and Hutch, I just had to build the "iconic" Ford Torino, also known as the "striped tomato".
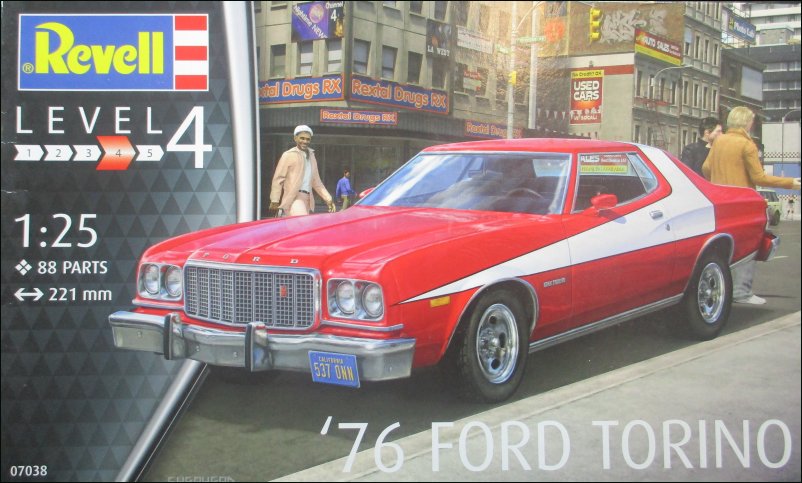
The Revell 1/25 1976 Ford Torino (07038):
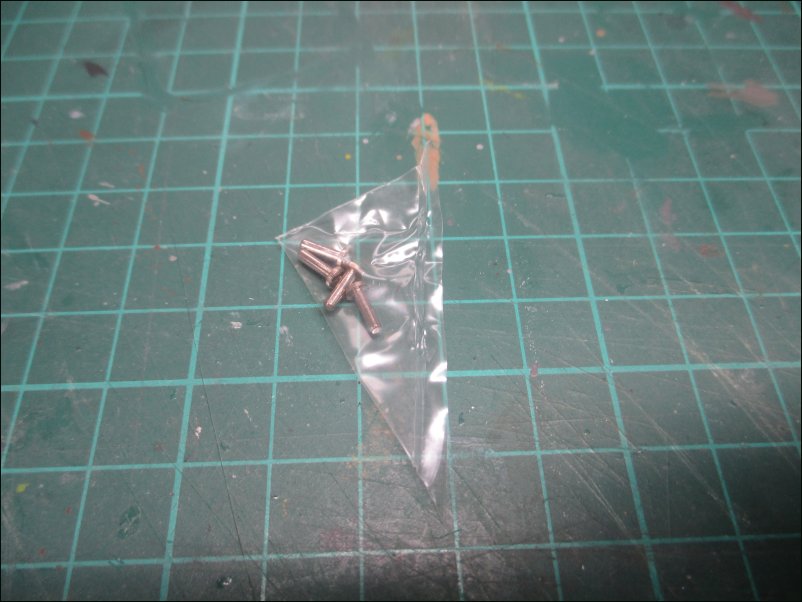
The parts are moulded in a rather brittle plastic of various colours. There are also four metal pins for attaching the wheels to the axles. These could easily be thrown away during the unpacking of the runners because they were sealed into the corner of one of the larger bags.
The bodyshell and chassis which came joined together. They were really difficult to get apart for the photo so I won't be rejoining them until the build is finished:

Floor pan and interior:

Engine, exhaust and axles:

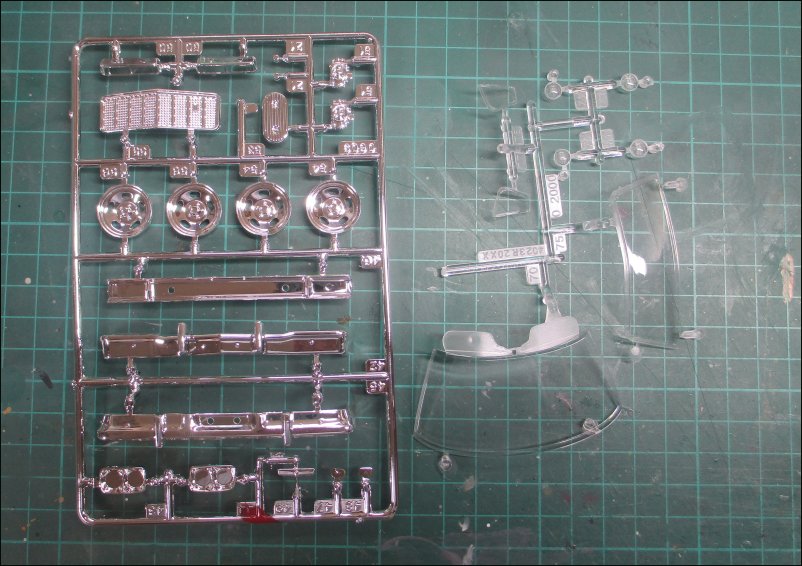
Clear parts are indeed very clear! The "chrome" parts are a bit too "chromey" for my liking and I may well remove all of the "chrome" and respray with Alcad 2 Chrome:
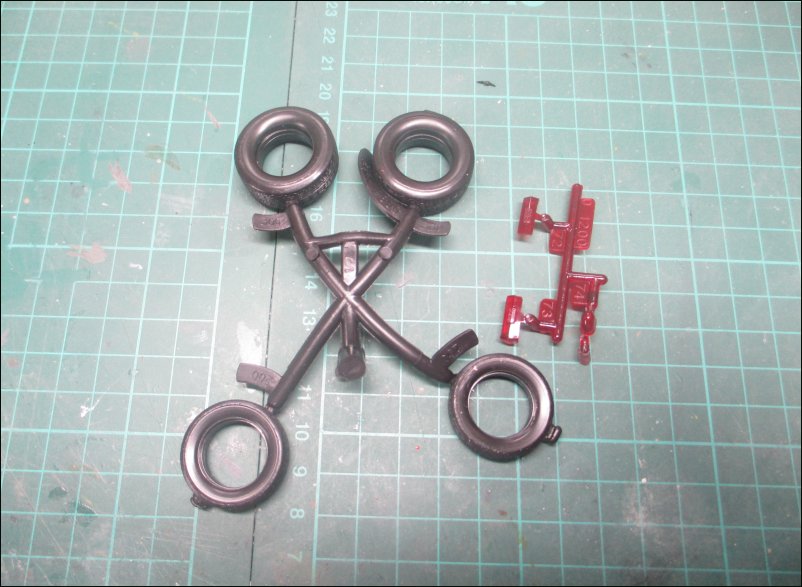
Rear light clusters are moulded in a dark ruby red and the tyres are moulded rubber ones. They were a bit out of shape having been packed inside the bodyshell:
Metal axle pins:
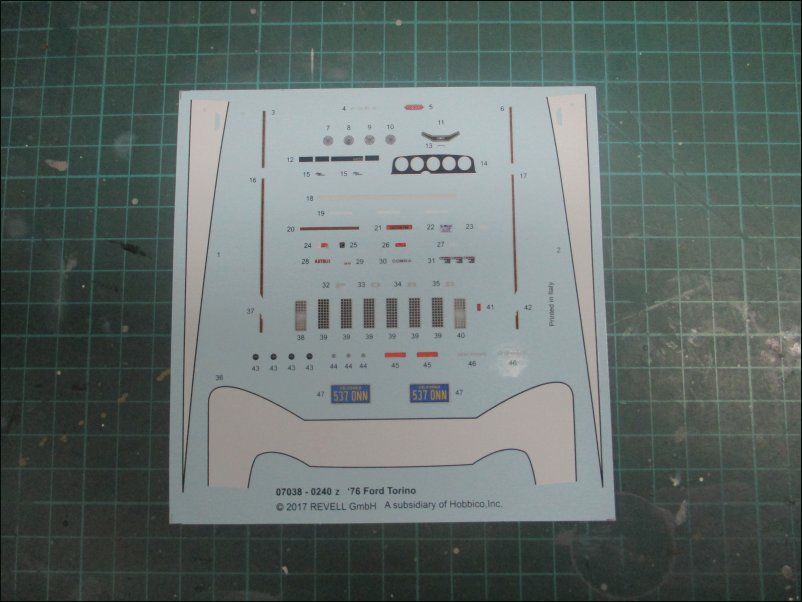
Decals are sharply printed and in register but I fear that the white striping may not be opaque enough so I may well paint some stripes and then apply the decals on top:
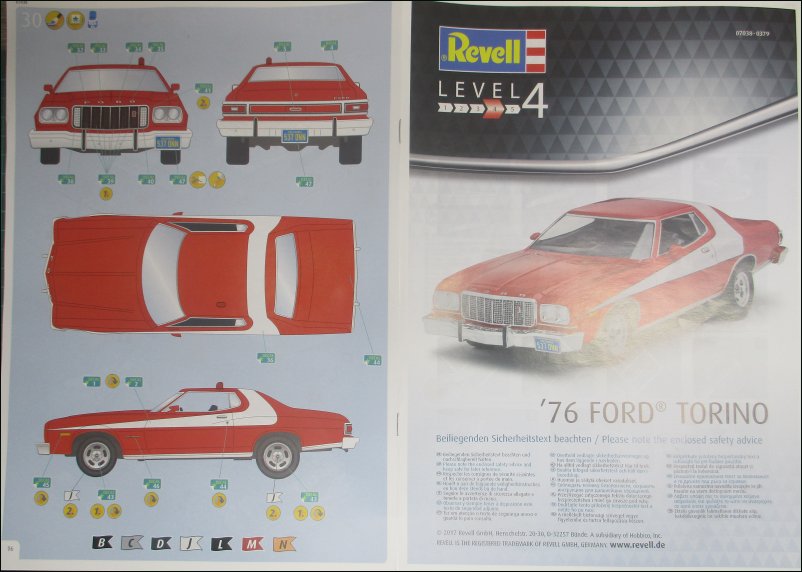
The instructions are spread over sixteen pages:
Pages 1 & 16 - Front Cover, Painting Profile:
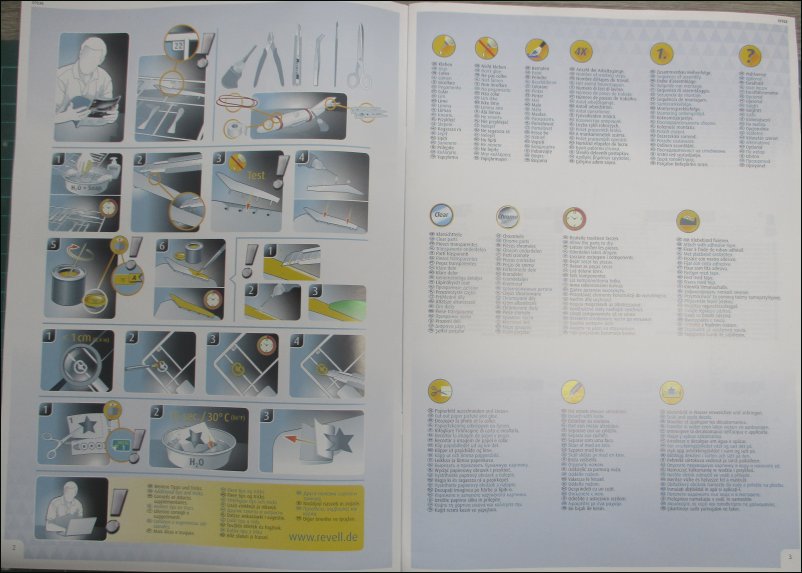
Pages 2 & 3 - Additional Tips & Tricks:
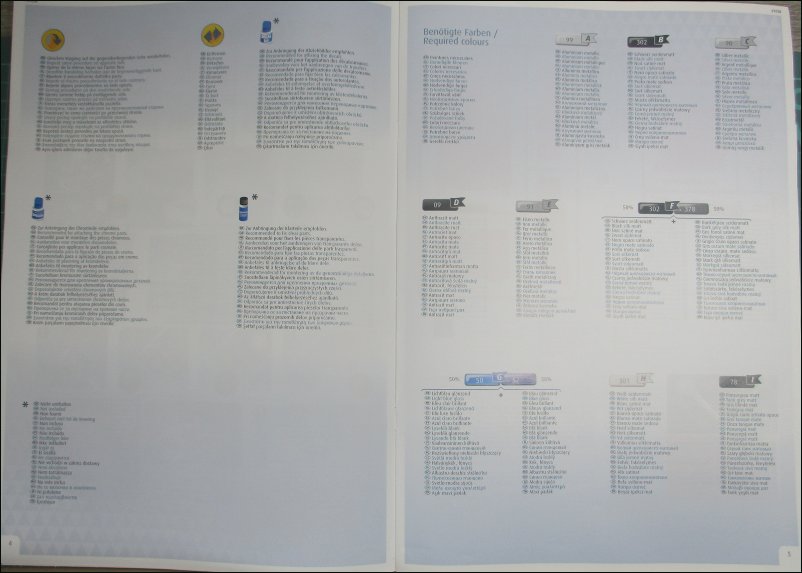
Pages 4 & 5 - Additional Tips & Tricks, Required Paint Colours:
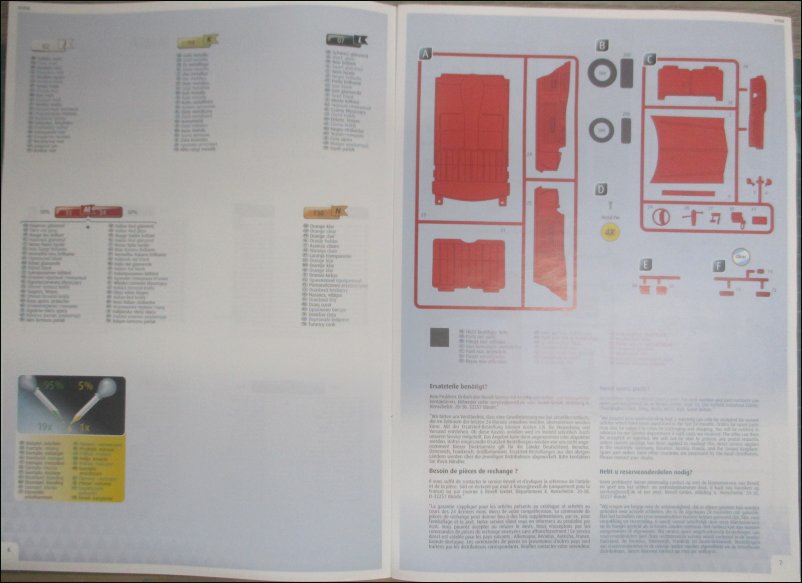
Pages 6 & 7 - Required Paint Colours, Layout of Runners A to F:
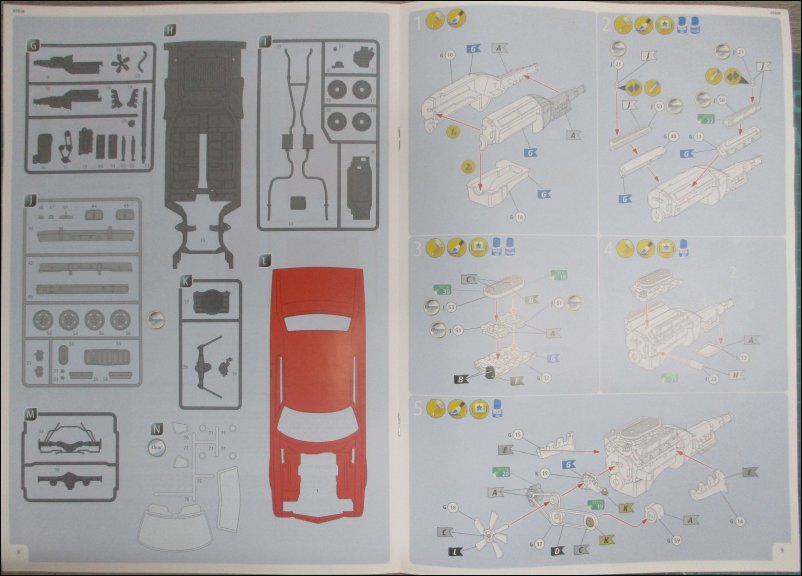
Pages 8 & 9 - Layout of Runners G to N, Assembly Instructions - Sections 1 to 5:
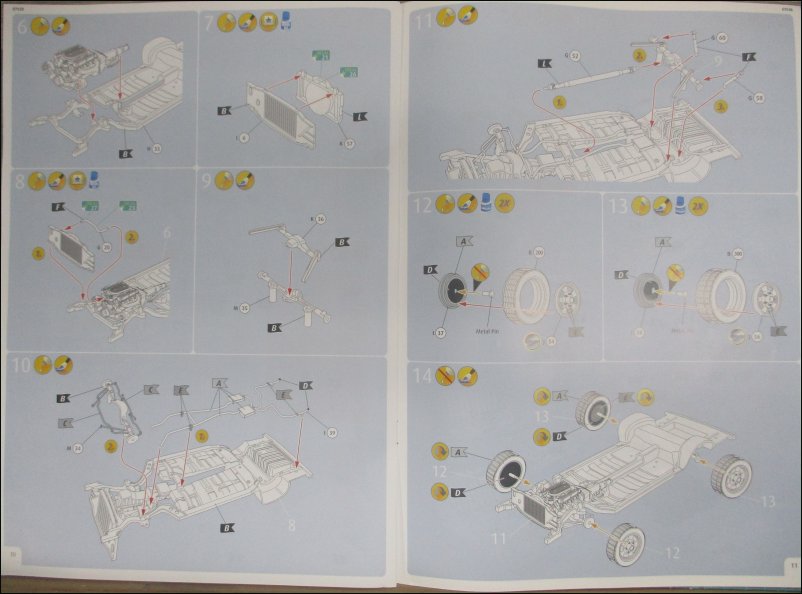
Pages 10 & 11 - Assembly Instructions - Sections 6 to 14:
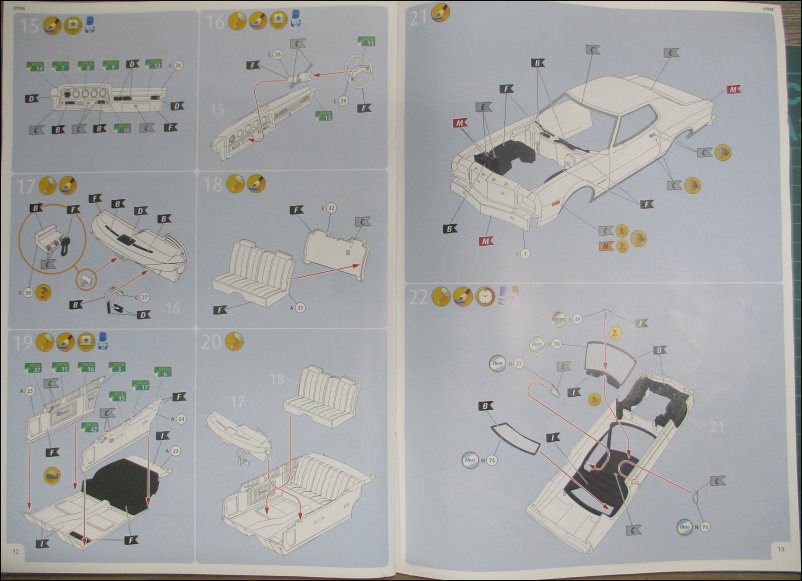
Pages 12 & 13 - Assembly Instructions - Sections 15 to 22:
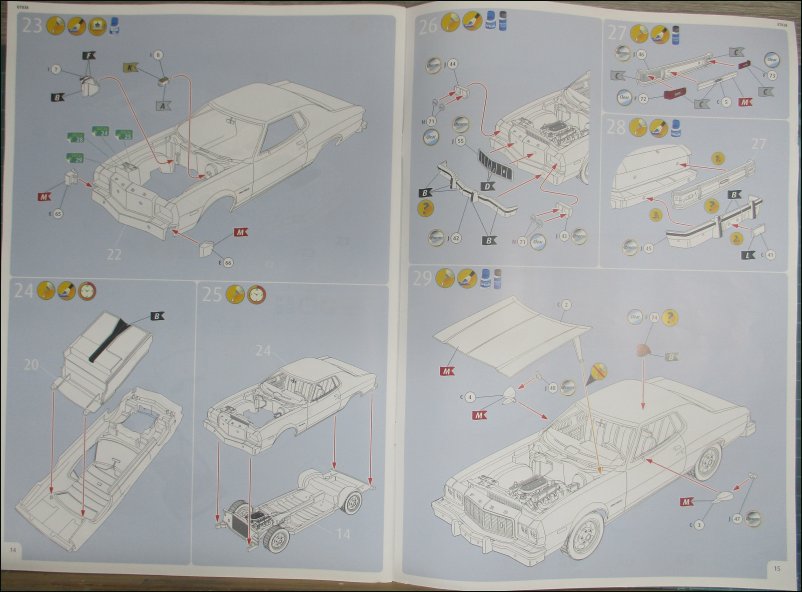
Pages 14 & 15 - Assembly Instructions - Sections 23 to 29:
That's all for now.
Dave
The Revell 1/25 1976 Ford Torino (07038):

The parts are moulded in a rather brittle plastic of various colours. There are also four metal pins for attaching the wheels to the axles. These could easily be thrown away during the unpacking of the runners because they were sealed into the corner of one of the larger bags.
The bodyshell and chassis which came joined together. They were really difficult to get apart for the photo so I won't be rejoining them until the build is finished:

Floor pan and interior:

Engine, exhaust and axles:

Clear parts are indeed very clear! The "chrome" parts are a bit too "chromey" for my liking and I may well remove all of the "chrome" and respray with Alcad 2 Chrome:

Rear light clusters are moulded in a dark ruby red and the tyres are moulded rubber ones. They were a bit out of shape having been packed inside the bodyshell:

Metal axle pins:

Decals are sharply printed and in register but I fear that the white striping may not be opaque enough so I may well paint some stripes and then apply the decals on top:

The instructions are spread over sixteen pages:
Pages 1 & 16 - Front Cover, Painting Profile:

Pages 2 & 3 - Additional Tips & Tricks:

Pages 4 & 5 - Additional Tips & Tricks, Required Paint Colours:

Pages 6 & 7 - Required Paint Colours, Layout of Runners A to F:

Pages 8 & 9 - Layout of Runners G to N, Assembly Instructions - Sections 1 to 5:

Pages 10 & 11 - Assembly Instructions - Sections 6 to 14:

Pages 12 & 13 - Assembly Instructions - Sections 15 to 22:

Pages 14 & 15 - Assembly Instructions - Sections 23 to 29:

That's all for now.
Dave


Comment