
-
-
Looking good Andy. Hope you feel better soon as well.Comment
-
Wow, I missed this build. Nice work Andrew, agree with the others, primer looks the business.Comment
-
Looking really good Andrew. And like everyone says, a very smooth finish on the primer.Comment
-
Just catching up with your build Andrew :thumb2:
Nice cockpit details and good scratch work, you now the missing part is bound to turn up anytime now :tears-of-joy:
Geoff.Comment
-
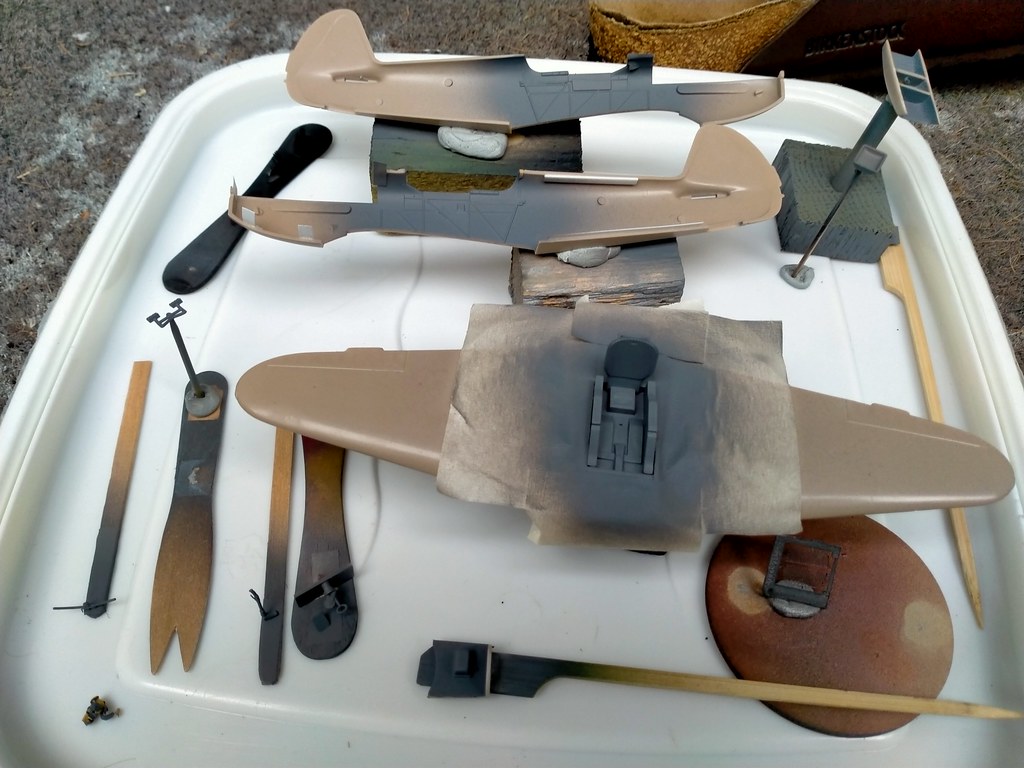
OK chaps...so the base paint blotches are on.
As it a blue and grey paint scheme I simply used the underside AMT-7 Light blue for them.
Although this is only the 6th plane I have done using the black basing technique, I love it. Given that you can vary the size and density of the blotches and then how much paint you lay down over the top, they is a huge range of effects you can achieve.
Although it wasn't my intention, I seem to have done tighter, denser blotches on the underside and larger ones with less definition on the top. It will be interesting to see how they turn out.
This was also my first time using AK 3rd Gen and although I still need to have a play around, I was quite pleased with how it worked.
ACW as usual.
Andrew


Comment
-
Thanks chaps! Glad you're liking it. I was pleased with how smooth the primer went down, very pleased indeed!
Tim - feeling better thanks. Just a cold, nothing major just left me feeling very tired.
Geoff - of course it will....probably in about a year! I just have to hope now that the scratch one fits ok!! :cold-sweat:
Thanks again all
ATB
AndrewComment
-
Glad you are feeling better Andrew, hate this time of the year for infections etc .
Your doing well , like the replacement support , nice .Comment
-
Just seen this one Andrew, some cracking work going on.Comment
-
Nice work andrew , the cockpit looks great and the scratched undercarriage link is excellent . Looking forward to the paint going on , cheers tonyComment
-
Hi all
So Monday evening, I manage to get the blue underside down but not had the chance to post a picture before. As with previous builds, I've kept the mottling fairly subtle.
Apologies but it was taken in a rush, so is not the best shot.
I've actually just finished applying the top side camo but it is drying at the moment.
ACW as usual!
ATB
Andrew

Comment
-
Paintwork is looking great Andrew :thumb2:Comment


Comment