Scale Model Shop

Collapse

Andrews's 1/48 Eduard ProfiPACK Yak-3

Collapse
X
 
  • Time
  • Show
Clear All
new posts
  • adt70hk
    SMF Supporters
    • Sep 2019
    • 10419

    #1

    Andrews's 1/48 Eduard ProfiPACK Yak-3

    Good evening all

    So given this is mine and Kar's GB, it is with some embarrassment I finally join the rest of you that have started out so quickly!

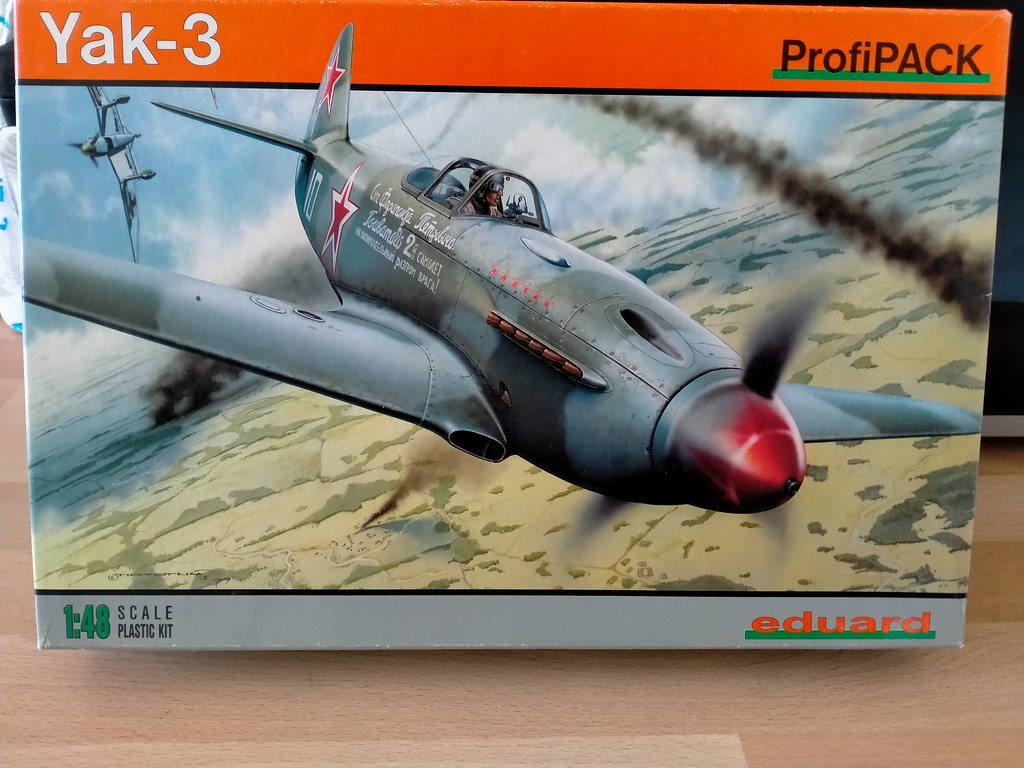
    So this is the first Eduard kit I have ever built, which of course makes it the first ProfiPACK kit too.

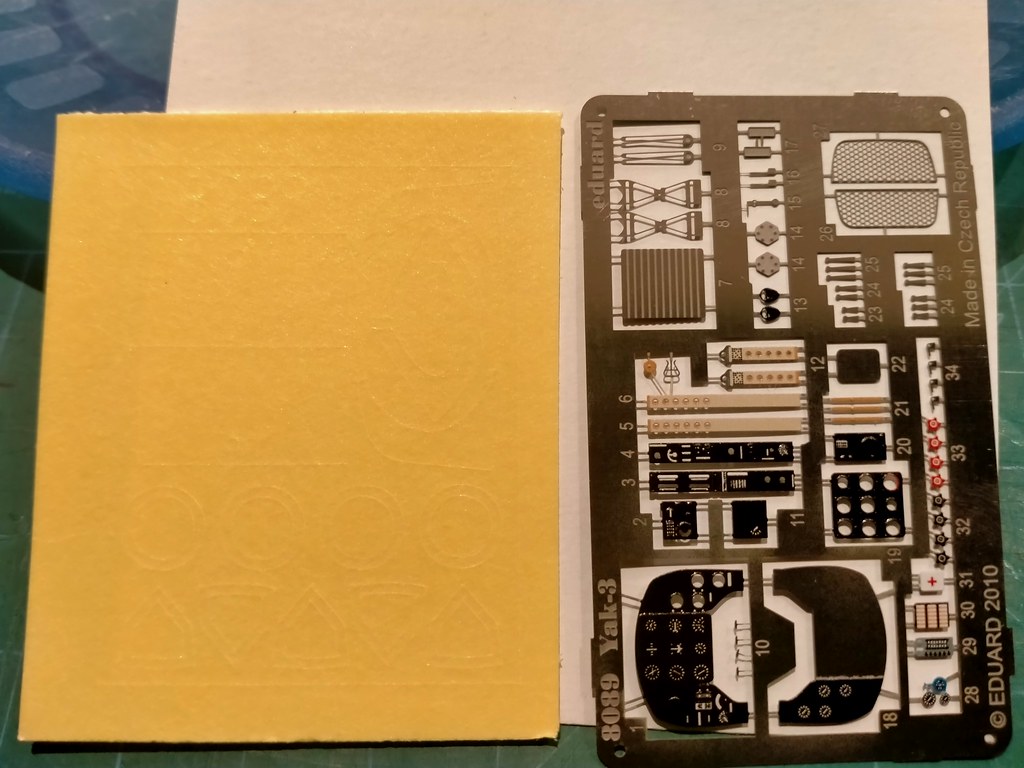
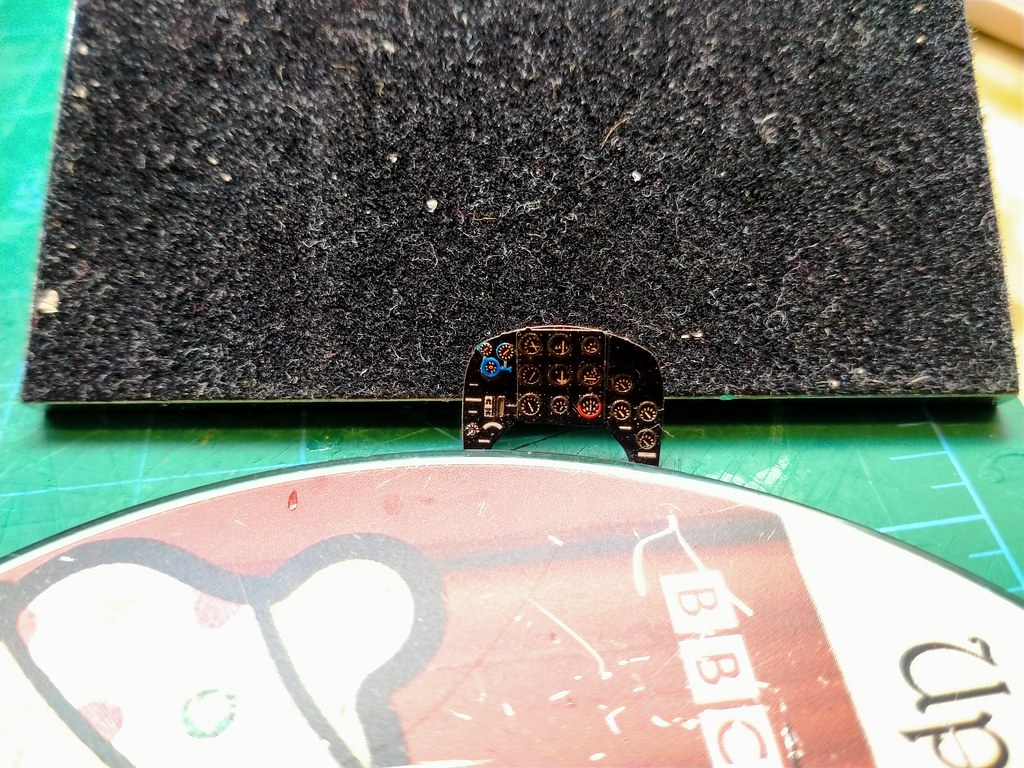
    I had intended to a Weekend edition as my first Eduard kit but all the planes in the stash that fitted the bill were ProfiPACKs, so this will be a baptism of fire with all that nice PE!!

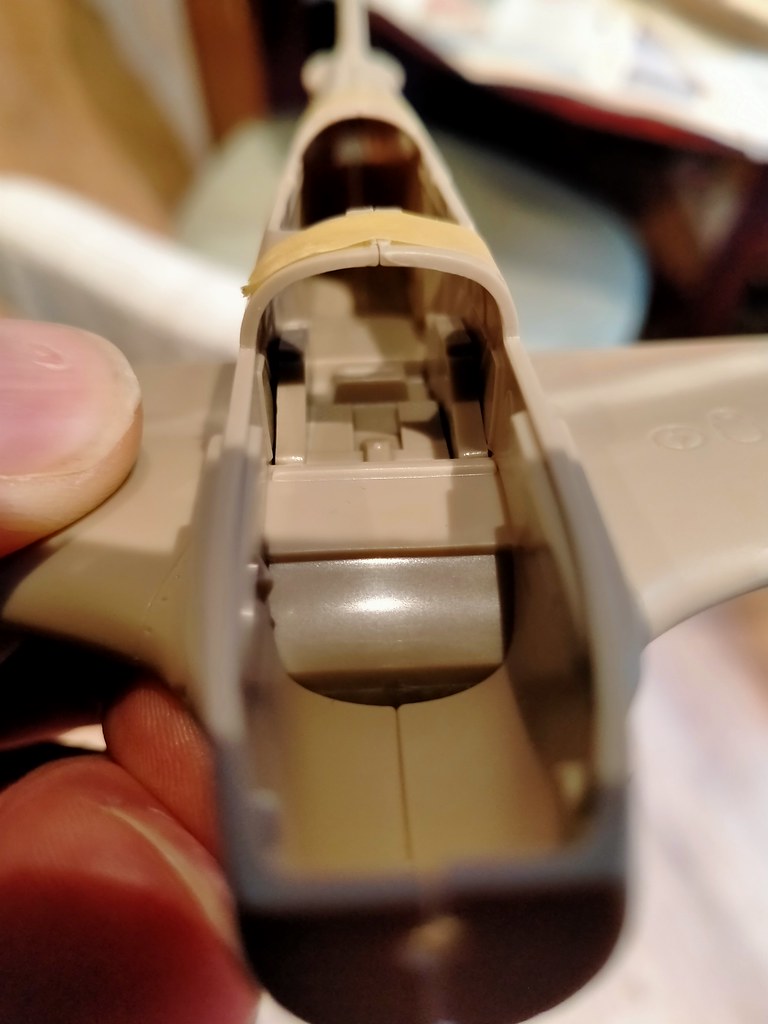
    The kit itself is a 2011 reboxing of a 1998 tooling and aside from no locator pins (I understand this was a mark of early Eduard kits), it has gone together well so far. A loose dry fit of the taped up fuselage shows it is a MUCH better fit than the Raiden, although the instructions are not clear on a couple of points

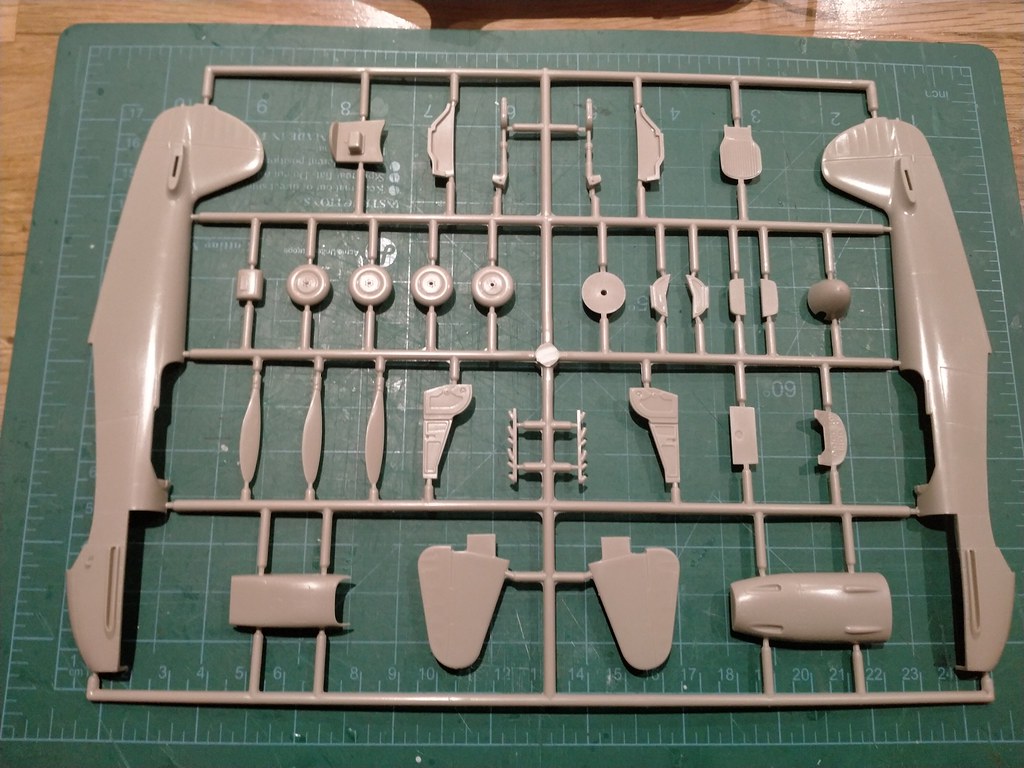
    Luckily it only has 53 parts, so PE aside it should hopefully be reasonably straight forward. It's obviously not up there with their latest offerings but it looks ok to my eyes on the sprue.

    ATB

    Andrew


    ------------------------------------------------------


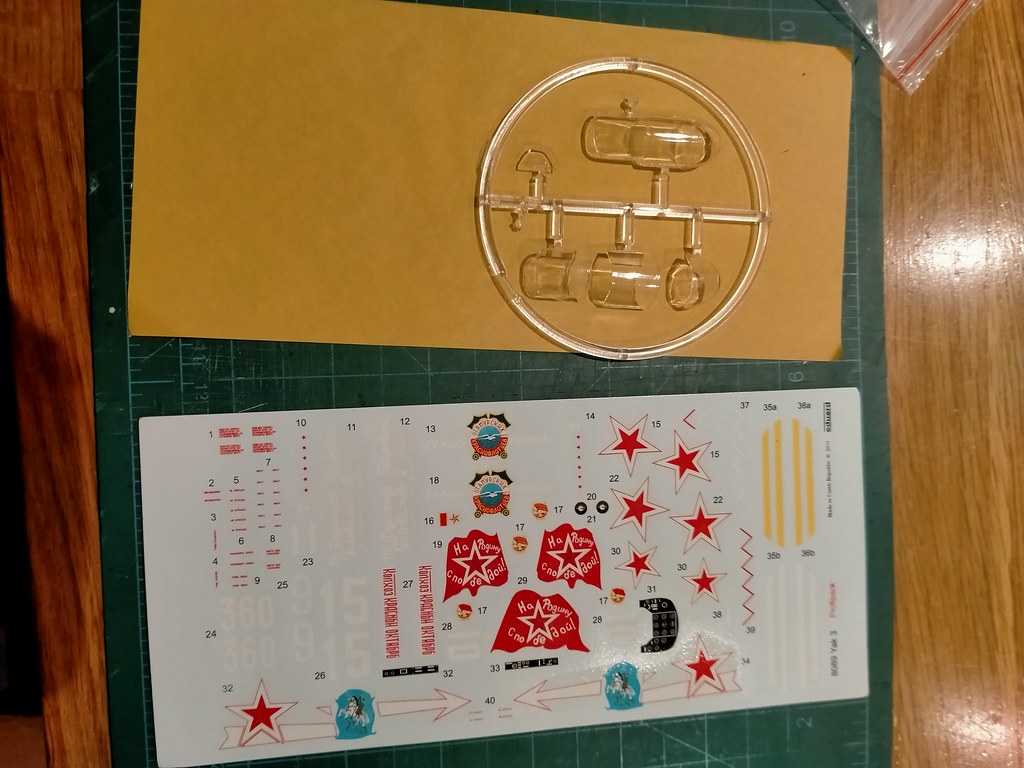
    The obligatory box art and other shots!


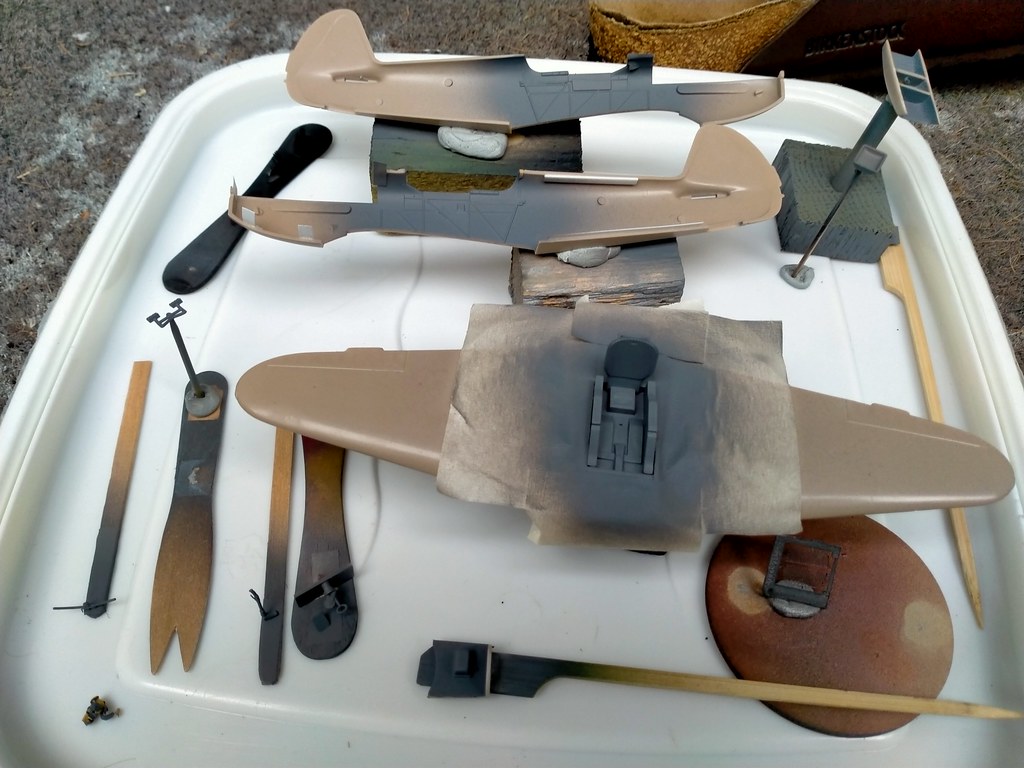
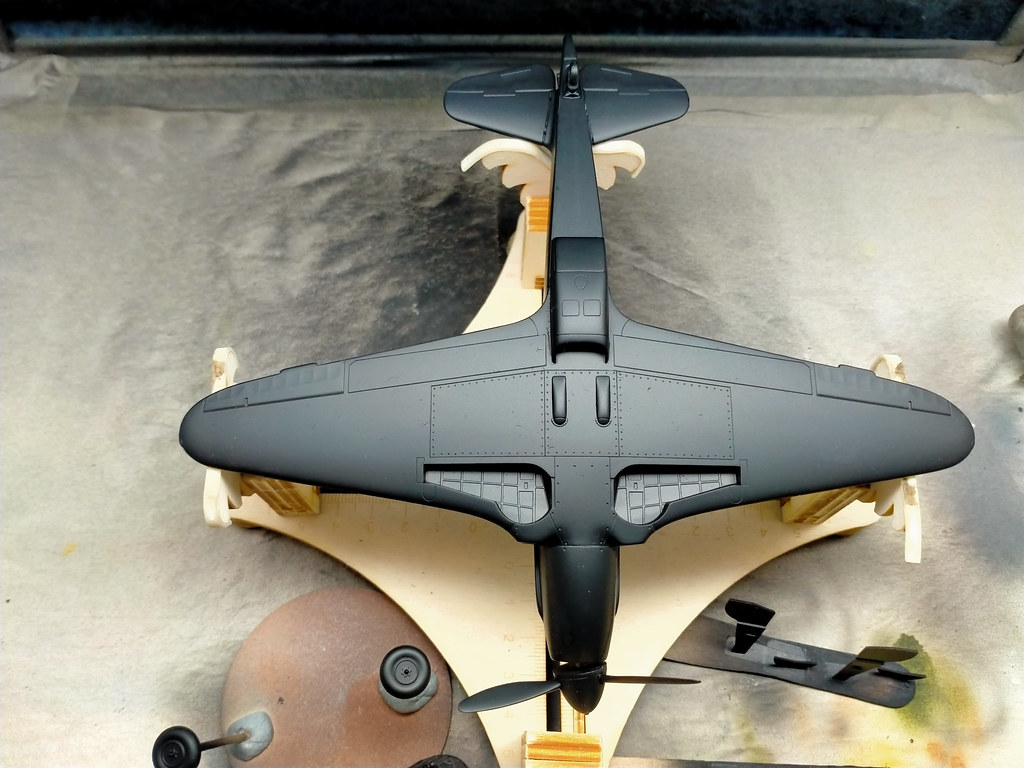
    So this was as far as I got at model club on Tuesday night.


  • Geoffers
    SMF Supporters
    • Jan 2017
    • 1711
    • Geoff
    • Shropshire

    #2
    Good start Andrew :thumb2:

    Geoff.

    Comment

    • Tim Marlow
      SMF Supporters
      • Apr 2018
      • 18925
      • Tim
      • Somerset UK

      #3
      Nice start on a good looking aircraft. Fit looks really good so far. Are the wings now on? Just wondered because painting the cockpit floor and side walls might be a bit awkward now.

      Comment

      • adt70hk
        SMF Supporters
        • Sep 2019
        • 10419

        #4
        Originally posted by Geoffers
        Good start Andrew :thumb2:

        Geoff.
        Thanks Geoff!

        Originally posted by Tim Marlow
        Nice start on a good looking aircraft. Fit looks really good so far. Are the wings now on? Just wondered because painting the cockpit floor and side walls might be a bit awkward now.

        Thanks Tim. Looks ok doesn't it.

        As for the fuselage, whilst I don't mind a challenge (my Raiden being an example), I am not complete masochist! :smiling5:

        The instructions were slightly ambiguous for the pieces that come up from fuselage floor. The only way to work it out was to tape the fuselage together and slot it in place.

        Turned out that I initially had them in the wrong place and even in the right place they're angle in slightly due to the curve of the cockpit wall (see below). Glad I did the test whilst the glue was still setting otherwise it would have proved a real problem come assembly time!

        As you see even with it only taped together it does fit nicely, so it bodes well for the future!

        ATB

        Andrew

        Comment

        • adt70hk
          SMF Supporters
          • Sep 2019
          • 10419

          #5
          Good morning all

          So I managed to get some primer on for the cockpit areas at the weekend and then got the base coat down - albeit I did it twice as I wasn't quite happy with the colour.

          In terms of the 'correct' colour, knowing nothing about Soviet colours my initial research discovered Yak-3 cockpits "should" be AKAN A-14, a mid-grey. A couple of website suggest Humbrol 27 or 140 as close-ish matches. Vallejo 70.992 Neutral Grey is not that far off Humbrol 27.

          However, the instructions call for a yellow colour, which I discovered was the primer which should but was not always used - apparently - see here.

          In the the end I plumped for a mix of Vallejo 70.992 Neutral Grey and Vallejo 71.259 Violet Grey RLM 75....it looks ok to my eye.

          For bare PE I have used good old Halfords rattle can car primer....Vallejo primer can be a bit iffy on PE. The air intake grills got a coat of Vallejo's Metal Colour 77.712 Steel. If anyone is after a water based metallic paint, these are simply outstanding and spray beautifully!

          All comments welcome as usual!

          Andrew


          --------------------------------------------------------------------------------------------

          For some reason the way the light catches the cockpit area has wiped out all the detail but it is there.


          Comment

          • Mickc1440
            SMF Supporters
            • Apr 2018
            • 4779

            #6
            Nice progress Andrew

            Comment

            • adt70hk
              SMF Supporters
              • Sep 2019
              • 10419

              #7
              Originally posted by Mickc1440
              Nice progress Andrew
              Thanks Mick......PE next....... :cold-sweat: :cold-sweat: :cold-sweat:

              Comment

              • yak face
                Moderator
                • Jun 2009
                • 13842
                • Tony
                • Sheffield

                #8
                Great start andrew , I found the same slightly ambiguous fit of the side consoles too , the instructions arent that clear are they ? I ended up doing the same as you and fitting them ,then putting the taped up fuselage over the top while the glue was still soft , to make sure they werent fouling the cockpit sides.. cheers tony

                Comment

                • adt70hk
                  SMF Supporters
                  • Sep 2019
                  • 10419

                  #9
                  Originally posted by yak face
                  Great start andrew , I found the same slightly ambiguous fit of the side consoles too , the instructions arent that clear are they ? I ended up doing the same as you and fitting them ,then putting the taped up fuselage over the top while the glue was still soft , to make sure they werent fouling the cockpit sides.. cheers tony
                  They're not great are they Tony, albeit in their defence after I put the post up I found a little insert shot that I missed that would have made life much easier if I had seen it! :sad:

                  Comment

                  • adt70hk
                    SMF Supporters
                    • Sep 2019
                    • 10419

                    #10
                    Greetings all

                    Firstly, apologies for not being around much recently, it has been hard to find decent forum time recently, plus I’m currently under the weather, so apologies for missing soooooooo much great work!!

                    Any way enough waffle……this build has been plodding on and is finally buttoned up and primed but not without some issues:
                    • Ambiguous instructions caused a few issues;
                    • Having cut the rudder pedals off the sprue at Club night, I could not find them ANYWHERE when it came time to fit them but at least they’re not visible;
                    • One of the undercarriage parts was missing from the sprue when I went to cut it off…..no idea what happened….fortunately, it’s not a major structural piece and I was able to fashion a reasonable looking replacement from thin styrene rod;
                    • The PE first aid box cover pinged off without me noticing when I tried my first test dry fit of the taped together fuselage;
                    • Another test dry fit also broke the rest that the rear glass screen (I assume bullet proof) sits on, fortunately some judicious use of TET sorted that out;
                    • Above dry test fits damaged some of the PE that I had fitted to the cockpit, which was looking quite nice;
                    • As a result of the damage to the PE during the dry-fits, I decided that trying to join up the two fuselage halves and fit them over the cockpit as per the instructions was not worth the risk. Therefore, I slid each half from the side but that made it harder to get a nicely aligned and clean fuselage join and so some filling and sanding was required.


                    BUT…………………..

                    By far and away the worst issue was the PE IP panel:
                    • Front part = nice fold lines giving nice sharp creases;
                    • Back part = no fold lines, leaving small curves making it tricky to line up and join the two parts properly;
                    • BUT the worst part was that it was 1-2mm too tall……..making it impossible to fit into the cockpit as per the instructions.
                    • I thought I was going mad I really did. But I spotted the issued when I lined it up against the plastic one…after a LOT of faff, including trying to cut a bit off the bottom of the PE IP, I just went with the plastic one and the decal IP.


                    Clearly some of the issues above were my fault but the IP panel fit was truly awful and no matter what way I look at it, I don’t think I did anything wrong. The IP issue also dented my enthusiasm a bit and so rather than plough on an screw it up completely, I put it to once side until I had calmed down a bit.

                    That said in having to repair some of the above problems, it allowed me to correct some issues of my own making!

                    ACW welcome as usual.

                    Andrew

                    PS….there were some things the cockpit instructions called for that I could not be faffed with, as they will never have been seen and/or were virtually impossible to achieve!

                    -----------------------------


                    The cockpit and IP before it started to go wrong….


                    All buttoned up….still not sure quite how much you will see!


                    New undercarriage part…..
                    I traced the outline in pen from the remaining one to help….it’s not perfect but given where it is, it’s not going to be on show much!


                    Primed and ready to go, once it has fully cured!
                    Prop is obviously just pushed in place for the photos


                    Comment

                    • scottie3158
                      SMF Supporters
                      • Apr 2018
                      • 14214
                      • Paul
                      • Holbeach

                      #11
                      Andrew,
                      This is looking very nice mate the office and replacement leg look superb.

                      Comment

                      • stillp
                        SMF Supporters
                        • Nov 2016
                        • 8096
                        • Pete
                        • Rugby

                        #12
                        That primer looks really smooth.
                        Pete

                        Comment

                        • Andy T
                          SMF Supporters
                          • Apr 2021
                          • 3239
                          • Sheffield

                          #13
                          Well I popped in hoping you were having more luck than I am but it seems not!

                          It's all looking splendid though, and I agree with Paul, brilliant scratch work on the strut.

                          Comment

                          • adt70hk
                            SMF Supporters
                            • Sep 2019
                            • 10419

                            #14
                            Originally posted by scottie3158
                            Andrew,
                            This is looking very nice mate the office and replacement leg look superb.
                            Scottie, thanks for the support, it's not turned out too badly has it?!?

                            Originally posted by stillp
                            That primer looks really smooth.
                            Pete
                            It does look like smooth doesn't it, almost glass like! I use Vallejo primer as that's all I have at the moment and it has a slight sheen to it, so when you put under a bright light it reflects far more than a matt one does!! Will have to remember that trick for next time!!

                            Originally posted by Andy T
                            Well I popped in hoping you were having more luck than I am but it seems not!

                            It's all looking splendid though, and I agree with Paul, brilliant scratch work on the strut.
                            Thanks Andy! I think though you're still ahead in the frustration stakes...unfortunately.

                            The strut has turned out ok hasn't is....sods law meant I had 0.8mm and 1.5mm rod but need 1mm...so, I went with the 0.8mm. I'm just glad it is actually just for show and all the weight is taken by the main undercarriage leg!!


                            Thanks again chaps!!

                            ATB

                            Andrew

                            Comment

                            • Jostro65
                              • Mar 2021
                              • 57

                              #15
                              Looks great, all that work in the cockpit, although mostly not seen, just satisfying knowing it's there. Gonna be a beauty,nice one.

                              Comment

                              Working...