Scale Model Shop

Collapse

DaveCov's Airfix 1/72 Yakovlev Yak-9D (01034-6)

Collapse
X
 
  • Time
  • Show
Clear All
new posts
  • davecov
    SMF Supporters
    • Jul 2014
    • 831
    • Dave
    • Stow, Scottish Borders

    #1

    DaveCov's Airfix 1/72 Yakovlev Yak-9D (01034-6)

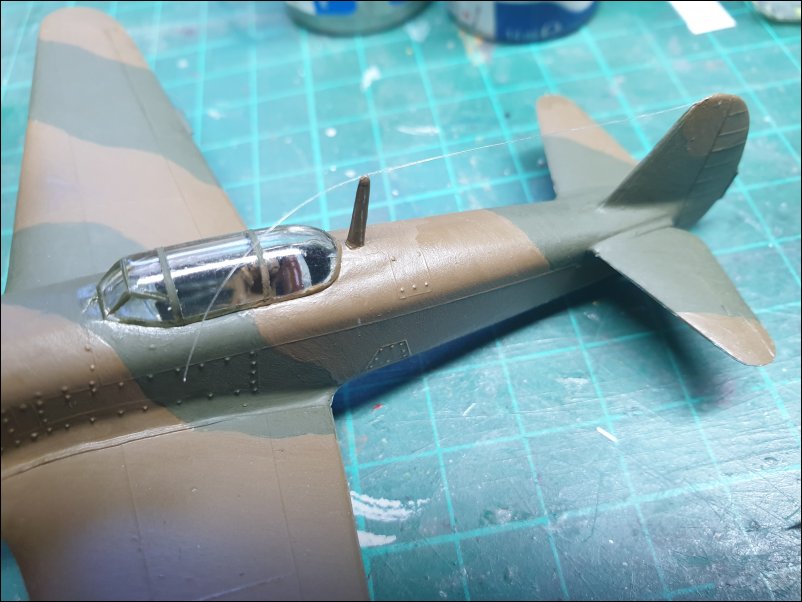
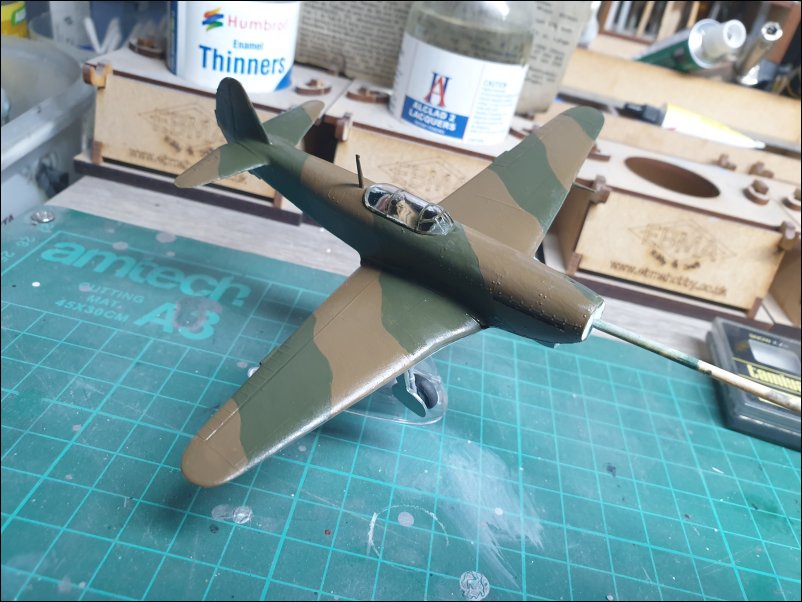
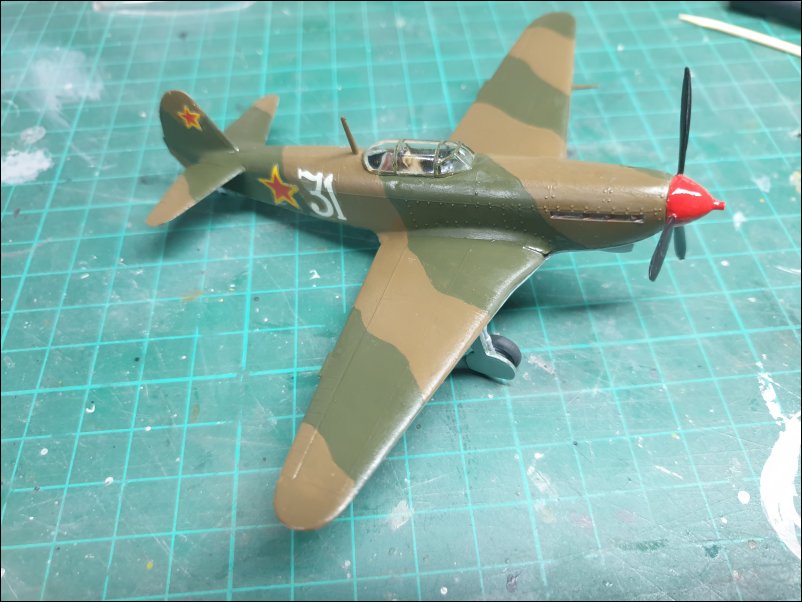
    Here is my third entry for the 2023 Karl & Andrew Soviet Wingy Thing GB, the Airfix 1/72 Yakovlev Yak-9D (01034-6). My thanks to them for hosting this GB.

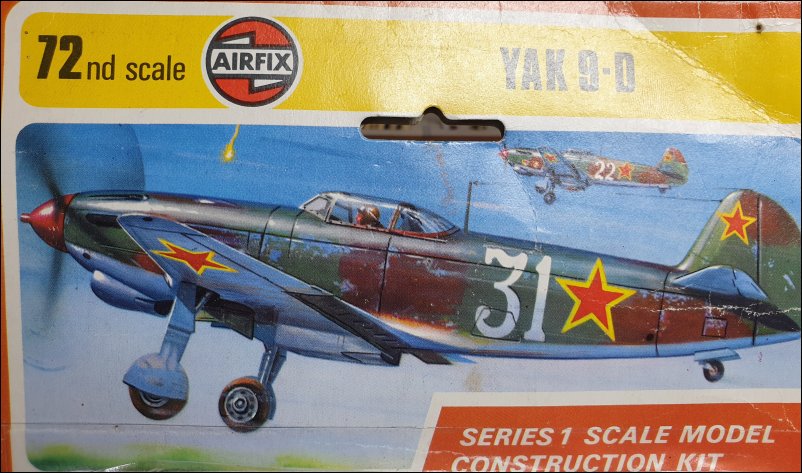
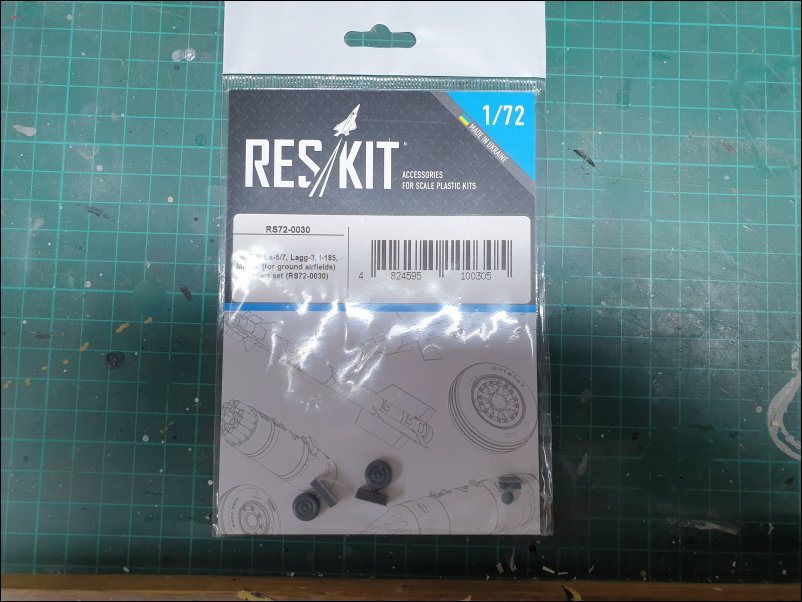
    This particular boxing is a blister pack version. The artwork:


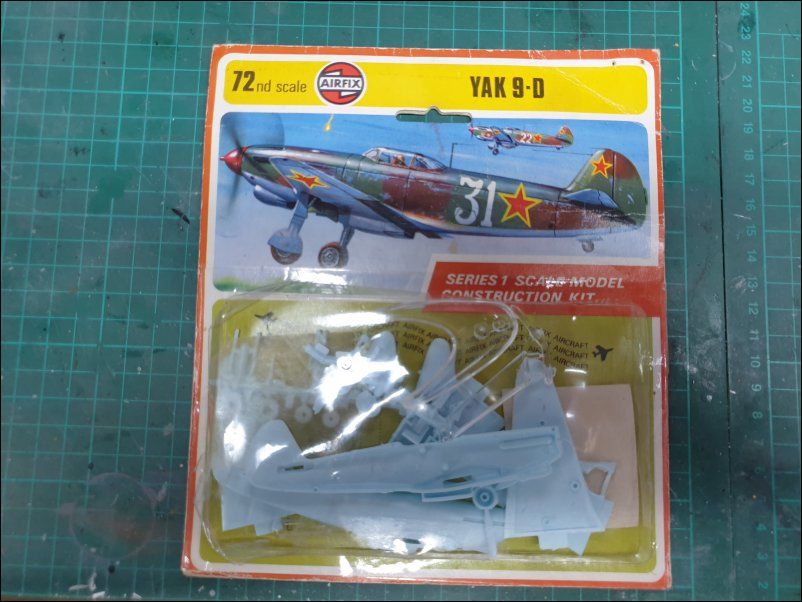
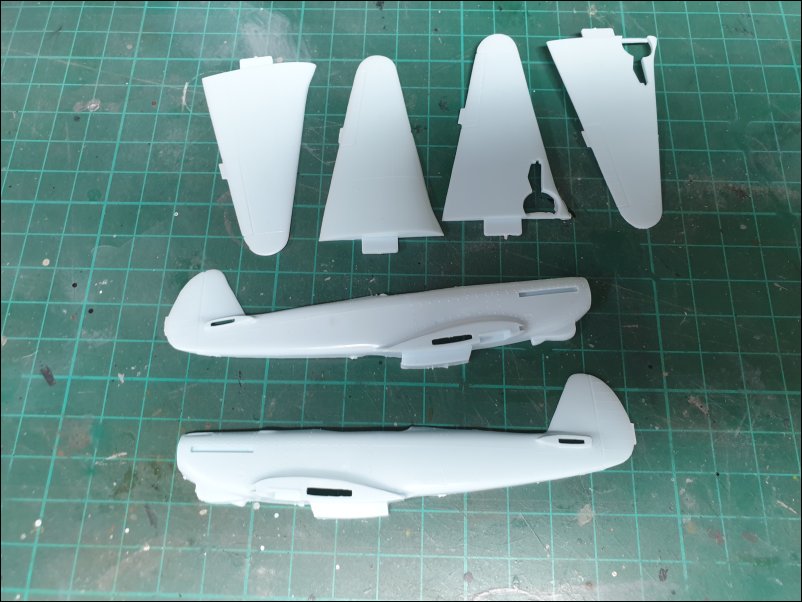
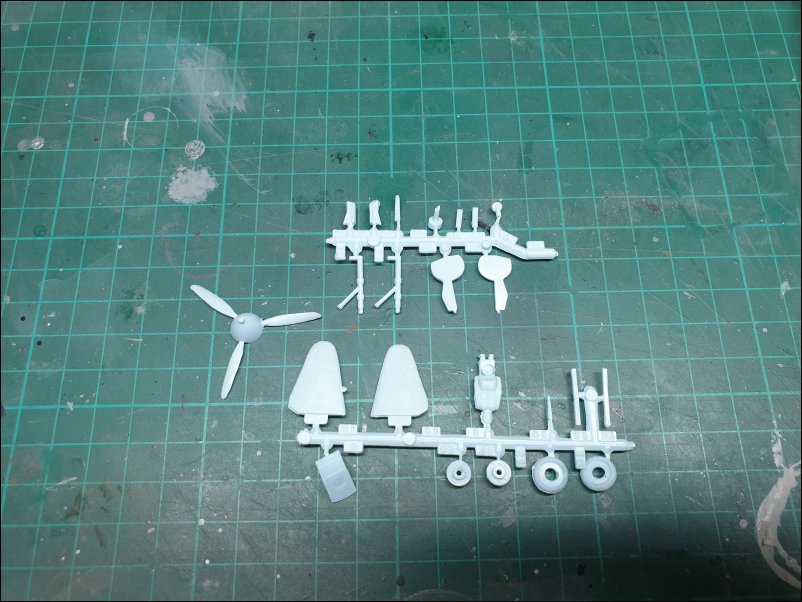
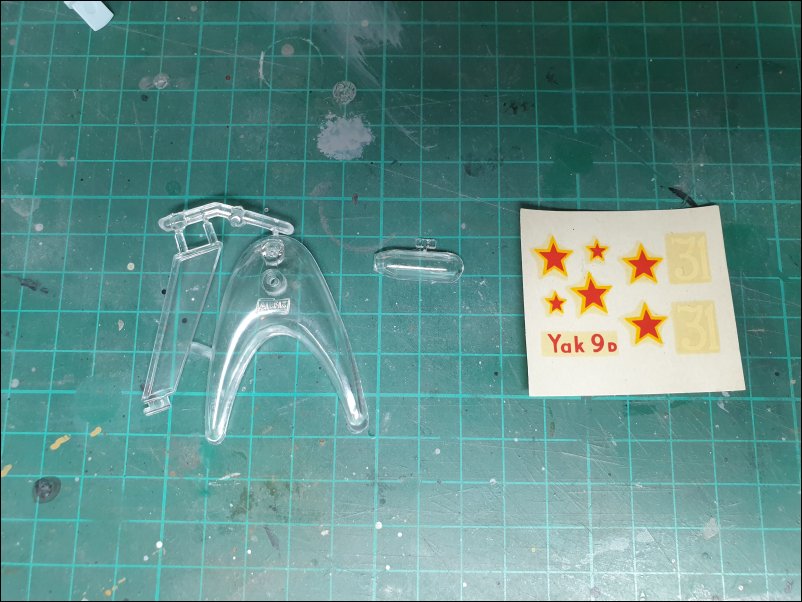
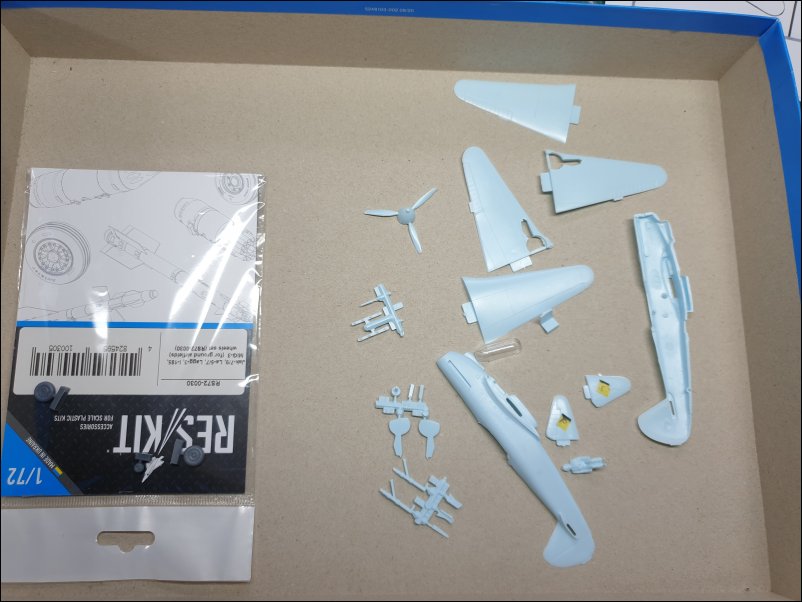
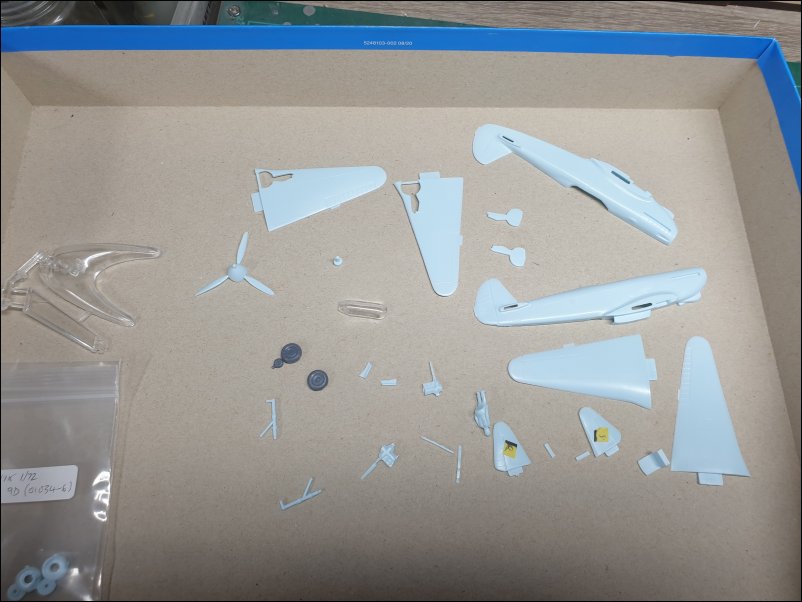
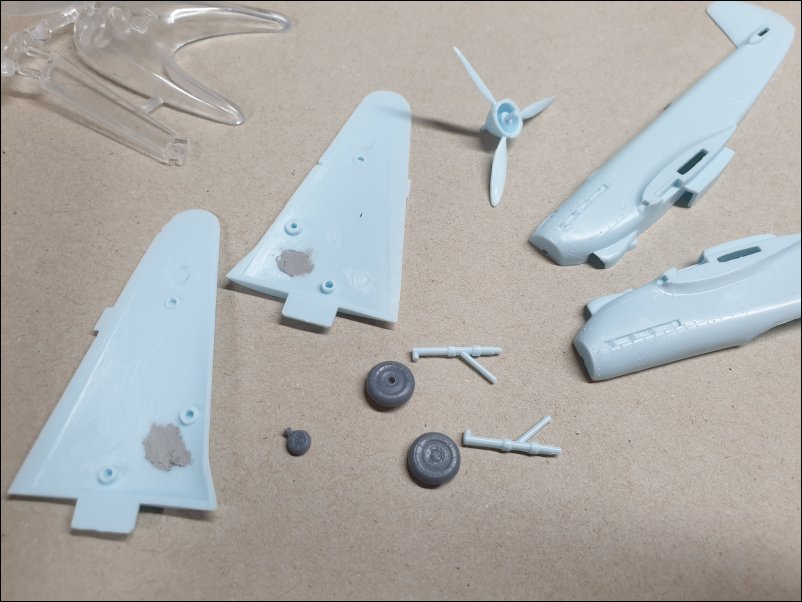
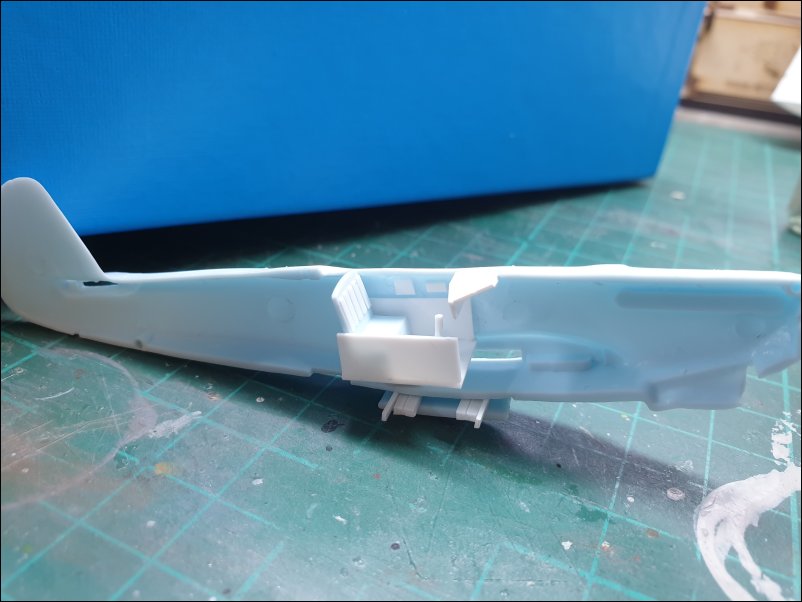
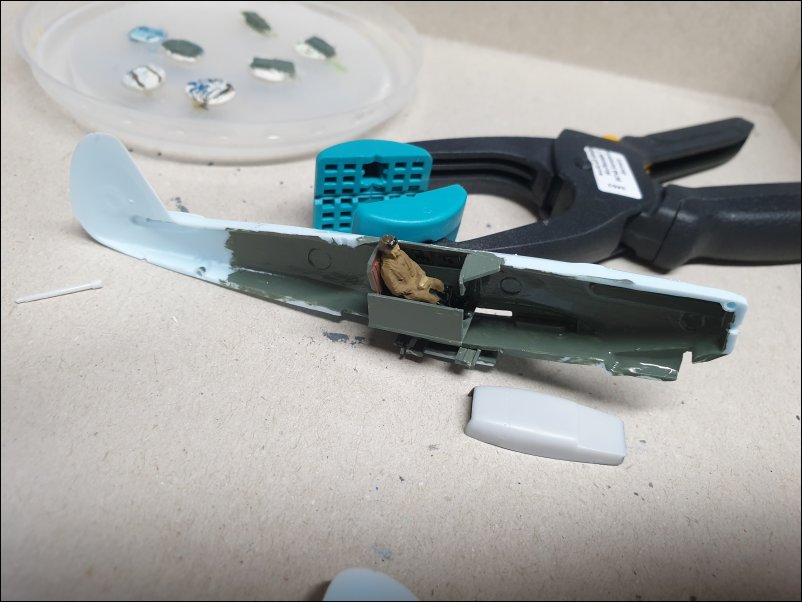
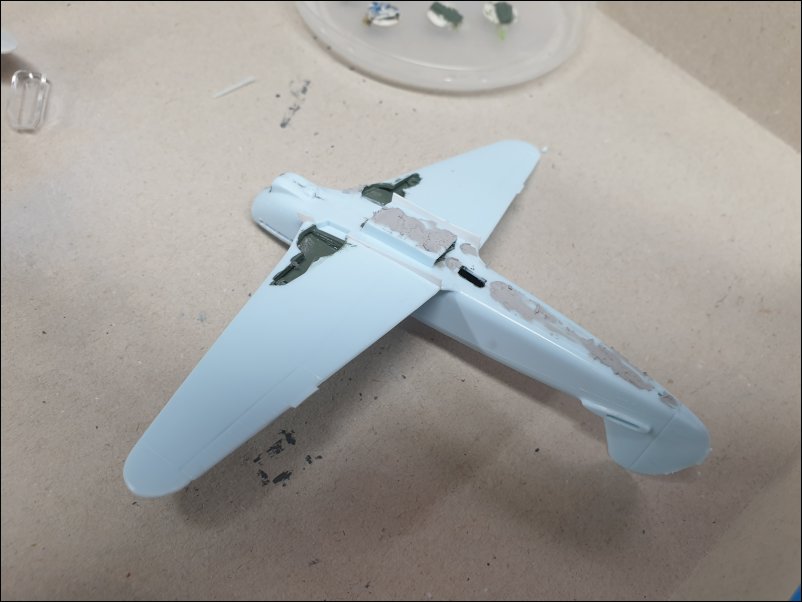
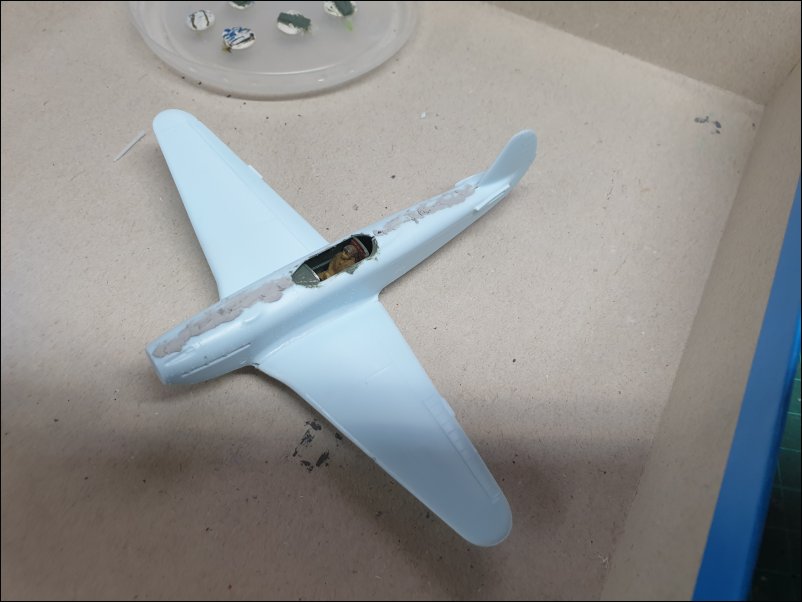
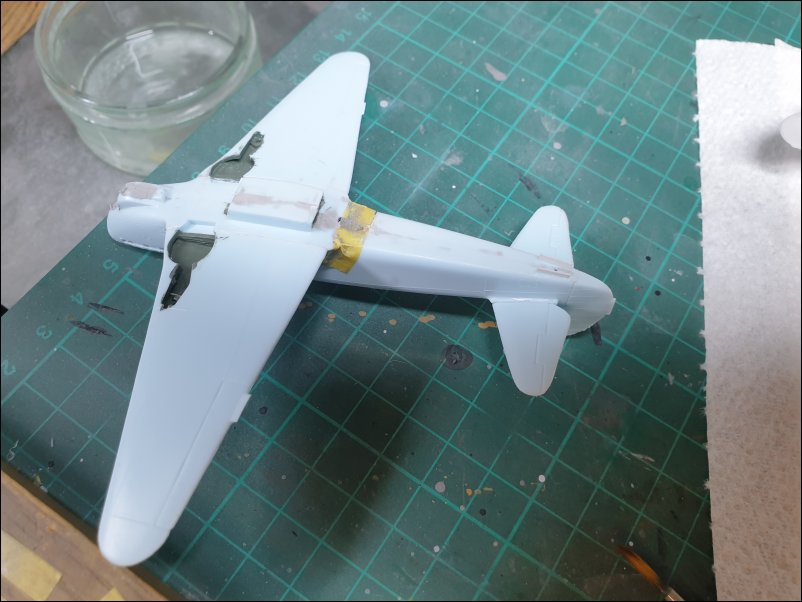
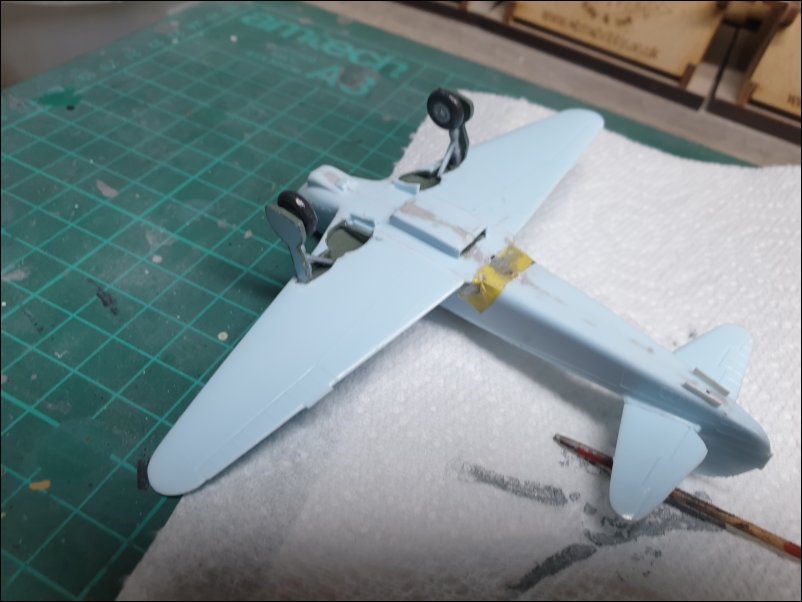
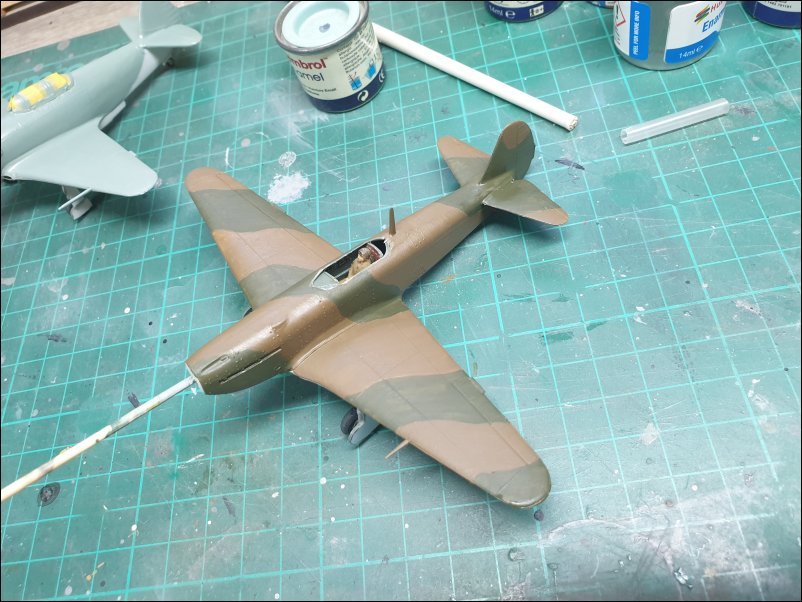
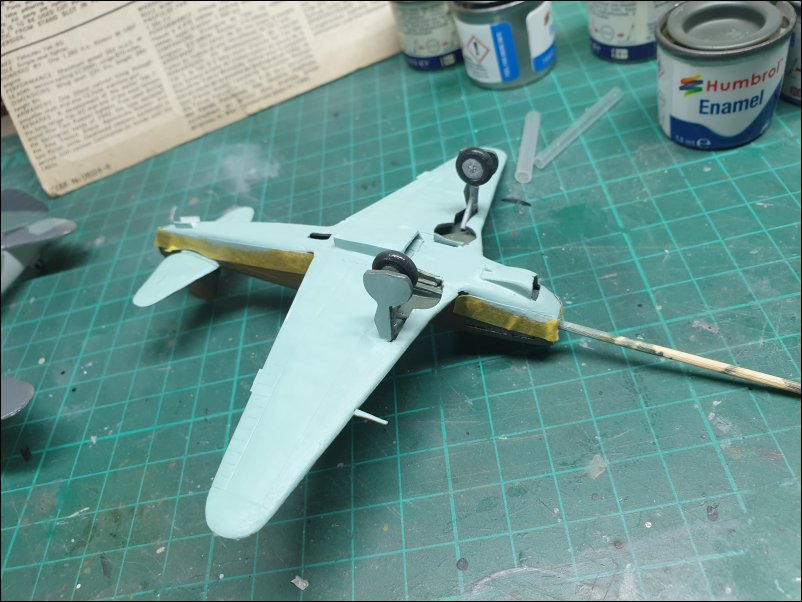
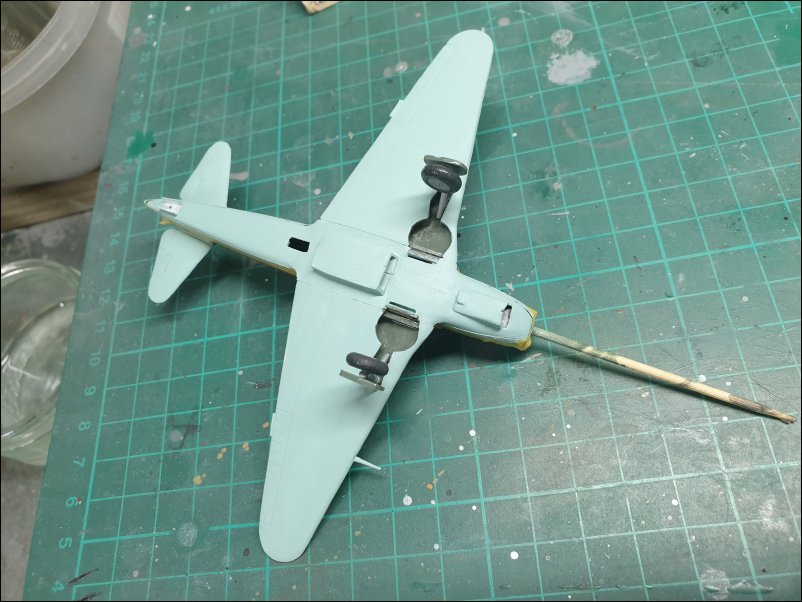
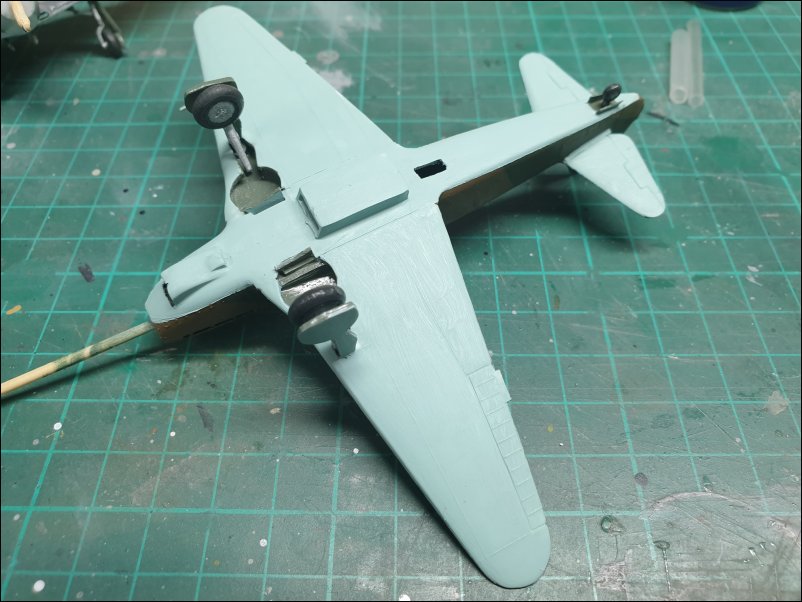
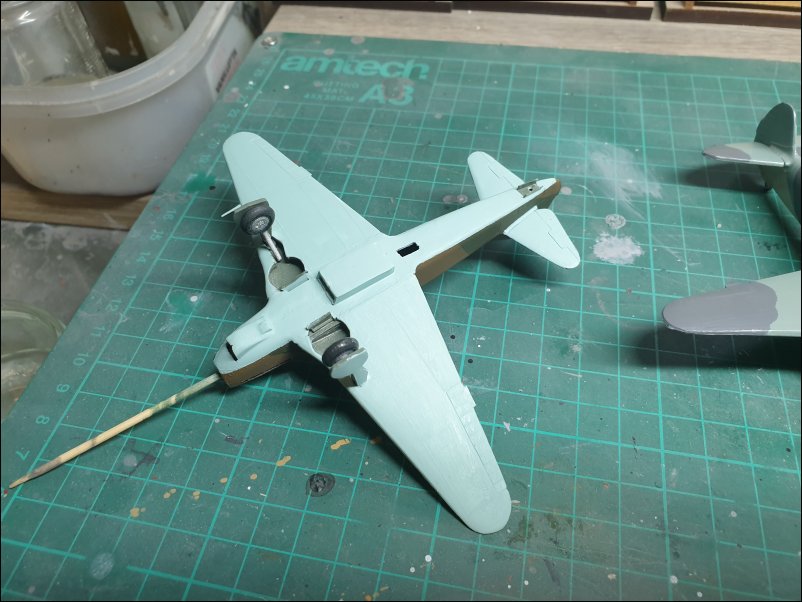
    The parts are moulded in a light blue plastic but I won't be revealing the contents until my next post:


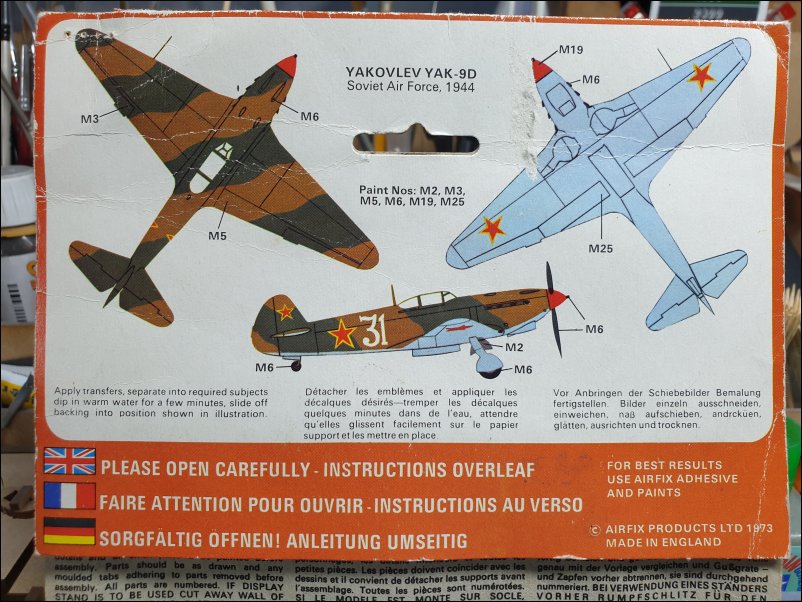
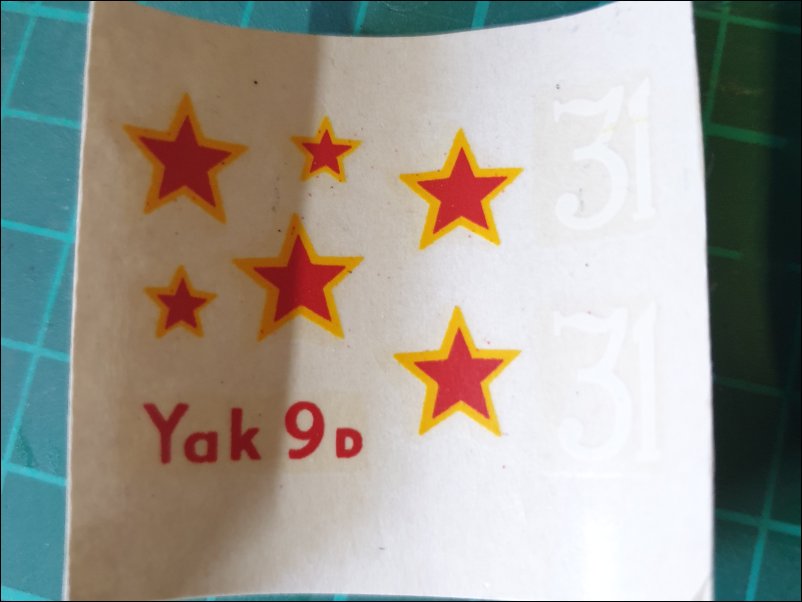
    The painting profile:


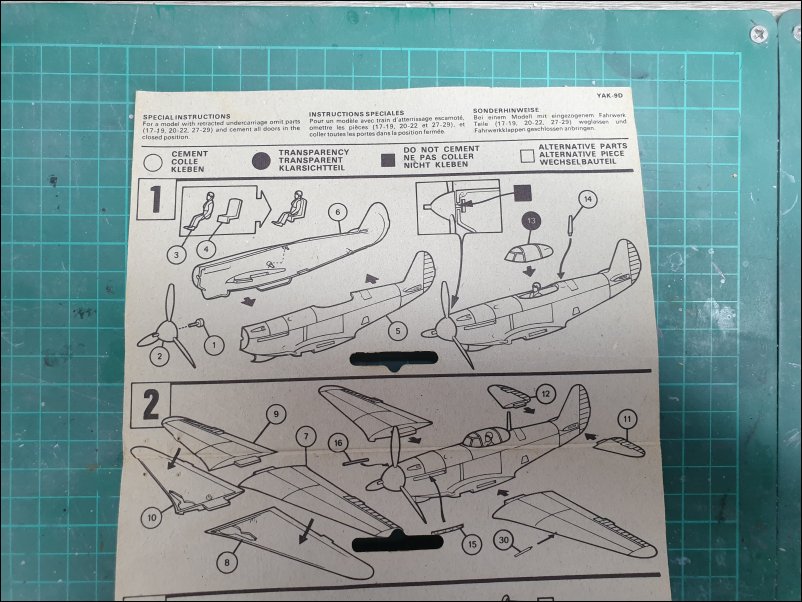
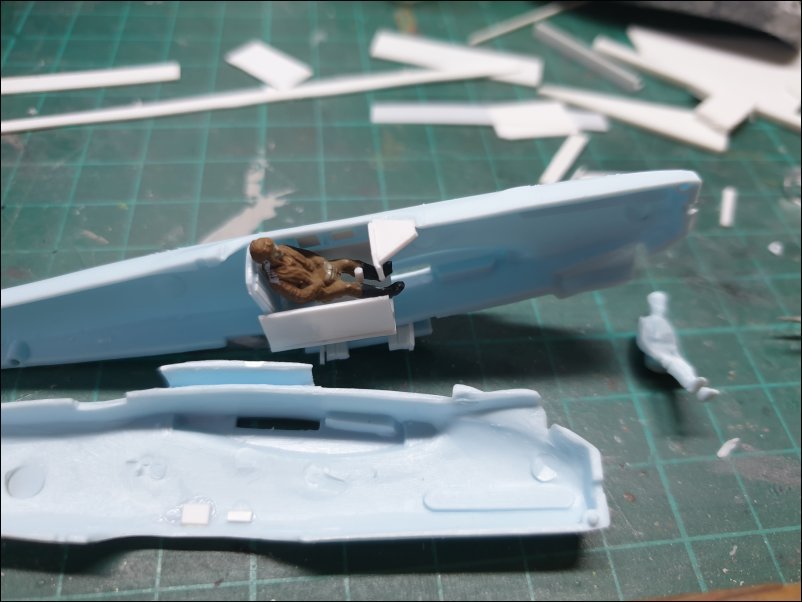
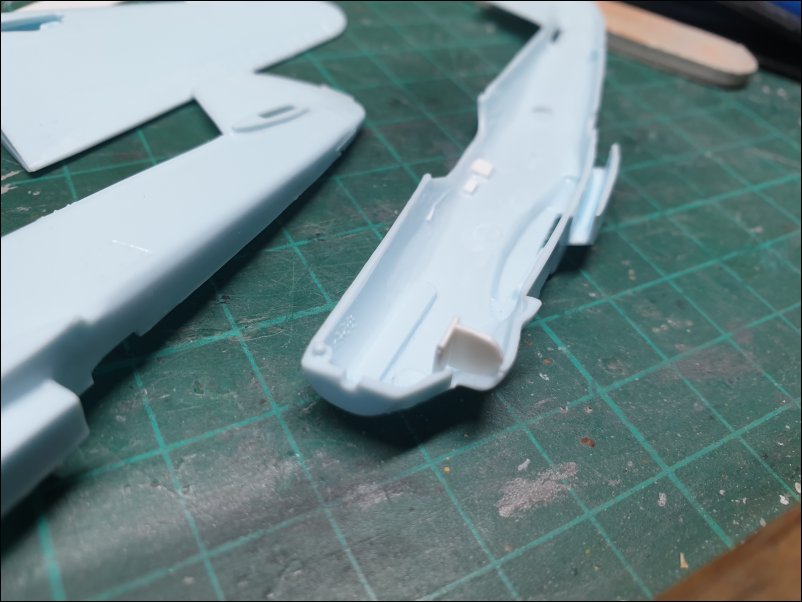
    Assembly Sections One and Two:


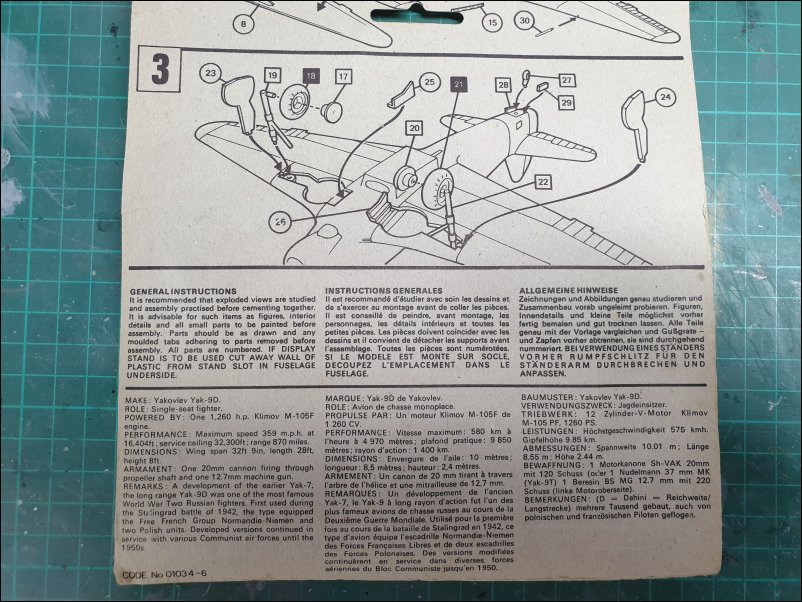
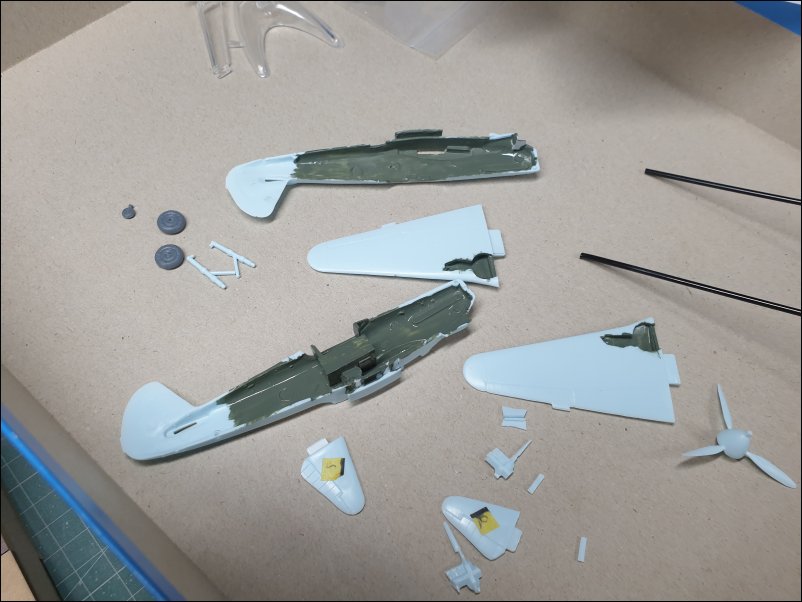
    Assembly Section Three, General instructions and a Potted History of the Yak-9D:


    That's all for now

    Dave
    DaveCov - Founder of The Airfix Tribute Forum 2006
  • Mini Me
    SMF Supporters
    • Jun 2018
    • 10711

    #2
    Be careful Dave, not to get yer Yaks mixed up.....I don't think the 3's and 9's will interchange parts. :thinking:

    Comment

    • Geoffers
      SMF Supporters
      • Jan 2017
      • 1711
      • Geoff
      • Shropshire

      #3
      That’s a blast from the past Dave :smiling:good luck with the build :thumb2:

      Geoff.

      Comment

      • davecov
        SMF Supporters
        • Jul 2014
        • 831
        • Dave
        • Stow, Scottish Borders

        #4
        Originally posted by Mini Me
        Be careful Dave, not to get yer Yaks mixed up.....I don't think the 3's and 9's will interchange parts. :thinking:
        Just to be on the safe side, Rick, I have kept my Mistercraft Yak-1b in my stash for now as things could have got really complicated.

        Dave
        DaveCov - Founder of The Airfix Tribute Forum 2006

        Comment

        • davecov
          SMF Supporters
          • Jul 2014
          • 831
          • Dave
          • Stow, Scottish Borders

          #5
          Time to break open the blister pack now.

          Parts are moulded in light blue plastic. There is a lot of flash and seams which will require a lot of cleaning up:


          There are few parts with the cockpit detail consisting of just a seat so I will add an instrument panel and cockpit tub based on the one in the Yak-3 kit I am currently making. The wheels are naff so I will replace them with aftermarket resin ones:


          There is a single-piece cockpit transparency and a stand. The decals are in register but due to their age, there is a lot of yellowing that will require a few days under a UV lamp:


          The aftermarket resin wheels are from ResKit (RS72-0030):


          All parts were removed from the runners. To avoid confusion later on, the tailplanes were marked to show port and starboard:


          It took a mammoth cleaning-up session to get the parts ready for assembly:


          That's all for now

          Dave
          DaveCov - Founder of The Airfix Tribute Forum 2006

          Comment

          • adt70hk
            SMF Supporters
            • Sep 2019
            • 10416

            #6
            At this rate you'll have three done before I finish my first!!

            ATB.

            Andrew

            Comment

            • Jim R
              SMF Supporters
              • Apr 2018
              • 15731
              • Jim
              • Shropshire

              #7
              By 'eck Dave that kit's going back a bit - 1960s?
              Having said that you've got the experience to get a good result and a bit of aftermarket and scratching will help. There is a real sense of achievement when you can get a satisfying result from such a geriatric kit.

              Comment

              • davecov
                SMF Supporters
                • Jul 2014
                • 831
                • Dave
                • Stow, Scottish Borders

                #8
                Originally posted by adt70hk
                At this rate you'll have three done before I finish my first!!

                ATB.

                Andrew
                I only wish that could be true, Andrew. Sadly, the effort required to clean up the parts has had an adverse effect on my hands, especially the fingers. I am taking a break from the builds for a couple of days so that I can recover.

                Originally posted by Jim R
                By 'eck Dave that kit's going back a bit - 1960s?
                Having said that you've got the experience to get a good result and a bit of aftermarket and scratching will help. There is a real sense of achievement when you can get a satisfying result from such a geriatric kit.
                Jim, the original poly-bag release of this kit was in 1963, only 4 years before the Fiat G50.bis that I completed a few days ago. With that particular build I could get away without any cockpit detailing as it would have been hidden. That is not the case with this Yak-9D!

                Dave
                DaveCov - Founder of The Airfix Tribute Forum 2006

                Comment

                • davecov
                  SMF Supporters
                  • Jul 2014
                  • 831
                  • Dave
                  • Stow, Scottish Borders

                  #9
                  After a little break from modelling to rest my hands, I got back to work.

                  Filler was applied to a couple of ejector pin marks within the wheel bay areas. The resin wheels were drilled and the kit axles cut down to size. I also glued the locating pin for the propeller inside the hub and the exhausts were fitted:


                  I knocked up a basic cockpit tub based on the Yak 3 model I am also building. I also fitted some plastic card inside the under fuselage radiator to block out daylight:


                  A little extra detail added to the cockpit area and seat back:


                  The kit pilot figure was very poor and impossible to fit into the cockpit without breaking his legs and back so I dug out an old already-painted figure from the spares box. Even so, I had to cut away his backside so that he would sit low enough:


                  The chin radiator area is nothing but a big hole so I filled it with plastic card:


                  The wing halves were glued together and then it was time for some painting. The interior was given a first coat of H31 Matt Slate Grey:


                  That's all for now

                  Dave
                  DaveCov - Founder of The Airfix Tribute Forum 2006

                  Comment

                  • adt70hk
                    SMF Supporters
                    • Sep 2019
                    • 10416

                    #10
                    Looking good Dave! Pressed to hear your hands are a bit better.

                    Andrew

                    Comment

                    • davecov
                      SMF Supporters
                      • Jul 2014
                      • 831
                      • Dave
                      • Stow, Scottish Borders

                      #11
                      Thanks Andrew. :thumb2:

                      Latest update.

                      The fuselage halves are ready for glueing together. Since taking this photo, I have modified the pilot figure slightly so that he doesn't sit so far back and prevent the canopy from fitting correctly:


                      The fuselage halves have been glued together but the join on the underside requires a lot of filler. The wing/fuselage joins were not good underneath but I filled the gaps with plastic card:


                      Joins on the top were not so bad though and the wing roots topside didn't need any filler at all:


                      The plastic card on the underside has been cut back and all filler sanded. The kit tailwheel doors were way too thick so I have replaced them with plastic card:


                      The main undercarriage legs and wheels have been glued as have the main undercarriage doors:


                      That's all for now.

                      Dave
                      DaveCov - Founder of The Airfix Tribute Forum 2006

                      Comment

                      • Mini Me
                        SMF Supporters
                        • Jun 2018
                        • 10711

                        #12
                        Great progress on this one Dave.....thinking all the add ons and conversions are going to bump this up more than a couple of notches. :thumb2:

                        Comment

                        • davecov
                          SMF Supporters
                          • Jul 2014
                          • 831
                          • Dave
                          • Stow, Scottish Borders

                          #13
                          Painting time.

                          I brush painted a first coat of H29 Matt Dark Earth. It is very streaky and will require at least two more coats:


                          The first coat of the other camouflage color of H116 Matt US Dark Green was applied:


                          Second coat of H29 Matt Dark Earth:


                          That was followed by the second coat of H116 Matt US Dark Green. Both colours will require one more coat:


                          You may recall that the kit decals were yellowed but having been under a UV lamp for almost two weeks, they look almost new:


                          That's all for now.

                          Dave
                          DaveCov - Founder of The Airfix Tribute Forum 2006

                          Comment

                          • davecov
                            SMF Supporters
                            • Jul 2014
                            • 831
                            • Dave
                            • Stow, Scottish Borders

                            #14
                            It has been a very hard week trying to model but I have made a lot of progress.

                            Having put three coats of camouflage on the top, I painted the first coat of H65 Matt Aircraft Blue:


                            Followed by a second coat:


                            It was at this point that I glued the resin tailwheel in place. More on that later:


                            The canopy was glued in place:


                            Third coat of H65 Matt Aircraft Blue was applied. During the painting, I dropped the plane and the resin tailwheel flew off into the sunset, somewhere...:


                            The canopy had an unsightly gap on the starboard side which I filled with plastic card strip and painted:


                            I decided to add aerial rigging which I found very difficult to fit due to my finger problems. It was a wasted effort as later on in the build it broke:


                            The plane was Kleared for decalling:


                            The decals were not too good which wasn't a surprise seeing as they are over 40 years old. I fitted the propeller but I have a bit more painting, weathering and varnishing to do before I can call this build finished:


                            I am now taking a few days break from the modelling bench and will finish this build next week.

                            That's all for now.

                            Dave
                            DaveCov - Founder of The Airfix Tribute Forum 2006

                            Comment

                            • stillp
                              SMF Supporters
                              • Nov 2016
                              • 8096
                              • Pete
                              • Rugby

                              #15
                              Very good brush work Dave.
                              Pete

                              Comment

                              Working...