
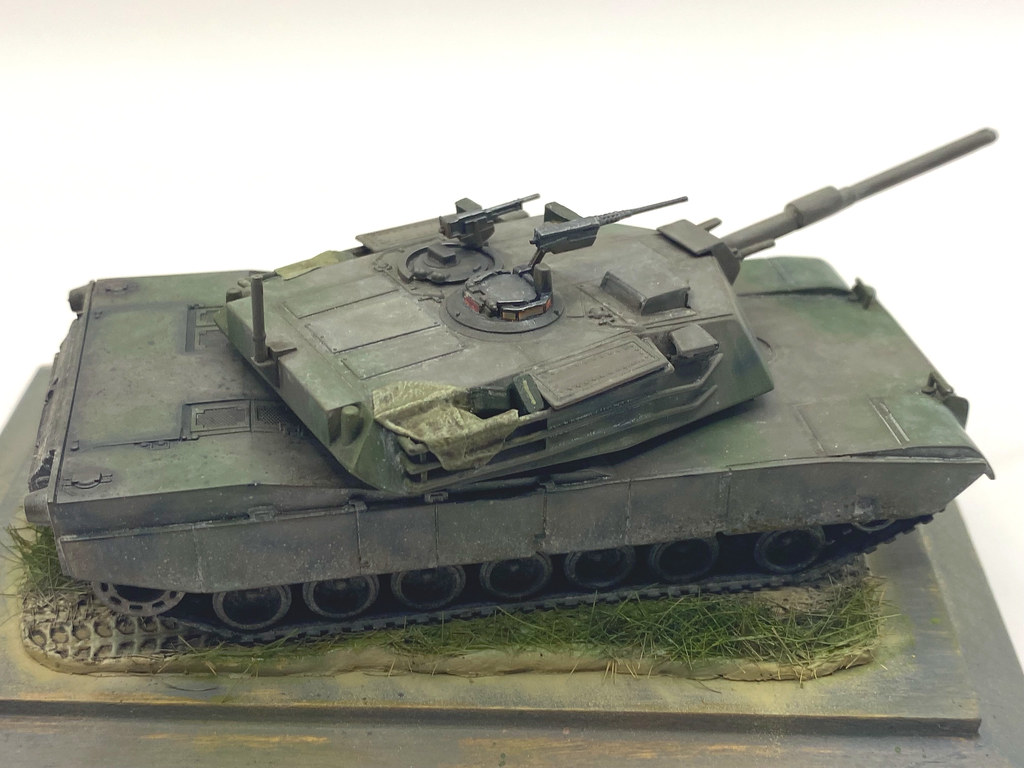
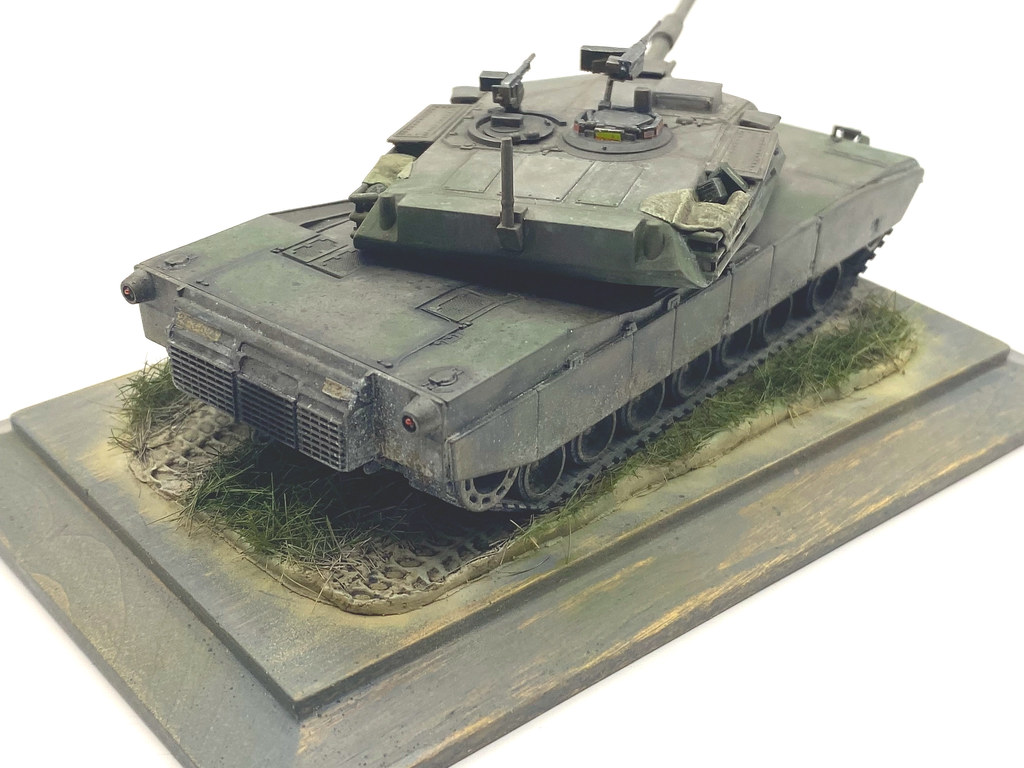
Finally, after a lapse of about 15 or 16 months, I have finally finished something!!  Most of 2022 and the first part of this year have not been conducive to my model building endeavors. This kit is okay, not the best M1 kit out there for sure, but was a fun build and I used it to try out several techniques and to try to at least make the model look good despite what inaccuracies it might have.
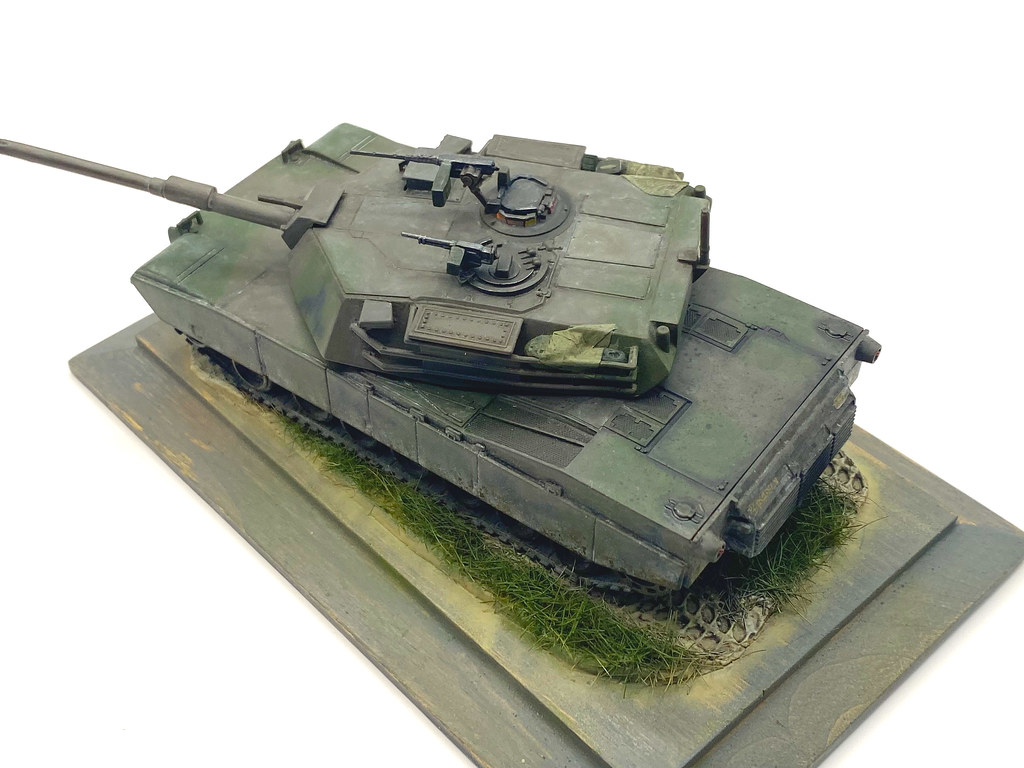
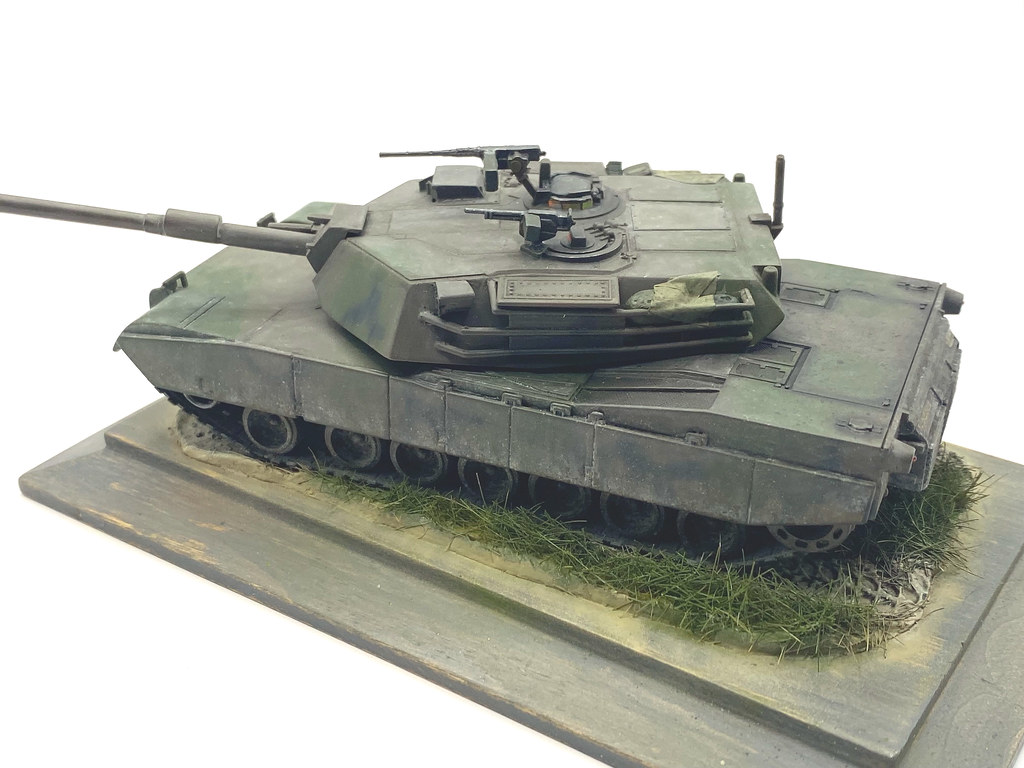
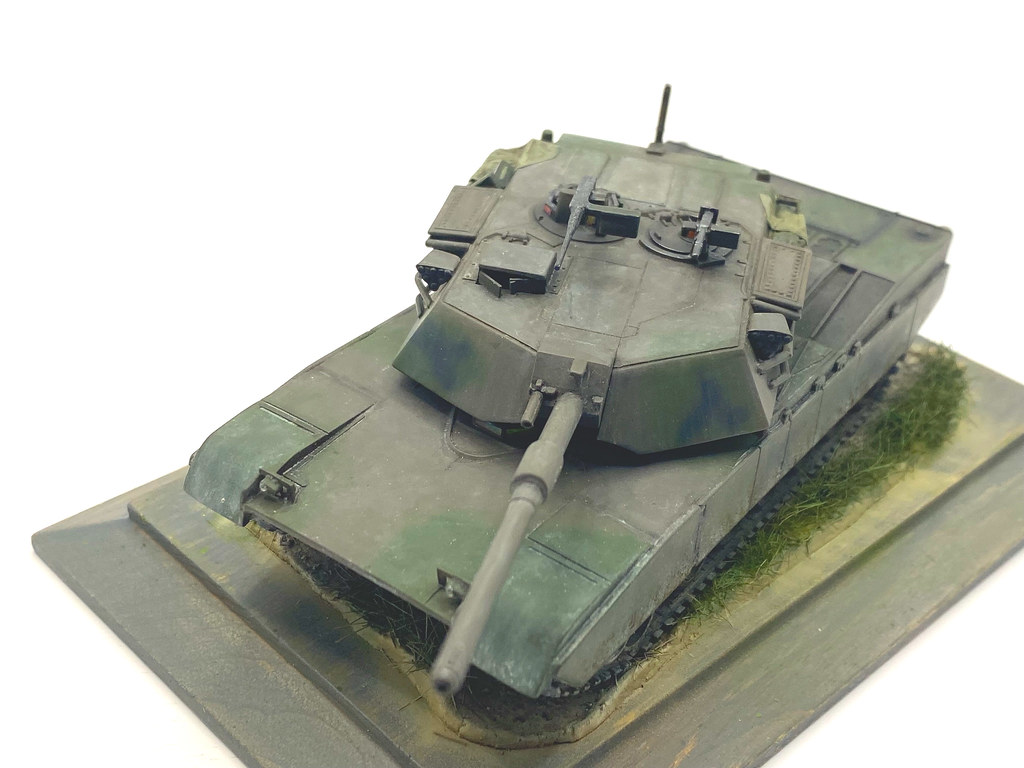
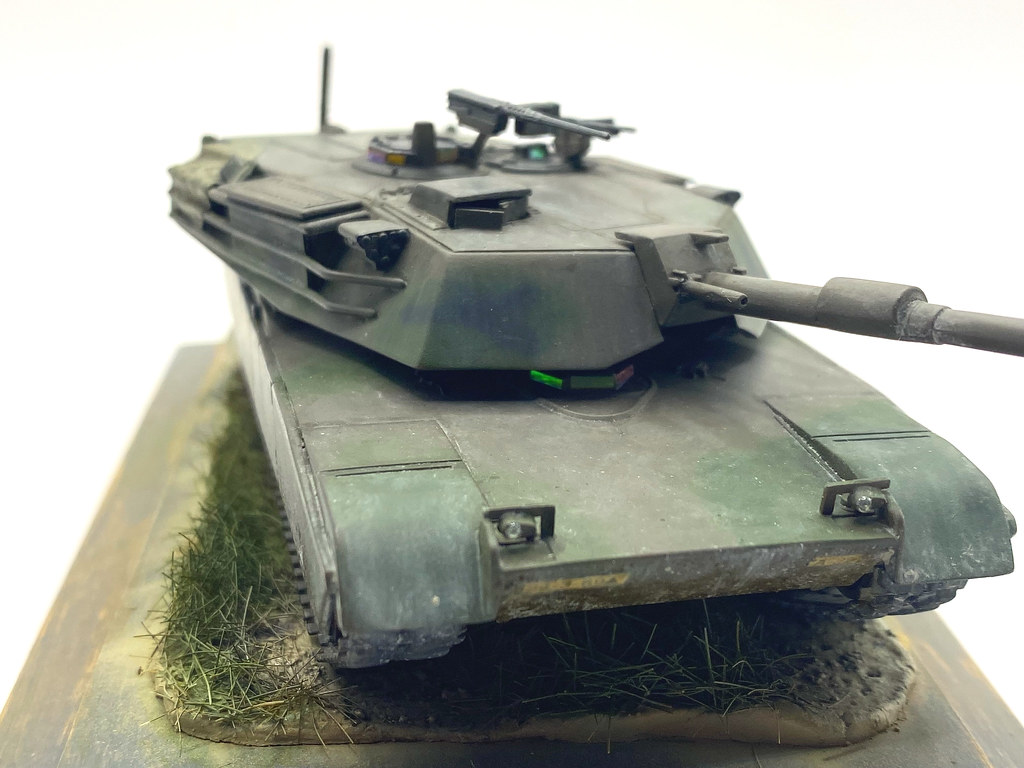
All the dust and fresh mud splatters were done with AK enamel products. All the dirt / grease stains on the rear deck were done with oil paints, the fuel stains were done with an enamel wash. The stowage bin rails were too thick as they came in the kit, but short of scratch building them, I added stowage and tarps made from epoxy putty to try to distract from the overly thick rails. This was not really successful, but at least the stowage bins are more interesting to look at now. I used fingernail foil material (which seems to be a very thin mylar material) to replicate the vision blocks. The foil material was cut into strips to fit the vision blocks and fastened in place with Gator's Grip Glue. Pictures of real M1's show the vision blocks to have a reddish orange color that switched to green depending on how the light reflected off them, such material was in the foil assortment I have, and this worked very well, I think. Lastly, I replaced the kit 50 cal. machine barrel with one from a Mig Ammo 3D printed gun as it was not warped and had better detail. The set also came with some ammo cans, and two of these were added to the stowage bins. The guns were painted with Model Master Gunmetal and polished with metallic pigment. The headlights were painted silver and a drop of epoxy was used to simulate the clear curved lens. Pencil lead was used to highlight some of the corners and edges that would experience some wear from the crew. Lastly Smoke pigment was used for the exhaust stain on the center grill on the rear hull. The paint scheme is unique to vehicles based at Fort Knox during the early 1980's.
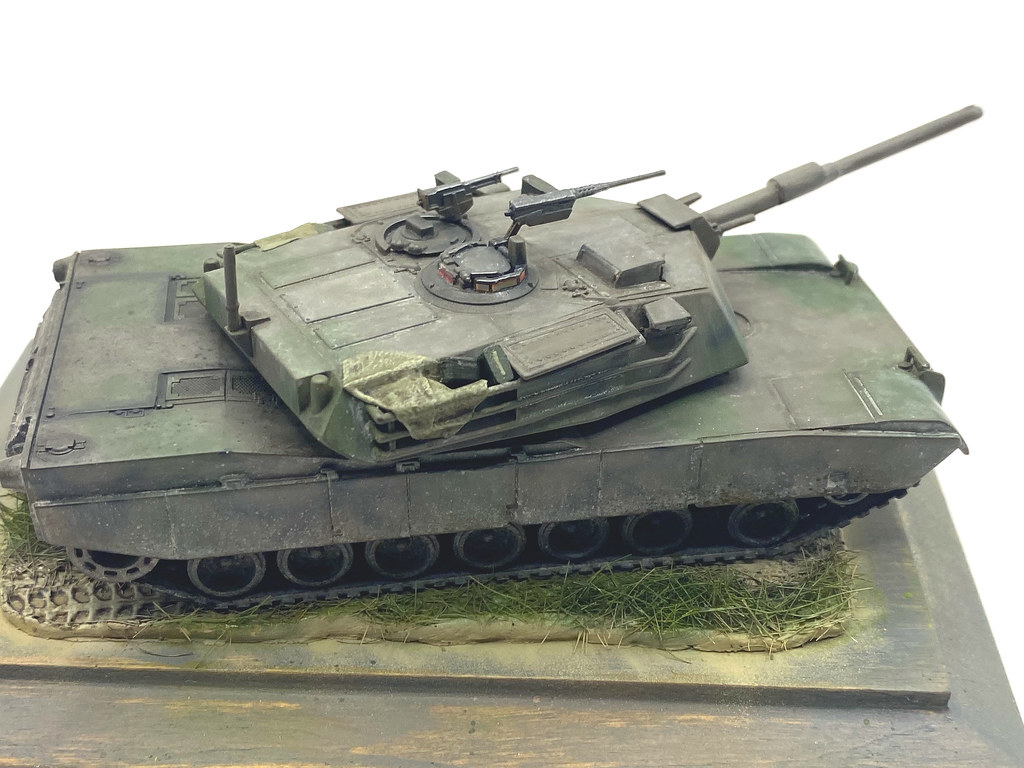
It has been decades since I have built a 1/72 armor kit, so this was definitely something different for me and I had a good time building it.
Most of 2022 and the first part of this year have not been conducive to my model building endeavors. This kit is okay, not the best M1 kit out there for sure, but was a fun build and I used it to try out several techniques and to try to at least make the model look good despite what inaccuracies it might have.All the dust and fresh mud splatters were done with AK enamel products. All the dirt / grease stains on the rear deck were done with oil paints, the fuel stains were done with an enamel wash. The stowage bin rails were too thick as they came in the kit, but short of scratch building them, I added stowage and tarps made from epoxy putty to try to distract from the overly thick rails. This was not really successful, but at least the stowage bins are more interesting to look at now. I used fingernail foil material (which seems to be a very thin mylar material) to replicate the vision blocks. The foil material was cut into strips to fit the vision blocks and fastened in place with Gator's Grip Glue. Pictures of real M1's show the vision blocks to have a reddish orange color that switched to green depending on how the light reflected off them, such material was in the foil assortment I have, and this worked very well, I think. Lastly, I replaced the kit 50 cal. machine barrel with one from a Mig Ammo 3D printed gun as it was not warped and had better detail. The set also came with some ammo cans, and two of these were added to the stowage bins. The guns were painted with Model Master Gunmetal and polished with metallic pigment. The headlights were painted silver and a drop of epoxy was used to simulate the clear curved lens. Pencil lead was used to highlight some of the corners and edges that would experience some wear from the crew. Lastly Smoke pigment was used for the exhaust stain on the center grill on the rear hull. The paint scheme is unique to vehicles based at Fort Knox during the early 1980's.
It has been decades since I have built a 1/72 armor kit, so this was definitely something different for me and I had a good time building it.

Comment