If this is your first visit, be sure to
check out the FAQ by clicking the
link above. You may have to register
before you can post: click the register link above to proceed. To start viewing messages,
select the forum that you want to visit from the selection below.
Greg, Scottie, Stephen- thanks gents :smiling2: monica- hi there! Thanks for lending your support! :smiling: Glad you like it
Ok then, a bit more fiddling...
I was perusing my refs, and realised I’d detailed the barrel clamps incorrectly :flushed:. I carefully modified them to the correct configuration:
(Basically, I had the short lengths of plastic rod on the wrong side of the clamp, when they needed to be wrapped in one end of the clamp, the short wire represents the screw thread that allows the crew to tighten the clamp manually).
Thanks for looking chaps (& chapette! )
Alistair☠️
Thanks all!
Pressing on, I fired up the compressor, only to find my hose had developed a leak at one end. I bound it up in tape for a temporary fix, and broke out the Iwata Neo carpet bomber and my Ammo One shot primer. I sprayed the lower hull and the wheels:
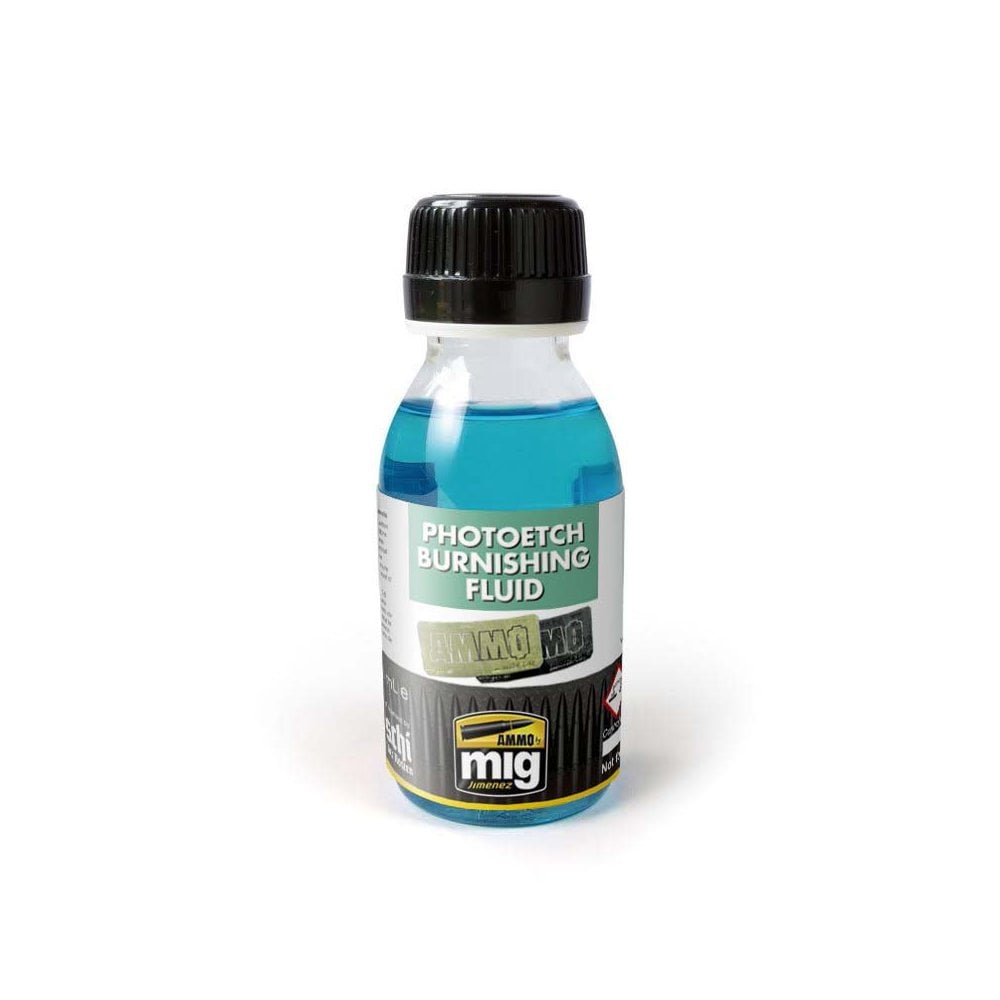
The crew got primed too. Next up, I soaked the Kung Fruils in burnishing fluid, and rinsed them off:
While I wait for the replacement hose, I will break out the oils and make a start on the crew.
Thanks for looking chaps,
Alistair☠️
The mojo burns bright on this one, as I decided to fill the turret basket with various bits & bobs. I used a spare Israeli Jerry can from AFV club for the left hand side, added the spare track links and then an old camo net roll and some milliput packs, plus a few resin stowage items. I’m not going to bother painting them:
Next, I cut up one of my old nitrile gloves into a trapezoid shape to cover the basket, and stuck it down with a little CA. Then I used the strip of lead sheet supplied in the kit to make the identification panels that hang from the basket sides. I drilled out holes and threaded some florists wire to make the hangers:
You can also make out where I threaded some towing shackles through the side bars on the stowage baskets, as per my refs. The shackles came off an old Stryker currently languishing in the same dusty box as my old Chally 2...
Finally for tonight, I blocked in the base colours for the crew’s uniforms, all mixed using oils (olive green, sap green, White, raw ochre and a little Payne’s grey). I am aiming for a faded-out field green for their overalls:
More tomorrow gents...
Alistair☠️
Hi Alistair
More excellent progress. Figure looking good. I suppose you had to use "real" stuff for the stowage as it can just be seen. I've never used that track blackening stuff. Lots of different makes about. What is it that you use?
Jim
Jim - well, it was just stuff I had kicking about, with no real purpose, so it made sense to use proper "stowage-looking" items! as for the burnishing fluid, I used this:
100ml Photoetch Burnishing Fluid Ammo A.MIG-2021 Scale Model Shop, UK supplier of plastics Model kits and accessories, fast UK delivery
I've saved the goop left over, but it's pretty manky-looking, so I don't know if it's reuseable or not. I'll let it settle for a while and see how it looks.
New AB hose being delivered today, so should be able to blow some colour tonight...
Outstanding! An excellent representation of one of my favorite tanks. I have one in my scale on the "Shelf of Shame" as the ball'n'chains defeated me. Maybe someday. PaulE


Comment