
Okay, it’s very close to a Sherman, I admit  But it’s because I’ve building a bunch of Shermans of late, that I also wanted its immediate ancestor in my collection, the Medium Tank M3, better known to most people as the M3 Lee.
[ATTACH]414326[/ATTACH]
As a bit of background, when the United States saw the war in Europe kick off in 1939–40, they quickly realised their brand-new Medium Tank M2 was already woefully obsolete:
[ATTACH]414327[/ATTACH]
It was far too tall, and suffered from having thin armour, only a 37 mm gun and far too many machine guns. What was wanted was a 75 mm gun in the turret, but that would require a tank far more complicated than anything that had ever been designed in the USA before. As an interim solution, the US Army decided to instead upgrade the M2 by reshaping its hull to add a 75 mm gun in a sponson mount, as well as make other improvements based on experience. This evolved into the M3, which shared almost no parts with the M2 but is clearly a derivative of it.
British tank experts were involved (well, more like “consulted”) in its design, but for the most part, they were not listened to — partly because their low opinions of British tank design frequently made the Americans deaf to hard-learned British combat experience as well. As a result, the M3 still ended up with too many machine guns, including one in a small turret on top of the main turret that proved hard to use in practice, and the radio in the hull rather than the turret. The British did get one concession, that a number of M3s would be built with a British-designed turret that had the radio in it, and had a simple hatch for the commander instead of the useless sub-turret.
To the US military, all these tanks were known as “Medium Tank M3”, but when the British received them under the lend-lease arrangement, they quickly got confused by the American designations, as they also got the Light Tank M3 and the Medium Tank M4. To keep everybody sane, they decided to name these tanks: the Medium Tank M3 became the Lee if it had the American-designed turret, or the Grant with the British one, after the American Civil War generals. (The Light Tank M3 was named Stuart and the Medium Tank M4, Swallow. The latter was soon changed to Sherman.)
Because of engine production shortages, different versions of the M3 were soon developed that were powered by alternative engine types, most of which would later also see use on the M4. Most variants had fully riveted hulls, but on (the M3A1) had a cast upper hull, and a few subtypes had welded hulls instead. Other improvements during production included the deletion of the large side doors in the hull, which were weak points.
The M3 was always intended as an interim design, to be used until the M4 with its turreted 75 mm gun could be introduced. However, the M3 did see combat with both the British and American forces inn North Africa, though it was obsolete for the war in Europe and didn’t see service there (except for derivatives). Many were also supplied to the Russians, who also used them in combat against the Germans. The British later shipped many of theirs to India, where the tanks were deployed against the Japanese in northeastern India and Burma.
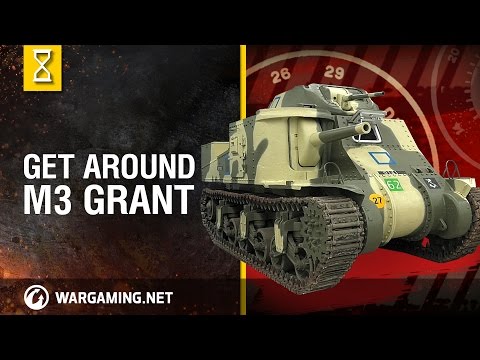
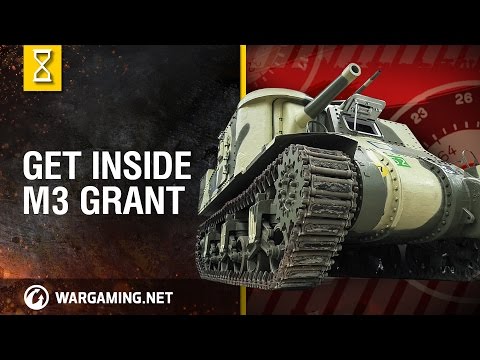
Here’s a guided tour of the out- and insides:
But it’s because I’ve building a bunch of Shermans of late, that I also wanted its immediate ancestor in my collection, the Medium Tank M3, better known to most people as the M3 Lee.[ATTACH]414326[/ATTACH]
As a bit of background, when the United States saw the war in Europe kick off in 1939–40, they quickly realised their brand-new Medium Tank M2 was already woefully obsolete:
[ATTACH]414327[/ATTACH]
It was far too tall, and suffered from having thin armour, only a 37 mm gun and far too many machine guns. What was wanted was a 75 mm gun in the turret, but that would require a tank far more complicated than anything that had ever been designed in the USA before. As an interim solution, the US Army decided to instead upgrade the M2 by reshaping its hull to add a 75 mm gun in a sponson mount, as well as make other improvements based on experience. This evolved into the M3, which shared almost no parts with the M2 but is clearly a derivative of it.
British tank experts were involved (well, more like “consulted”) in its design, but for the most part, they were not listened to — partly because their low opinions of British tank design frequently made the Americans deaf to hard-learned British combat experience as well. As a result, the M3 still ended up with too many machine guns, including one in a small turret on top of the main turret that proved hard to use in practice, and the radio in the hull rather than the turret. The British did get one concession, that a number of M3s would be built with a British-designed turret that had the radio in it, and had a simple hatch for the commander instead of the useless sub-turret.
To the US military, all these tanks were known as “Medium Tank M3”, but when the British received them under the lend-lease arrangement, they quickly got confused by the American designations, as they also got the Light Tank M3 and the Medium Tank M4. To keep everybody sane, they decided to name these tanks: the Medium Tank M3 became the Lee if it had the American-designed turret, or the Grant with the British one, after the American Civil War generals. (The Light Tank M3 was named Stuart and the Medium Tank M4, Swallow. The latter was soon changed to Sherman.)
Because of engine production shortages, different versions of the M3 were soon developed that were powered by alternative engine types, most of which would later also see use on the M4. Most variants had fully riveted hulls, but on (the M3A1) had a cast upper hull, and a few subtypes had welded hulls instead. Other improvements during production included the deletion of the large side doors in the hull, which were weak points.
The M3 was always intended as an interim design, to be used until the M4 with its turreted 75 mm gun could be introduced. However, the M3 did see combat with both the British and American forces inn North Africa, though it was obsolete for the war in Europe and didn’t see service there (except for derivatives). Many were also supplied to the Russians, who also used them in combat against the Germans. The British later shipped many of theirs to India, where the tanks were deployed against the Japanese in northeastern India and Burma.
Here’s a guided tour of the out- and insides:

Comment