
[Finished] PzKpwf II Luchs 1:25 Wak
Hello!!
Time to start a new model
This time I will try to build the PzKpfw II Luchs from Wak.
 [/URL]
The main frame was to be built of lasercuts....
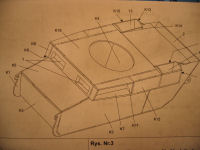
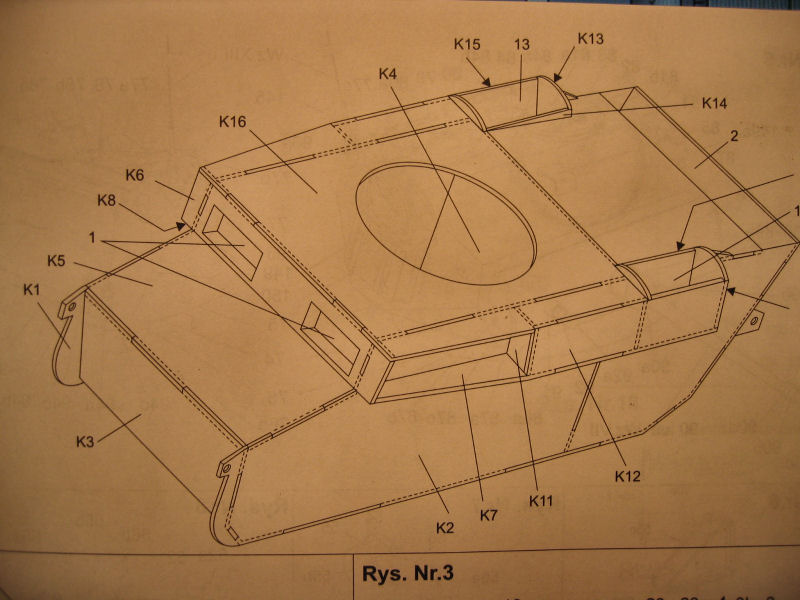
First the drawing
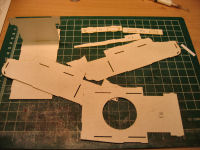
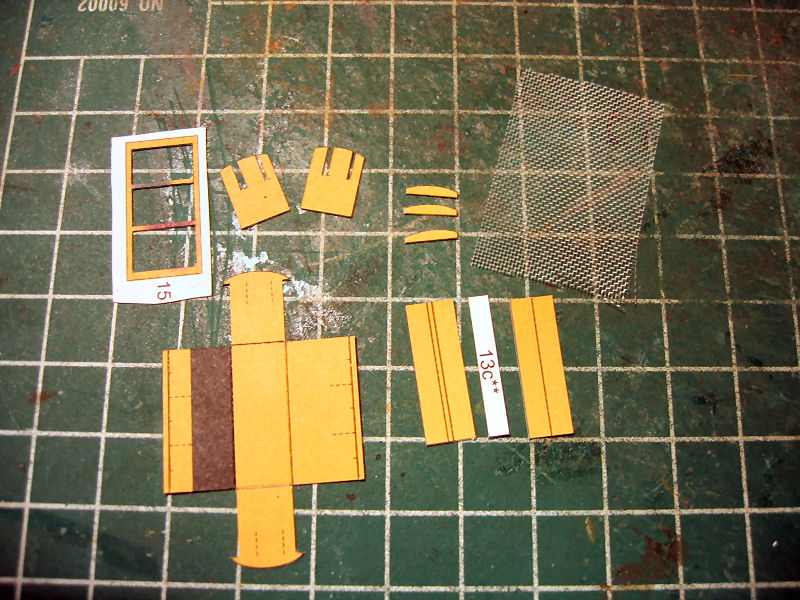
Parts for the frame
When I had assembled the frame I noticed something was wrong......I had done the most stupid error you can do.I had assumed both sides of the frame was equal.They were NOT!!!! So with a massive punch from my fist the laserparts hit the dust.....
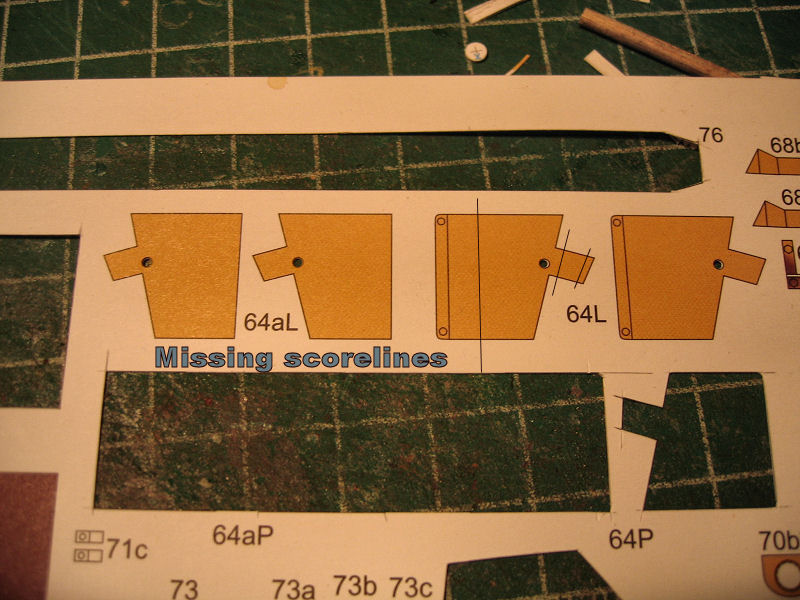
I then had to make the frame the old fashioned way.....yes thats right,by cutting new parts
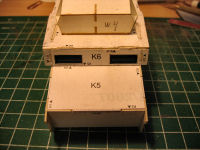
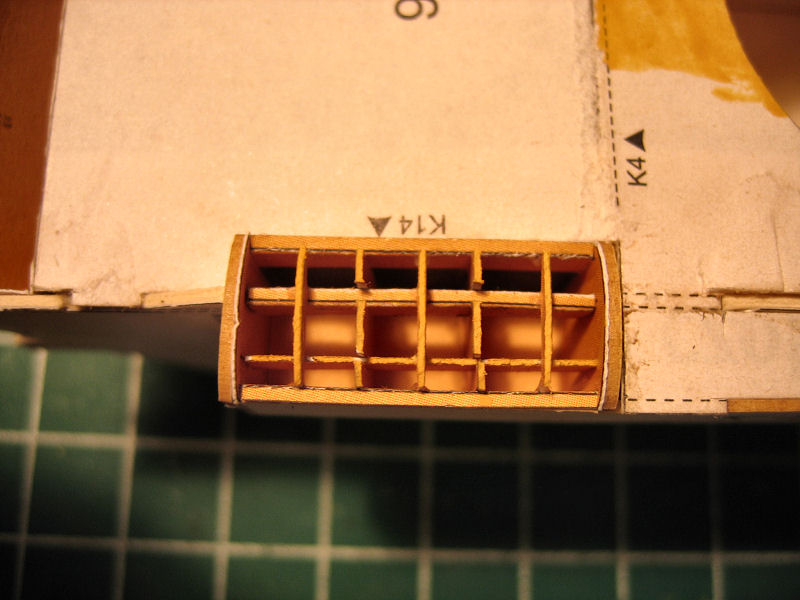
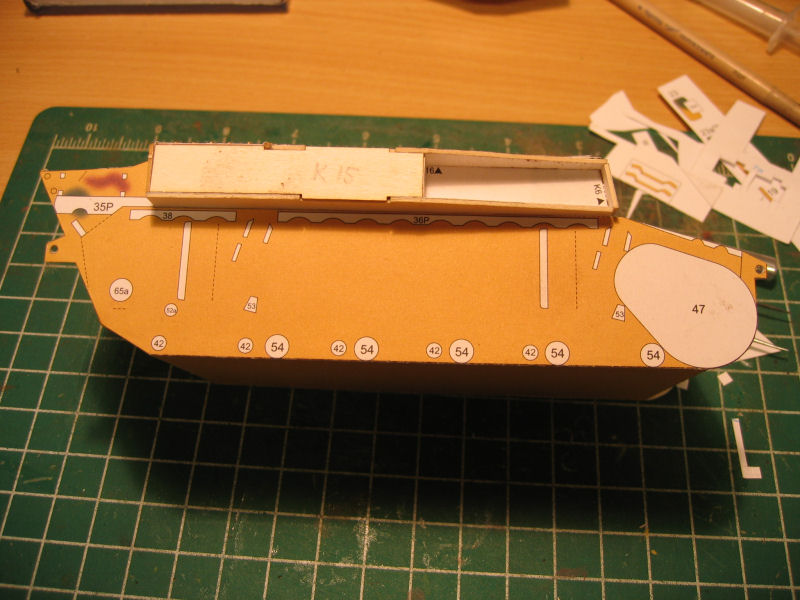
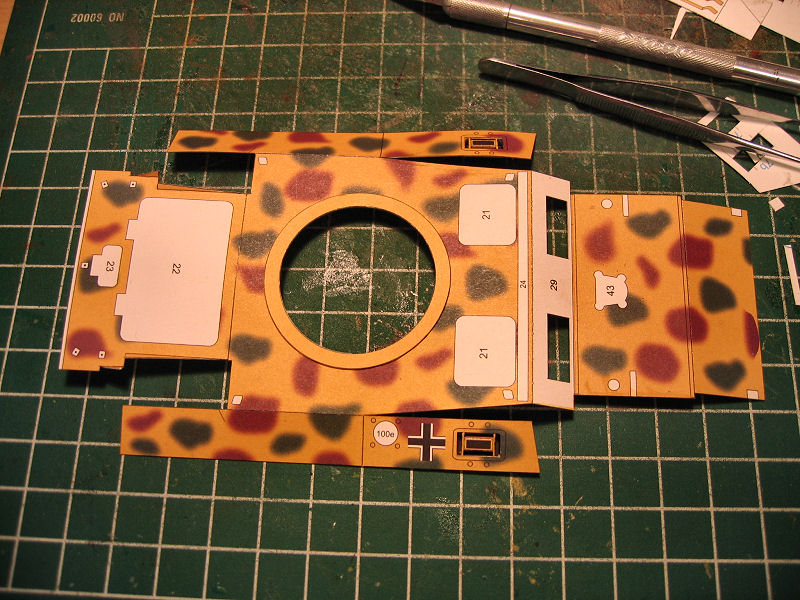
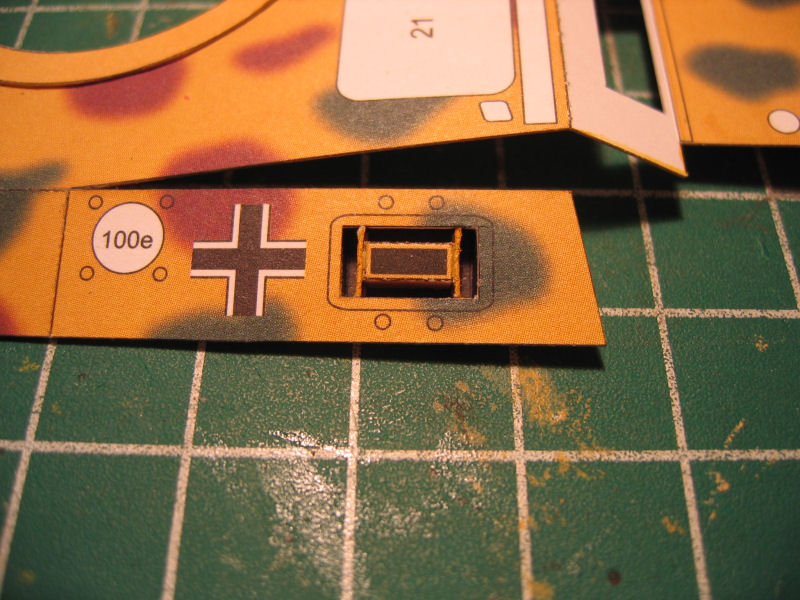
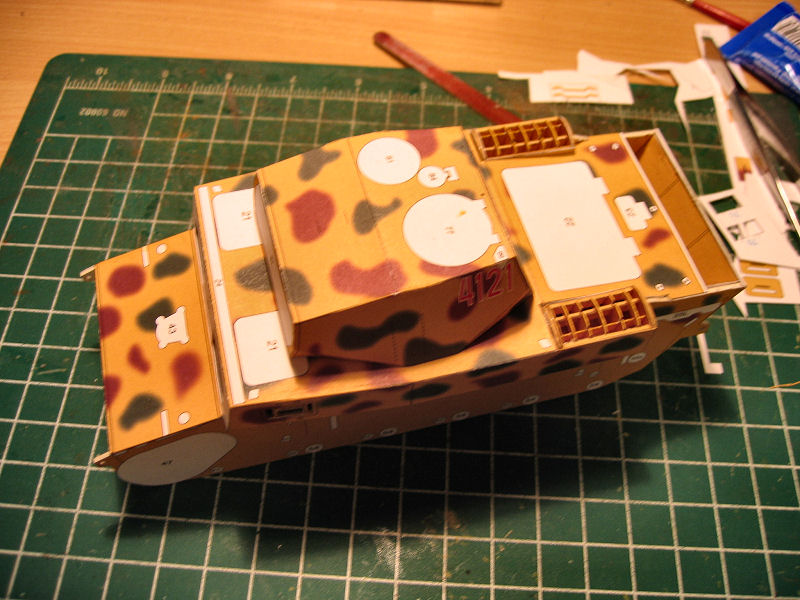
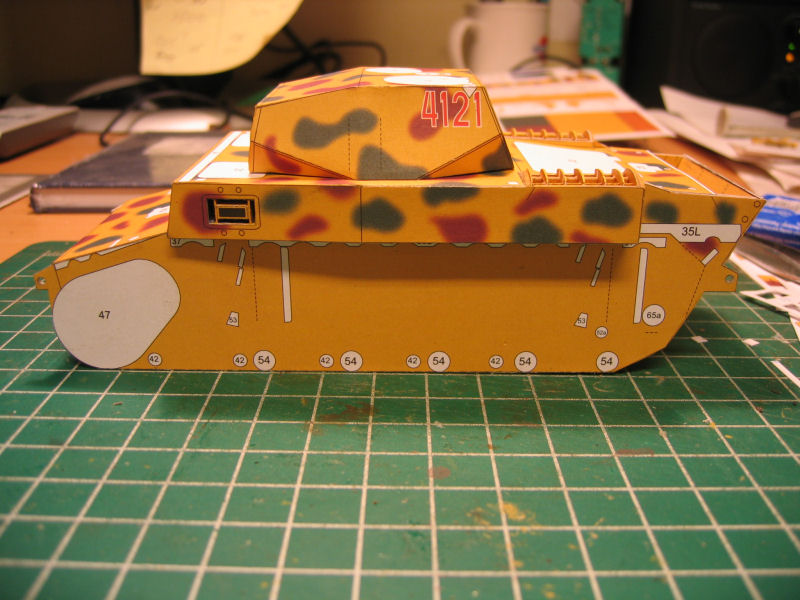
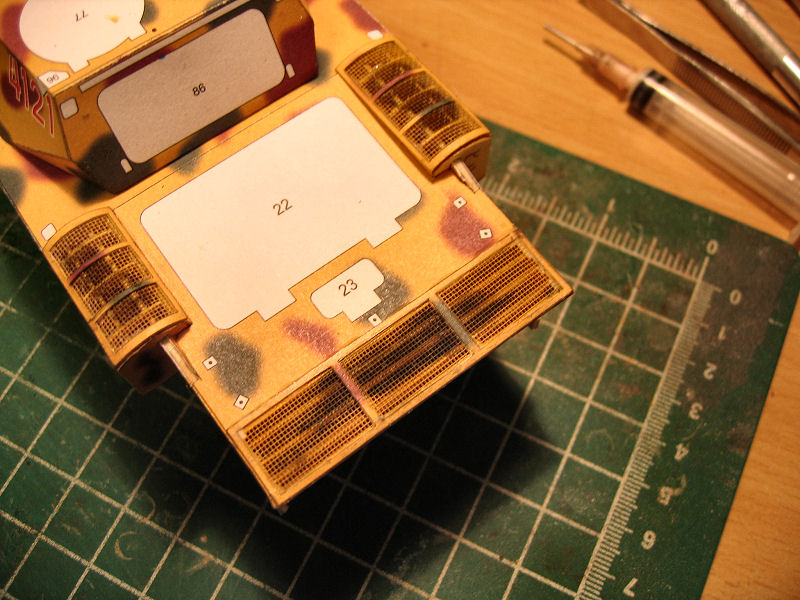
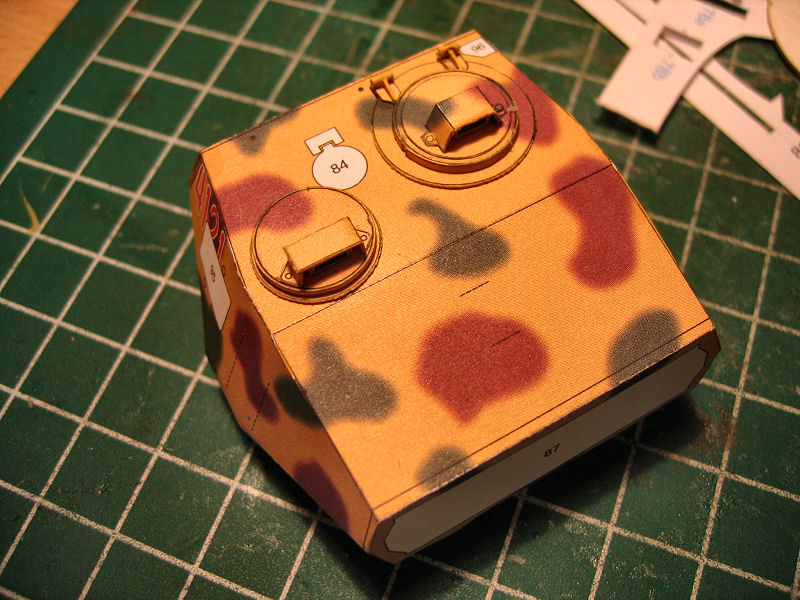
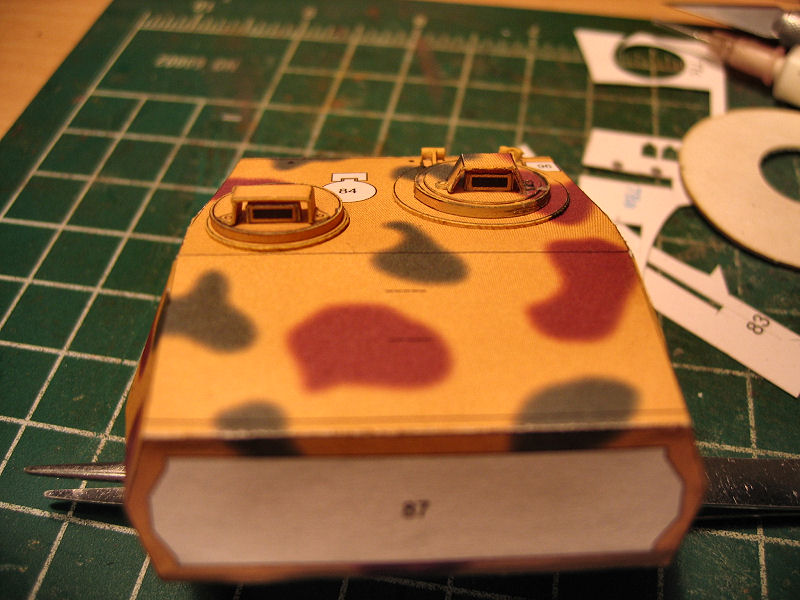
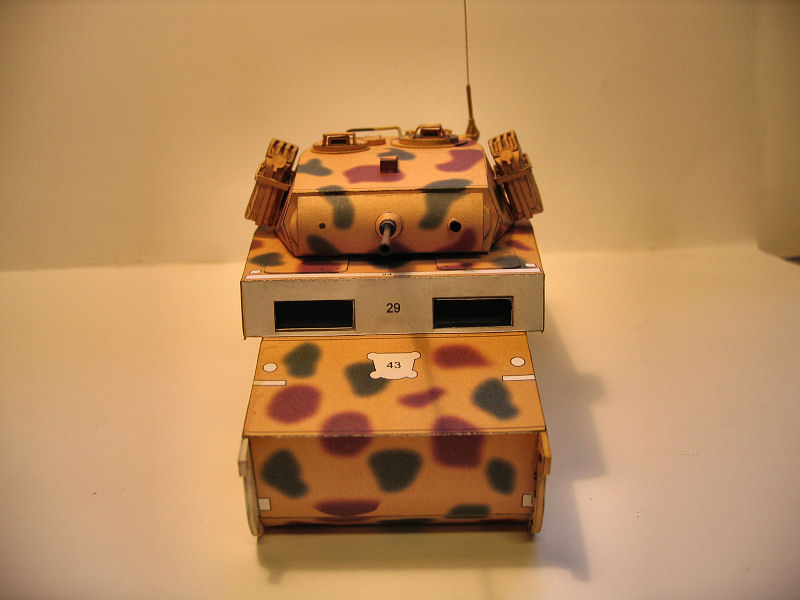
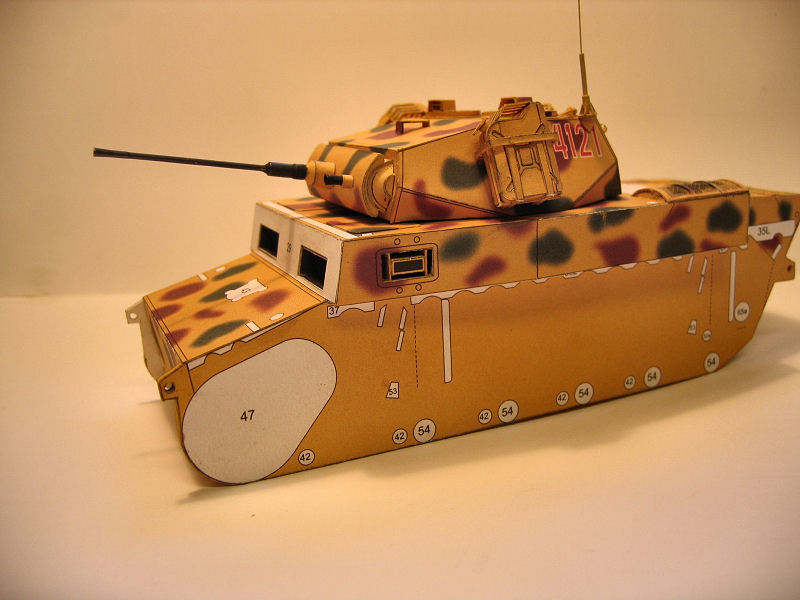
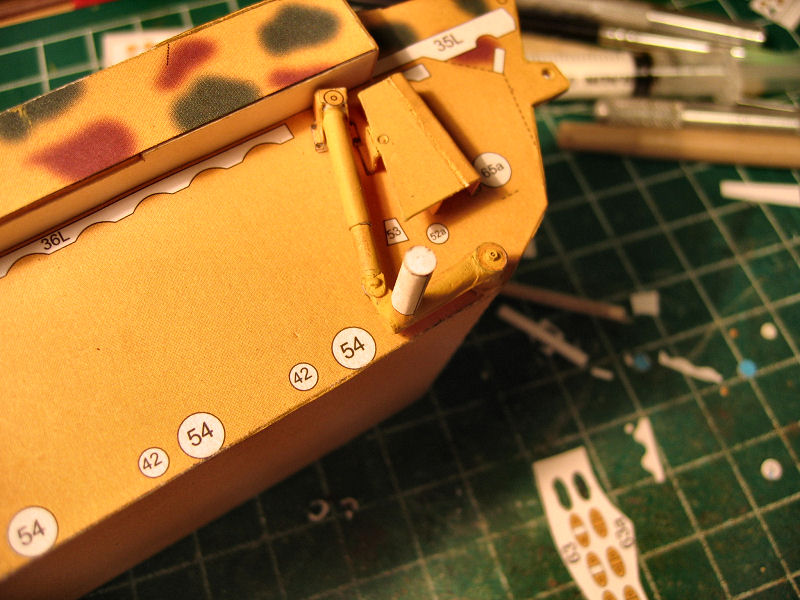
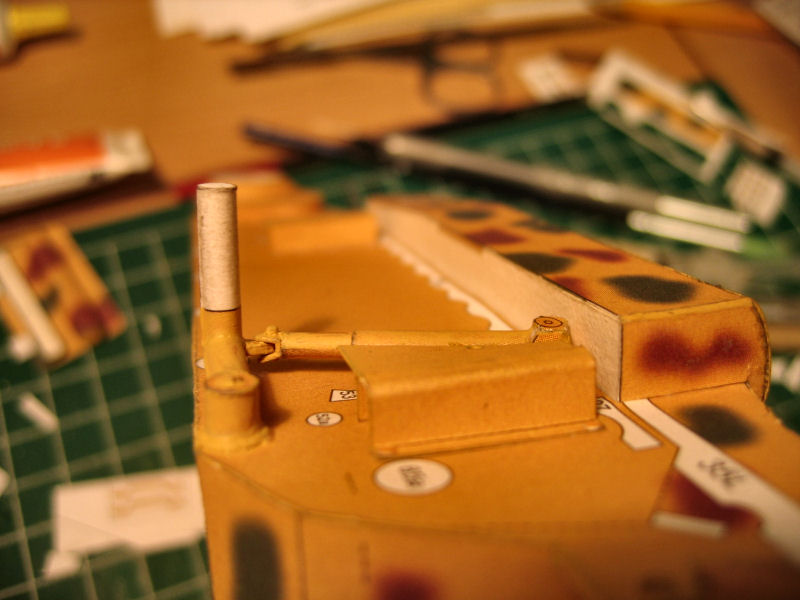
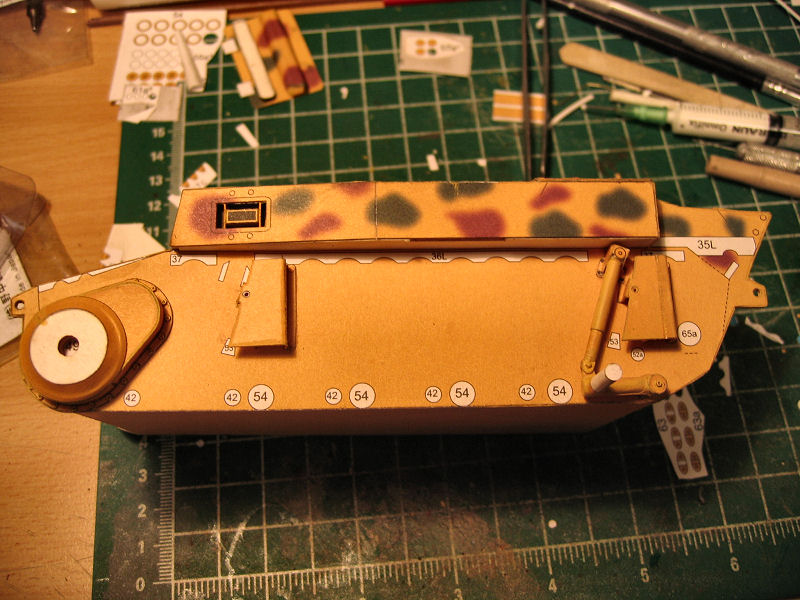
So here is what I have done so far.....
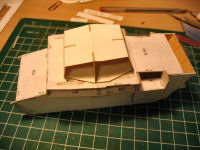
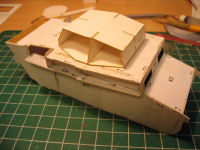
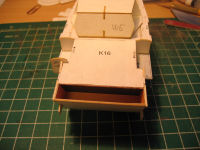
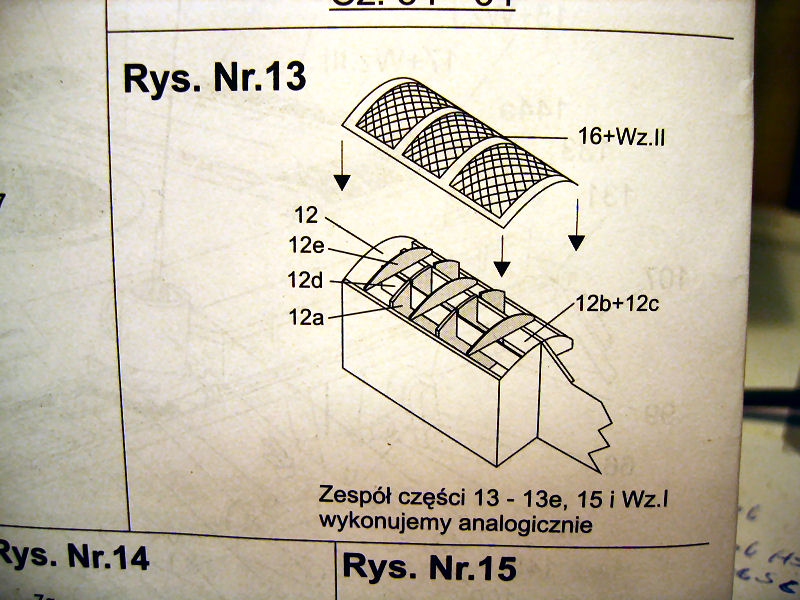
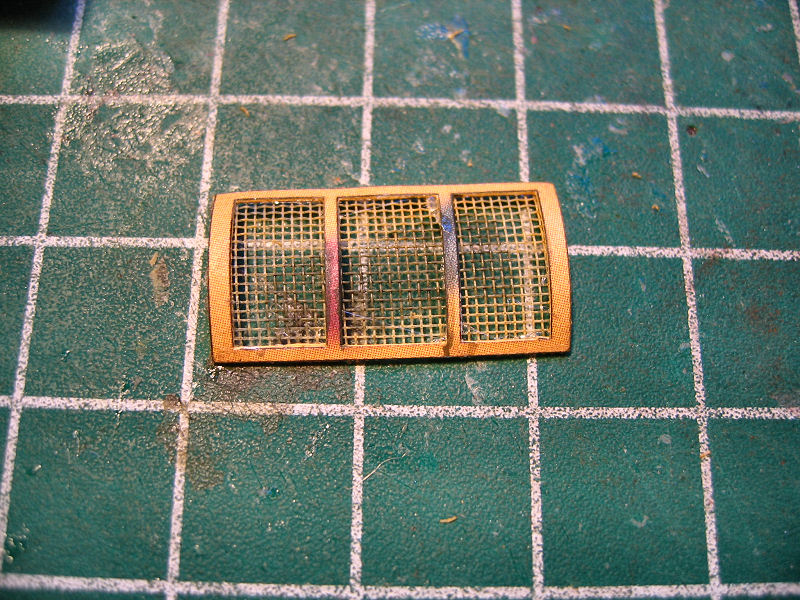
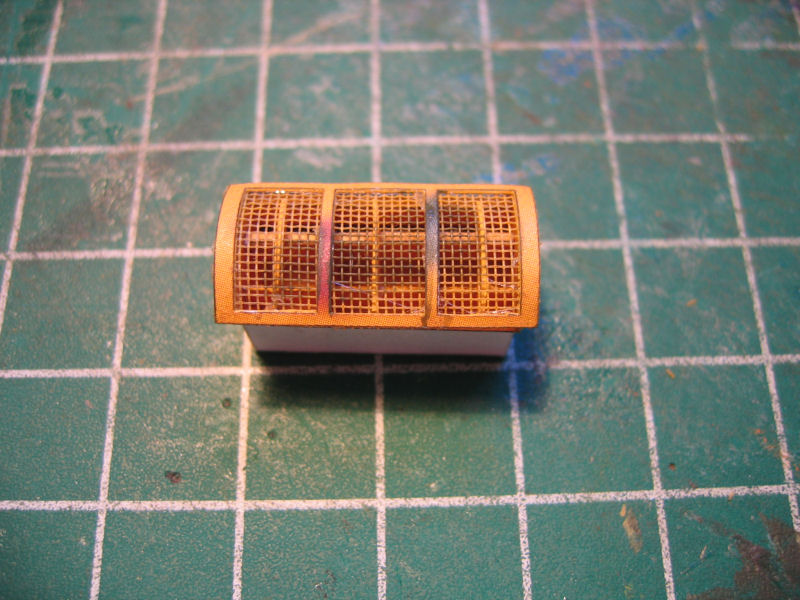
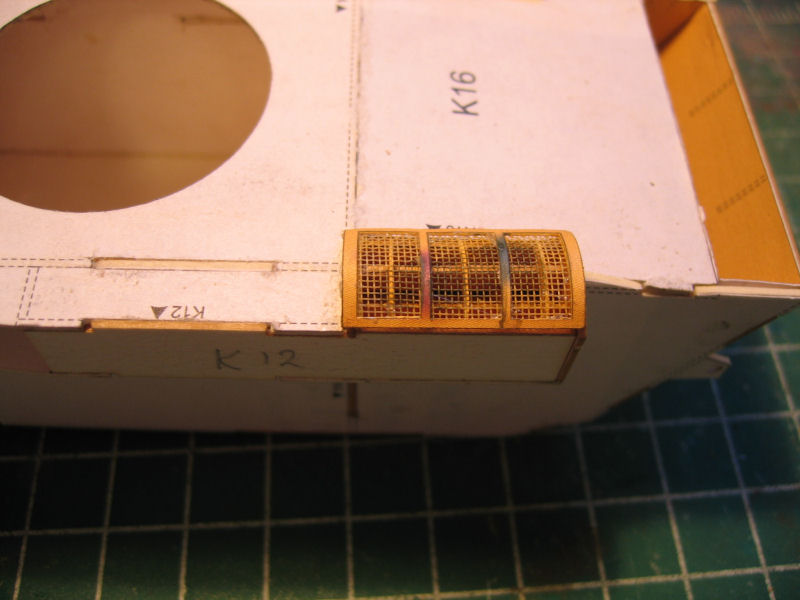
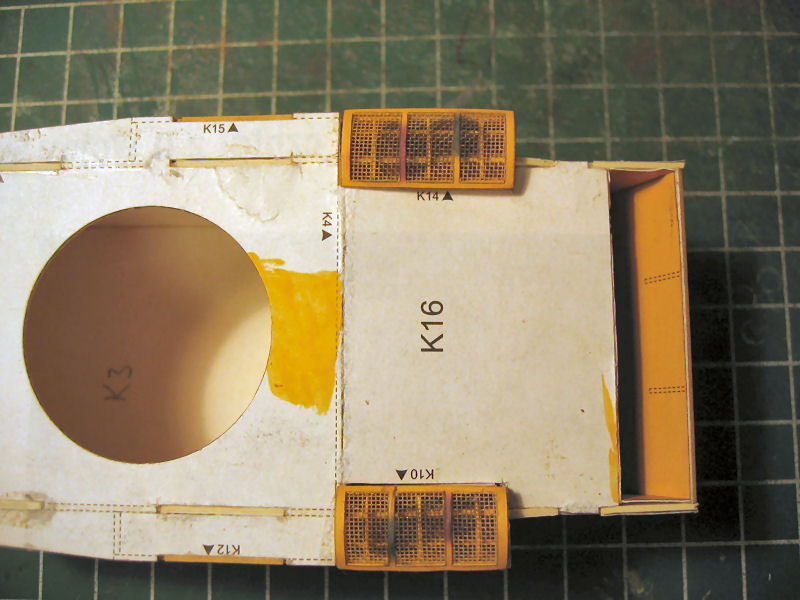
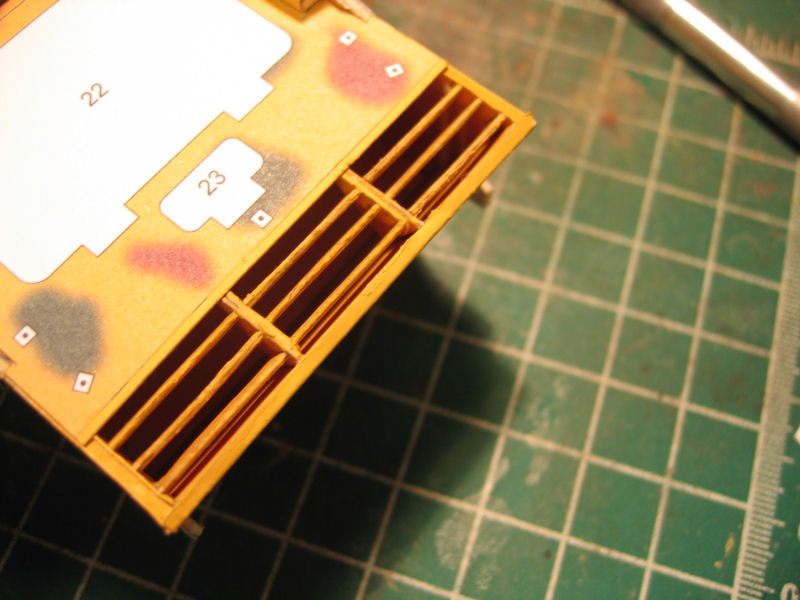
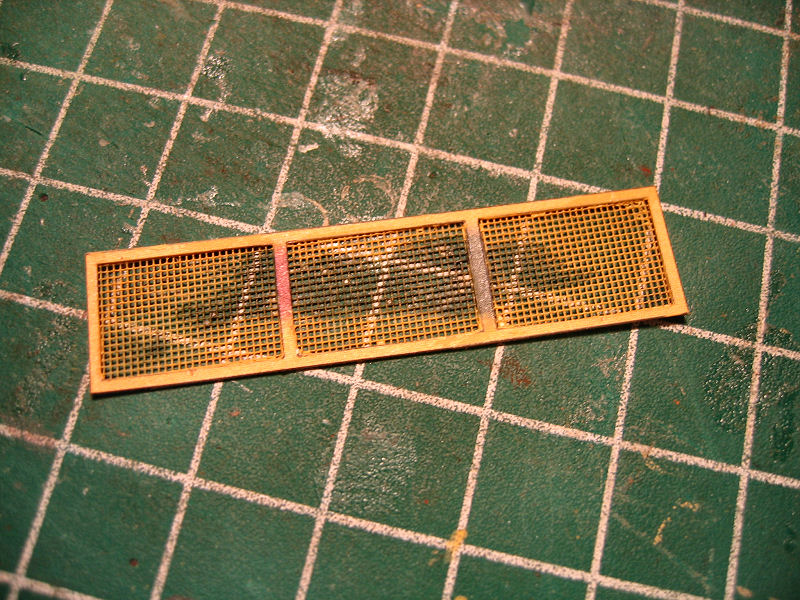
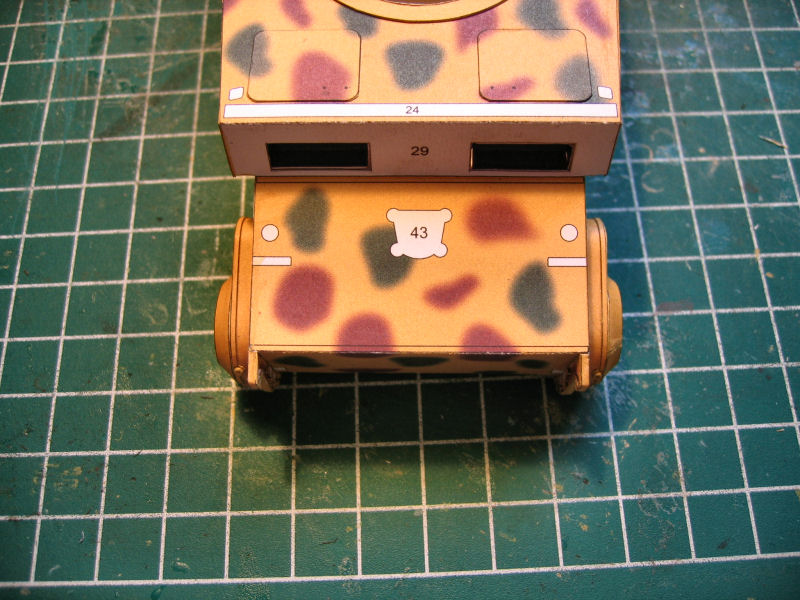
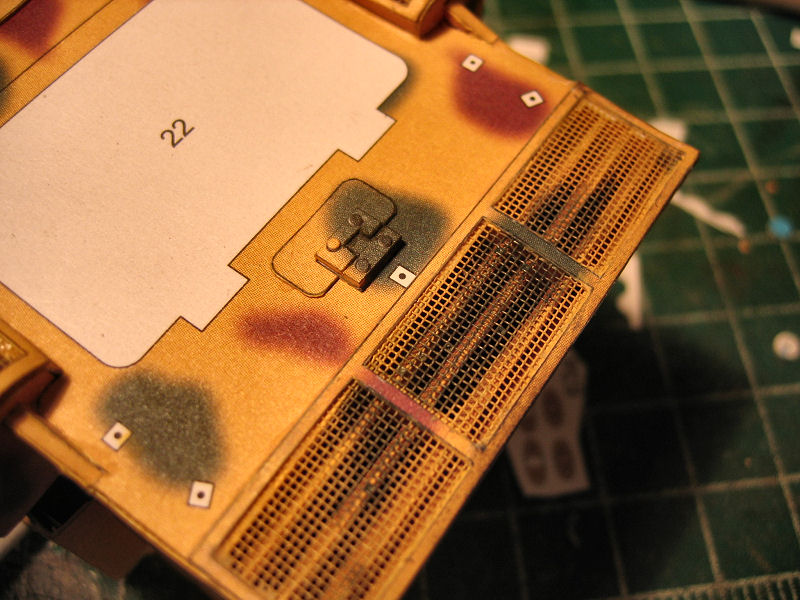
Next will be to add some smaller pieces on the frame and make the air vents at the rear end.
Hello!!
Time to start a new model
This time I will try to build the PzKpfw II Luchs from Wak.
[/URL]The main frame was to be built of lasercuts....
First the drawing
Parts for the frame

When I had assembled the frame I noticed something was wrong......I had done the most stupid error you can do.I had assumed both sides of the frame was equal.They were NOT!!!! So with a massive punch from my fist the laserparts hit the dust.....
I then had to make the frame the old fashioned way.....yes thats right,by cutting new parts
So here is what I have done so far.....


Next will be to add some smaller pieces on the frame and make the air vents at the rear end.


Comment