Or the ones that just don’t fit at all. A good example, though he hasn’t gotten to them yet on here, is the SKP A30 Challenger that Artyom (Neo) is building. It comes with separate-link tracks and a bag of track pins that are about 0.5 mm diameter and 1.5 mm long, at a rough guess and the instructions tell you to drill holes in the links for those pins … So that’s four 0.5 mm holes per link, for something like a hundred links per side, and worst of all, those links don’t even fit together correctly! (Needless to say, I decided to purchase a set of replacement tracks for when/if I get round to building the SKP kit I have in the stash.)
French R35 - My first ever armour model
Collapse
X
-
 Guest
Guest -
Hello Arthur,
Welcome to the change in your diet... For a first effort there is nothing wrong that cannot be altered and that really is just with the finishing. Pigments - for a start you can mix pigments to your own shade, so if a sand colour is too bright you can tone it down with some brown or even grey pigment. I have a jar of mixed pigment I use for desert base and for the life of me cannot tell you what is in it - but it works. Oil and fuel stains - you have the solution in your own paints from figures. Thin down a little Burnt Umber and let that flow into the cracks and crevices. Then for oil the same except with Lamp Black - put a little in place and then blend it in untill you are satisfied. As for the figures, I think you might struggle there a bit LOL.
Mike.Comment
-
Hi Mike ! Thank you for those tips ! I'll keep them in mind for the next model I'll do.Hello Arthur,
Welcome to the change in your diet... For a first effort there is nothing wrong that cannot be altered and that really is just with the finishing. Pigments - for a start you can mix pigments to your own shade, so if a sand colour is too bright you can tone it down with some brown or even grey pigment. I have a jar of mixed pigment I use for desert base and for the life of me cannot tell you what is in it - but it works. Oil and fuel stains - you have the solution in your own paints from figures. Thin down a little Burnt Umber and let that flow into the cracks and crevices. Then for oil the same except with Lamp Black - put a little in place and then blend it in untill you are satisfied. As for the figures, I think you might struggle there a bit LOL.
Mike.
As for the figures, I actually was able to work on them a little bit this week-end ! I was more in known territory
I'm not sure I should post that here or if I should move this thread to figure painting ?
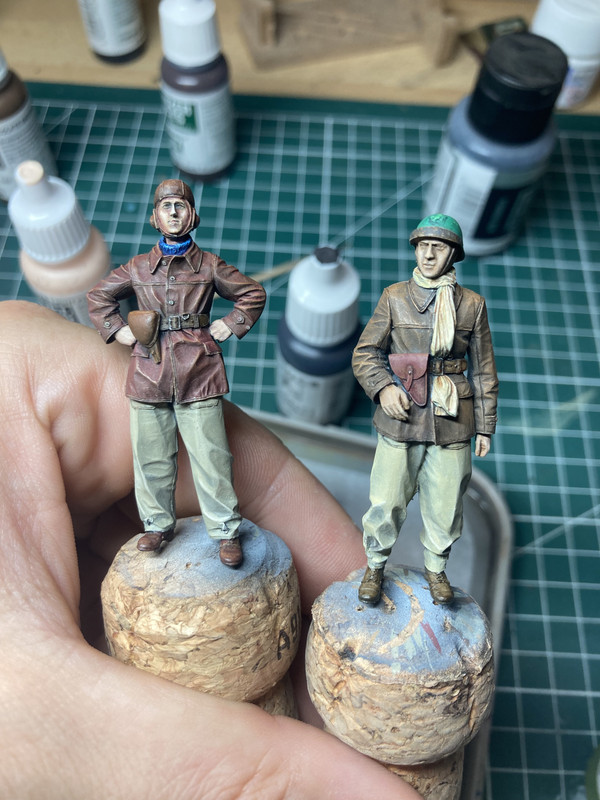
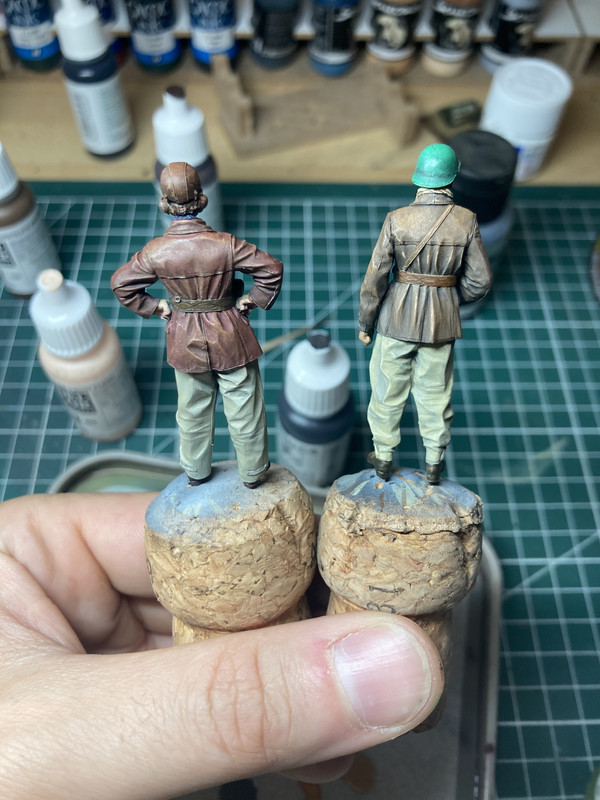
I started by doing the pant and the leather jacket.
I've carefully glazed 2 or 3 coats and I mad sure to not cover completely the zenithal under coat.
For the pant, Base coat : Light Mud. / High lights : Light mud + Ivory / Shadow / Light mud + Black
To simulate the leather on the Jacket, I applied a base coat of Red Brown. I used wood grain to push the shadow. For the high light I did several coat of dry brush of mix of my base coat with more and more orange brown. The final coat was pure orange brown.
I finally did a edge high light on all the pockets and sewing details with a sandish colour.


I felt the jacket was to red, so I applied a glaze of Chocolate brown to bring back the brown colour. It also unifies all the colours.
I did pretty much the same thing on the holster and the belt but with different tone of brown to have colour variation.


Unfortunately, by the time I was done with the body, I had to leave to not miss the train.
If only models where free, I wouldn't have to go work !
Next objective (whenever I'm back home), the head and the other guy!Comment
-
Part of the same build so no problem. At least not with me, I might learn something.Hi Mike ! Thank you for those tips ! I'll keep them in mind for the next model I'll do.
As for the figures, I actually was able to work on them a little bit this week-end ! I was more in known territory
I'm not sure I should post that here or if I should move this thread to figure painting ?
I started by doing the pant and the leather jacket.
I've carefully glazed 2 or 3 coats and I mad sure to not cover completely the zenithal under coat.
For the pant, Base coat : Light Mud. / High lights : Light mud + Ivory / Shadow / Light mud + Black
To simulate the leather on the Jacket, I applied a base coat of Red Brown. I used wood grain to push the shadow. For the high light I did several coat of dry brush of mix of my base coat with more and more orange brown. The final coat was pure orange brown.
I finally did a edge high light on all the pockets and sewing details with a sandish colour.


I felt the jacket was to red, so I applied a glaze of Chocolate brown to bring back the brown colour. It also unifies all the colours.
I did pretty much the same thing on the holster and the belt but with different tone of brown to have colour variation.


Unfortunately, by the time I was done with the body, I had to leave to not miss the train.
If only models where free, I wouldn't have to go work !
Next objective (whenever I'm back home), the head and the other guy!
MikeComment
-
-
-
Arthur, I fully subscribe what Jim said: "I would be more than happy with those two" :thumb2:
Inspiring work, indeed.
AndreaComment
-
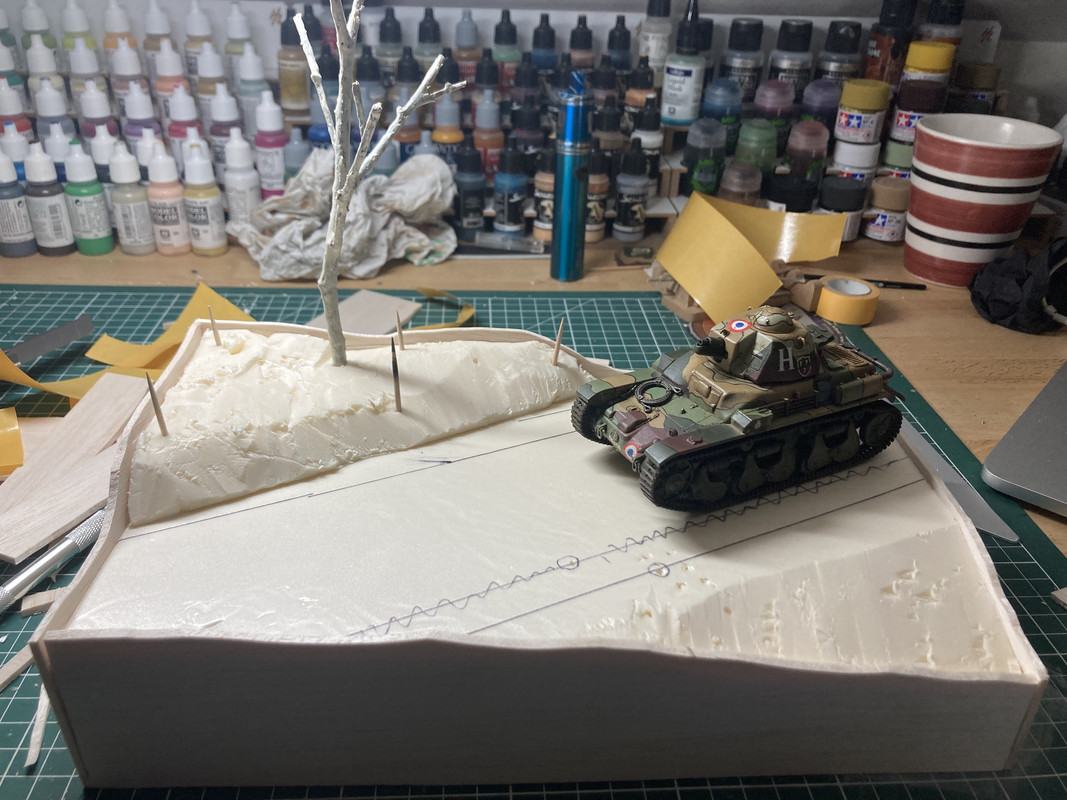
Now that I've finished the vehicle and the two tankers, I can work on the diorama.
I want to make something fun with a light mood.
Maybe the tank could be stuck by something unexpected ?
I sketched out the basic position of all the characters on a piece of extruded foam.
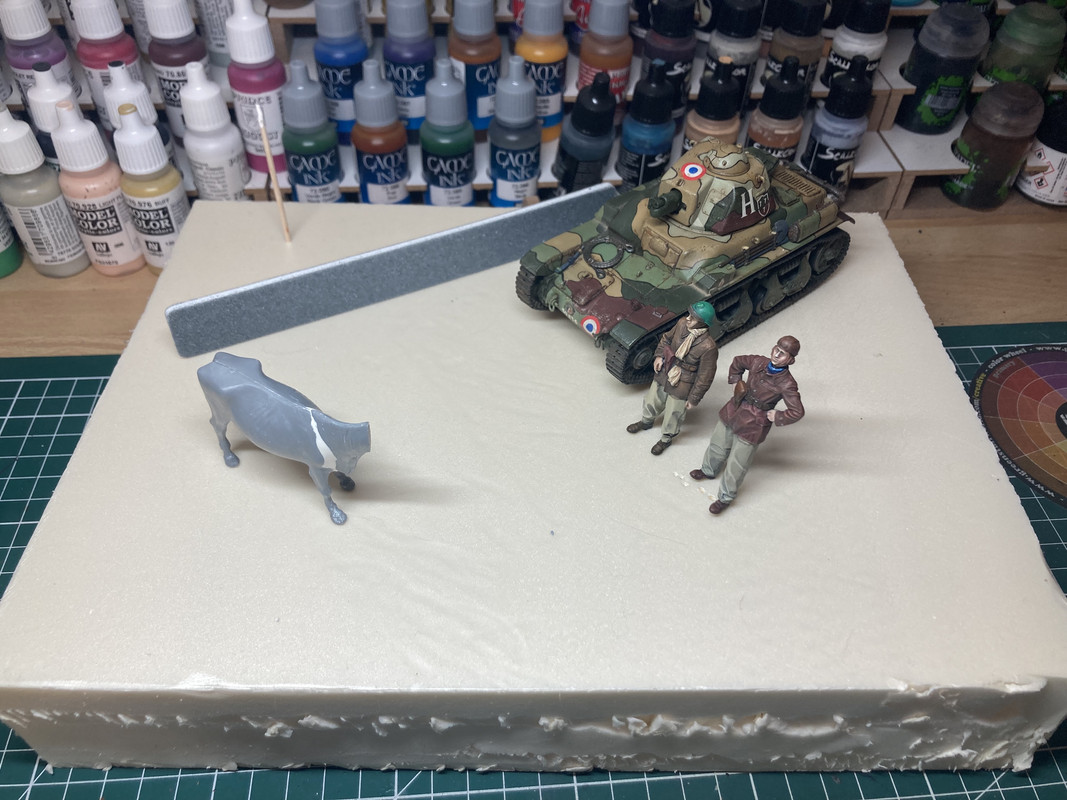
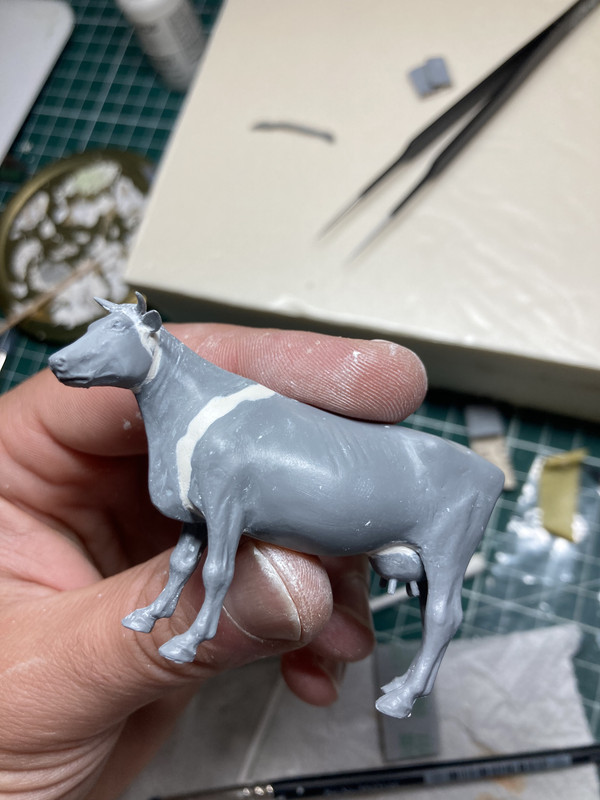
I realised I had to assemble the cow completely to know where it's looking at before I can move forward.
It came from kit I found on eBay. It was pretty horrible to assemble. Nothing fitted together at all. A had to use a lot of putty to smooth out everything. I'll probably have more clean up to do when I'll paint this beast.
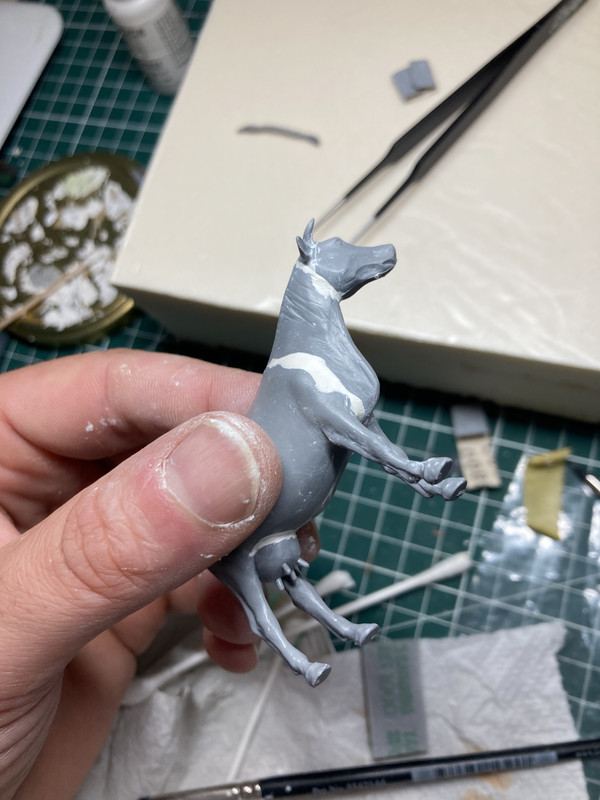
After this was done, I reduce the size of the base and to make the scene more compact. A slope un in the foreground and a hill in the background.
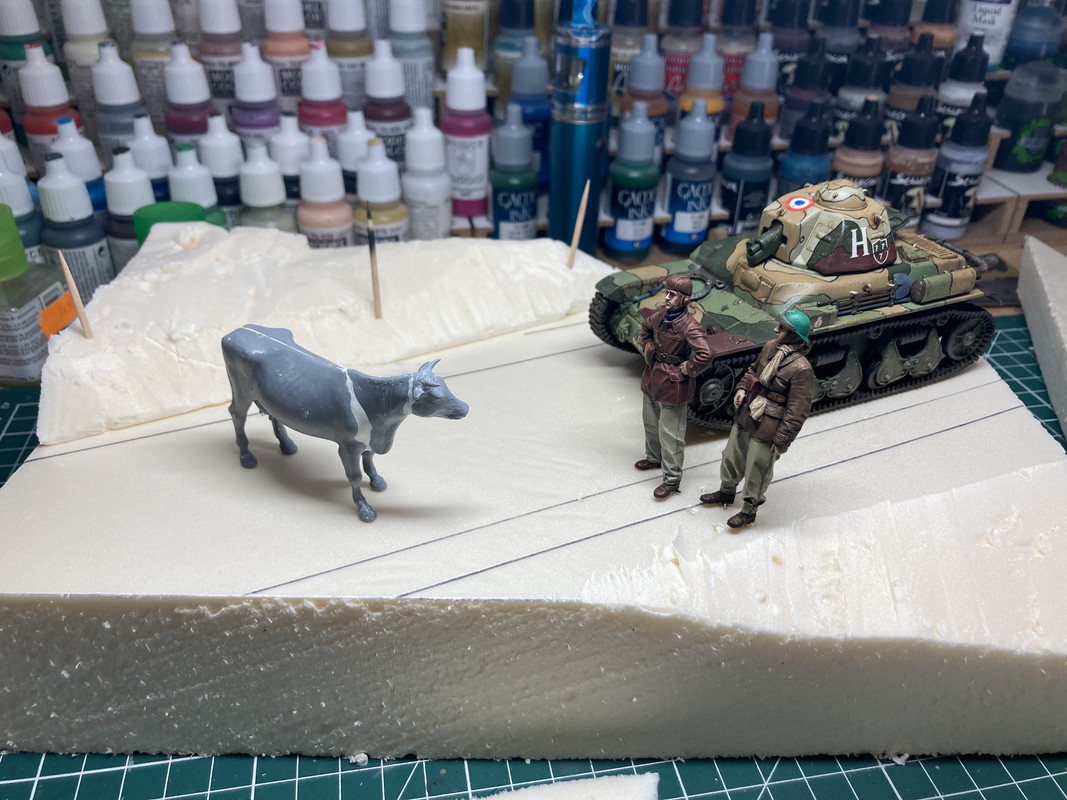
I'll put a broken fence from where the cow escaped.
Finally, I build a tree from dry wood and plastic putty, and I framed everything with balsa wood.
To be continued....Comment


Comment