Nice work Dave. Good to see progress.
HobbyBoss 1/72 German 80cm K(E) Railway Gun 'Dora' (82911) - Demo Build
Collapse
X
-
-
-
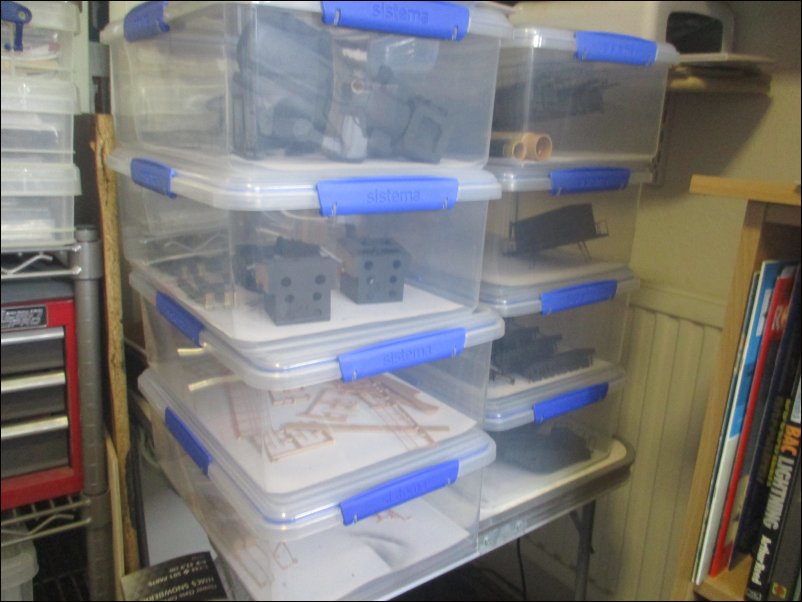
Thanks John. I originally started with eleven containers but I am down to eight now. Pretty soon this model will be too big to fit in any sort of container:
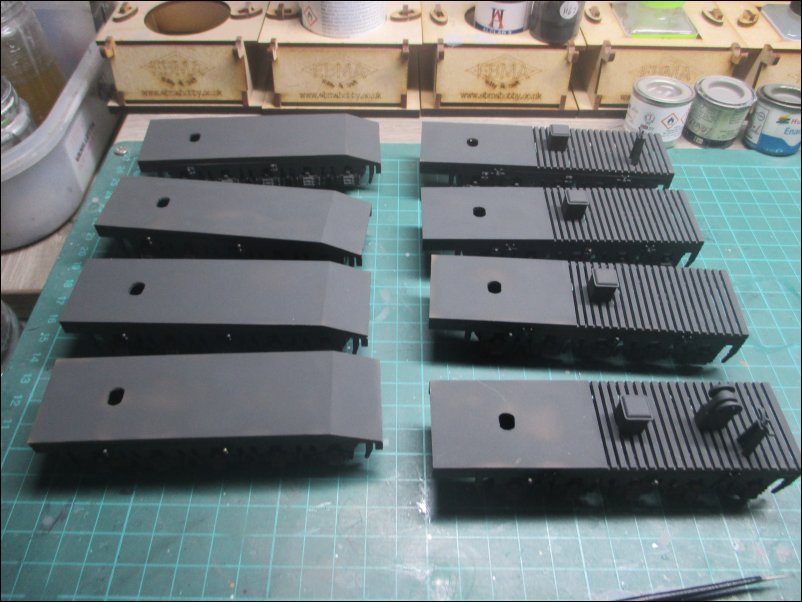
I fitted the wheels and frames to the sides of the bogies, making sure that the correct frames were put on the right bogies:
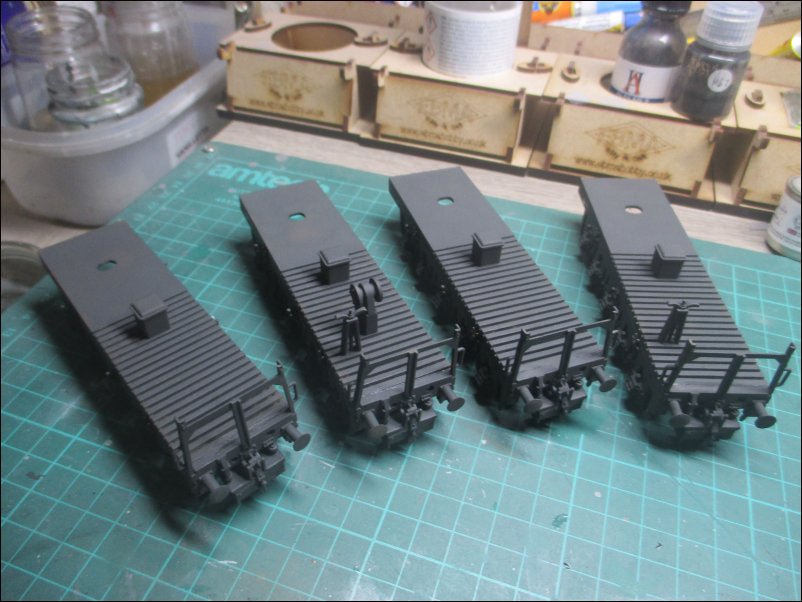
The four bogies with timber detailing had their buffer bars glued on:
That is all for now
DaveDaveCov - Founder of The Airfix Tribute Forum 2006Comment
-
Excuse the pun but it is now time to get this build back on track after real-life had got in the way of progress. Talking of track, the base consists of nine sections on which two railway lines are laid.
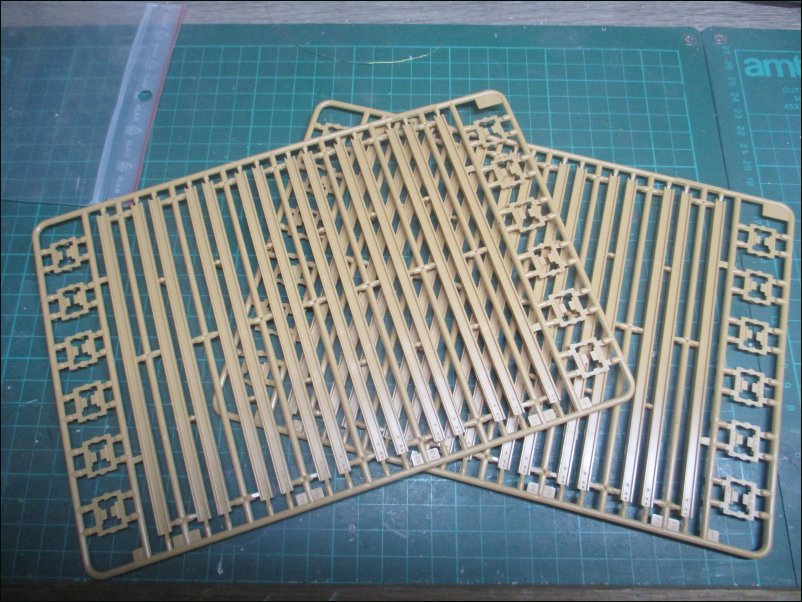
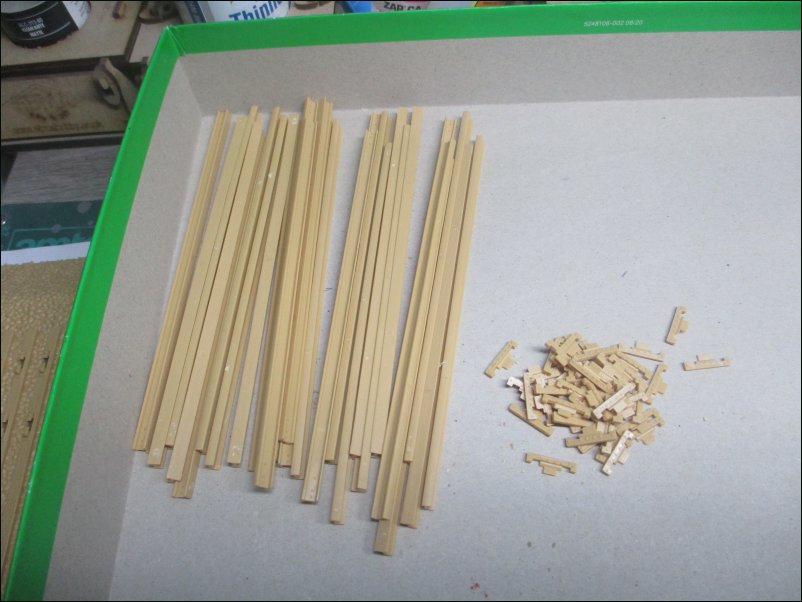
There are a total of 28 sections of track and 48 fishplates:
Parts have been removed from the runners and will need a lot of cleaning up, especially the fishplates:
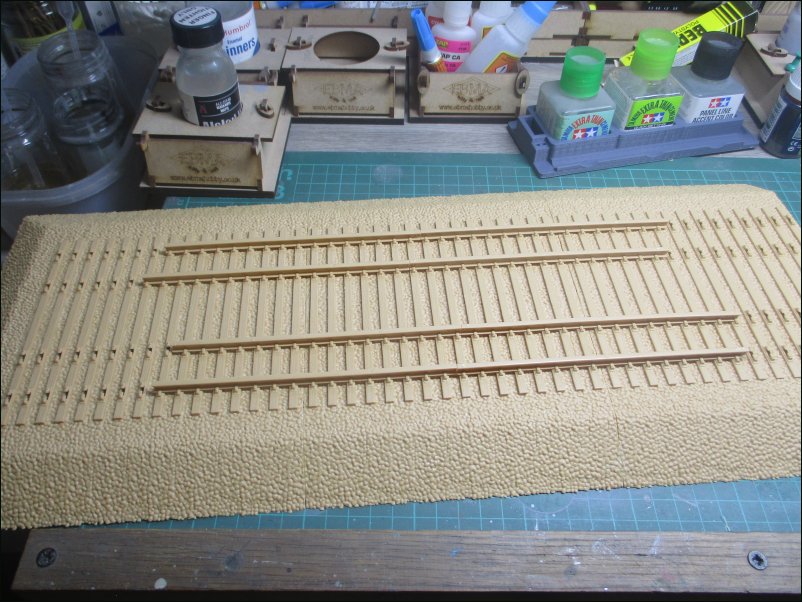
Putting the section of track and fishplates to one side, I turned to the base sections. There are seven identical sections plus two end pieces and I started by glueing these onto the larger sections:
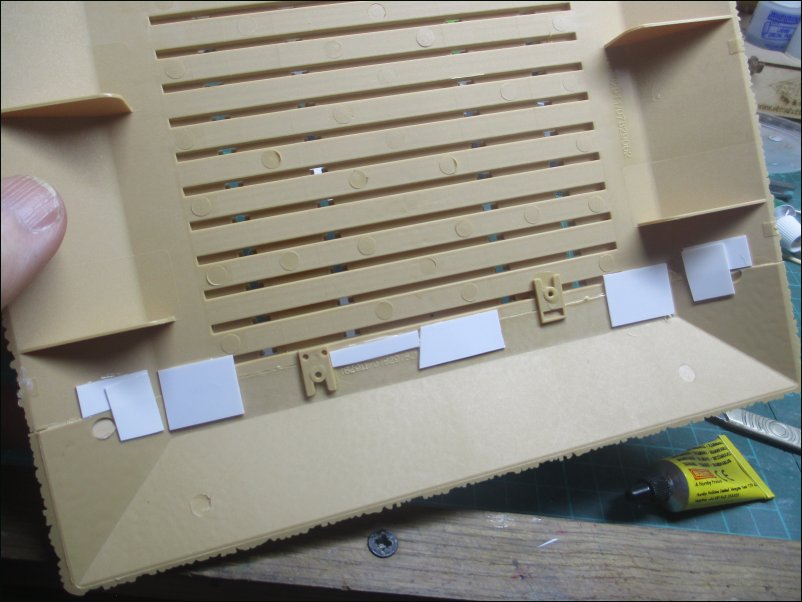
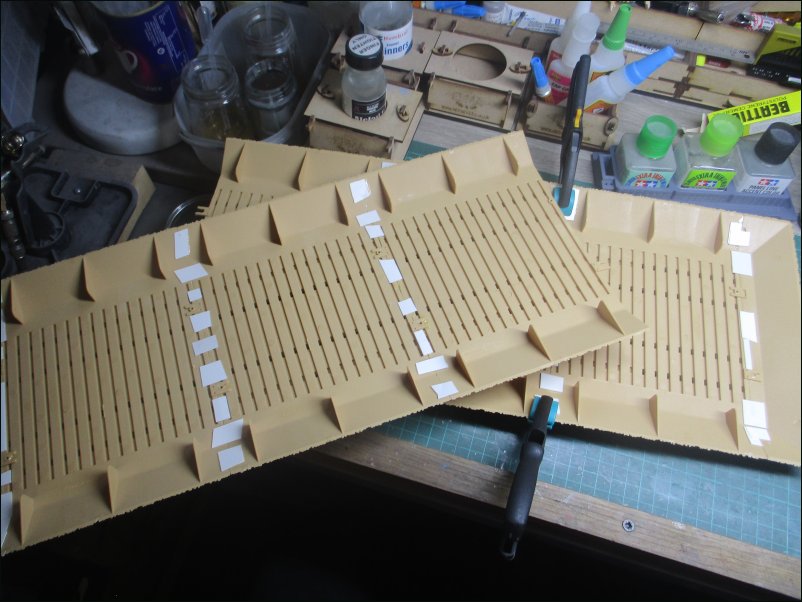
On the rear side of the joins I glued scrap pieces of plastic card along the join:
I then added two more sections to each end and strengthened them too with plastic card:
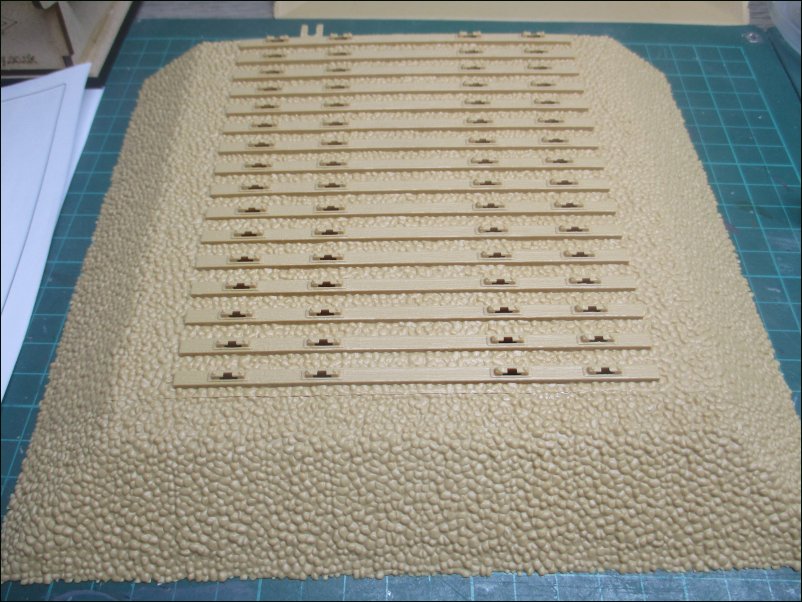
Turning the sections over, I slid some track over the joins to help keep the sections reasonablly level. Getting the unpainted track to slide through the tie downs was really difficult and I will have to resort to a fair amount of fettling in order to get painted track sections through:
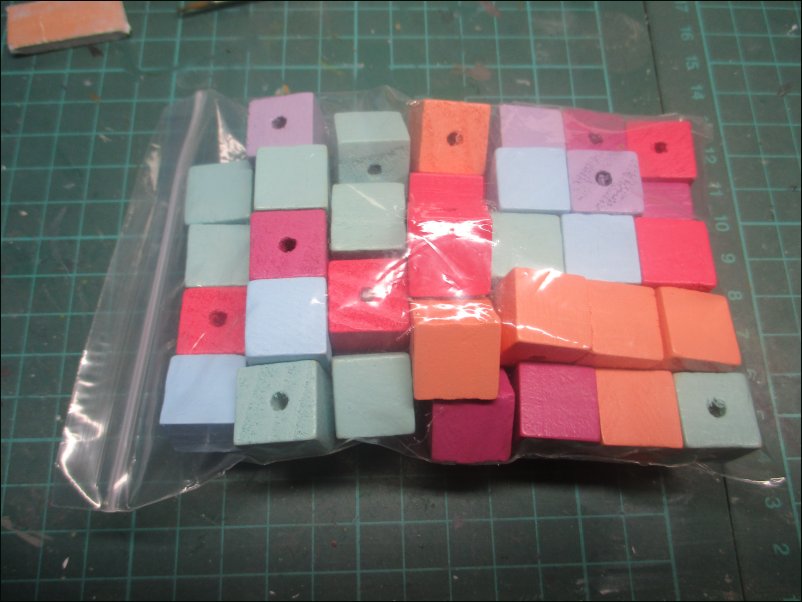
These sections flex a lot with weight on them and I have been investigating all sorts of ways to stop it. In the end I purchased some wooden 15mm cubes that will be glued to the underside to keep the sections level and will add a couple of wooden battens too. The centre section of the base won't be glued to the other two sections because at over 1.1 metre long it will be a handful to move around.
The sections have been put to one side now in order to let the joins set firmly.
That is all for now
DaveDaveCov - Founder of The Airfix Tribute Forum 2006Comment
-
-
I'm so glad to see this build get back on track...... see what I did there.Comment
-
Great, the monster gun is back in the room! Good work on the base.
To make it easier to thread the rails, make sure the leading rail edge is thinned a little and lubricate the rail with a couple of drops of water. I think I’d be tempted to paint that bit after assembly. The rail and chairs will be very similar in colour and a pin wash will easily differentiate the two. If you try to paint the rail first it will increase the difficulty in threading the rail, and the paint will probably get rubbed off during assembly anyway…..Comment
-
Thanks for the tip about the rails, Tim. :thumb2:
DaveDaveCov - Founder of The Airfix Tribute Forum 2006Comment
-
Another little update.
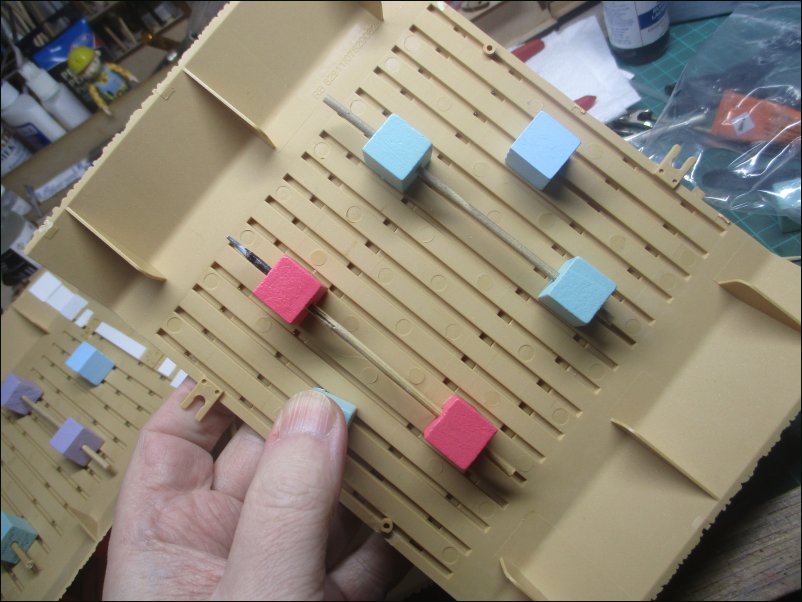
I had been awaiting the delivery of some wooden cubes to support the base. Today they have arrived:
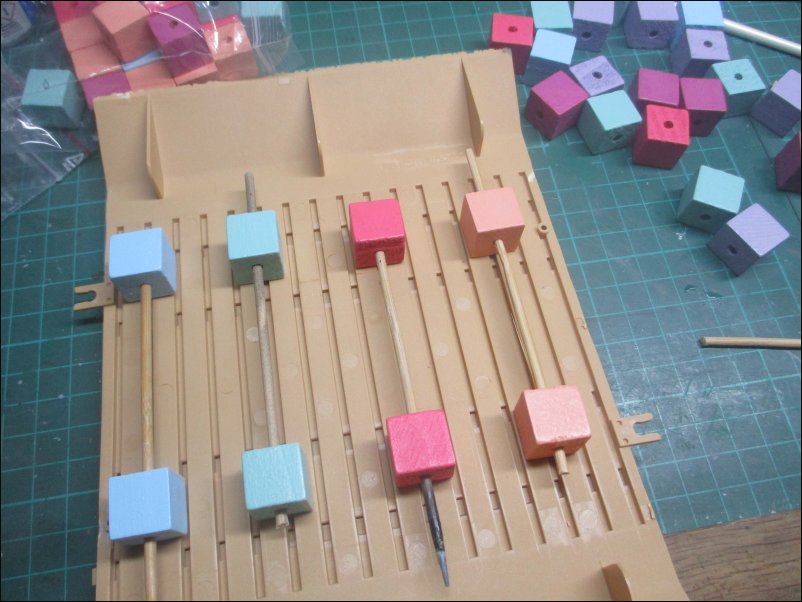
I carried out some trial positioning of the cubes. Having them on skewers in pairs made it easier to handle them but I doubt they will stay there:
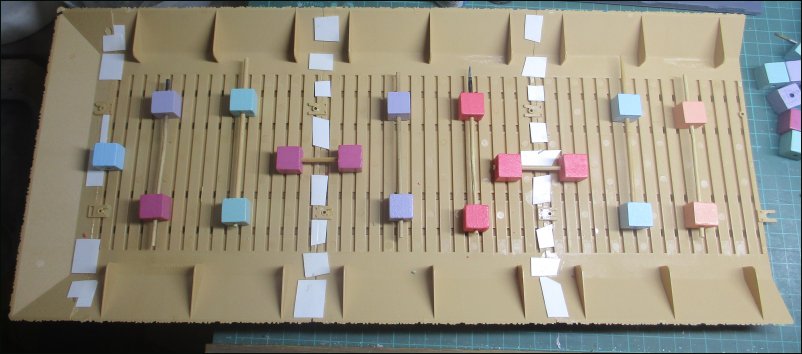
This layout of cubes is almost the one I have decided on although since taking this photo I have added a single one on the right hand side:
Before working on the two large sections, I decided to glue cubes on the small centre section on it's own. That way if it didn't work out correctly then I wouldn't have wasted a lot of time and glue:
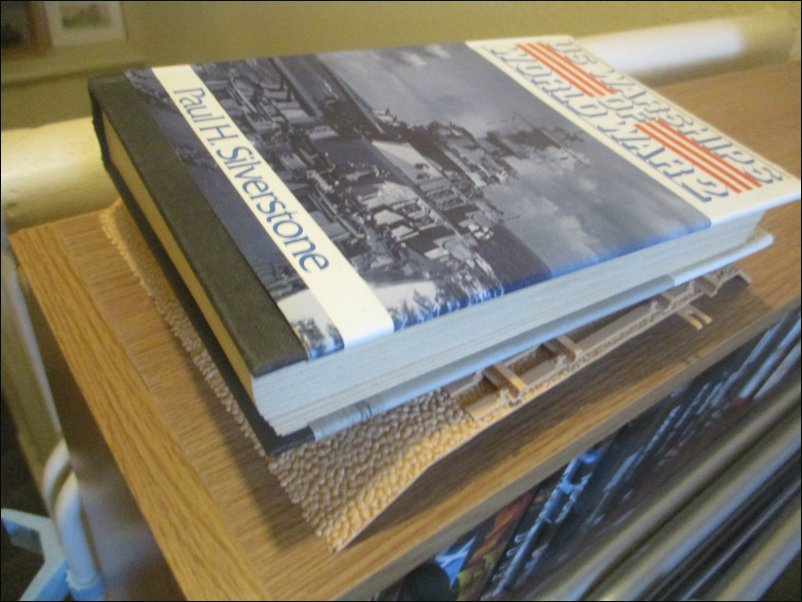
After glueing, I turned the small section up the right way and put a heavy book on it. The supports worked perfectly and allow a bit of flexing on an uneven surface. In view of this I have decided that additional battens won't be needed:
Hopefully, the rest of the cubes will be glued to the larger base sections by the time of my next update.
That is all for now
DaveDaveCov - Founder of The Airfix Tribute Forum 2006Comment
-
-
It has been a few weeks since my last update but things are still moving along - albeit slowly.
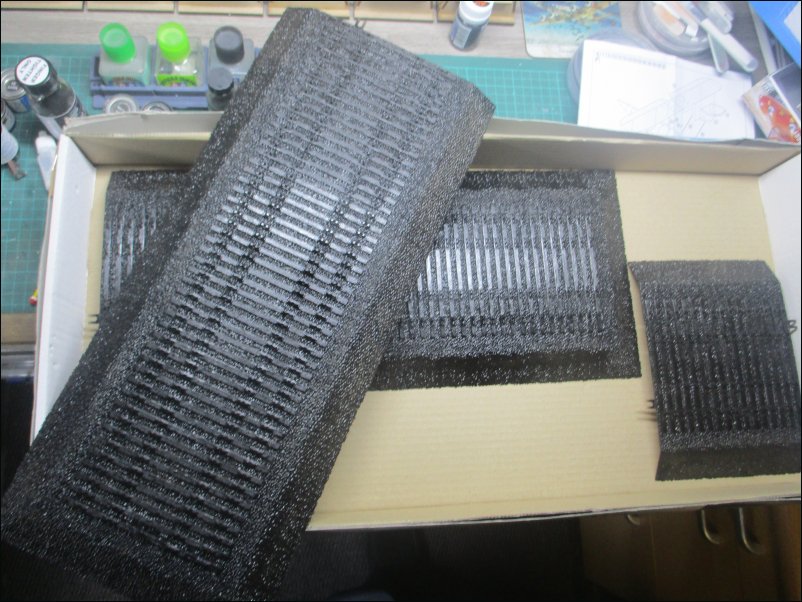
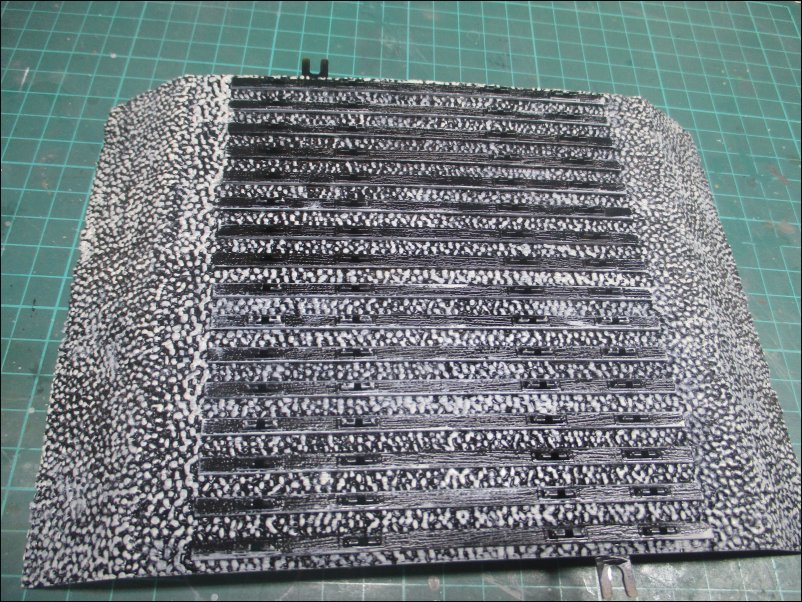
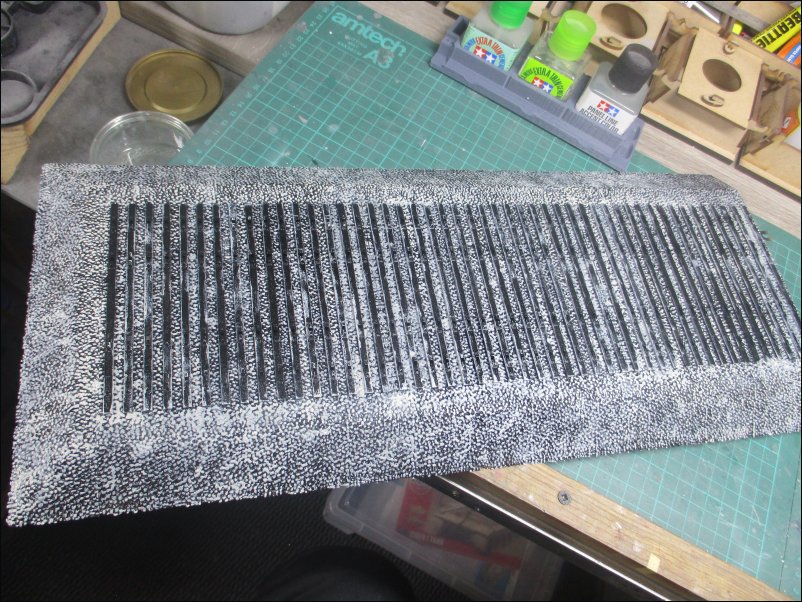
I have been concentrating on the base sections and once the wooden cubes had been glued to the underside, I gave the sections a coat of black paint:
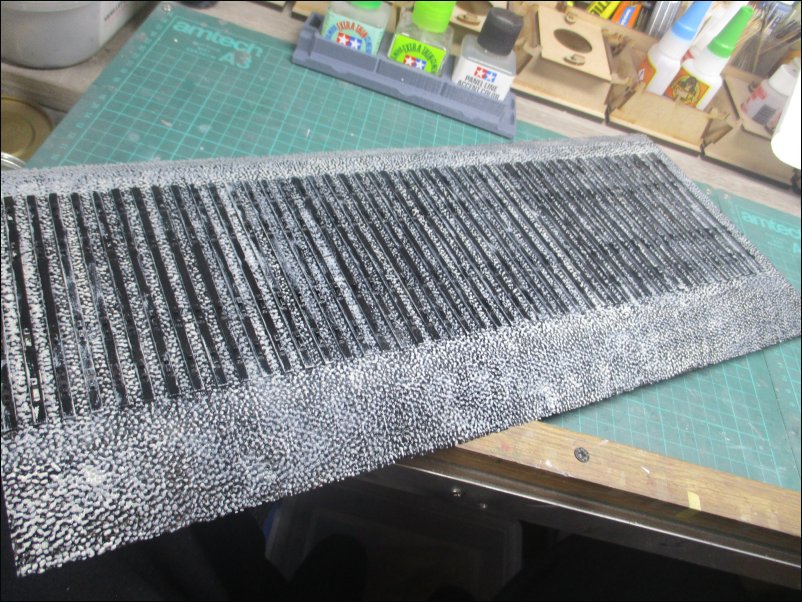
I then brush-painted a first coat of grey on the "gravel". The right section:
Mid Section:
Left Section:
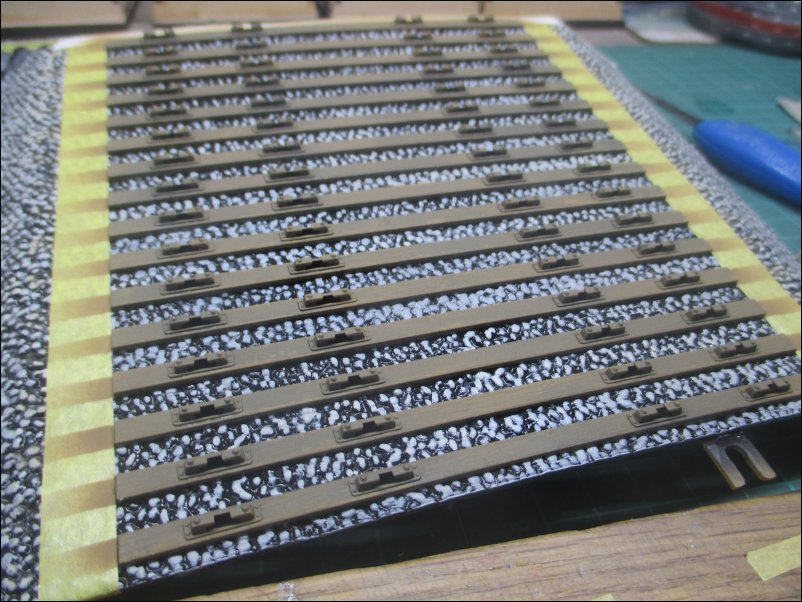
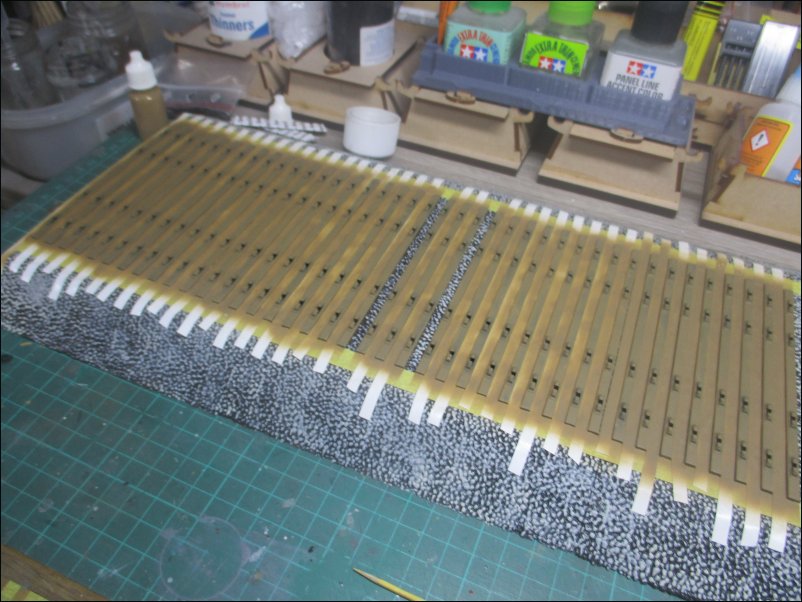
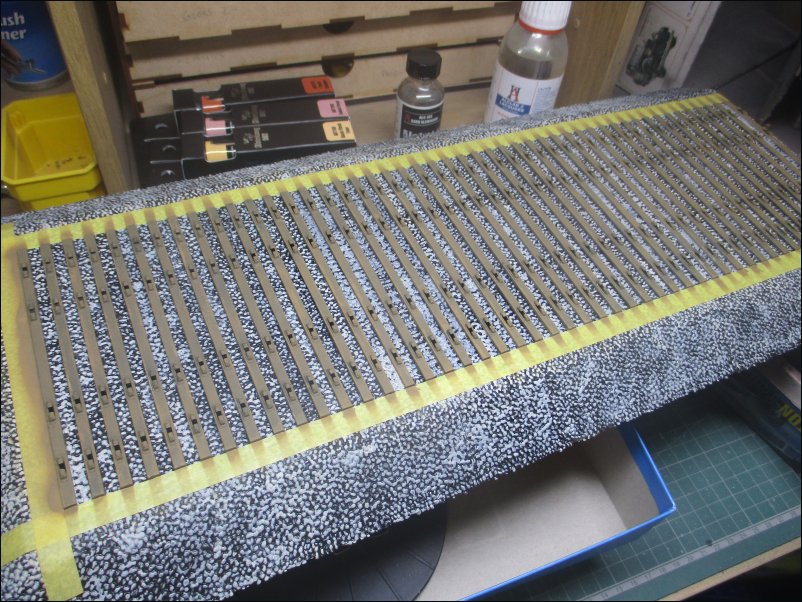
The mid section was masked off and the sleepers airbrushed with H110 Matt Natural Wood. The masking tape was removed from the section and re-used on another section:
Applying masking tape between the sleepers on the left section:
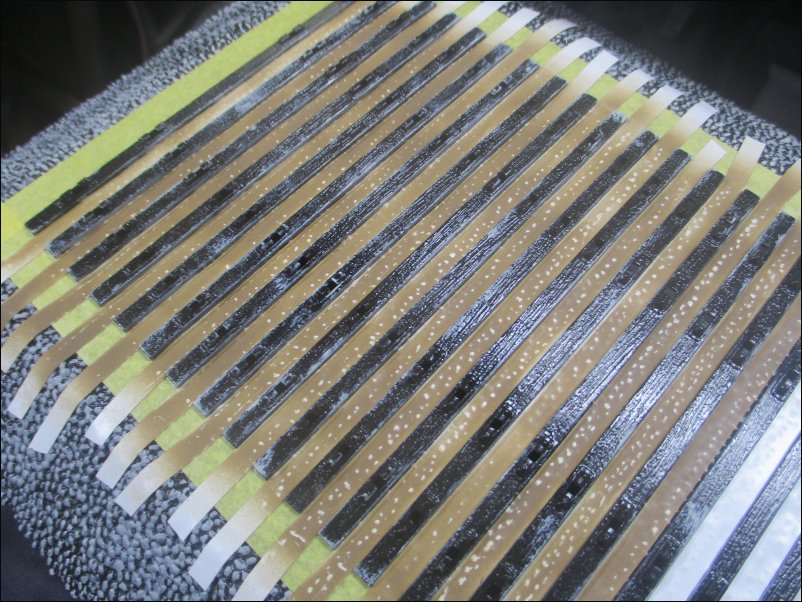
After spraying the left section, I started removing the masking tape:
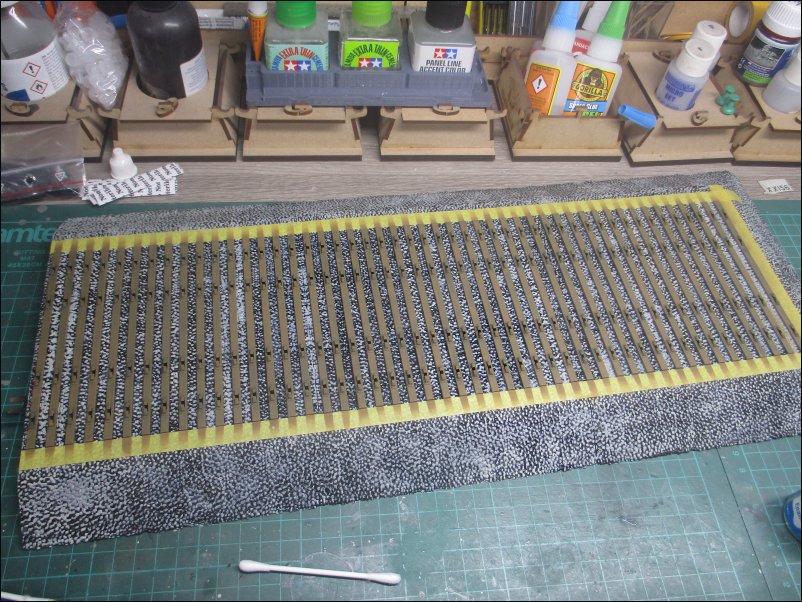
The masking tape has been removed from the left section now:
The process was repeated with the right section:
I still have a lot of painting to do but that is all for now.
DaveDaveCov - Founder of The Airfix Tribute Forum 2006Comment
-
Remember this demo-build? Well, I am finally in a position to resume this build after a gap of about 10 months. I won't be devoting all of my available modelling time to it but will be making progress in-between other builds.
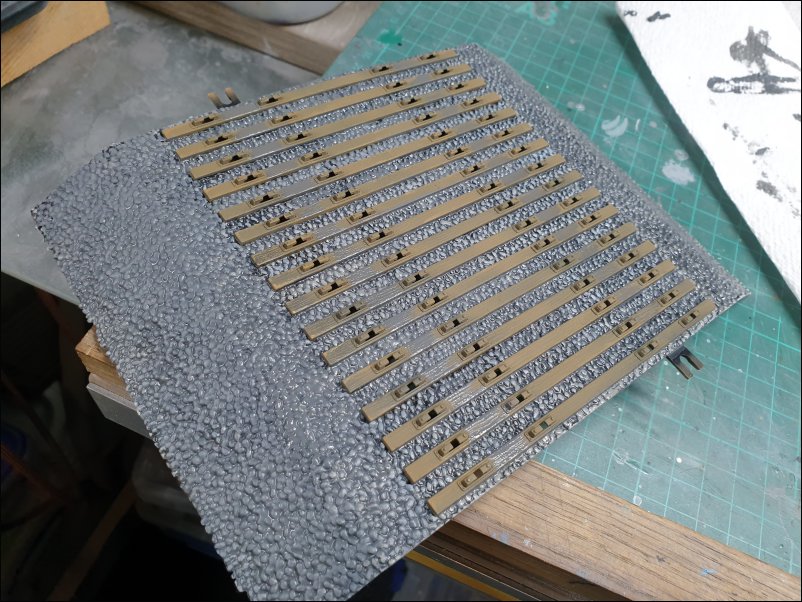
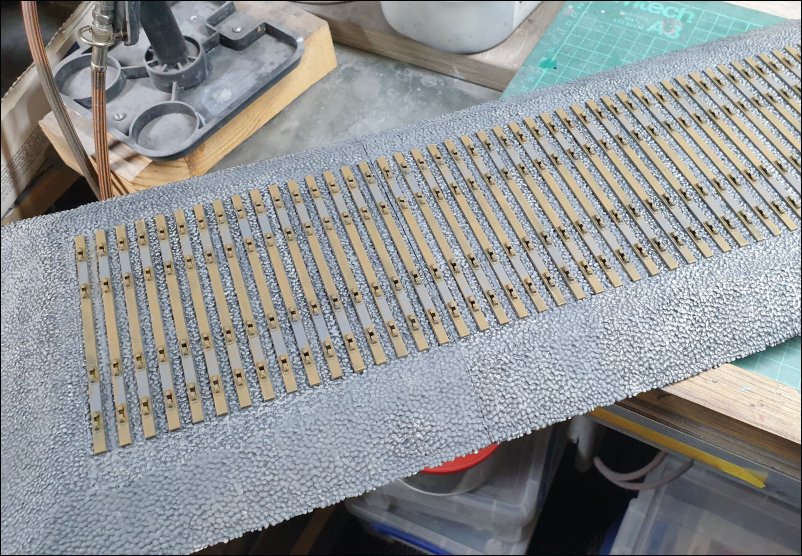
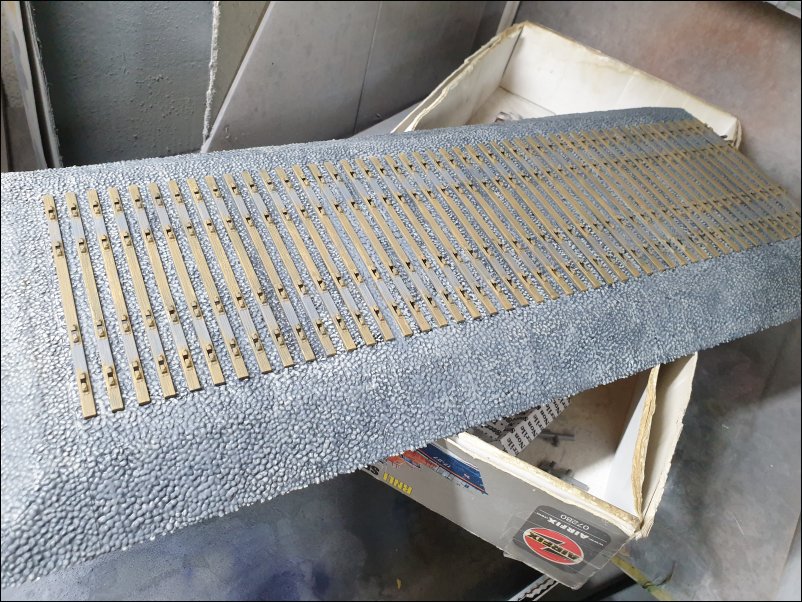
When I last reported on this build, I had been working on the base sections. I applied more paint to the "gravel". This is the smallest base section which will, eventually, be glued to one of the larger sections:
The first of the large base sections:
Here is the second large section:
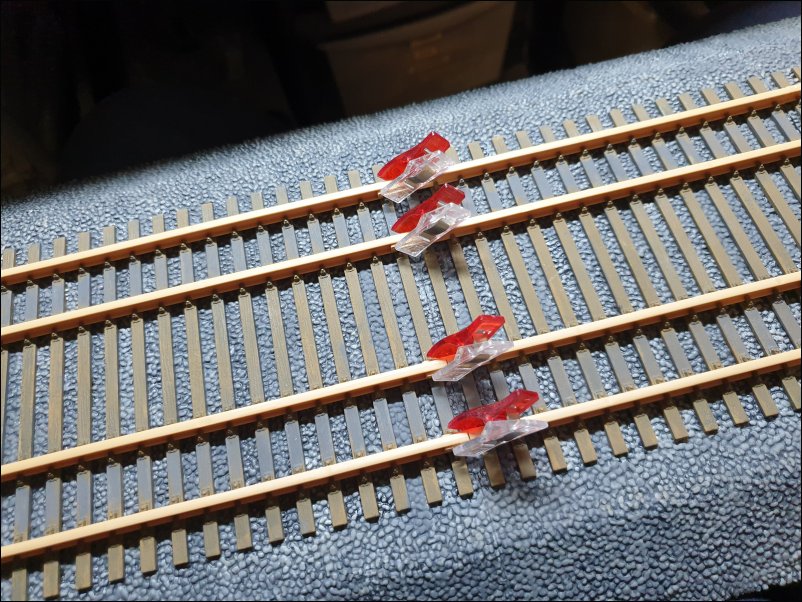
I glued the small section to one of the larger sections and unpainted rails were fitted to the base sections and fishplates glued in place:
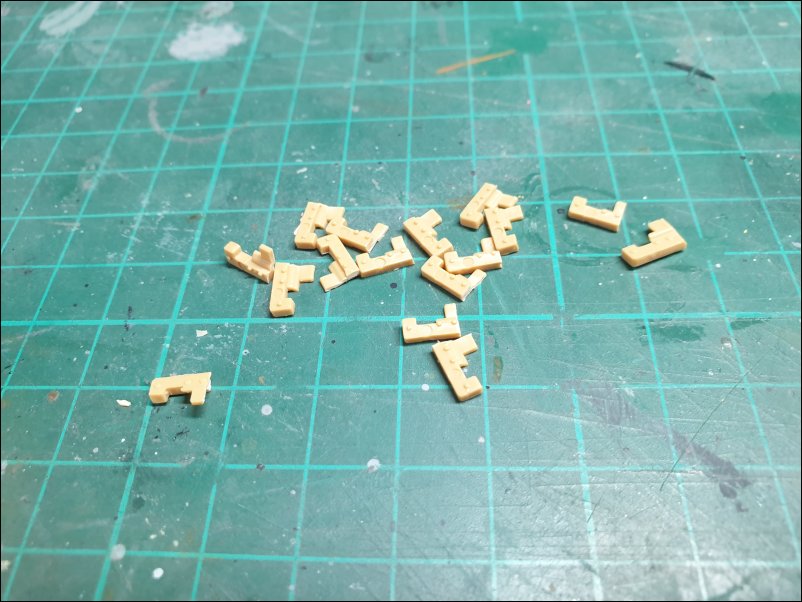
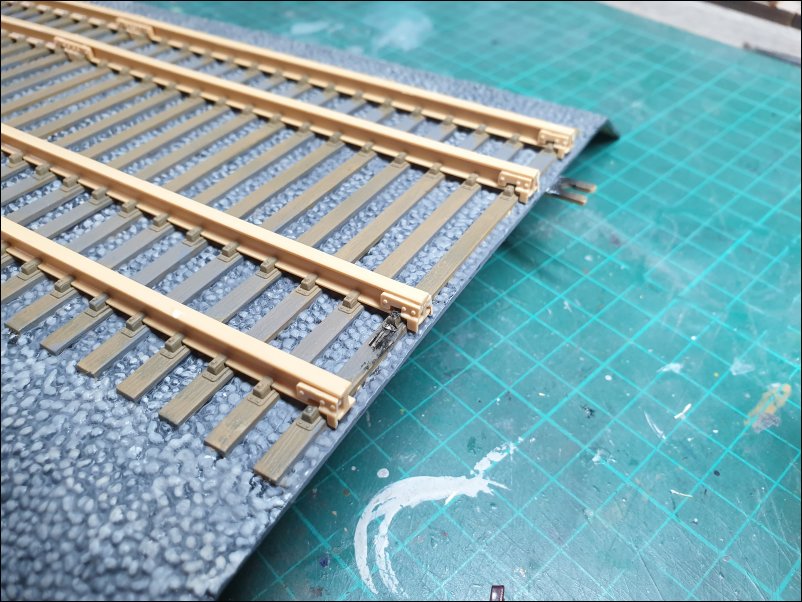
I will not be permanently joining what will be two large base sections, so I have cut the last eight fishplates in half:
The half fishplates were glued to the ends of each section's rails:
I still have a lot of painting and weathering to do on the base but it will be left to one side for now so that I can work on Dora.
That is all for now.
DaveDaveCov - Founder of The Airfix Tribute Forum 2006Comment
-

Comment