
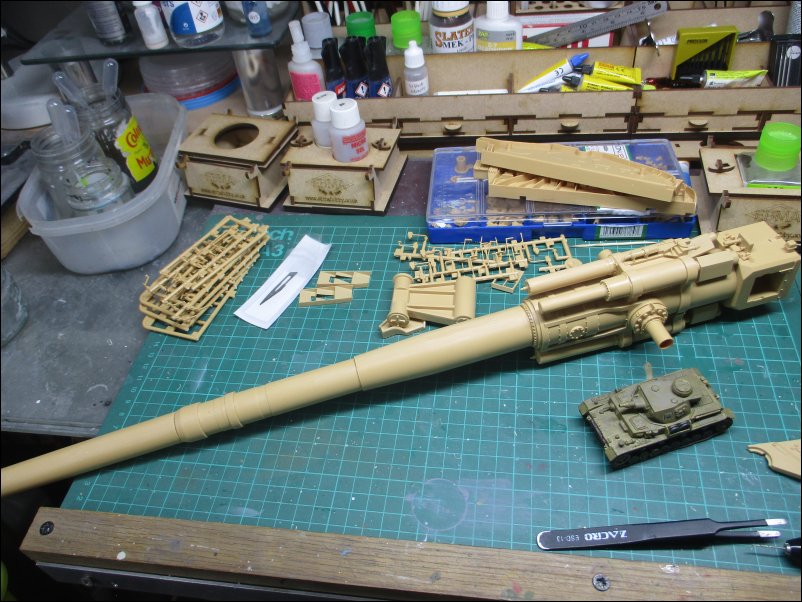
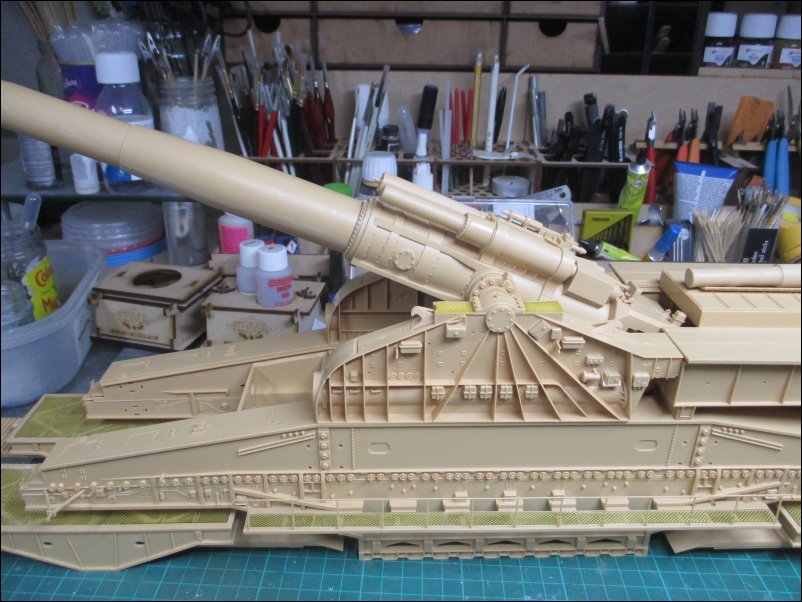
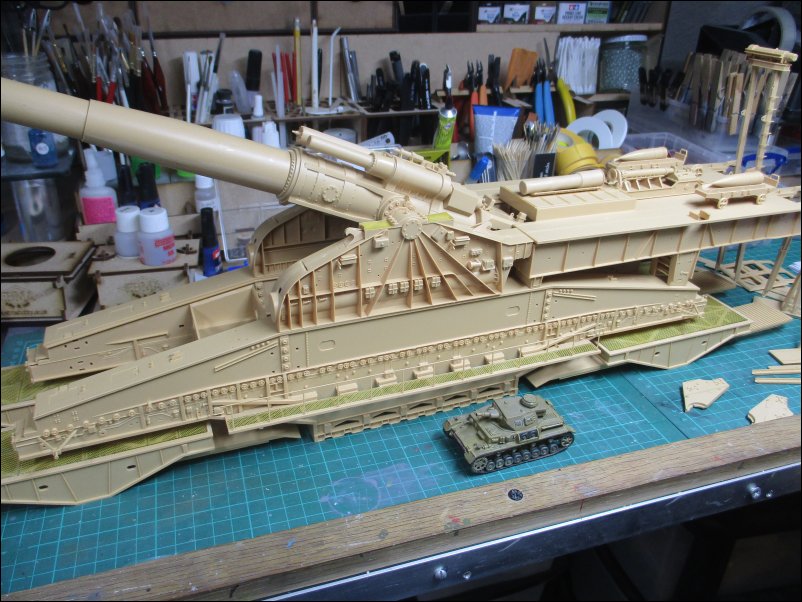
This is a demo build of the HobbyBoss 1/72 German 80cm K(E) Railway Gun 'Dora' (82911), a 2019 Christmas present from my partner, Aileen. I had promised her that it would be started in August 2020 but Covid, other builds and other issues have meant it has been delayed until now.
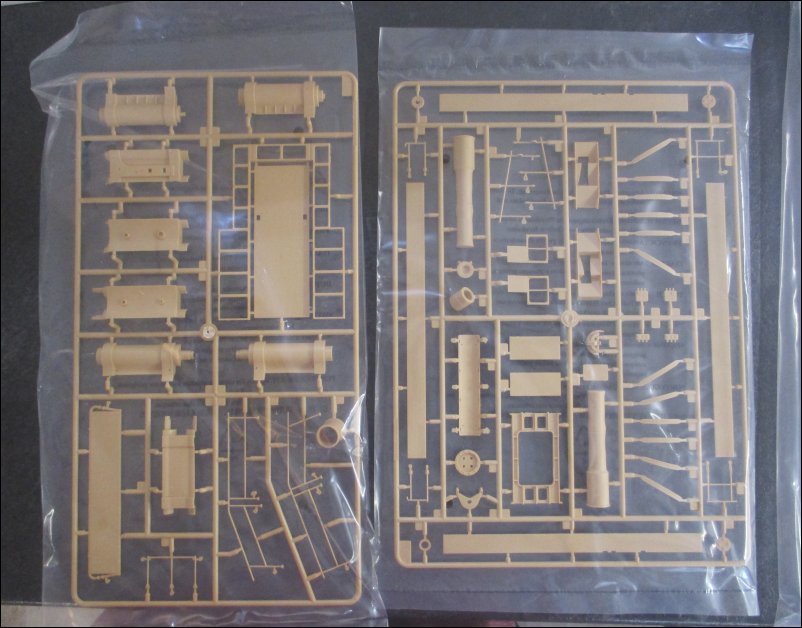
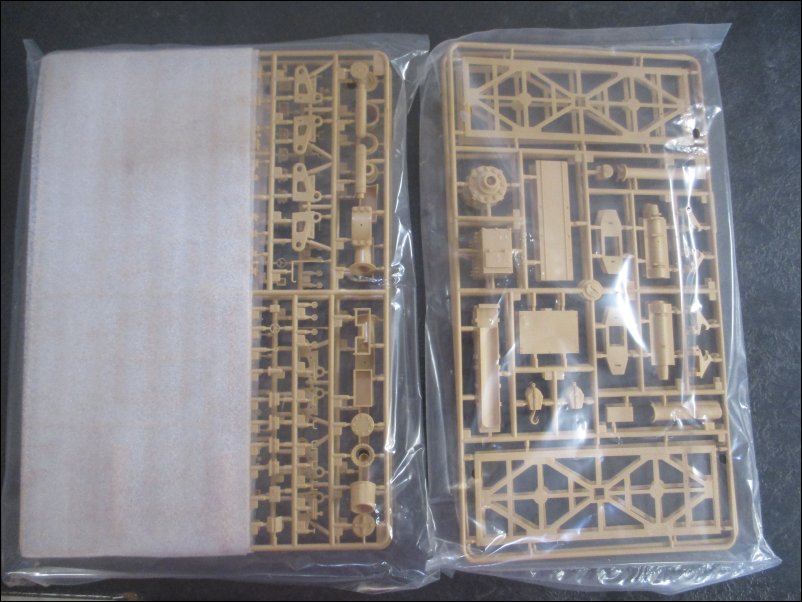
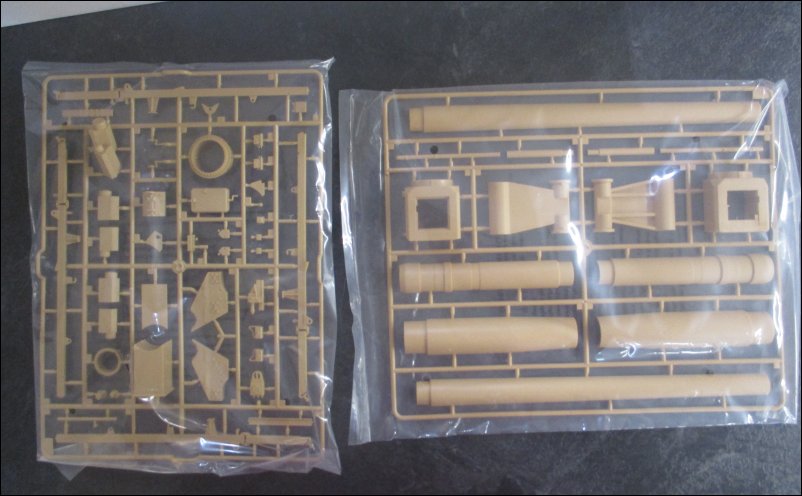
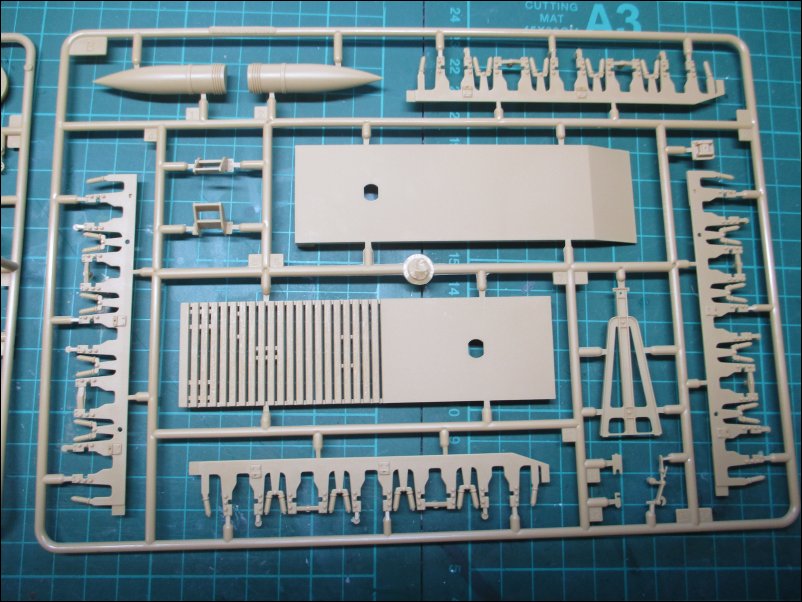
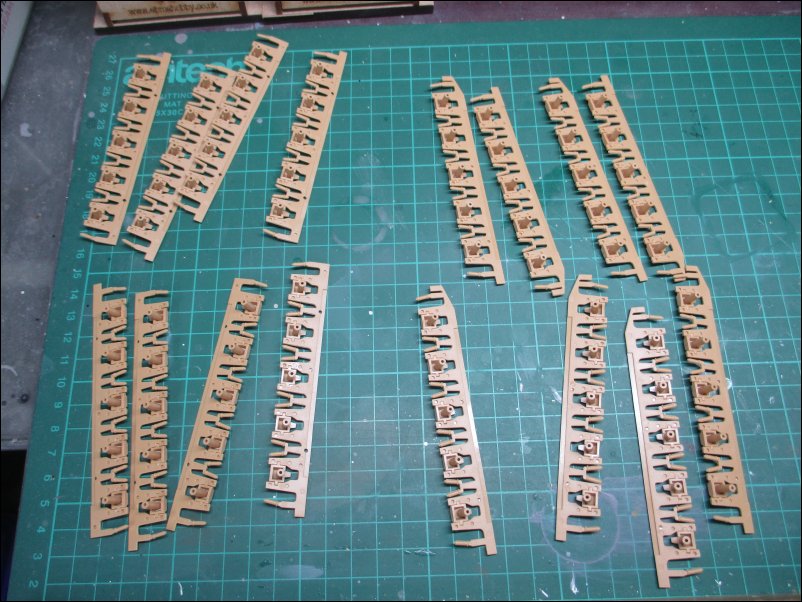
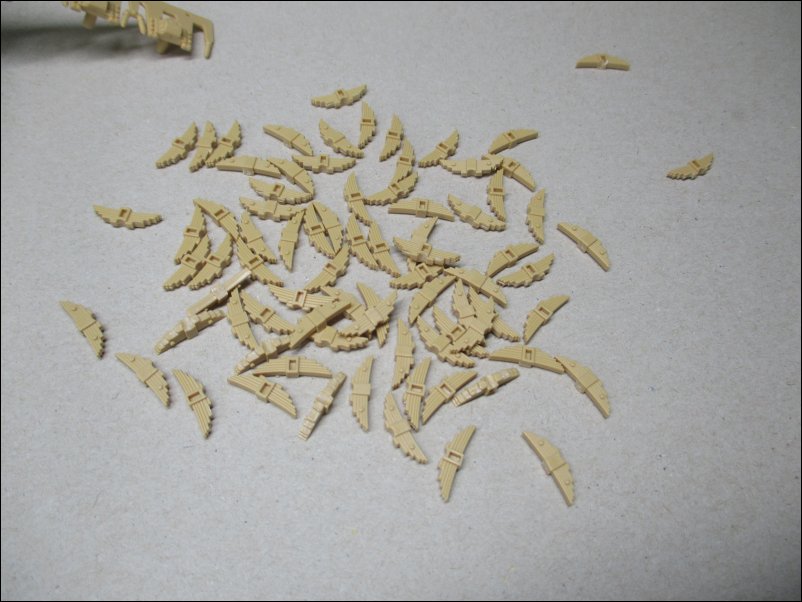
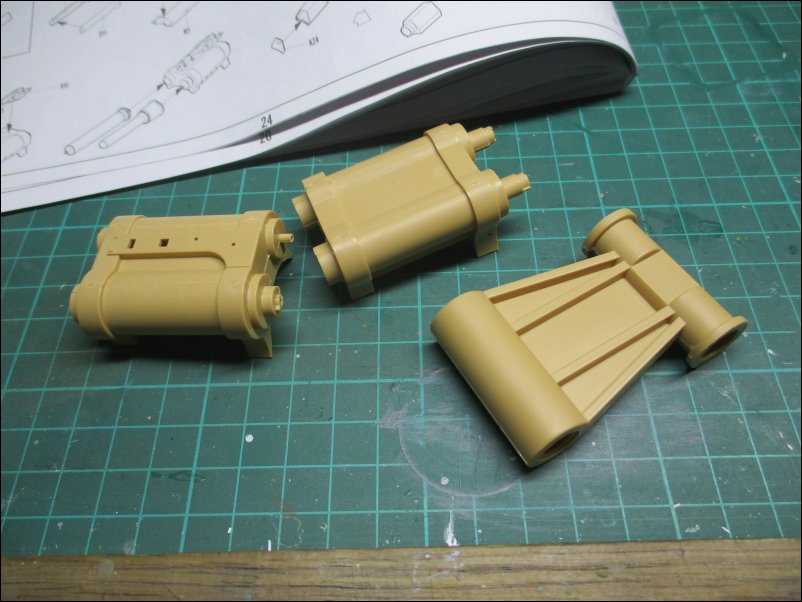
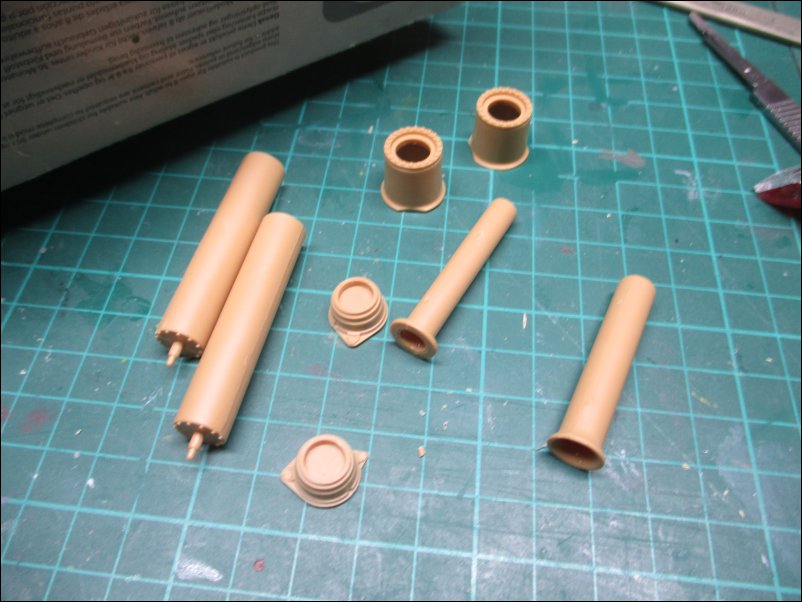
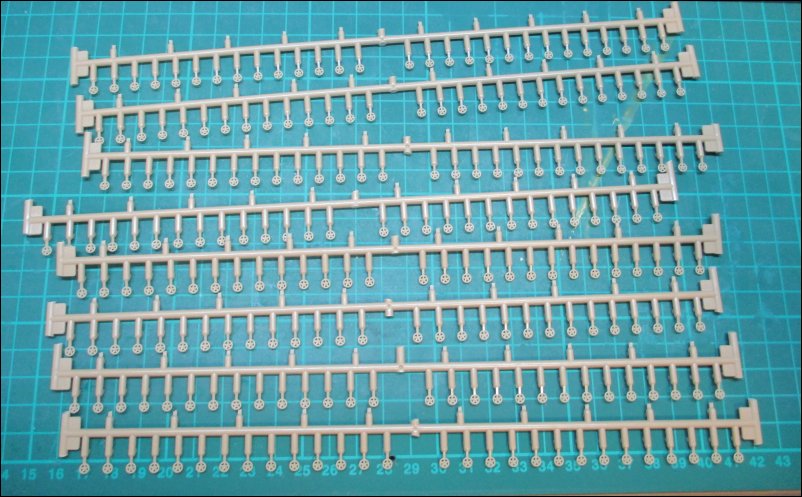
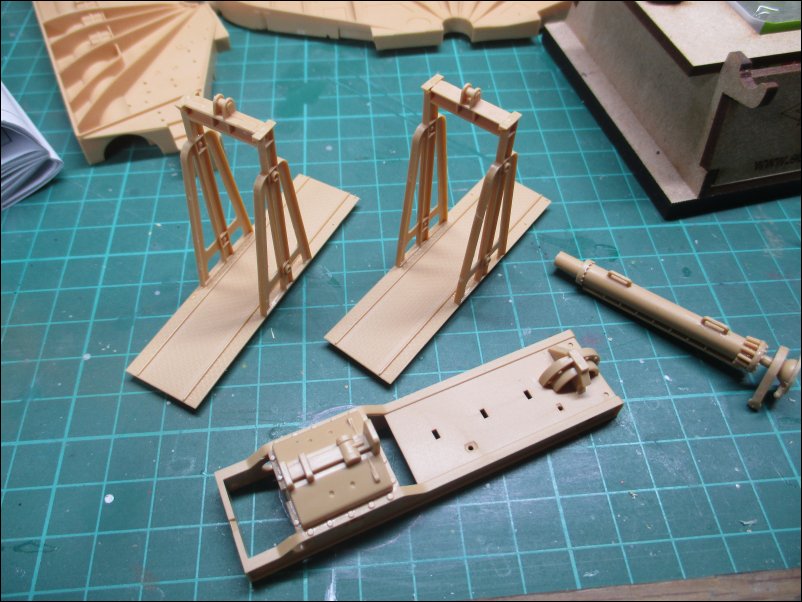
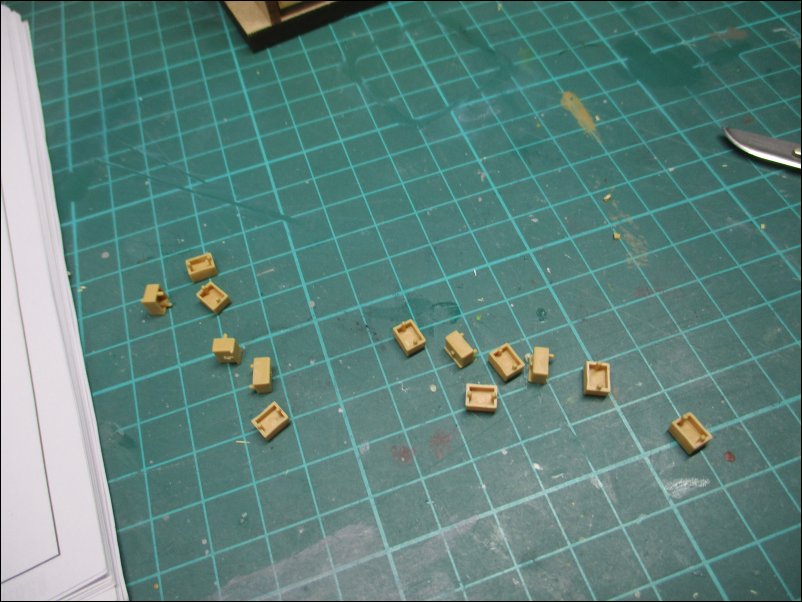
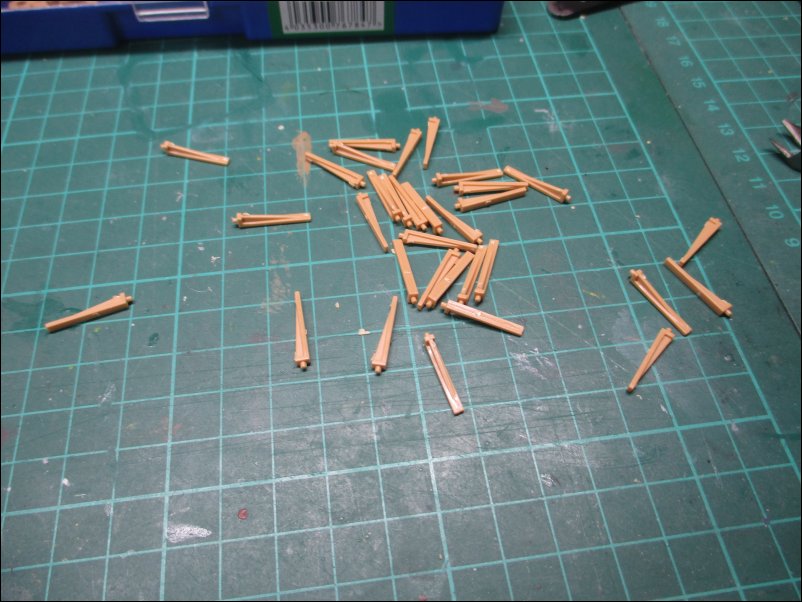
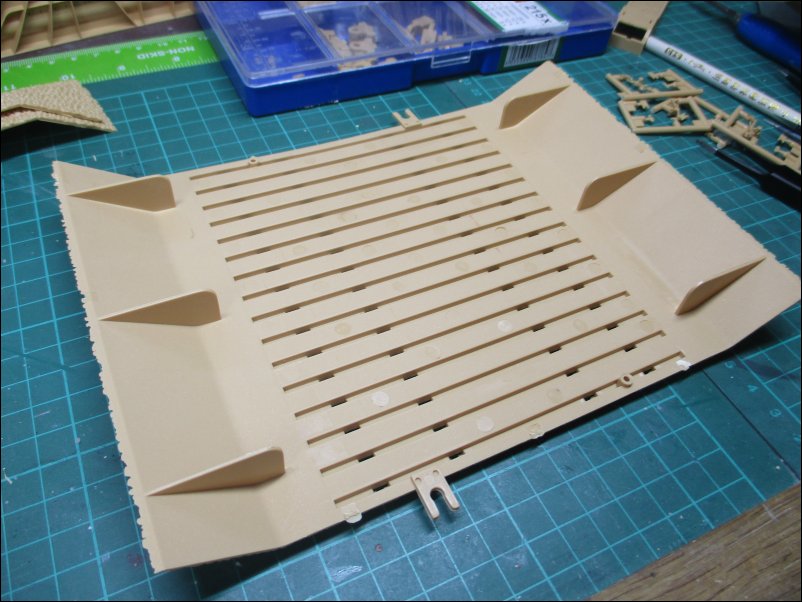
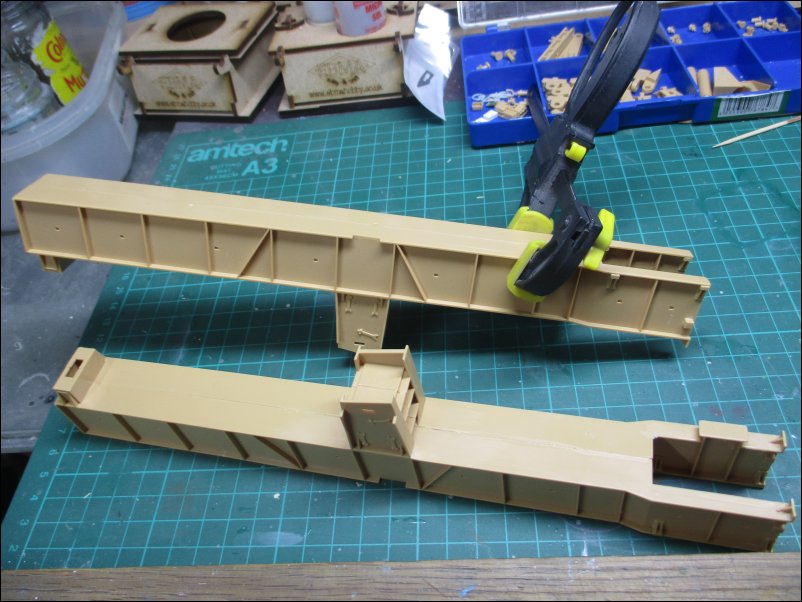
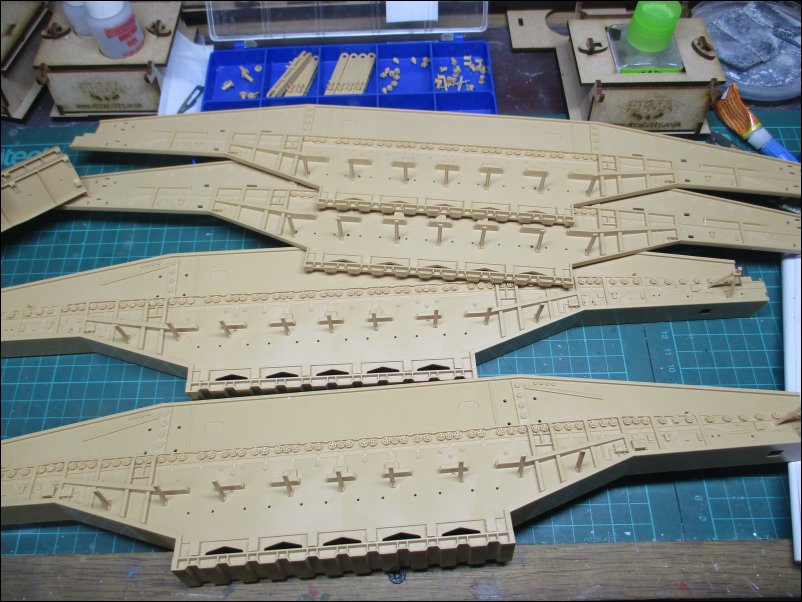
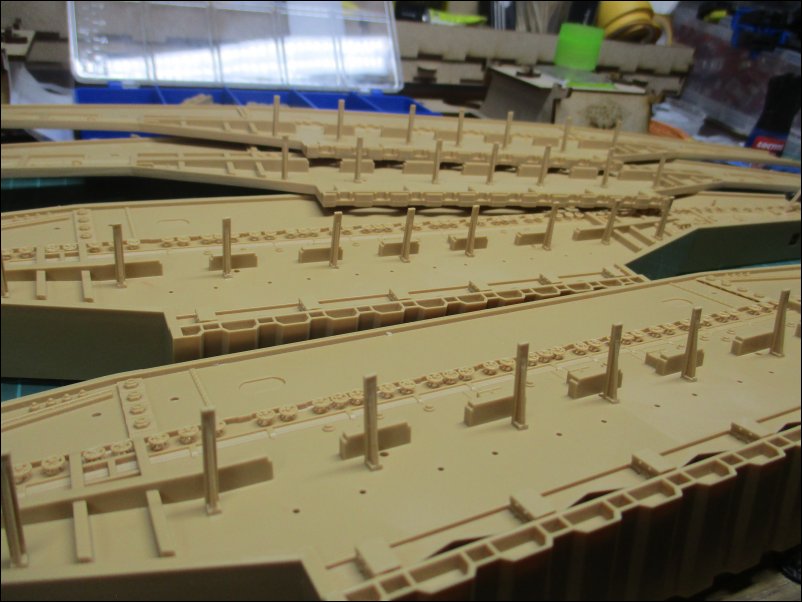
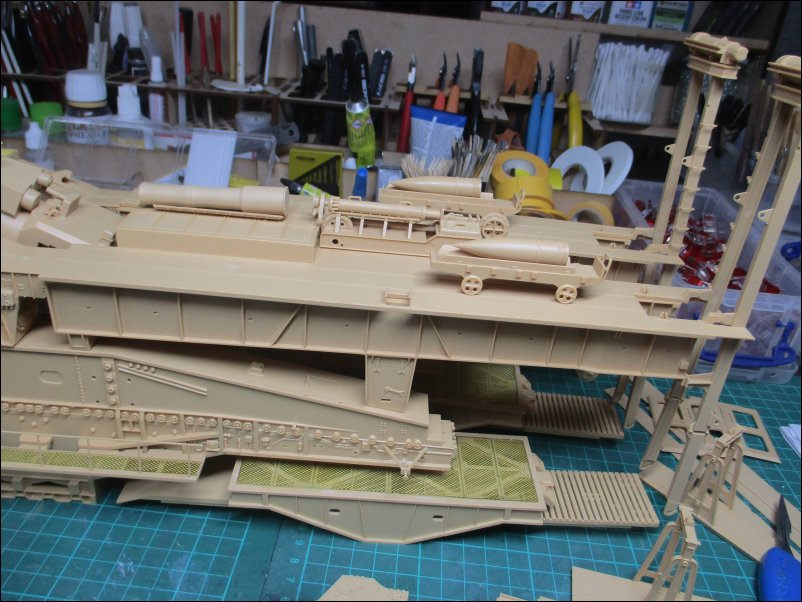
It is not just huge in size of kit (it is over 110cm long and 28cm wide) but the number of parts (over 1,760) and the manhours it will take me to complete it isn't insignificant either. I am not going to reveal all of the contents of the various boxes and bags straight away but when I need to open them.
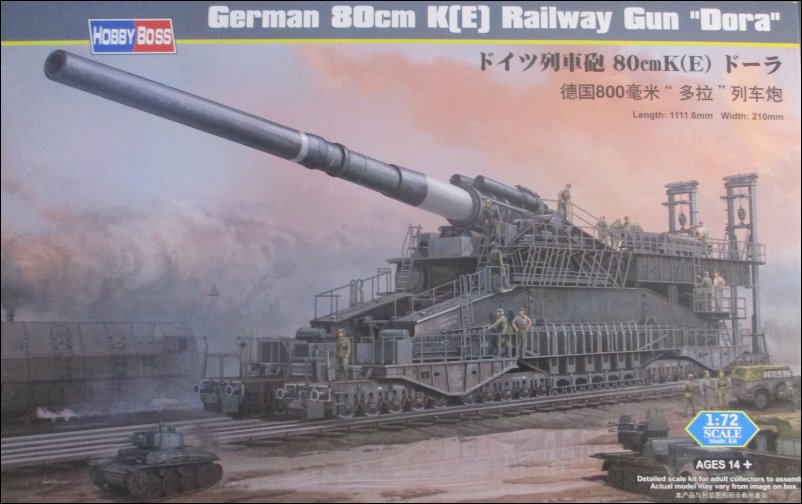
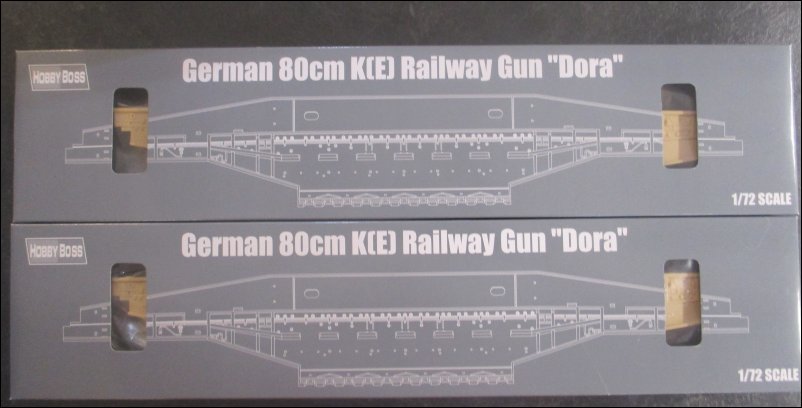
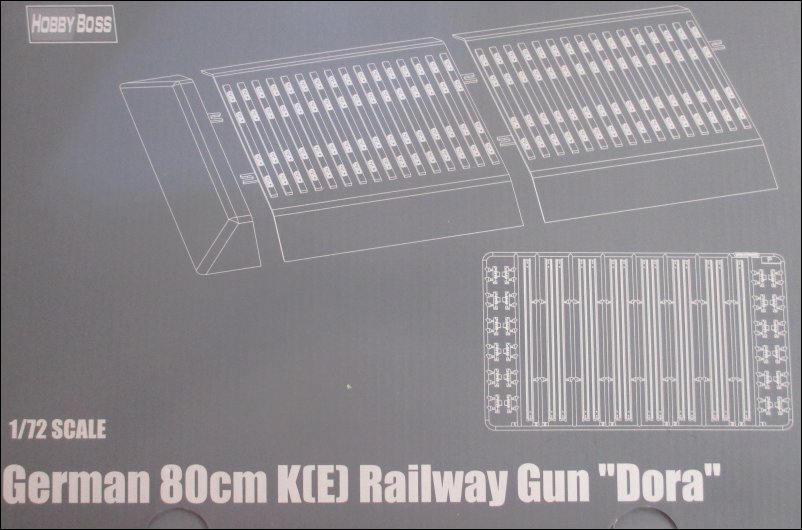
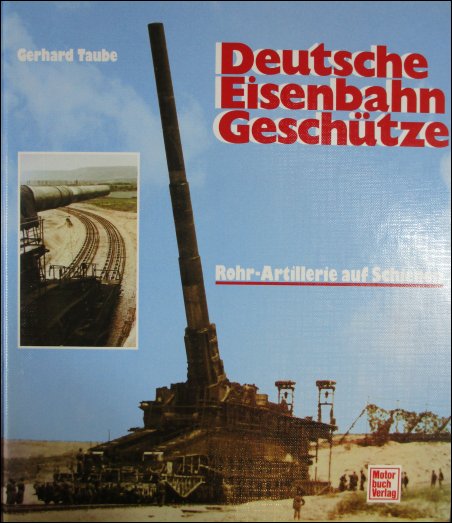
Boxart:
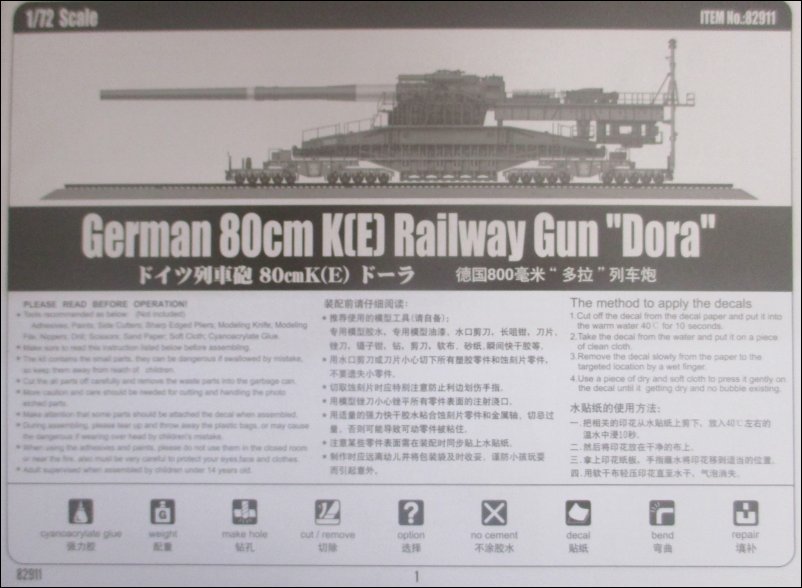
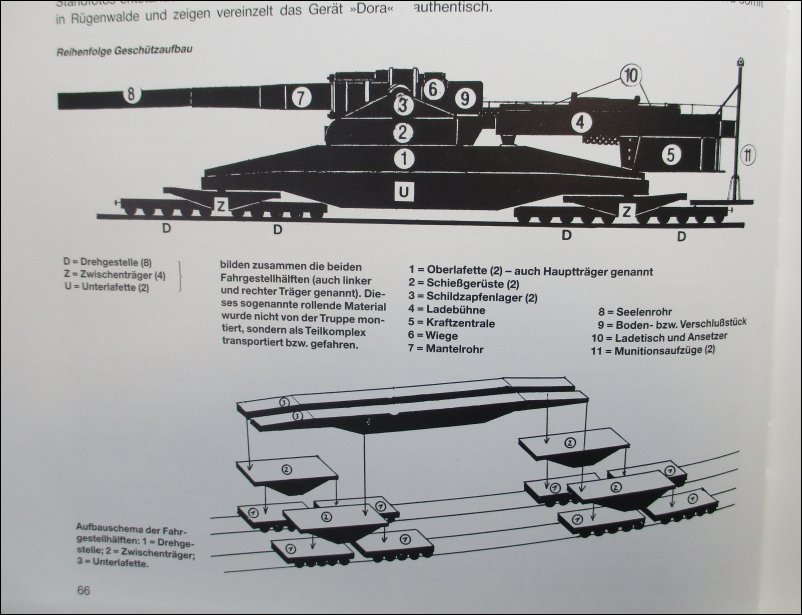
Instruction book contains 44 pages:
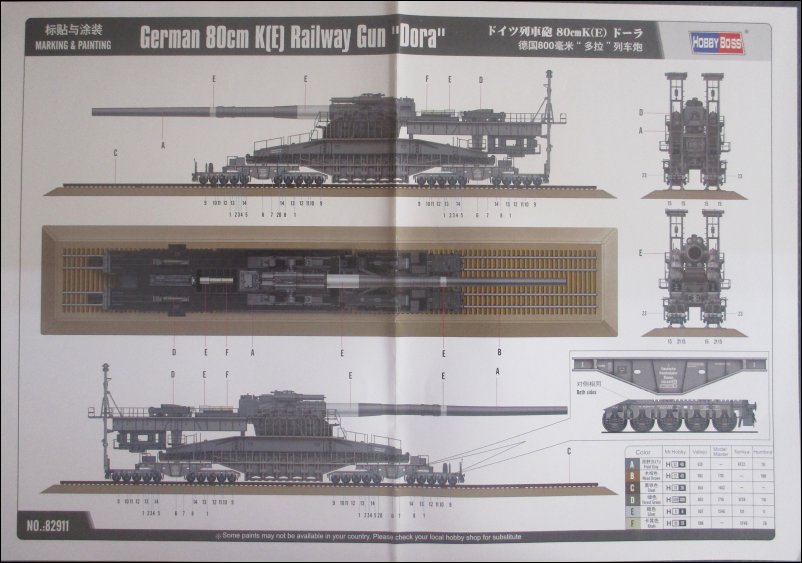
Painting Profile:
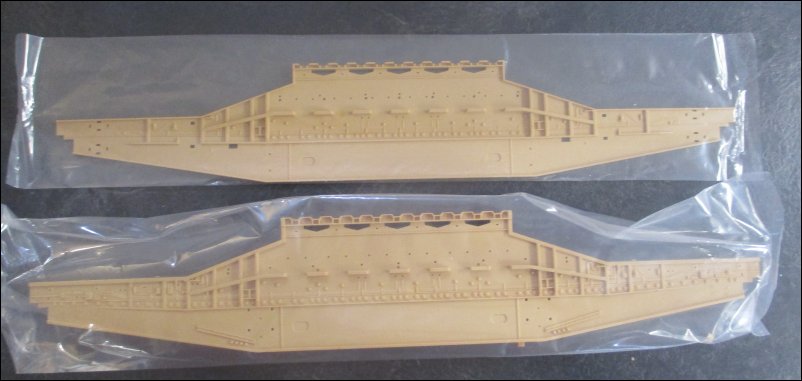
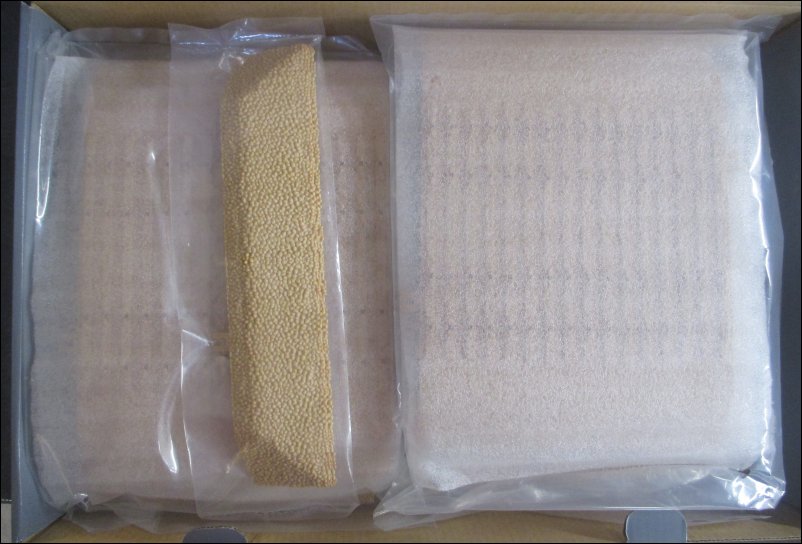
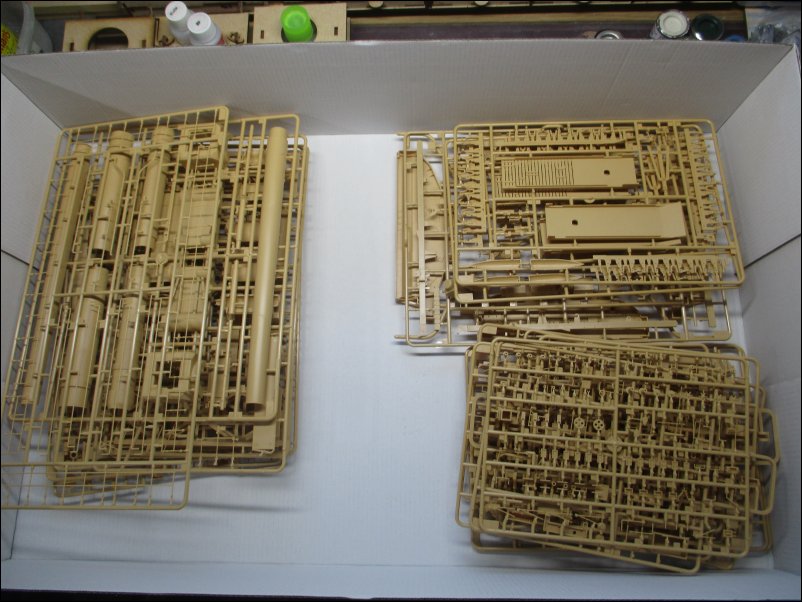
On taking off the lid, you are presented with a selection of grey boxes containing parts and they sit on top of sections containing lots more sprues:
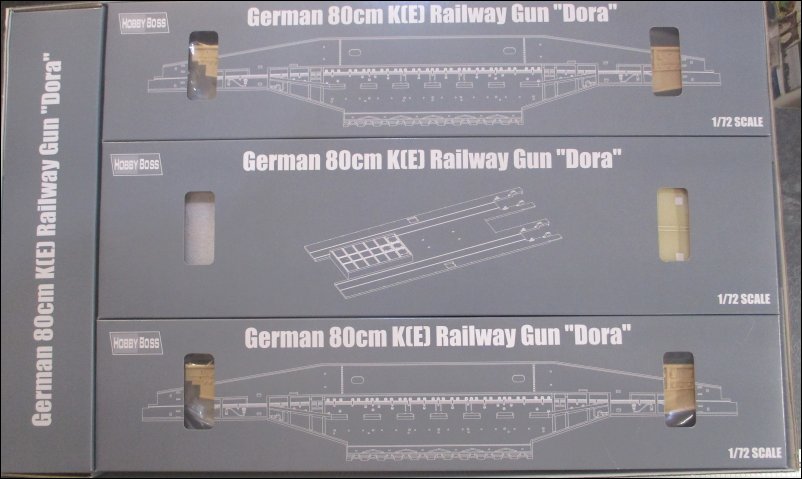
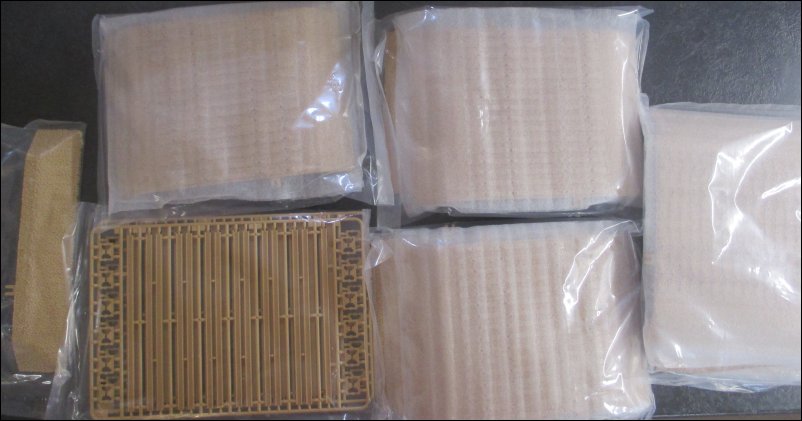
Helpfully, the boxes illustrate what is inside them:
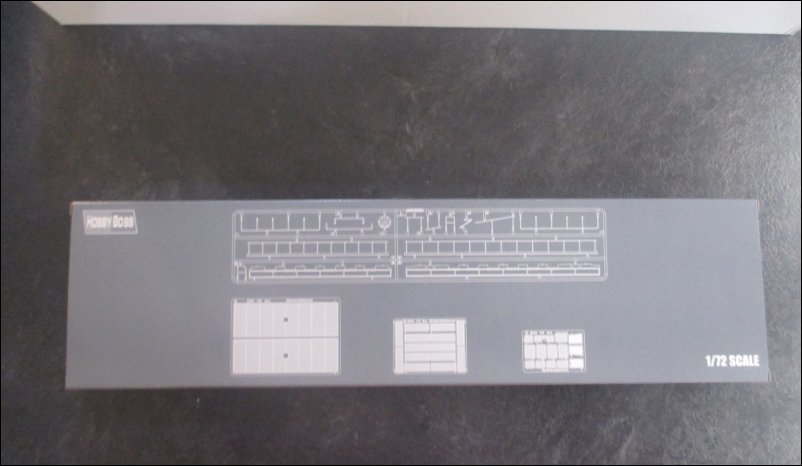
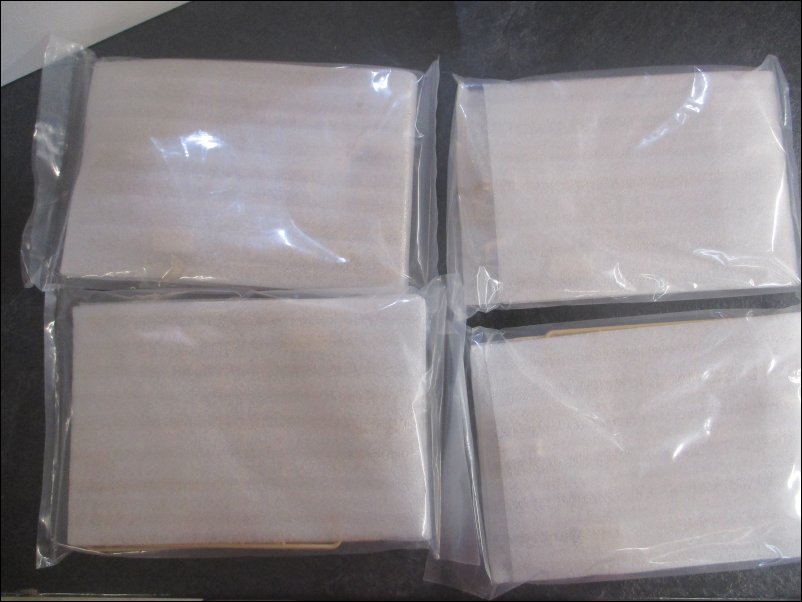
More boxes:
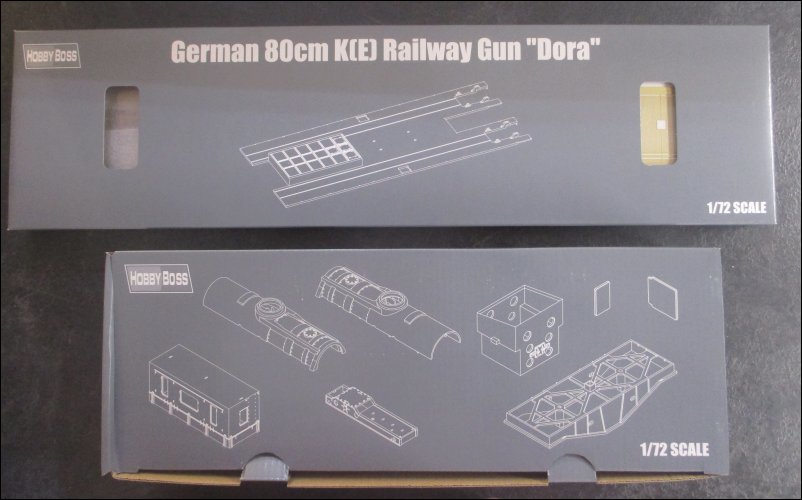
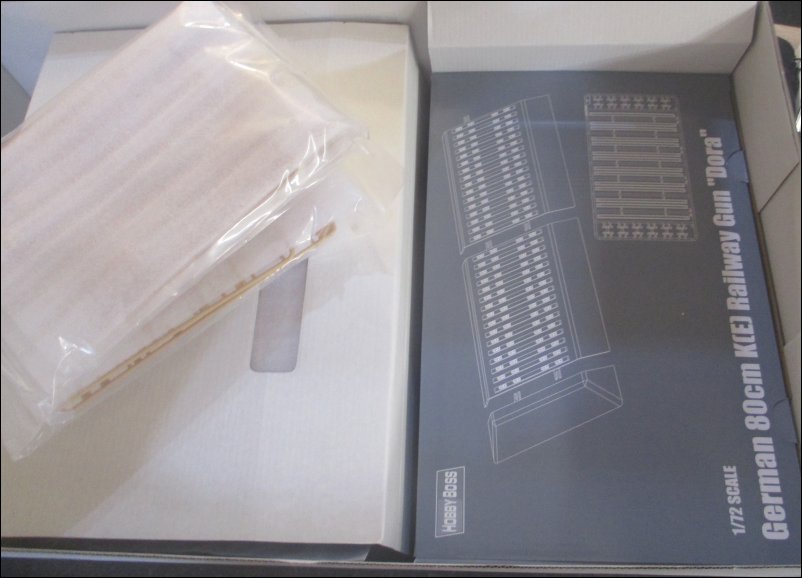
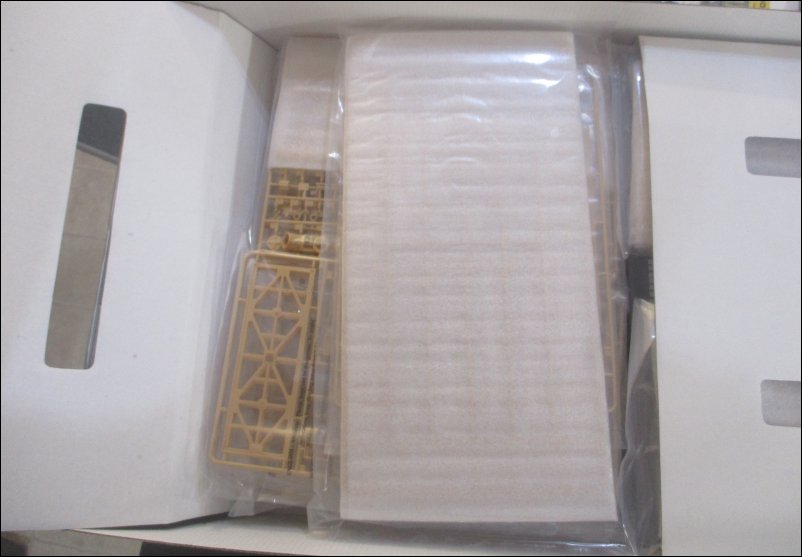
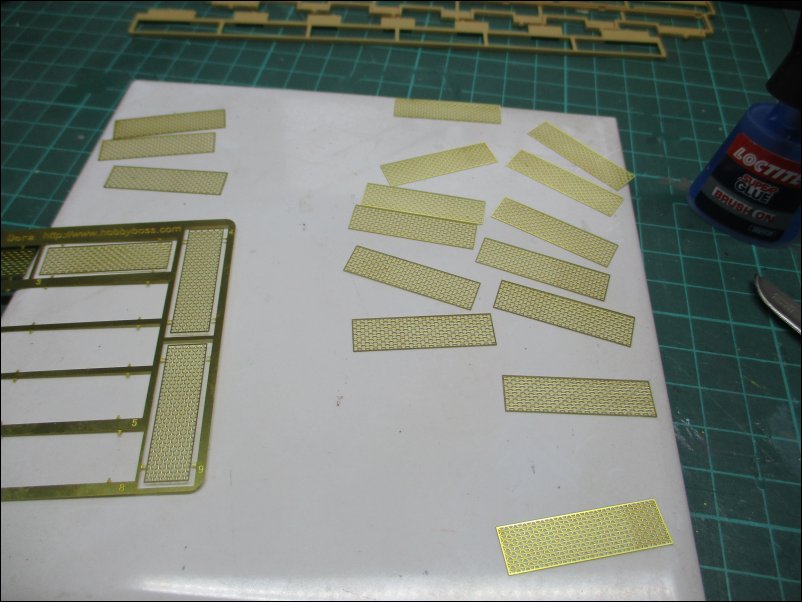
Photo etch box:
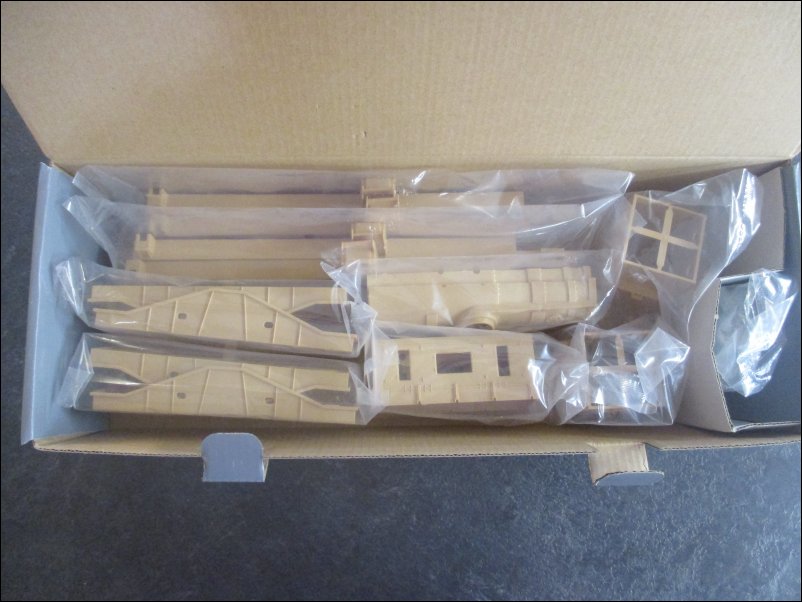
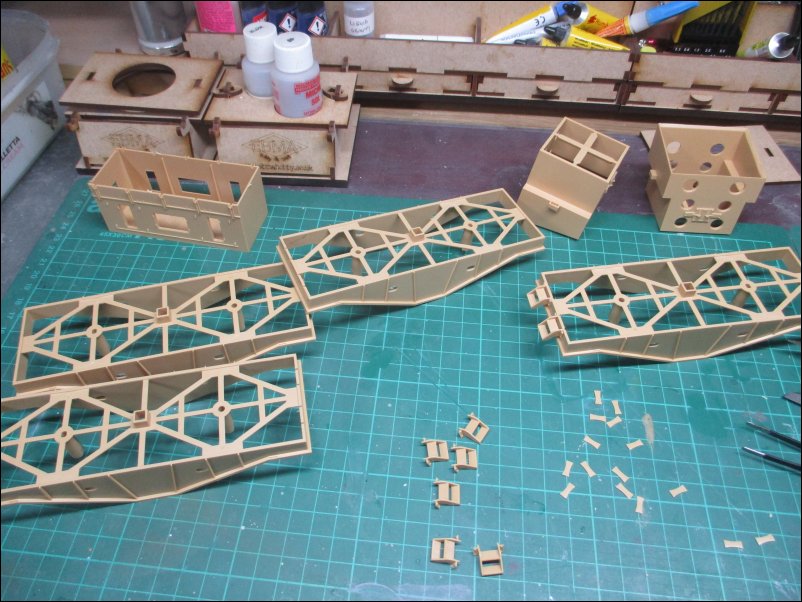
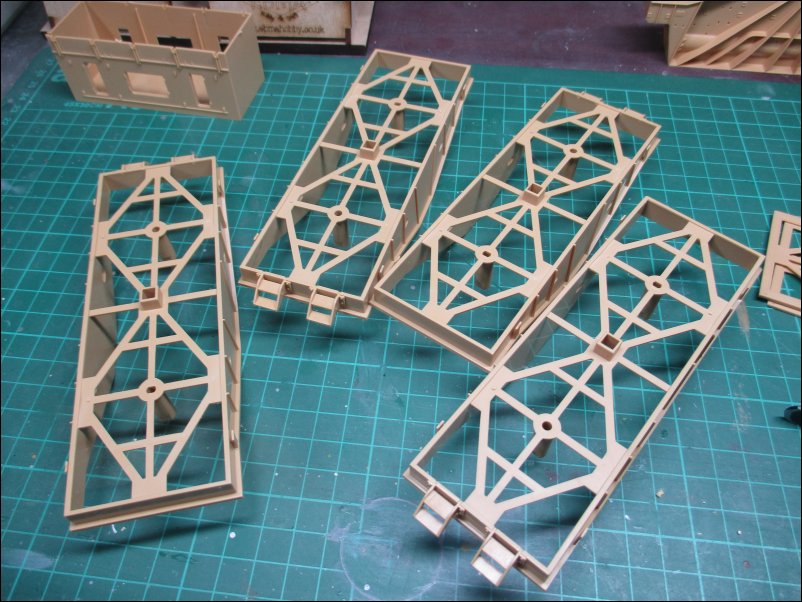
Here I have lifted one of the cardboard partitions to reveal more boxes and parts. I will show these in my next post:
The kit box with an Airfix 1/72 Panther box for comparison:
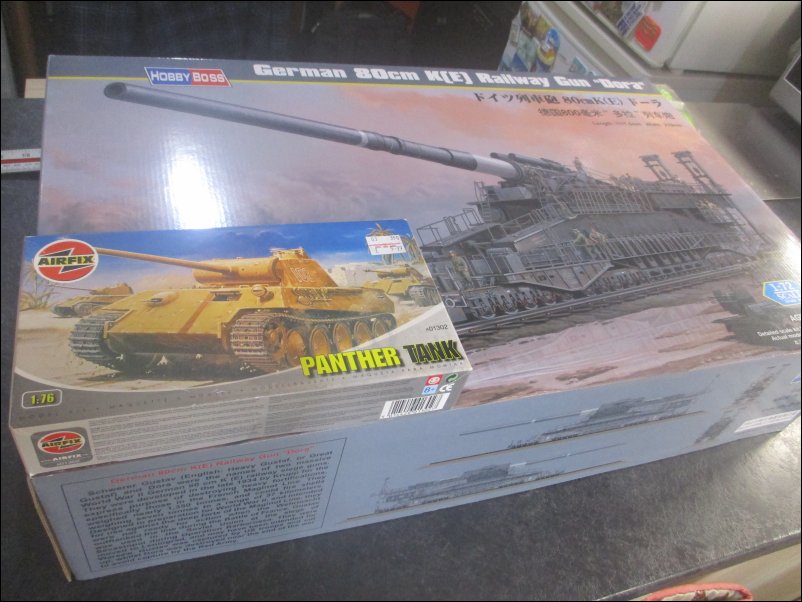
The Dora box is 650mm (25.5") wide, 400mm (15.75") high and 150mm (6" deep).
BTW, this is a tiddler compared to the Soar Art 1/35 Dora Railway Gun. That has 3,000+ parts, is 5 feet long and costs £800! https://www.emodels.co.uk/soar-art-1...-gun-9511.html
That is all for now.
Dave
It is not just huge in size of kit (it is over 110cm long and 28cm wide) but the number of parts (over 1,760) and the manhours it will take me to complete it isn't insignificant either. I am not going to reveal all of the contents of the various boxes and bags straight away but when I need to open them.
Boxart:
Instruction book contains 44 pages:
Painting Profile:
On taking off the lid, you are presented with a selection of grey boxes containing parts and they sit on top of sections containing lots more sprues:
Helpfully, the boxes illustrate what is inside them:
More boxes:
Photo etch box:
Here I have lifted one of the cardboard partitions to reveal more boxes and parts. I will show these in my next post:
The kit box with an Airfix 1/72 Panther box for comparison:
The Dora box is 650mm (25.5") wide, 400mm (15.75") high and 150mm (6" deep).
BTW, this is a tiddler compared to the Soar Art 1/35 Dora Railway Gun. That has 3,000+ parts, is 5 feet long and costs £800! https://www.emodels.co.uk/soar-art-1...-gun-9511.html
That is all for now.
Dave


 .
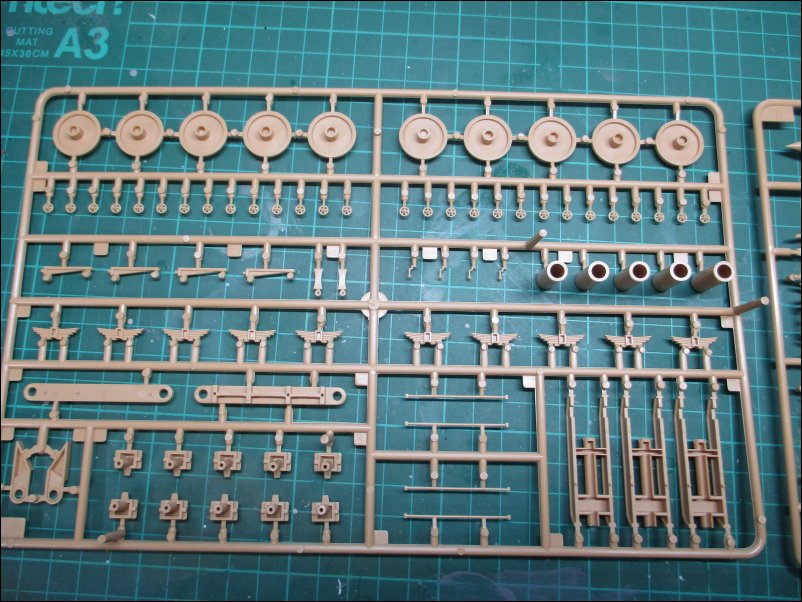
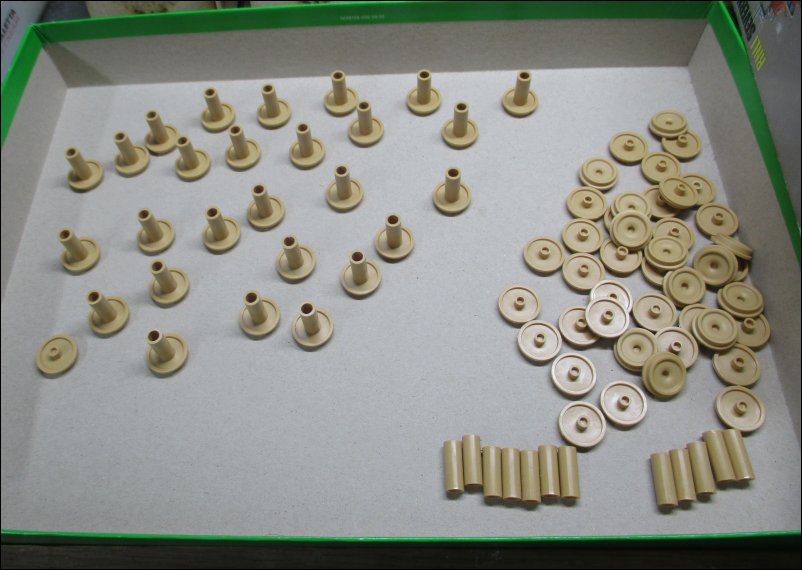
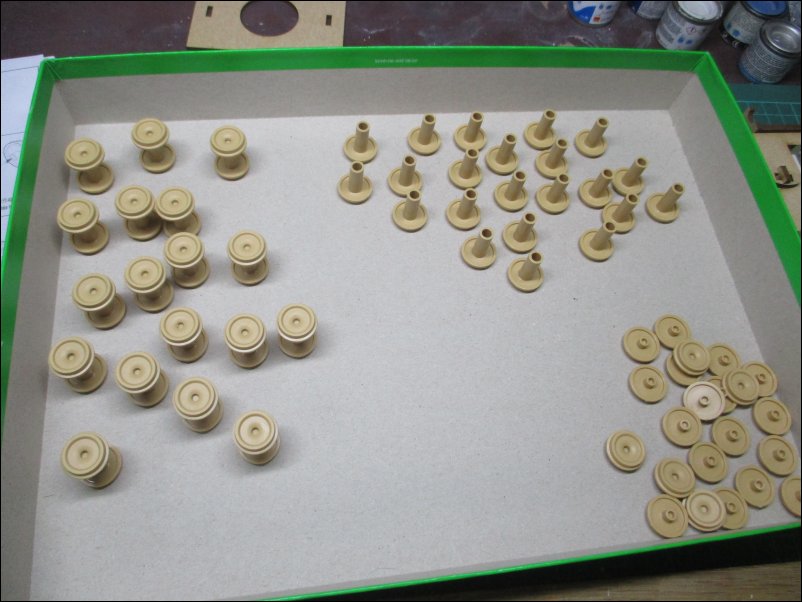
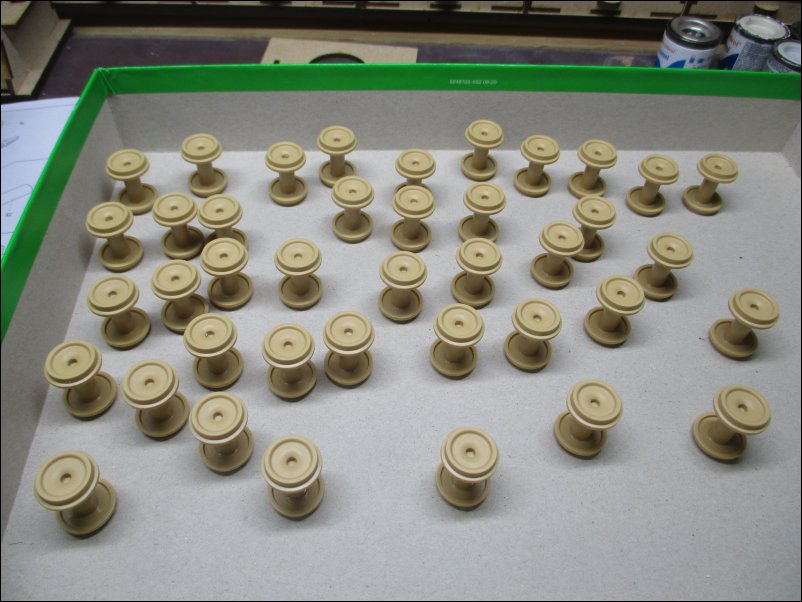
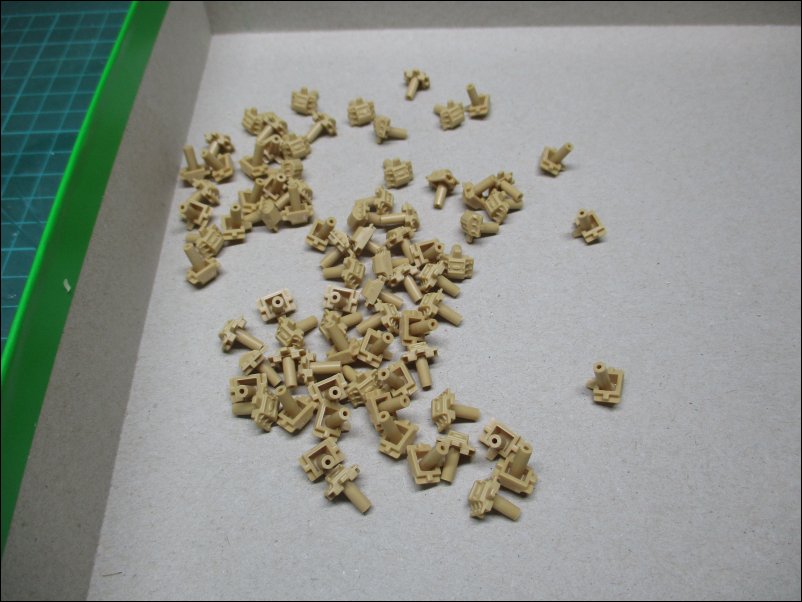
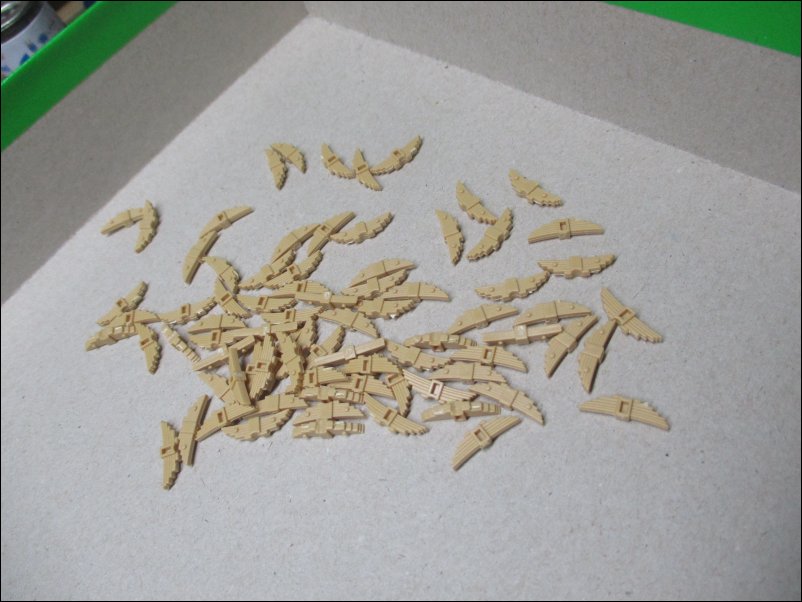
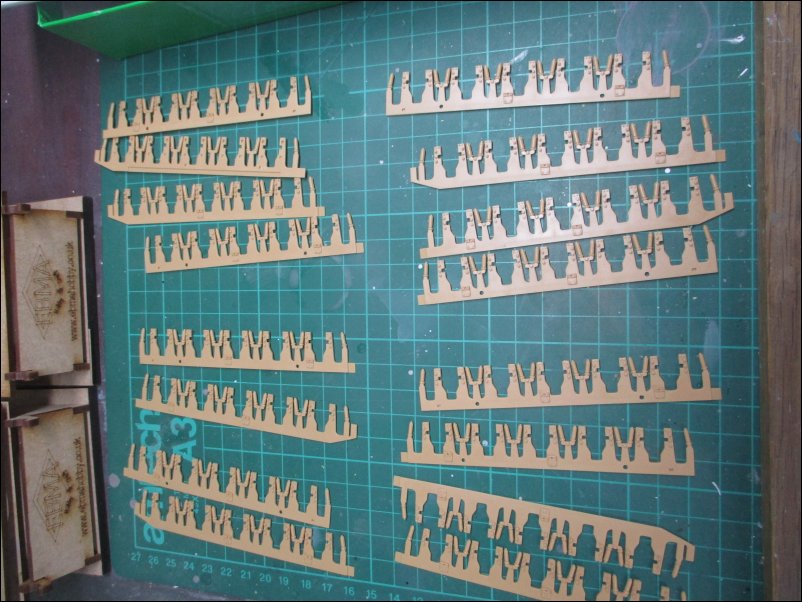
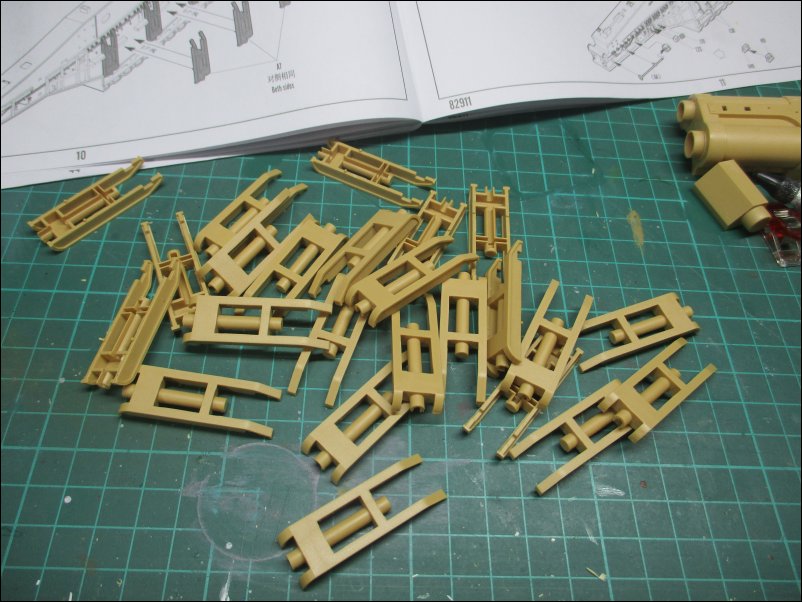
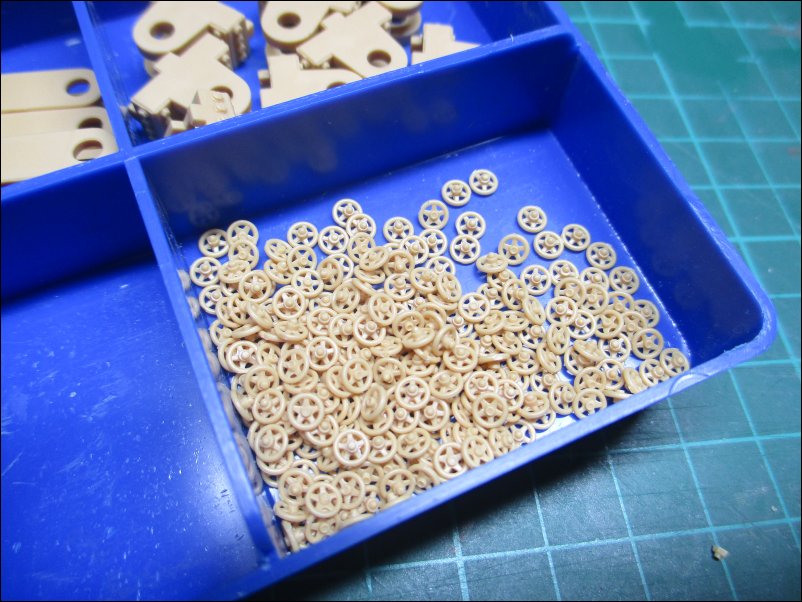
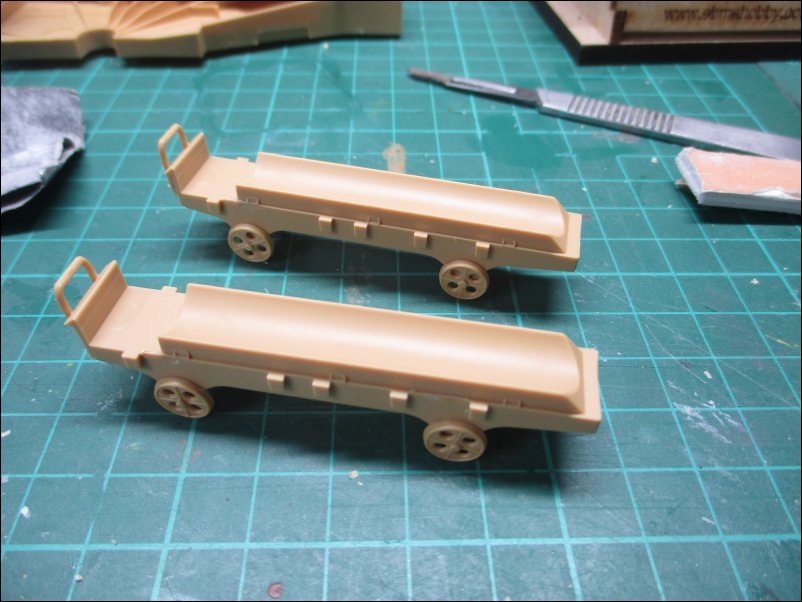
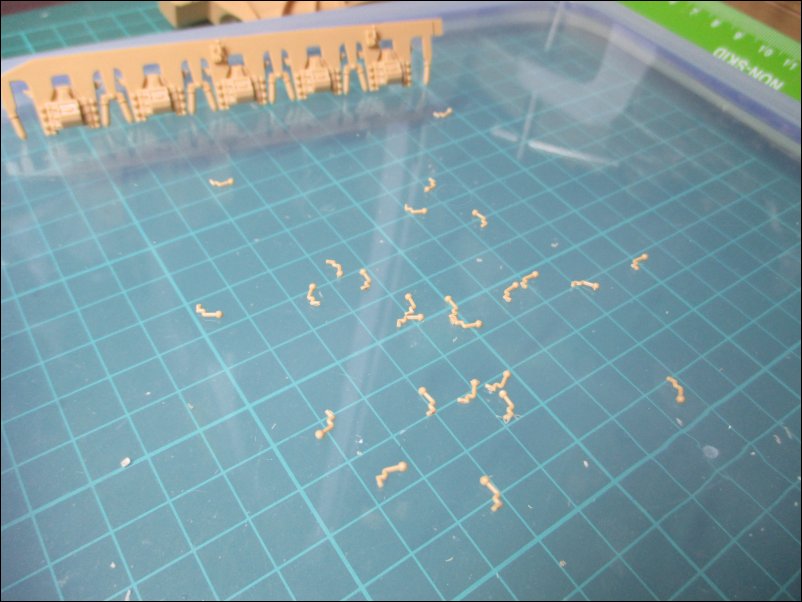
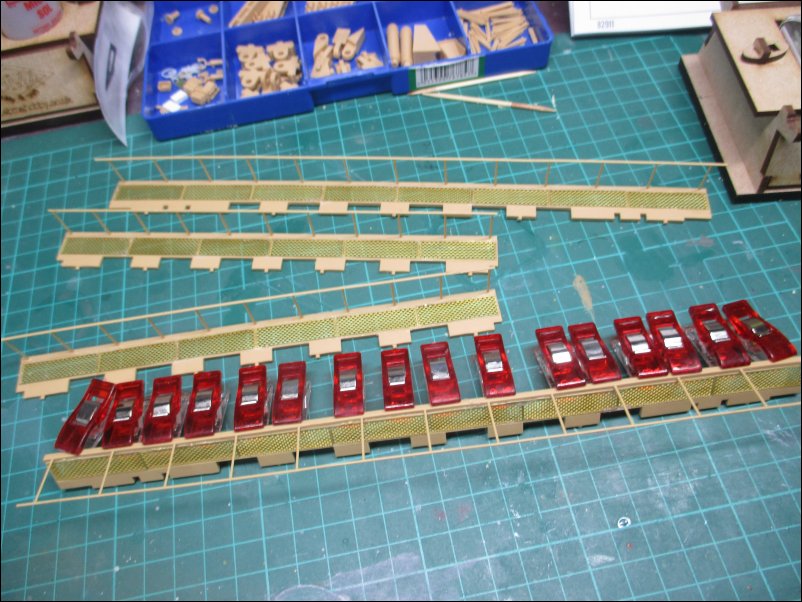
. Nothing but praise for you for being able to get through all those parts for the bogies and other repetitive bits. Just one question: are you going to add a full crew too?
Comment