Really excellent detail work on display here Jakko.

-
-
Thanks
Comment
-
Great work jakko , the additions really lift this , cheers tonyComment
-
Thanks, the fun part of building a model of a real vehicle is always those little bits you have to add or change that make it more than just another kit, I think.Comment
-
On to the engine. I figure the spark plugs would have been pilfered almost right away, but looking at photos of the HL62 engine, where were they? I couldn’t find them, but it turns out they’re under a bit of sheet metal that sits over the inlet ports and spark plugs, meaning I had to do a fair bit of carving.
I forgot to take a photo of the engine before I began doing this, so here is one I found on Armorama:
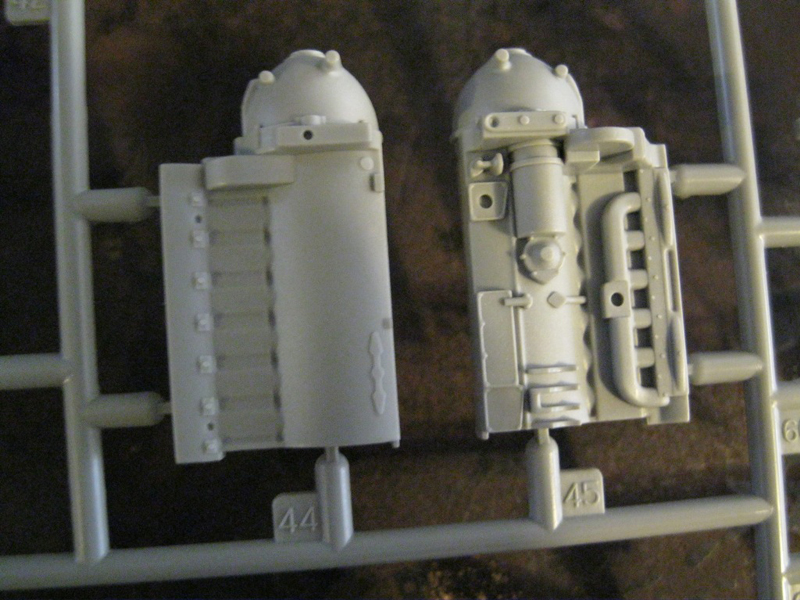
It’s the part on the right, the right side of the engine. After judicious carving, scraping, filing and chiselling, this is what I ended up with so far:
[ATTACH]443731[/ATTACH]
It still needs a little more work, and after taking the photo I put some liquid cement over all of the cut area to get rid of the scars. Those are more obvious here than on the part in the flesh, because of the close-up. The actual part is only about 3 or 4 cm long.Comment
-
Quality workmanship there Jakko, very nicely done
Tenacious researching too
Excellent stuff all round !!
AndyComment
-
Jakko,
Looking great the detailing and modifying is really paying off.Comment
-
I need to finish this bit before I can even really start on the mad part about the engine …
Thanks, though there are a bunch of people on here who could do this much more neatly than I can
I wish I had clearer photos, though. The load bed is bugging me, some things are off about it compared to both the model and drawings and pictures of preserved vehicles, but I can’t put my finger on what it is
Thanks, it’s getting there, though not as easily as I would like …Comment
-
Hi Jakko
Always interesting to see what you're up to. Cleaning up 'styrene surgery' with liquid cement works a treat.
JimComment
-
On the right side of the engine, below the ports for the spark plugs, the real engine has a sharp ledge that the sheet metal cover sits against. To make it, I carefully sawed a slot through the inlet pipes and glued in a piece of plastic strip:
[ATTACH]443805[/ATTACH]
And I also drilled holes for the spark plugs themselves, making it clearer (I hope) that there are parts missing here. The mounting for the carburettor is also in place, but I cut the carburettor itself off and drilled two holes into the top of the mounting (not visible here) as the inlet pipes.
Now, I mentioned to Mr. Race that I needed to finish this before I would get to the mad part …
[ATTACH]443806[/ATTACH]
If you look very closely at the first photo of the real vehicle I posted, you may notice that the valve cover is missing. I’m puzzled about the reason for this, as in the earlier picture (where the front is on bricks) it’s still in place, but because it’s missing in the picture I’m using as a guide, I need to build the valve mechanism …
I began by cutting the top out of the engine. Dragon has the valve cover as a separate piece, but the top of the engine below it as a flat plate, which I cut out before glueing the two engine halves together. Then I put in a piece of plastic card as the top of the cylinder head, a cog from a punched disc with teeth sawn into it, a camshaft and various other bits I could see in a photo of a disassembled, real engine on page 80 of the Nuts & Bolts book about the Sd.Kfz. 7.
The holes are for pieces of plastic rod that will represent the valve stems and springs:
[ATTACH]443807[/ATTACH]
This picture also shows the shafts for the rocker arms and more pieces of plastic strip between them to fill the gap.
Now to find a way to build the rocker arms themselves …Comment
-
Mental jakko , but in a good way ! The scratchbuilt internals look excellent , good luck with the rocker arms Cheers tonyComment
-
I wouldn’t have done this if the valve cover had still been in place in the photo of the real vehicle Initially, I thought the whole cylinder head had been removed, which would actually have made this job easier: I would only have needed to put six holes for cylinders into a cut-down engine.
Actually far simpler than I had anticipated. The most complex part was the bits of plastic that sit over the camshaft: I filed a notch into the end of a piece 3×1 mm of plastic strip, then cut it to length (about 1.5 mm) and repeated that five more times, plus a piece of unnotched strip at the end. All the rest is pretty straightforward, just simple bits of plastic rod and strip. Though I must say that if you intend to do this kind of work, a chopper tool makes your life a lot easier.
Yes, that’s the part I haven’t figured out yet. They are a fairly complicated, curved shape so I need to find a way to make twelve of those without too much effort, and so that they fit over the shafts I already glued on too.Comment


Comment