Hi all as the title states, I built a photo booth for $10 AUD which is about 5.68 pounds. I think thats super cheap so I thought I would share it with you all.
This does not include the lighting lamps, just the actual photo booth.
So I recently bought some foam board. Large sheets, I took three sheets out each costing around $2 AUD, and started putting them together using very thin nails - I had a packet of 100 small nails which cost me $1 and I still have many spares left.
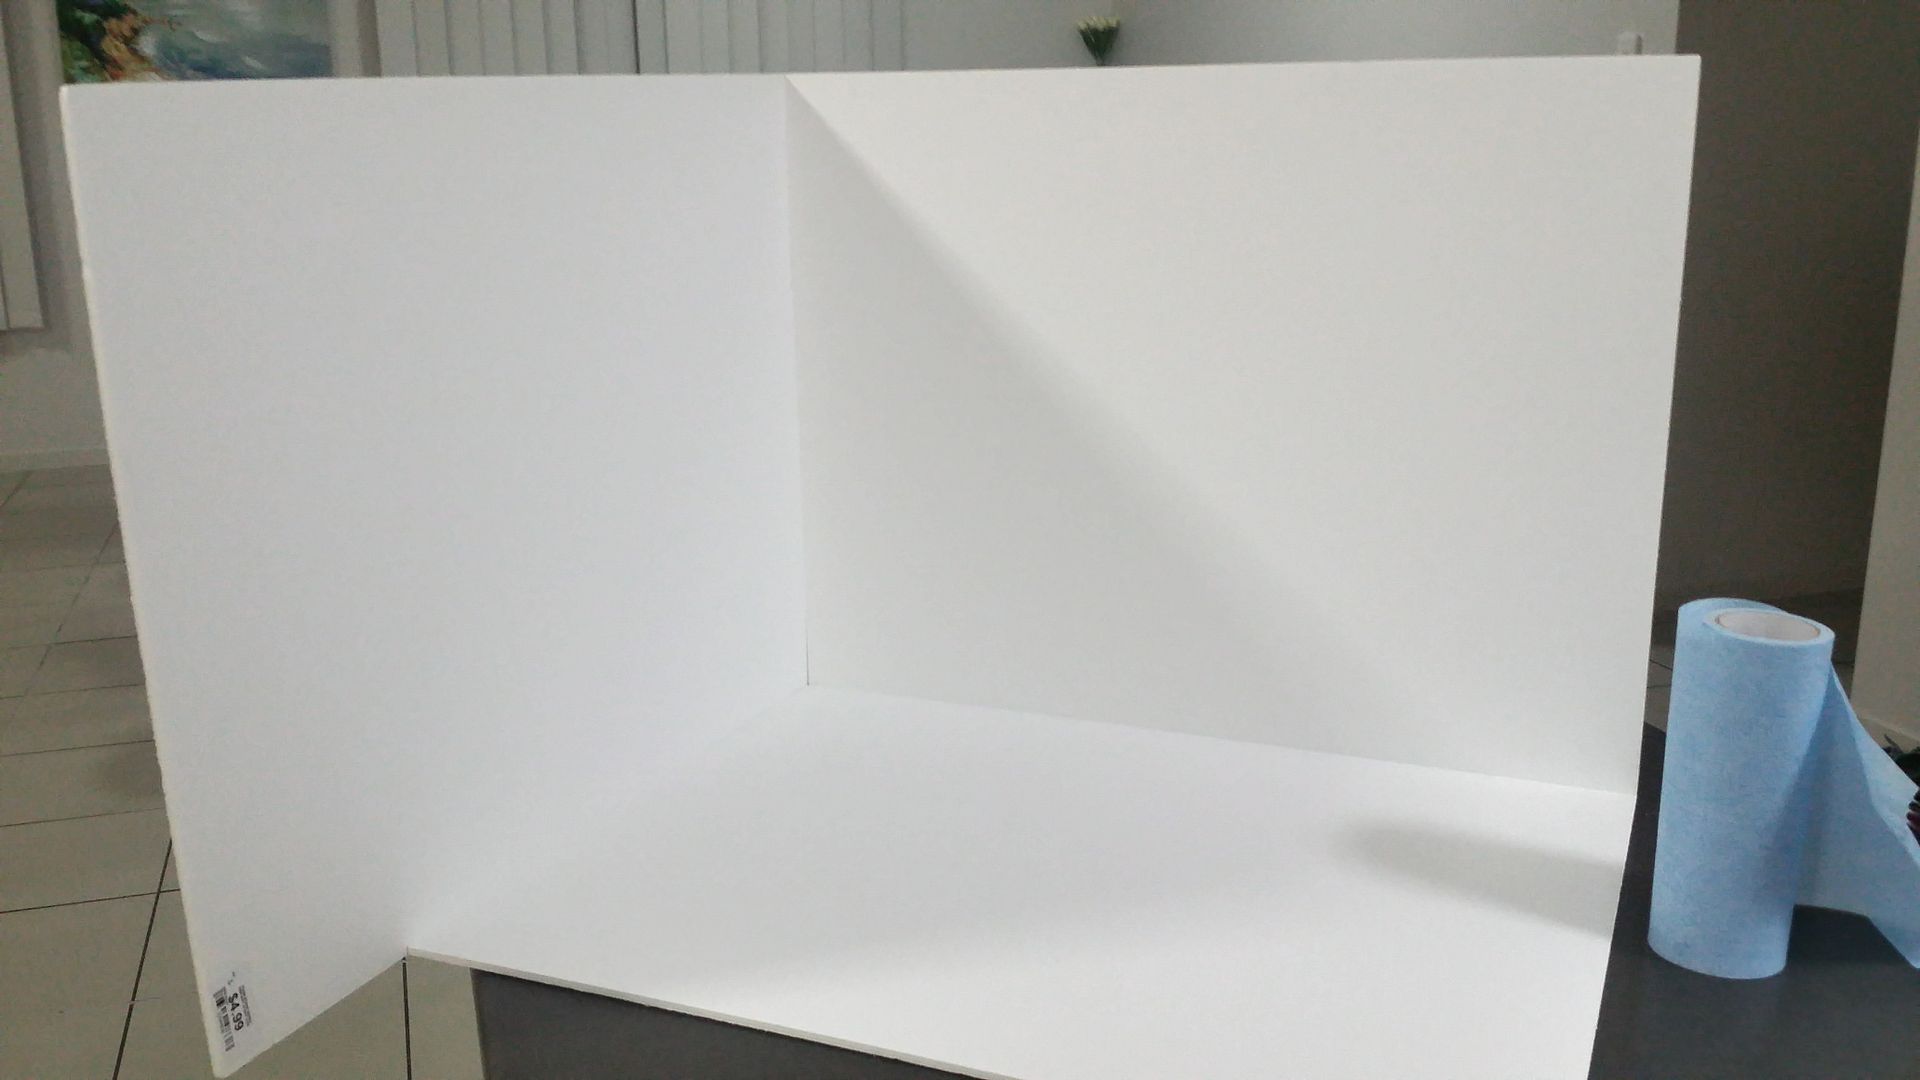
Here is a picture of the foam board - I bought a larger version than this one (and much cheaper)

So you can make a full cube if you wish but I chose to build a three sided one, to get lights from the sides and top

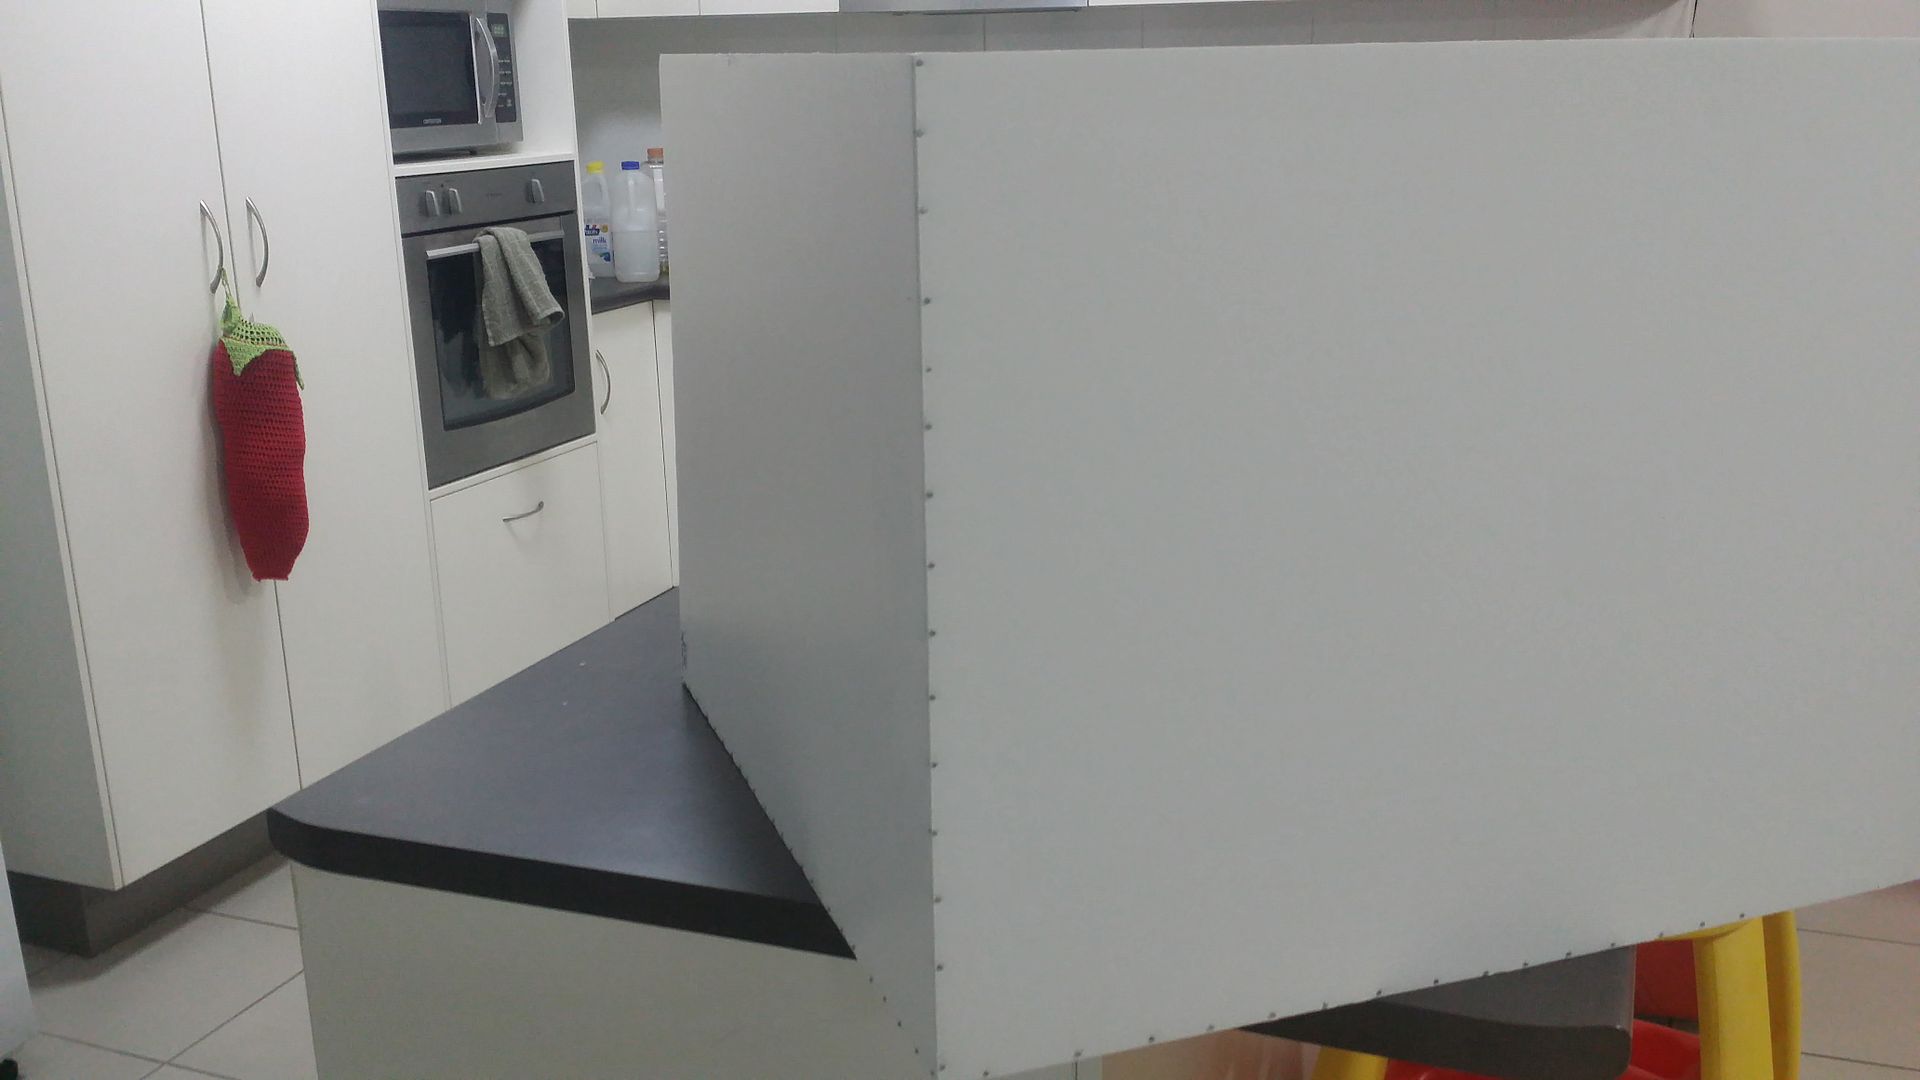
Using the nails I joined the sides together, I only pushed them in with my finger, and trying to be careful to make sure it goes in straight and not pierce the foam board top or bottom. It takes some time to do, but the result is good.

Once this was complete, I cleaned it to get rid of any dirt marks with a multi purpose cleaner, Winder will work too I think.
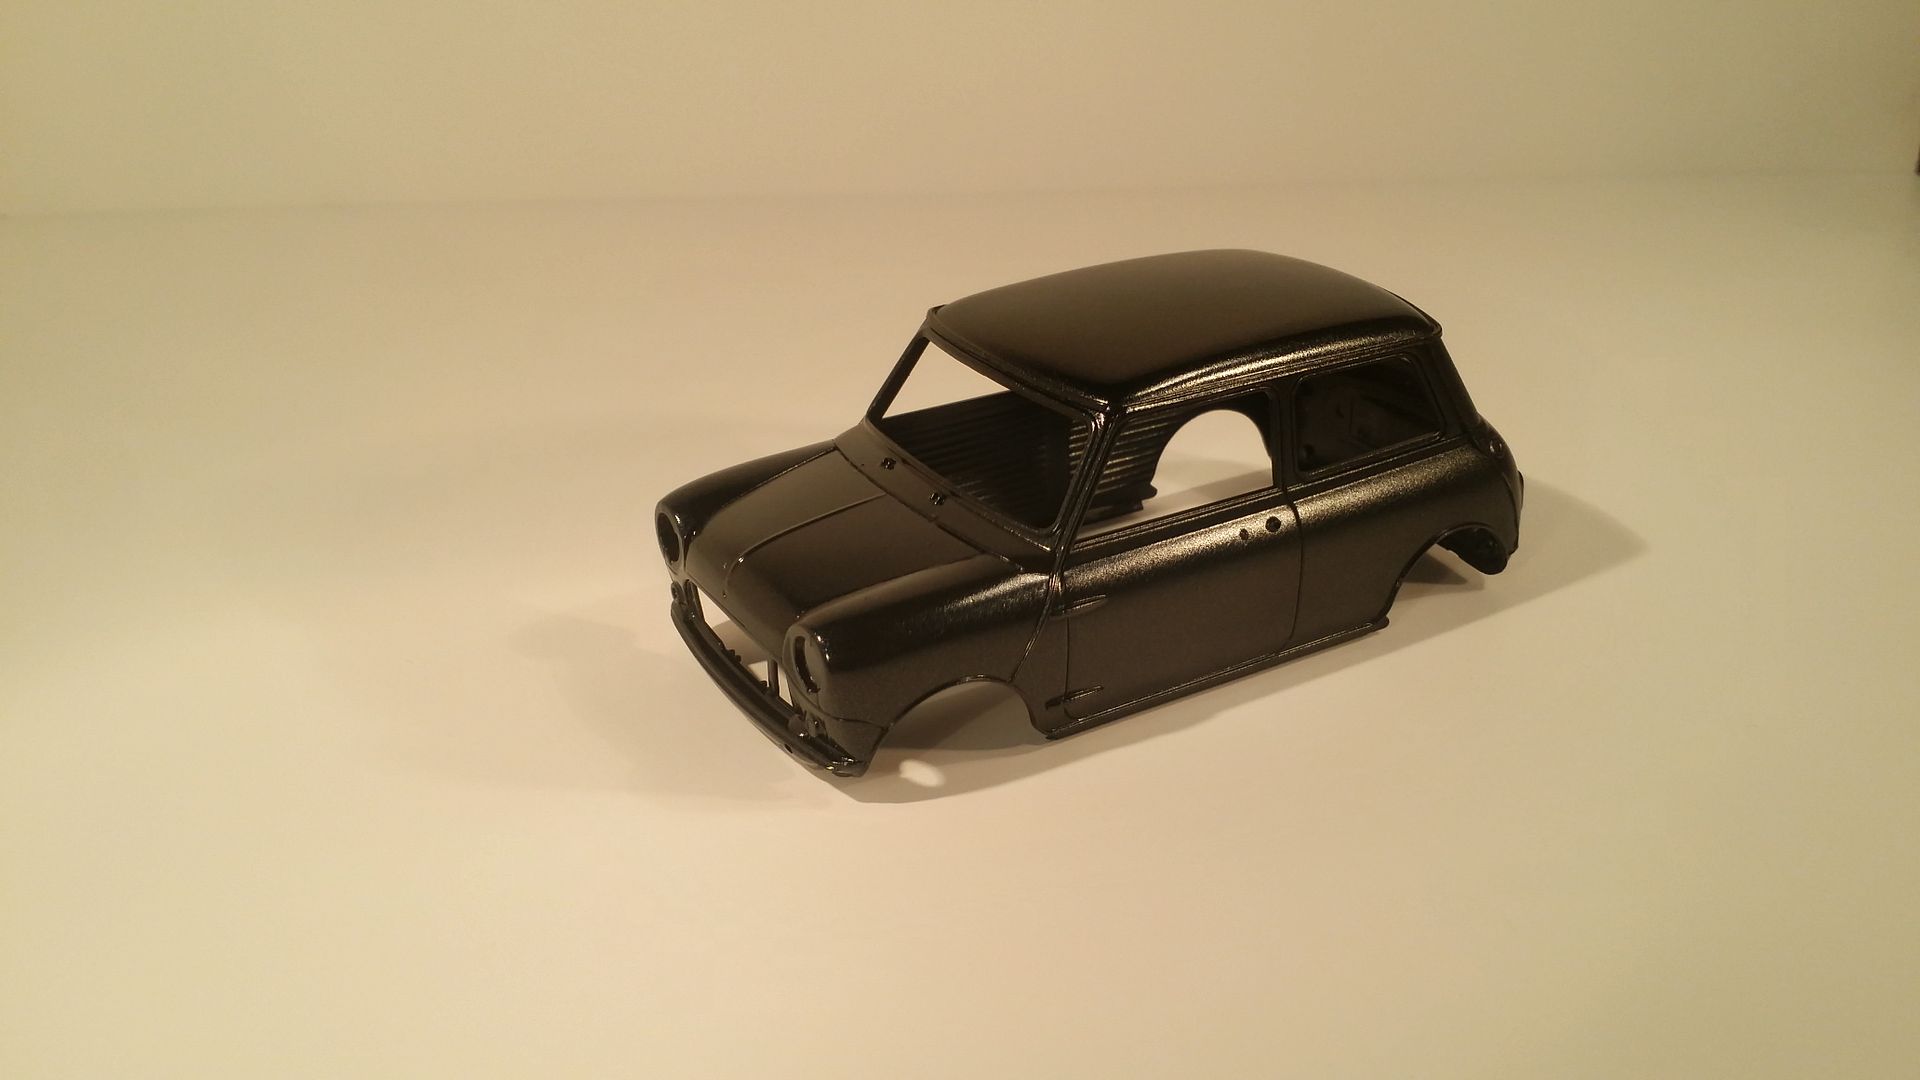
Here is a sample picture taken in the new booth

I hope this was helpful, as I certainly liked it. Now l dont really know how durable this booth will be, if it breaks down, I will just use the foam board to make diorama bases.
In any case, hope you liked it. As always all comments welcome.
This does not include the lighting lamps, just the actual photo booth.
So I recently bought some foam board. Large sheets, I took three sheets out each costing around $2 AUD, and started putting them together using very thin nails - I had a packet of 100 small nails which cost me $1 and I still have many spares left.
Here is a picture of the foam board - I bought a larger version than this one (and much cheaper)

So you can make a full cube if you wish but I chose to build a three sided one, to get lights from the sides and top

Using the nails I joined the sides together, I only pushed them in with my finger, and trying to be careful to make sure it goes in straight and not pierce the foam board top or bottom. It takes some time to do, but the result is good.

Once this was complete, I cleaned it to get rid of any dirt marks with a multi purpose cleaner, Winder will work too I think.
Here is a sample picture taken in the new booth

I hope this was helpful, as I certainly liked it. Now l dont really know how durable this booth will be, if it breaks down, I will just use the foam board to make diorama bases.
In any case, hope you liked it. As always all comments welcome.

Comment