
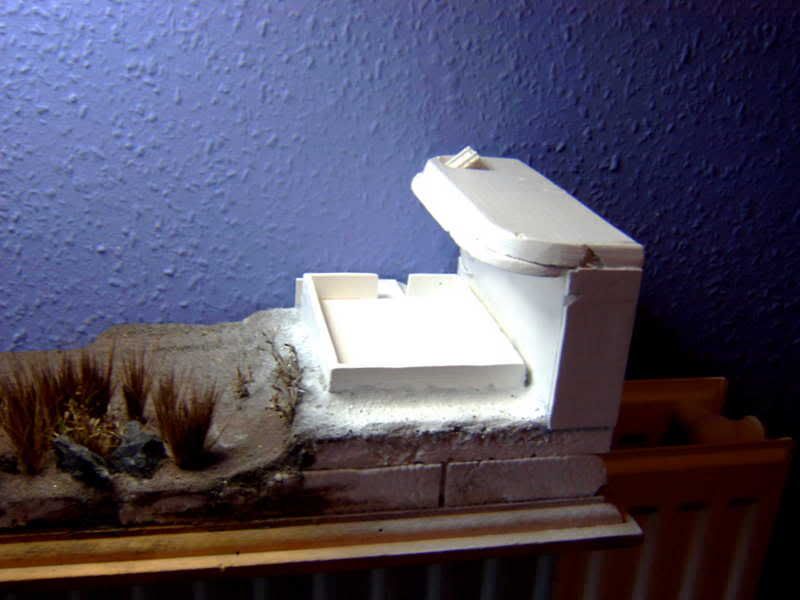
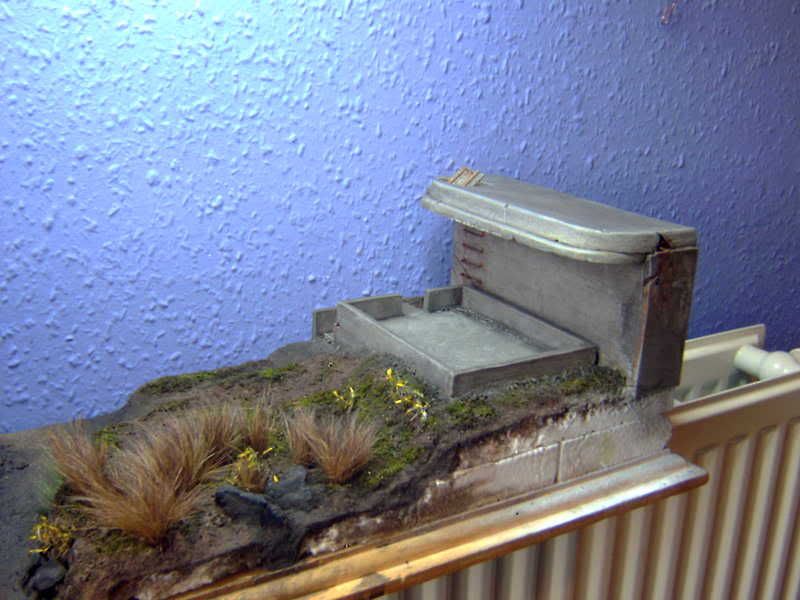
here ive sprayed the emplacement.matt white.. and added some of the bristles as long grass..
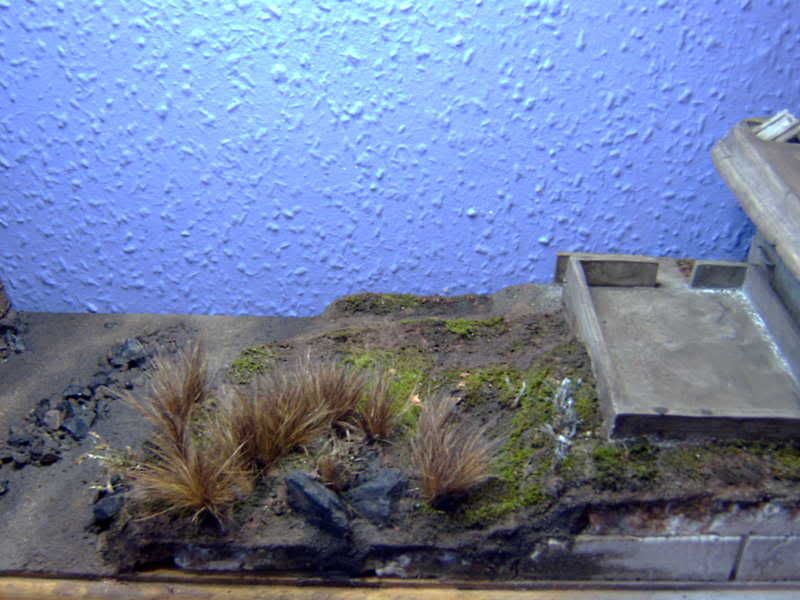
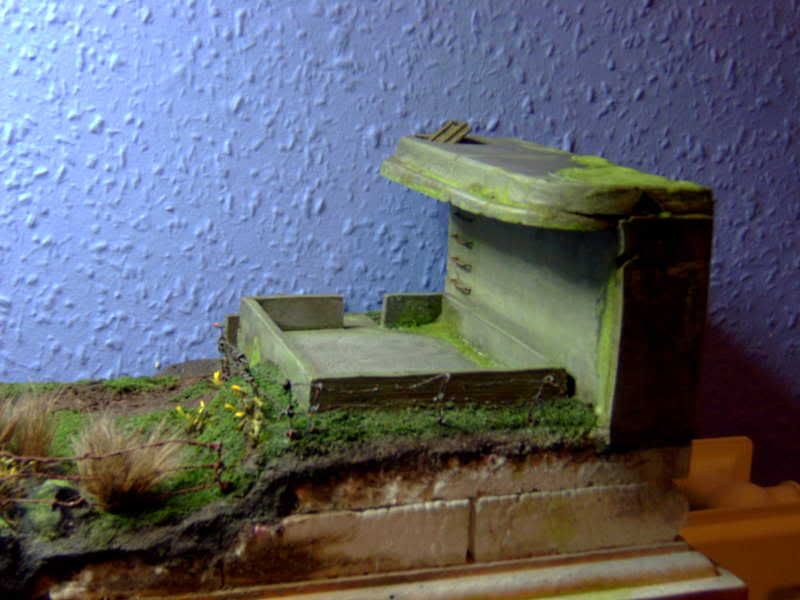
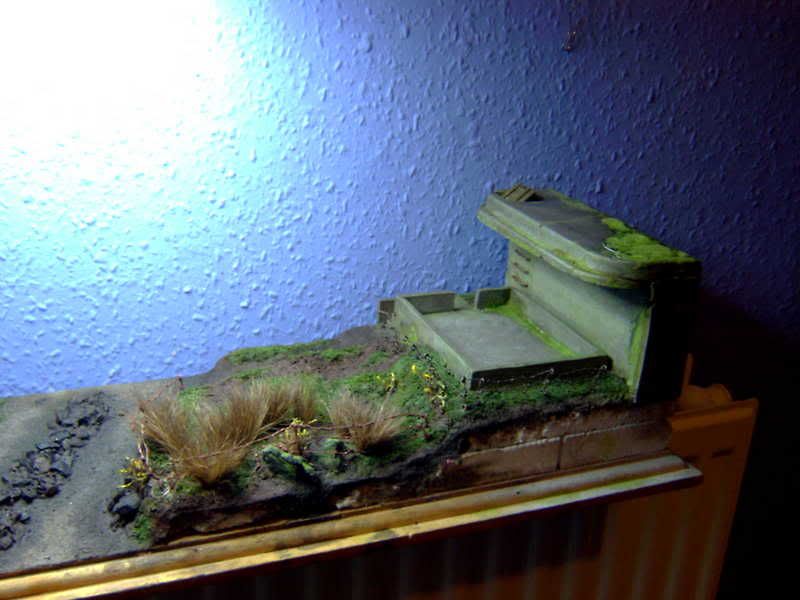
here ive given the emplacement a basecoat of dark grey..and added moss onto the groundwork.in and around the tall grass..
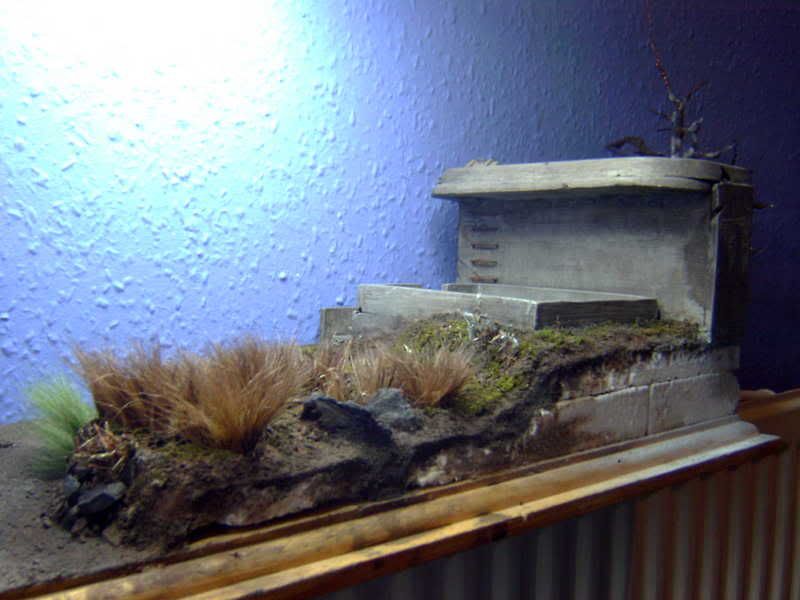
here ive given the emplacement a dark oil wash and drybrushed in lightened grey basecoat..rusting was added to the ladder rungs..
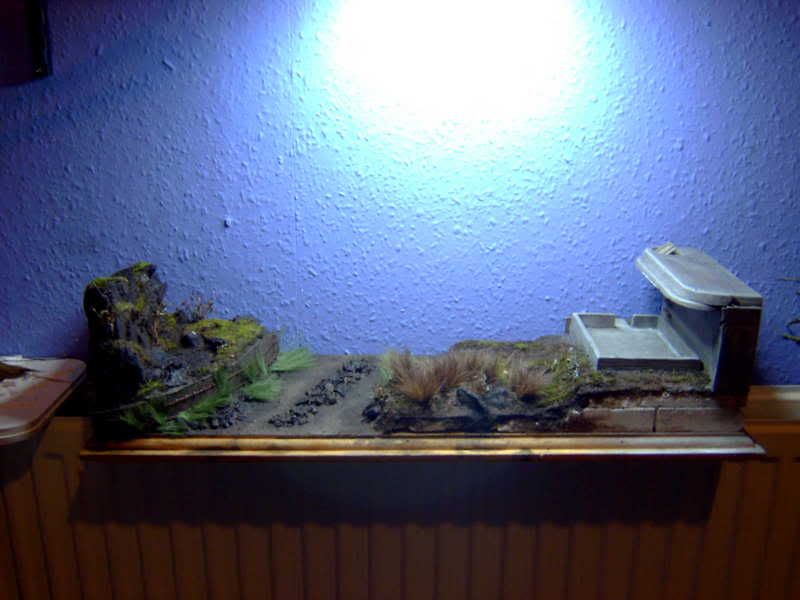
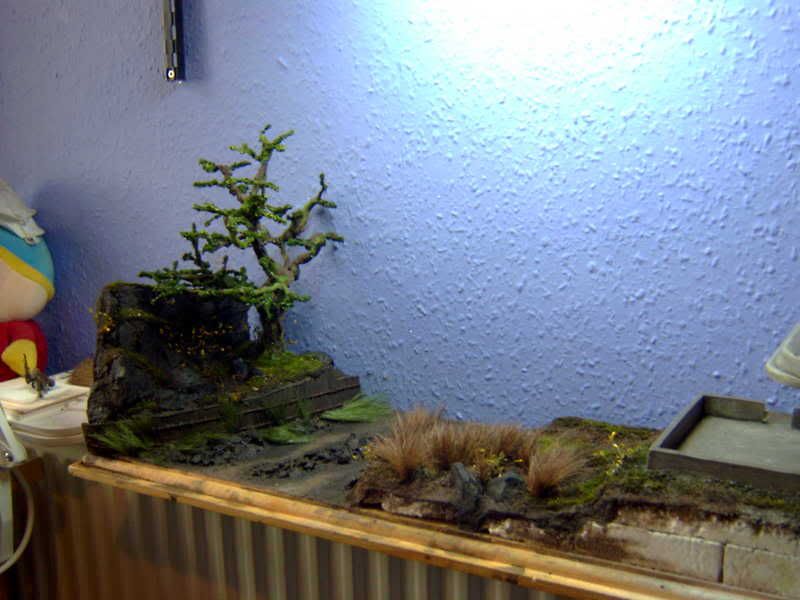
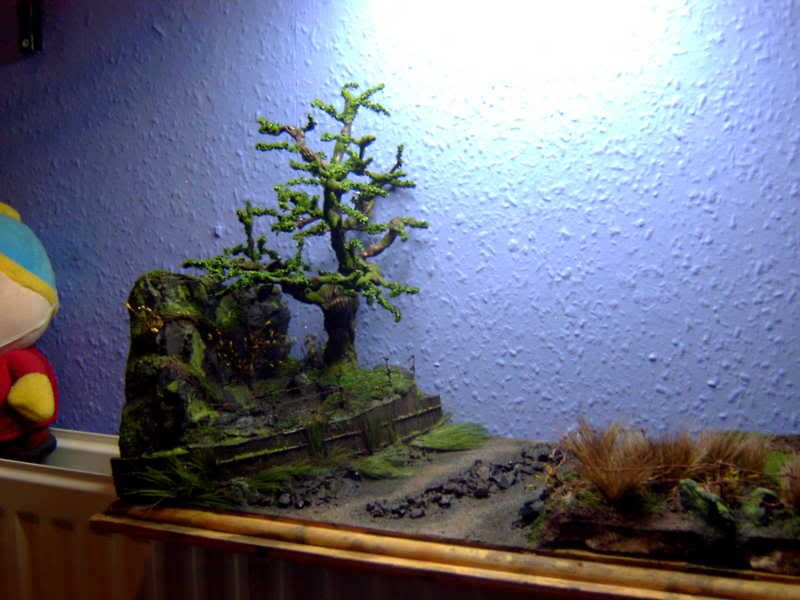
i drilled several holes in the base of the retaining wall and pushed in some dyed human hair for the river weed..most of this will be underwater with some climbing the wall..

here ive given the emplacement a basecoat of dark grey..and added moss onto the groundwork.in and around the tall grass..
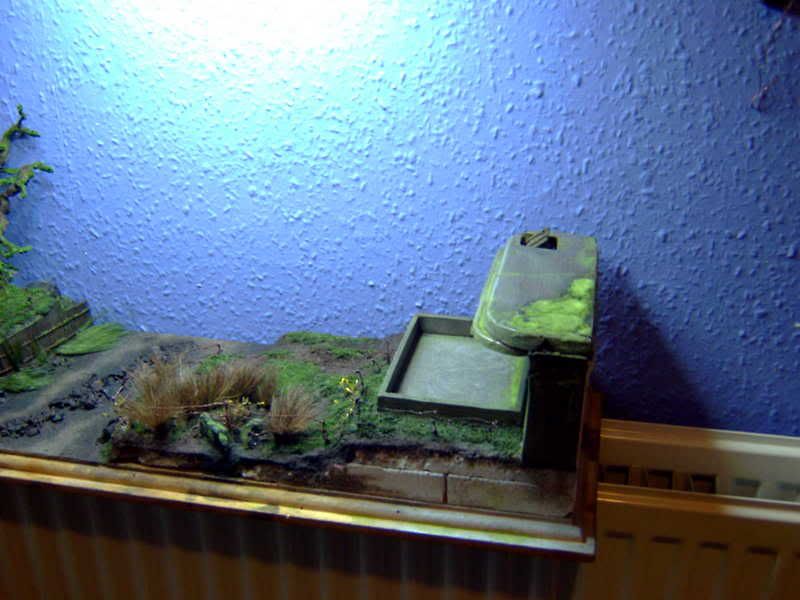
here ive given the emplacement a dark oil wash and drybrushed in lightened grey basecoat..rusting was added to the ladder rungs..
i drilled several holes in the base of the retaining wall and pushed in some dyed human hair for the river weed..most of this will be underwater with some climbing the wall..


Comment