
-
-
yes donga m8 but i think the point is. how do you make it rather than buy it..if you think about it..you can probably buy anything you could think of for incorporating into a diorama..if you can think of it someone somewhere has cast it in resin...or somesuch........what Historex are very good at .are the assortment of arms legs heads and hands..much cheaper than their equivalent from the likes of Hornet..VLS...etc.......D.....Comment
-
Ok..lets get started ...as you can see ive chosen a base..this happens to be an old bookshelf..but ive used pictureframes..placemats...and cut my own to size..but generally i tend to go with scrap wood.and pick something that has plenty of room in case i need to change things around mid build..[ it has been known]..i cut the pieces of polystyrene. from some packing...these are to be used as formers to build up some height in the groundwork..so i dont have several inches of papier mache or plaster taking weeks to dry...the groundwork will be built up around the formers in much thinner layers...so drying time dosent get in the way of progress... the models are to give me an idea of scale and position...they will not nessecarily be the ones used in the diorama..

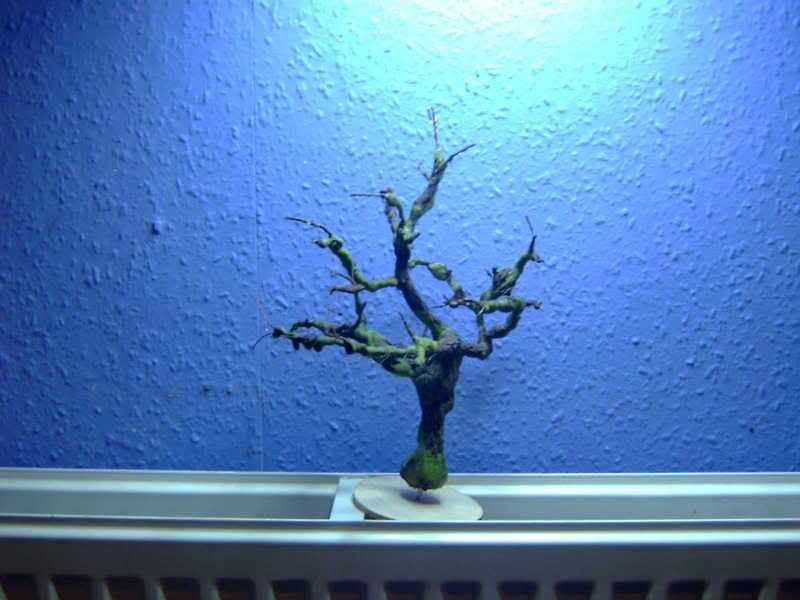
im going to incorporate as many of the suggestions as i can..so some stratified rock formation...... a little waterfall and pool...a tree or two...maybe even a river..possibly a raised dirt road..as i say im still in the planning stages so dont be surprised if things change..Re the pics..again this is just a little taster for those interested..just to let you know that i havent forgotten you....D....
 .
.
Comment
-
i have previously cut the shapes i require out of card and made the forms but using poloystyrene is a great idea and one which i will deffinatly use in the future!!!
thanks for that. I can tell this is going to look good!
p.s. please try and get some barbed wire in it
Comment
-
Polystyrene is an excellent medium for building up bases, i used it on my railway layout and the scalectrix layout. Once covered with Modrock, papier mache, cork bark etc it is solid yet remains reasonably light.
I like the flak gun!Comment
-
A great start Marty,looking forward to following this.Comment
-
polystyrene packing is a favourite of mine [its free]..cuts with a hot knife to almost any shape..and the weight saving is very important..the papier mache i use is almost like a paper paste...and is very workable...and it dries rock hard.and will "hold" everything together on the base..
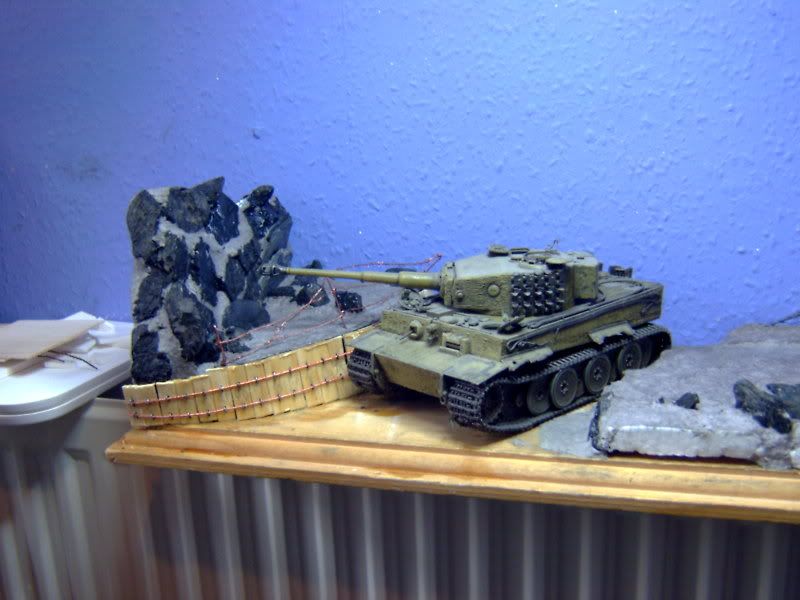
ive decided that this diorama will depict...a concrete gun emplacement for the Flak 38..made from plaster castings .cut and detailed by hand..on the right handside at the top of the rise. gently sloping down to a river..where a vehicle has stopped to allow the crew to have a break and take on water
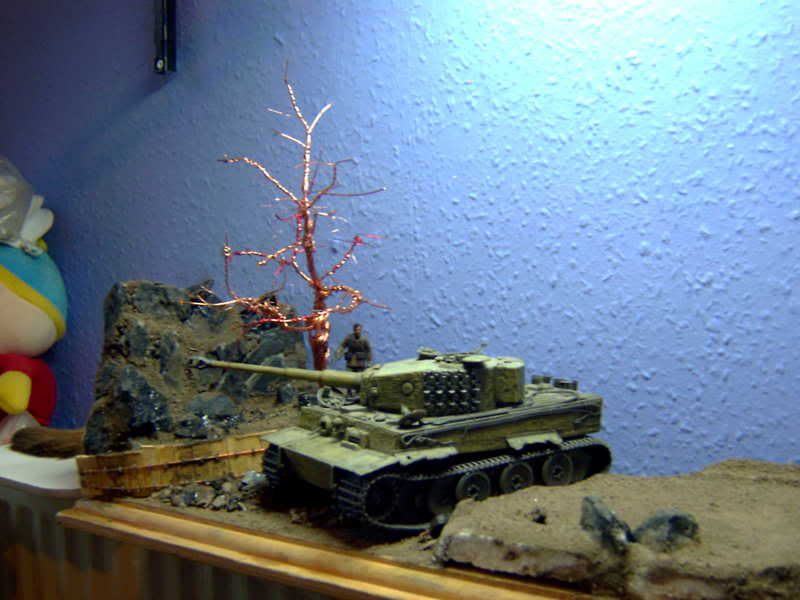
[possibly my half finished Tiger 1]..and rising up away from the left handside of the vehicle..on the other shore...the rock formation..a tree or two..and a figure perhaps as a point of focus.... im thinking of building a trench in front of and underneath the Flak 38..so i can throw in some dio accessories from the spares box.
Dont worry there will be plenty of barbed wire.....D....Comment
-
today i spent. making slabs of concrete.using the lid from a box of bulldog clips as a mold...i use Herculite casting plaster..[just like plaster of paris but much lighter] ...this dries in around half an hour....when i had four slabs...i measured off the area on the baseboaed.where it was to be sighted...and cut the pieces to size..using the scribe and snap method..see pic...
I test fit and sand down where needed...and fix together with superglue..these bonds will be reinforced later with milliput, i place the piece on the baseboard. to test fit. and measure the distances needed by any pieces.that are underneath the floor slab up against the groundwork..
dont forget the whole piece will be embedded into the groundwork..at a later stage. so perfectly straight lines are not critical on the underside..
so after assembling all the pieces i had cut.. i put the assembled gun emplacement aside to dry a while
it still has a little work to be done..like filling and sanding. and some texture added to make it look more like cast concrete.but you get the idea! it should be a nice piece of scratchbuild when its all finished and painted..
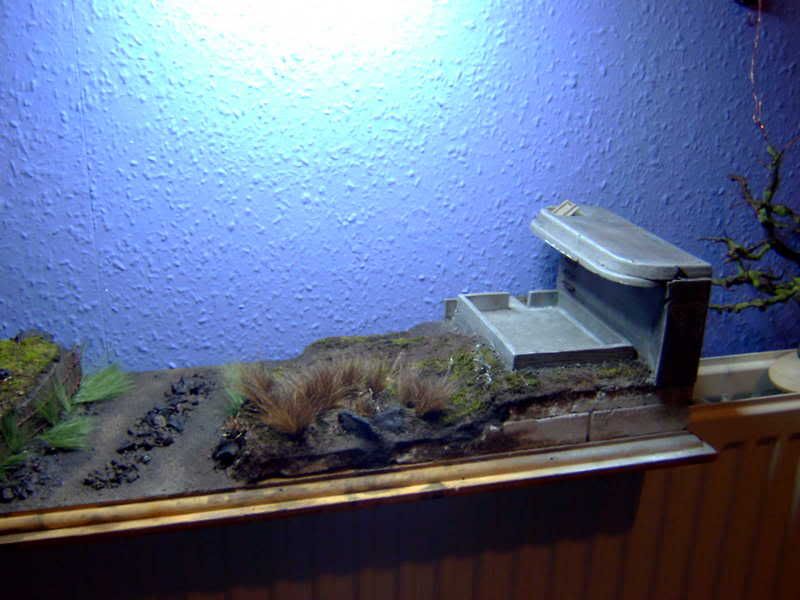
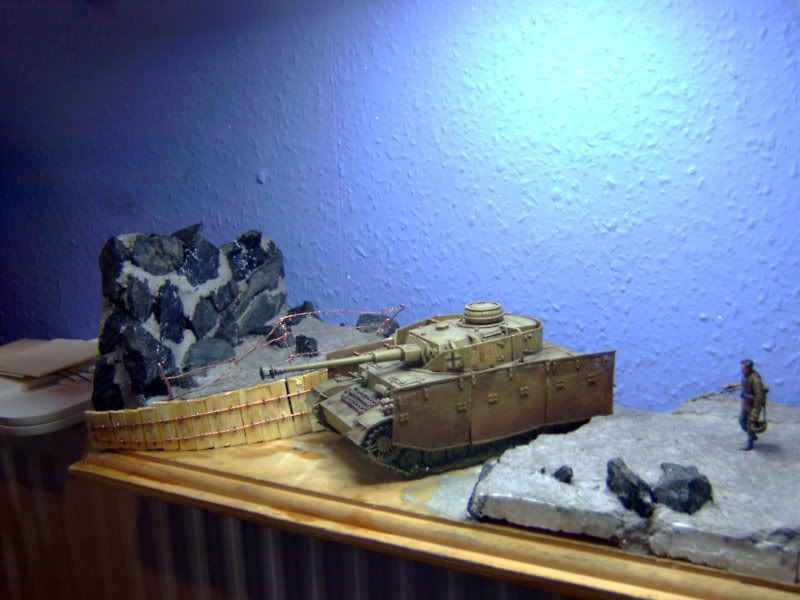
finally a pic of the emplacement.complete with flak gun. tomorrow im making wooden stairs..to fit from the groundwork to the doorway of the emplacement..and ill probably make a start on the rock formations..
Please can i ask those of you with questions.. to PM them to me this is to save space in this thread. so i can keep it as concise as possible.I will endeavour to reply to your queries in my next post..thanks....D....
Comment
-
looking lovely. i hope you dont mind compliments taking up space in the thread lol
i can tell this is going to be a masterpiece!Comment
-
lov it mate go for it!!! the veirling is the nutsComment
-
Deakon,dont worry about saving space that is no problem here,write and add as many pictures as you like,we love things like this,it is pure inspiration which is what we wany.Comment
-
I actually think the questions and answers along the way elaborate on the build thread and generate more interest from more people.
I don't want to tell you how to do your own thread but I was going to ask a question and writing it somewhere else where the picture wasn't posted seemd to stick it out on a limb so to speak.
Anyway let us know where you want us to add question/comments etc. As Barry says the space isn't an issue.Comment
-
no worries guys post away....i was just trying to be thrifty with the space but as that isnt an issue!!!! lets ave it!!Comment
-
Is the Veirling the same unit fitted to later U-Boats?
It looks just like the one fitted to U-535, if any of you were lucky enought to get a look around her in Birkenhead before the museum shut thier doors early this year.Comment
-
Probably ,the Germans tried to fit the flakvierling to just about everything...
Go to "uboat.net" and put in u-441.
think they also put the AA onto some captured T34 's.Comment


Comment