Scale Model Shop

Collapse

Making a coned part of paper.

Collapse
This topic is closed.
X
X
 
  • Time
  • Show
Clear All
new posts
  • Guest

    #1

    Making a coned part of paper.

    Papermodeling techniques.(small tutorials on the subject)

    MAKING A CONED PART

    I said I would make some pics of some of the most basic parts shaping in card modeling.

    First I will say I'm no expert on the subject.The methodes I use may vary from others.But this is how I do things, and they work for me.

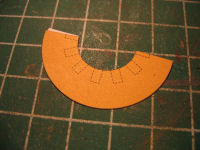
    The coned parts are used a lot in cardmodels as parts of the front end on fuselages on planes,propeller cones,parts in tyres,and other coned objects.

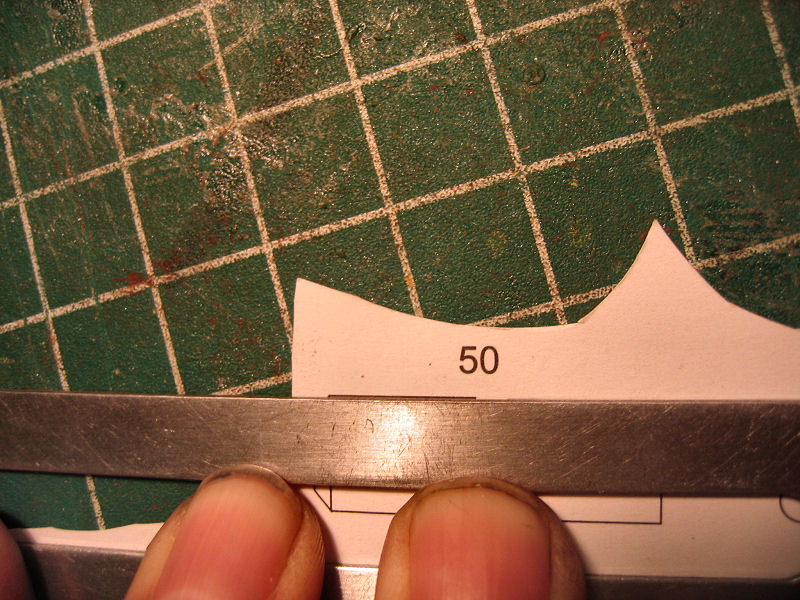
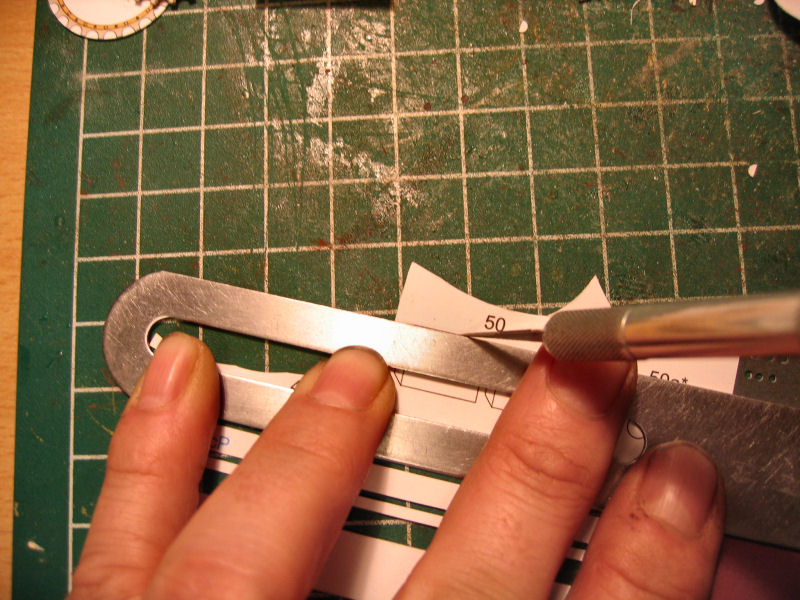
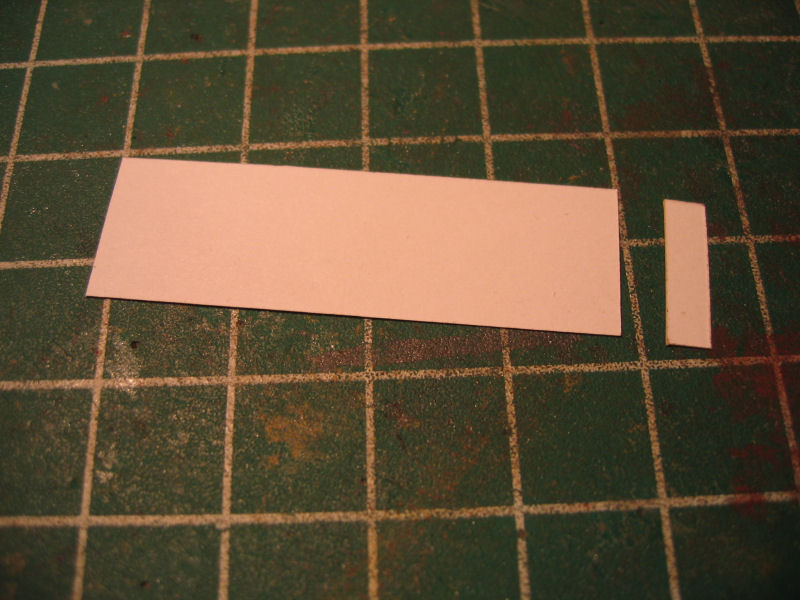
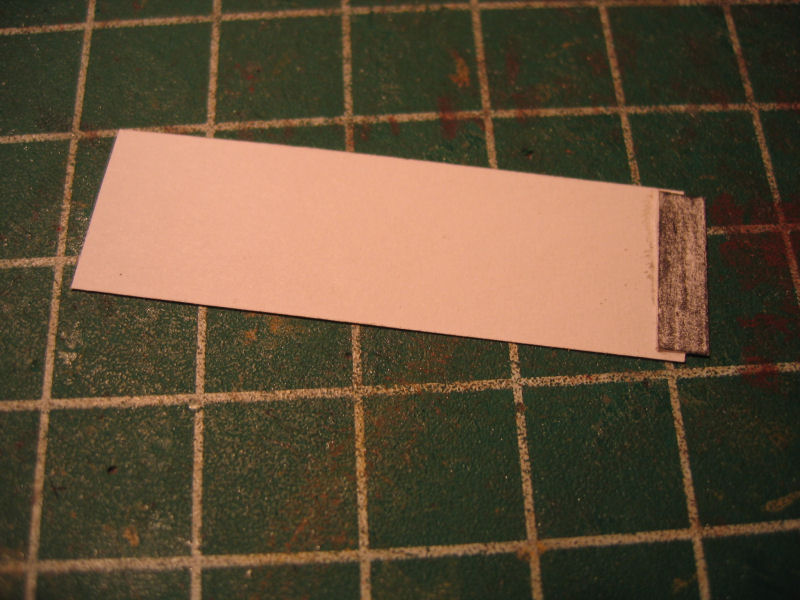
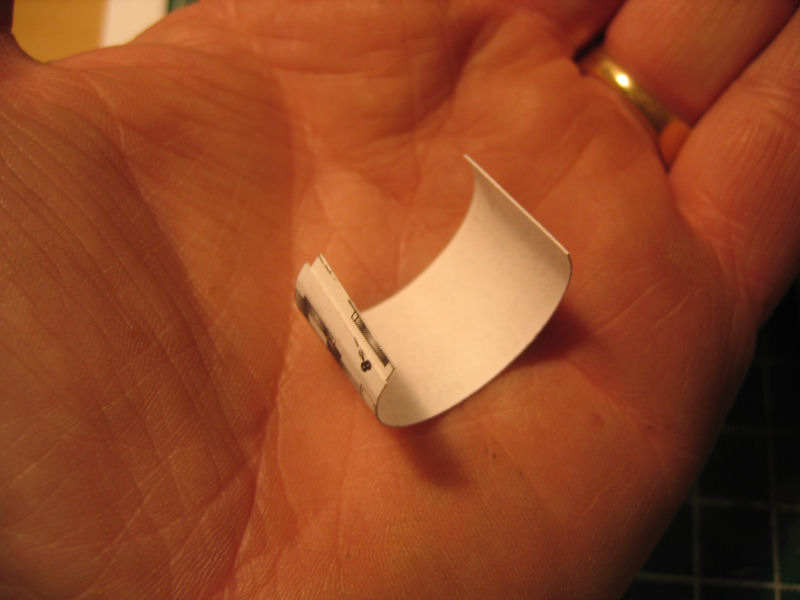
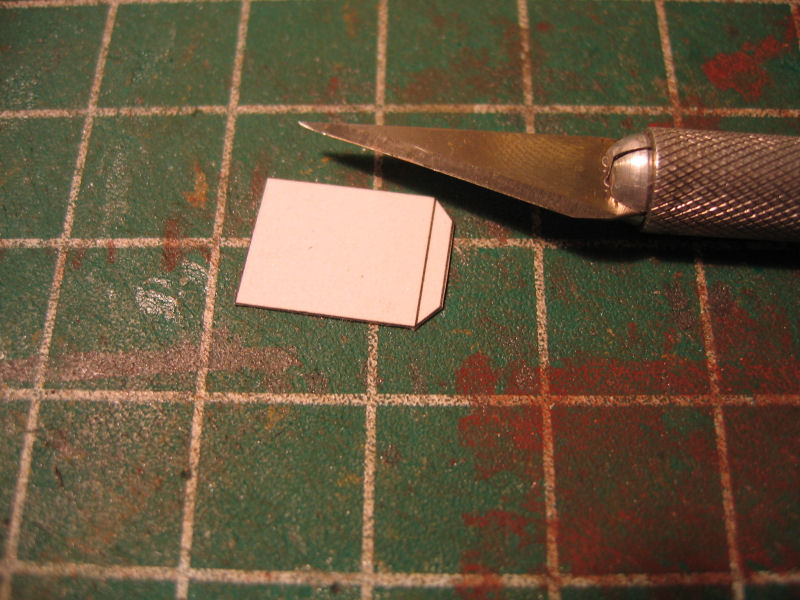
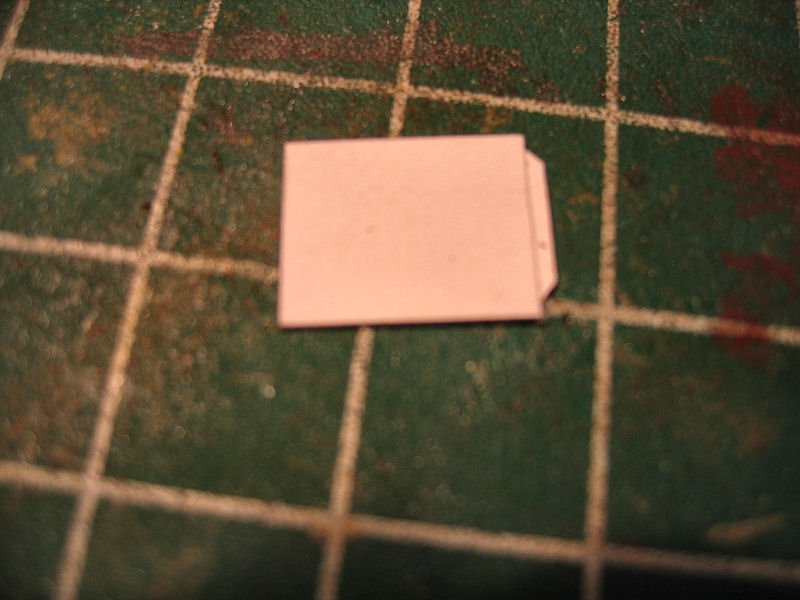
    First we cut out the piece and if there are a joining tab on it...cut it away and glue it on the back side of the part.In that case you wont have the edge showing.


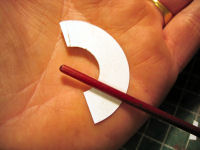
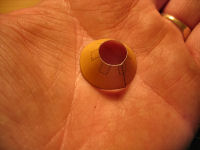
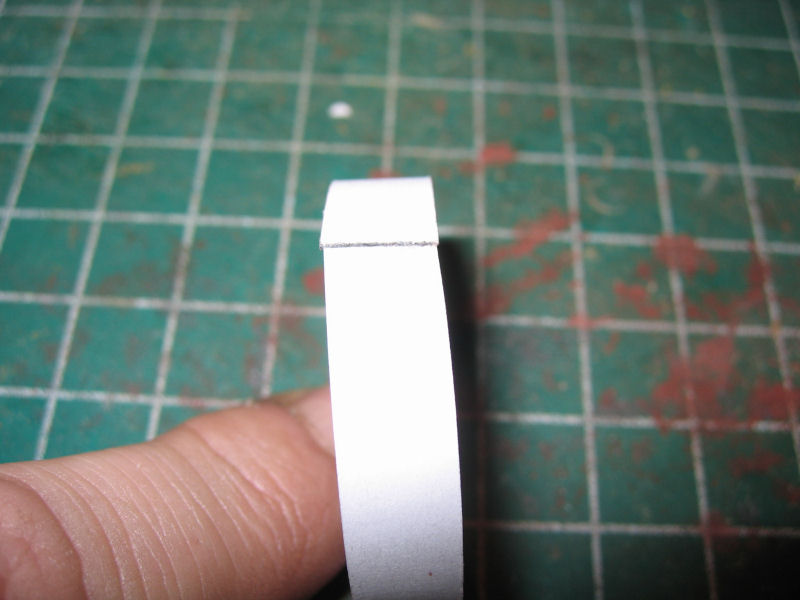
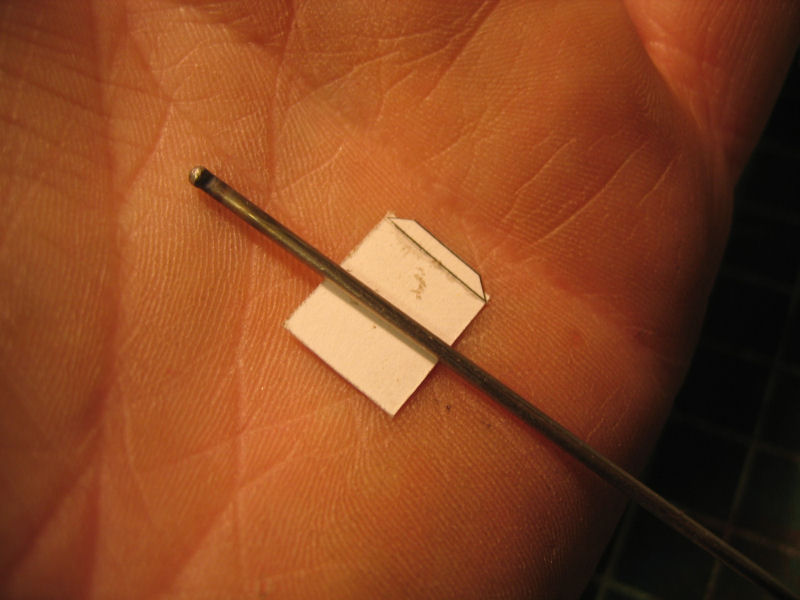
    Nex I place the part inside my hand and have a rounded object ready.

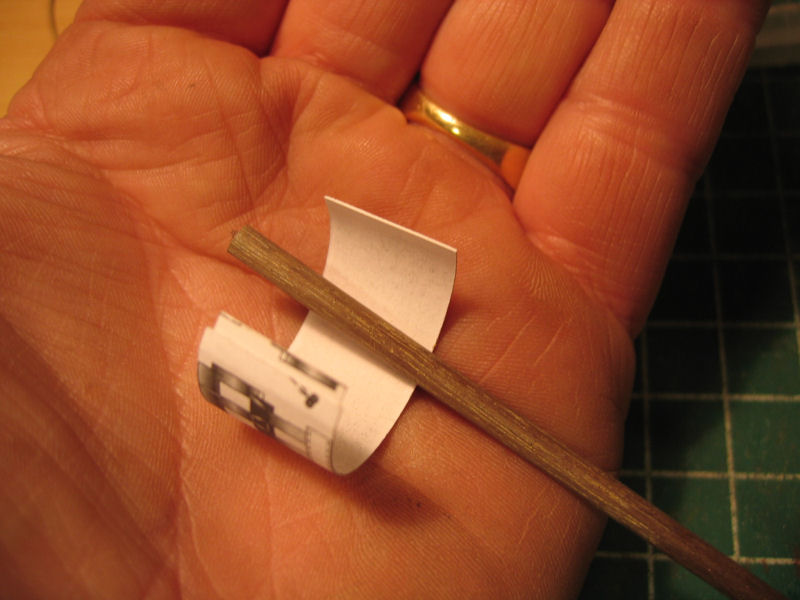
    The size of the rods I use vary.Smaller diameter on the rods gives tighter cones.


    Then I roll the rod against the part applying pressure to it.Remember to hold the angle against the edges of the part.And now we can see it curles up behind the rod


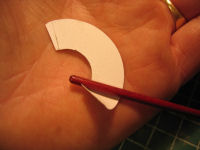
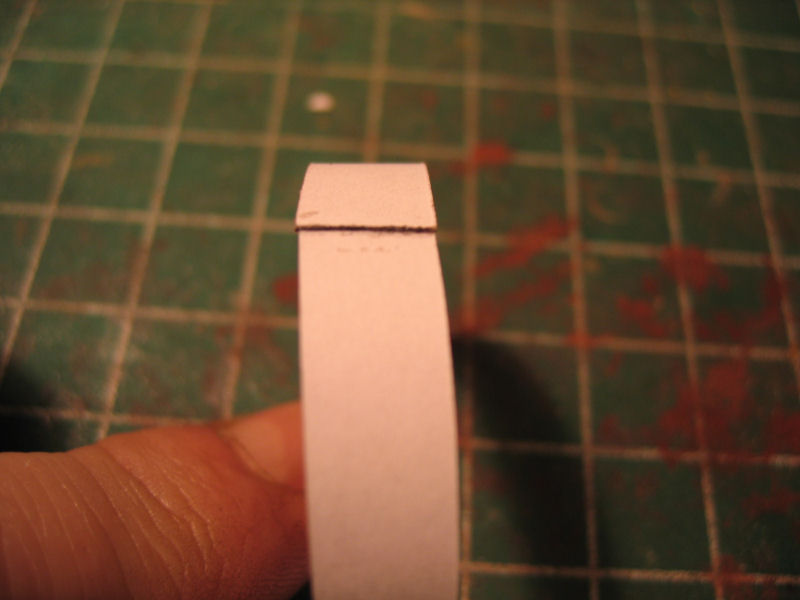
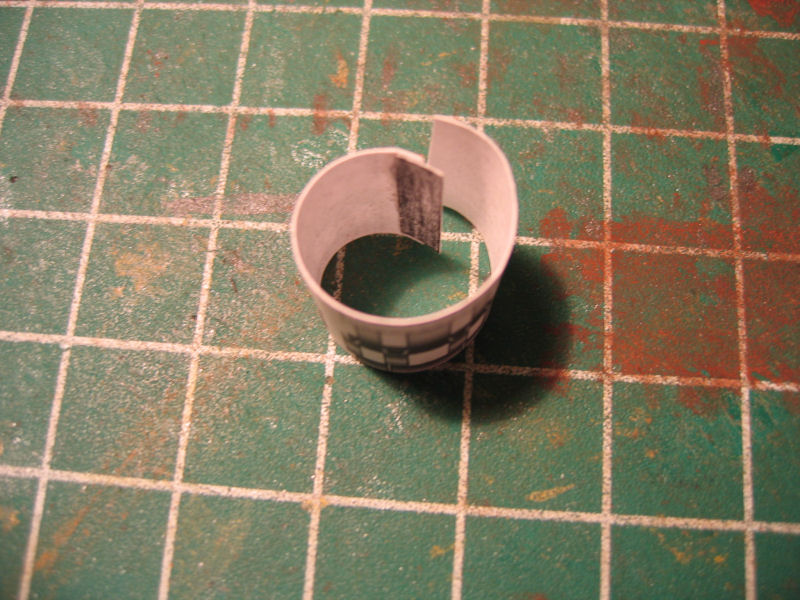
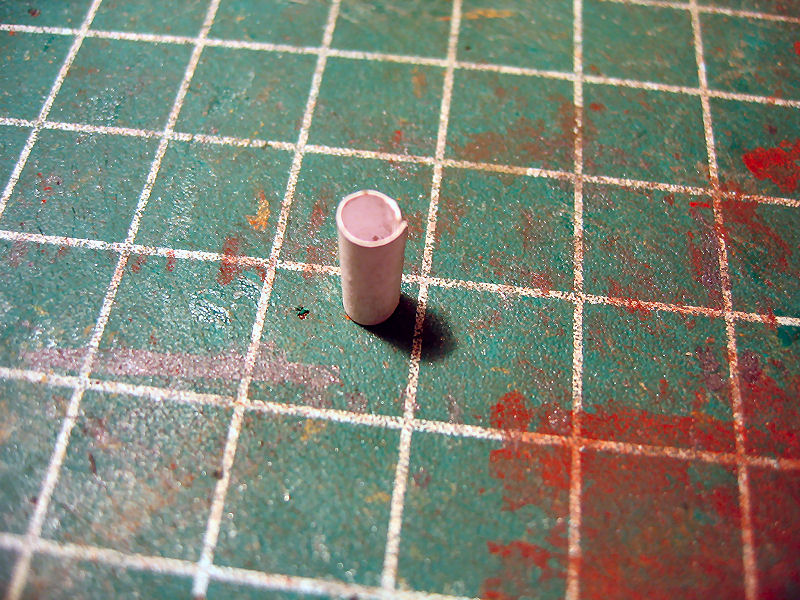
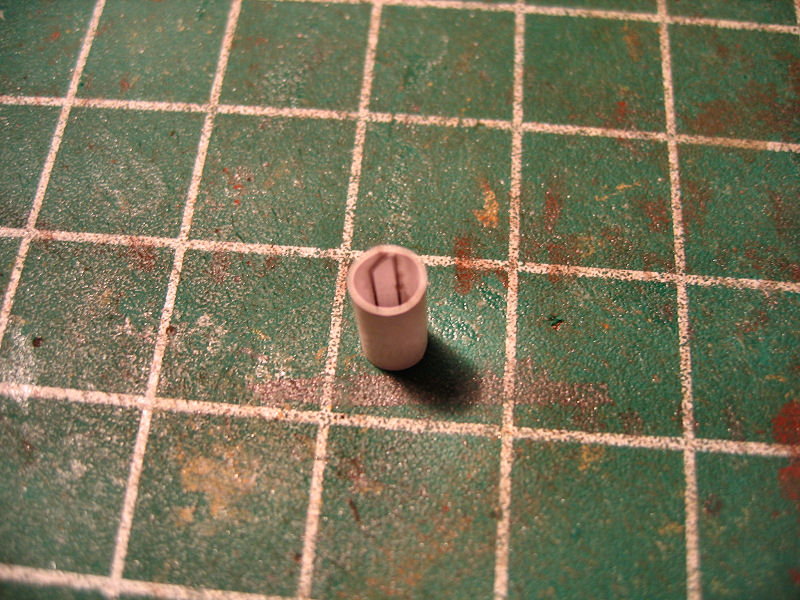
    Do this until the cone is so tight that it overlaps itselves a bit


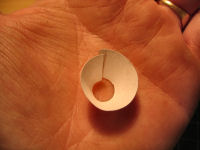
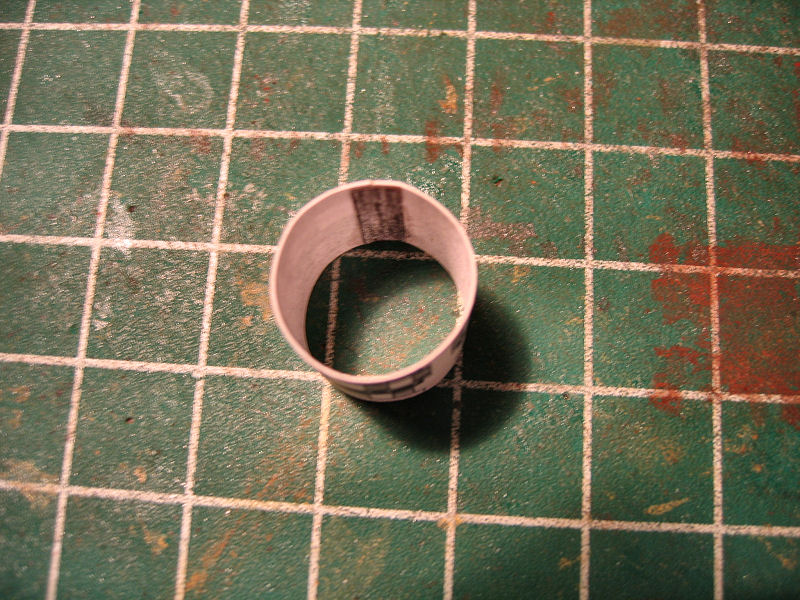
    When you are happy with the shape glue it together


    First lesson

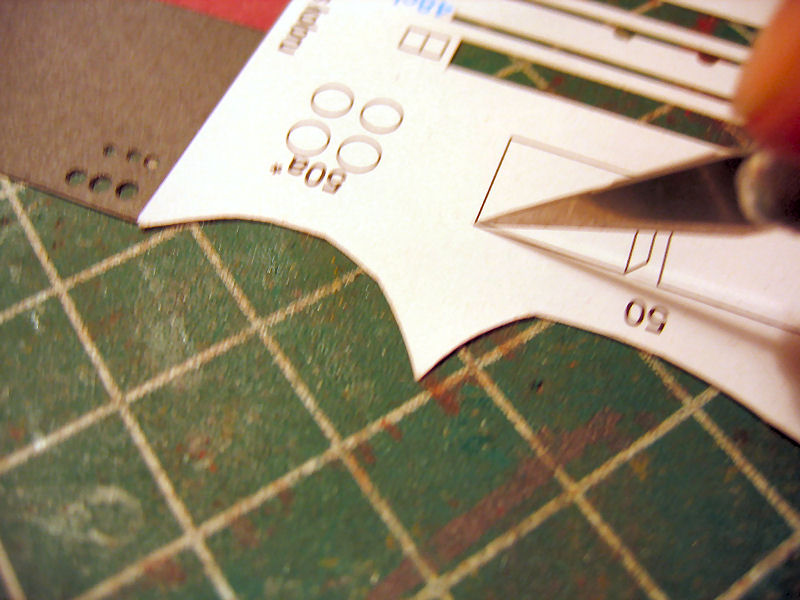
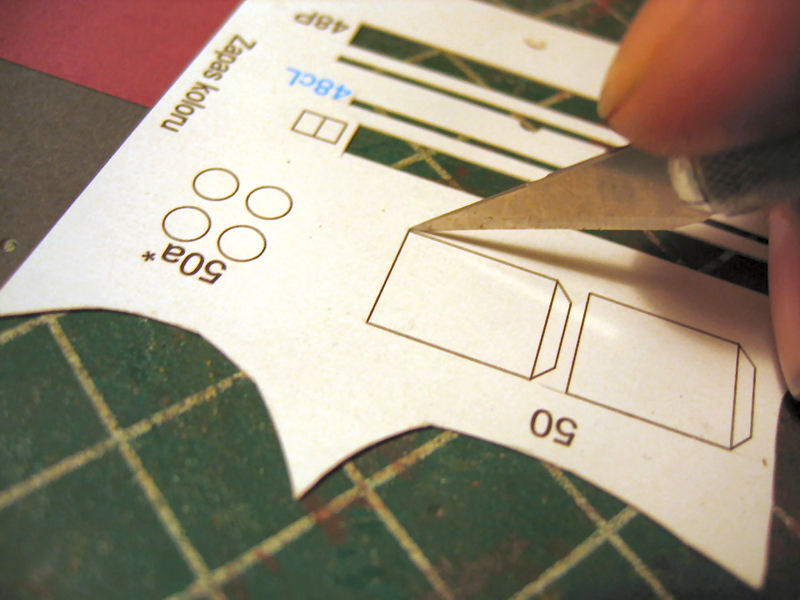
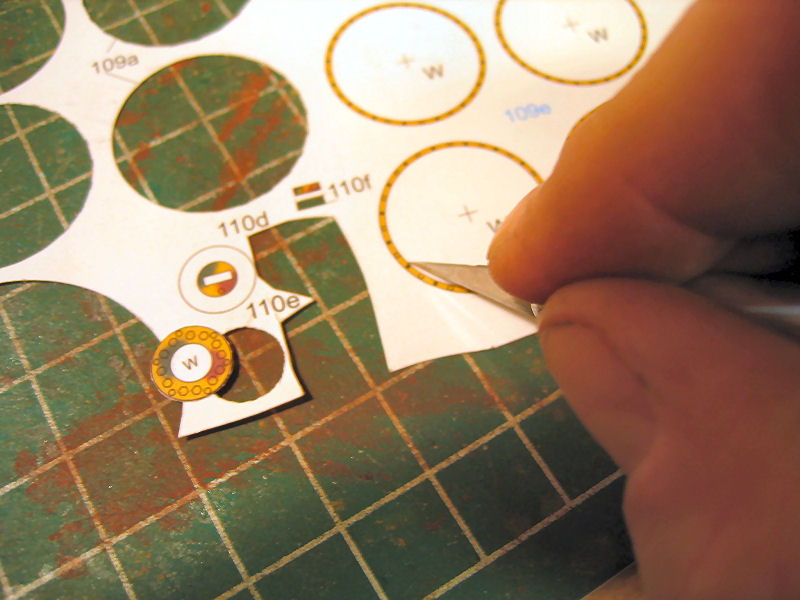
    Next will be cutting....
  • Guest

    #2
    Howdy Johnny,

    Thanks for Lesson 1, I am sure there are others out there who look forward to lesson 2 and all sequent lessons.

    2 yrs ago I had this idea that I could interest people in cardmodelling here so I introduced a few freebies to the forum, invited friends from the carmodels.net forum to share their work over here and invited the members here to visit over there.

    Well, since then there has been an increase in interest in cardmodelling here in this forum thanks to members like you, Bo and others....for this I thank you.:bravo:

    Have a good day,

    Greg

    Comment

    • Guest

      #3
      Hi Greg!

      You are free to paricipate in the tutorials if you'd like!

      I know you are a very skilled cardmodeller and I think you have a few tricks up your sleeve

      Comment

      • Guest

        #4
        Cutting....as easy as it says??


        CUTTING


        Cutting seems to be fairly easy don't you think.....

        Yes it is,if you do it right.

        When I started papermodeling I just jumped into it with absolutely no knowledge at all about a few years back.

        I bought a knife......useless

        I bought some scissors.....useless

        I got myselves a plastic ruler....useless

        I had some glue at home....useless

        So I ended up with making a mess out of my first model that was a huge C130...ment for advanced builders.

        But back to the subject....cutting.

        The basic tools are: A good scalpel type exel knife with blade #11 or similar.A pair of scissors of the nailcutting kind with a curved tip,and a pair of the same type with a straight tip.A metal ruler and tweezers.

        Here are the basic tools


        When we are ready to make the cut we want the light to be facing agains you.In that way we can see better without the edge of the ruler making a shadow covering the tiny outline of the part we are about to cut.

        So we place the ruler with only about half of the outline showing on the outside.


        The knife is to be held around 90degrees on the paper normally.The blade is very sharp so it's not neccessary with a lot of downwards pressure.


        Not all parts are suitable to use the ruler, so freehand cuts are very common where you don't want to use scissors.And when you gain more experience you often choose freehand cuts.

        Here is a shot on which side NOT to cut....Cutting on that side will make a shadow you don't want.A clear view of the line you are goiung to follow with your knife is vital!!


        Here is in my opinion the correct way to make the cut.Here you will have a clear view to the line,and can easy make corrections to your way down the line.We don't use a lot of speed here....but rather slow.


        CUTTING ROUND OBJECTS


        Cutting round parts with a small diameter with scissors are not always a good idea.To have perfect control of the cut we use only the tip of the knife picking our way around the parts.I always moves anti clockwise in theese cases.In that way I have a very good control on where I punch the tip through the paper.


        If we look closely to the picture we can see the small cutmarks around the edge.Parts down to 1mm can be done this way.For larger parts I use the Olfa circlecutter


        When cutting inside a part the cut has to be made clockwise.The knife has to be held in a very uppright way to prevent the edge to cut into the part.

        So small cuts all the way here also.


        Comment

        • Guest

          #5
          Making tubes


          MAKING TUBES


          Tubes and circles are used a lot in cardmodeling.

          There are two different king of joining a tube.

          The first is if the designer has "attached" a joining strip at the end of the part like this.


          When designing the parts like this we will have a visible edge on the part as I have illustrated on the two pics below.I have put some color to the edge so it's more easy to see.But in this case the part will not be completely round.


          So what I do when I'm making a part thet I want the edge to be hidden is to cut of the flip at the end


          And I glue it on the inside like this.I have colored the tab so it's more visible.


          When the flip is dry I place the part in my hand and with a rounded object I roll up and down the part til it doesnt curve anymore.Thats because the rod I used was a bit big,but I start with a big rod so the paper won't be bent in a way that will show.


          Here we can see the maximum curve I got with the end of the knife


          So I switch to a smaller tool.Don't be tempted to beleave that you can join the part at this stage.....you can easily bend it instead of curve it nicely.


          So when the smaller tool are used we get the proper amount of curve.


          And when we glue it together...we get a nice looking tube


          Comment

          • Guest

            #6
            Making smaller tubes


            MAKING SMALLER TUBES


            There was a "contest" at the old cardmodels.net that sounded "How small can you roll" And as far as for tubes....you can make pretty small ones with some practice.Tubes wit a diameter of 1mm is not unusual.Barrels for machinguns f.eks.

            But when making small tubes the same rules goes.Use a tool to shape it well before you glue it together.

            This example is of one of the axels for the rear wheels on the Luchs.

            The diameter on the tube is 4,5mm

            First I cut away the flip at the end


            And glue it inside as shown before


            Next is to find a rod with a proper diameter.The rod I used was a 1,5mm welding electrode.


            Now after some rolling the tube is tight enough


            Then it's to glue it together applying some pressure at the joining point with some tweezers and we have a nice round tube.


            More to come.....

            Comment

            • Guest

              #7
              Hi Johnny, a quick question for you, How and what do you use to "score" the card before folding it?

              Comment

              • Guest

                #8
                I was going to mention that in a post about the different tools, but I can give a quick explanation now.

                For scoring you have to use a butt object like a worn out ballpoint pen,a stopping needle,or anything similar that you can put on a handle.You have to get a firm grip on the scoring tool.

                Sometimes I also use dull scalpelblades to make a cut halfway down the paper.

                The point is to weaken the paperfibres so tha paper will bent without any deformations to other parts than the scoreline.

                I use a metal ruler to score against.

                Comment

                • Guest

                  #9
                  Cheer's for that, and talk about a quick reply!

                  Comment

                  • Guest

                    #10
                    I'm going to make a bit more thorough post about scoring since it's used a lot in papermodeling.I just have to find time to make the tutorial first

                    Comment

                    • Guest

                      #11
                      Thanks for the guide Johnny.

                      Comment

                      • Guest

                        #12
                        Thanks for this tutorial.

                        Comment

                        Working...